In today’s connected world, even “getting away from it all” often means bringing along your internet and cell service. For campers and RV travelers, staying connected isn’t just about posting photos (though that’s fun) it can be a lifeline for navigation, safety, remote work, and keeping in touch with loved ones.

This comprehensive 2026 guide will explore why connectivity matters on the road, the challenges of getting signals in remote places, and 7 proven ways to stay connected while camping or RVing. We’ll also answer common FAQs and show how the right gear (like cell signal boosters) and planning can keep you online anywhere your adventures take you. Let’s dive in!
Why Staying Connected Matters for RV Travelers in 2026
- Remote work and digital nomads: More RV travelers now work from the road, requiring reliable internet.
- Navigation and safety: GPS apps, weather alerts, and emergency services depend on connectivity.
- Entertainment and streaming: From movies to video calls, stable connections enhance the travel experience.
Pro Tip: Even a weak signal can be boosted with the right hardware, making rural trips much more convenient.
Why Staying Connected Matters for Campers and RVers
A remote worker uses his RV as a mobile office. Reliable internet allows modern nomads to work and stay in touch from virtually anywhere. Staying connected on the road isn’t just a luxury, it's often essential. Safety and peace of mind are top reasons. Imagine you’re camped in a beautiful national park, miles from the nearest town, and an emergency strikes or you need GPS directions.
Having a signal means you can call for help or check your route immediately, which provides huge peace of mind when exploring unfamiliar terrain. Sharing your adventures is another big part of the joy of RVing is bringing friends and family along virtually. With connectivity, you can FaceTime your grandkids to show them a roaming bison or upload that stunning sunset campsite photo in real time.
Connectivity also fuels the remote work and “digital nomad” lifestyle. More people than ever are working from their RVs in 2025, attending Zoom meetings from the woods or managing businesses from the highway. This is only possible with the ability to log on from anywhere. A reliable internet connection lets full time travelers earn a living on the go and students “roadschool” without missing a lesson.
And of course, staying connected means you can keep up with news, weather alerts, and maintain a lifeline to the outside world if plans change. In short, a good signal can make the difference between an enjoyable, safe trip and feeling isolated or at risk.
Challenges of Connectivity in Remote Areas
While technology has come a long way, getting a strong signal in the boonies isn’t always easy. Distance from cell towers is an obvious challenge the farther you roam off the beaten path, the weaker your phone signal tends to get. Terrain and obstructions play a major role as well. Mountains, dense forests, and even the metal skin of your RV can block or weaken cellular signals.
Weather and network congestion matter too; storms can disrupt satellite signals, and if you’re near a packed campground, too many users can slow down everyone’s cell data. All these factors mean that in one campsite you might stream movies effortlessly, while 50 miles down the road you can’t even send a text.
Another big challenge is the patchwork of coverage between carriers. One provider (say Verizon) might have service in a national forest where another (say T-Mobile) has none, and vice versa. No single carrier covers everywhere, so relying on just one network can lead to dead zones. This is why many experienced RVers use multiple carriers or backup options (more on that later).
And let’s not forget campground Wi-Fi. Many RV parks advertise free Wi-Fi, but it’s notoriously hit-or-miss. Shared campground networks often suffer from slow speeds, limited range, and overload when lots of campers log on at once. It might be fine for checking email, but by evening when everyone is streaming Netflix, that free Wi-Fi can grind to a halt.
Remote campgrounds may only have satellite internet or old DSL powering their Wi-Fi, which means high latency and dropouts. In summary, the great outdoors weren’t exactly designed for wireless signals but with the right tactics, you can overcome these challenges.

7 Proven Ways to Stay Connected While Camping or RVing
Staying connected off grid usually requires a multi-pronged approach. Here are seven battle tested methods (often used in combination) that campers and RVers use to keep communications and internet alive deep into the wilds:
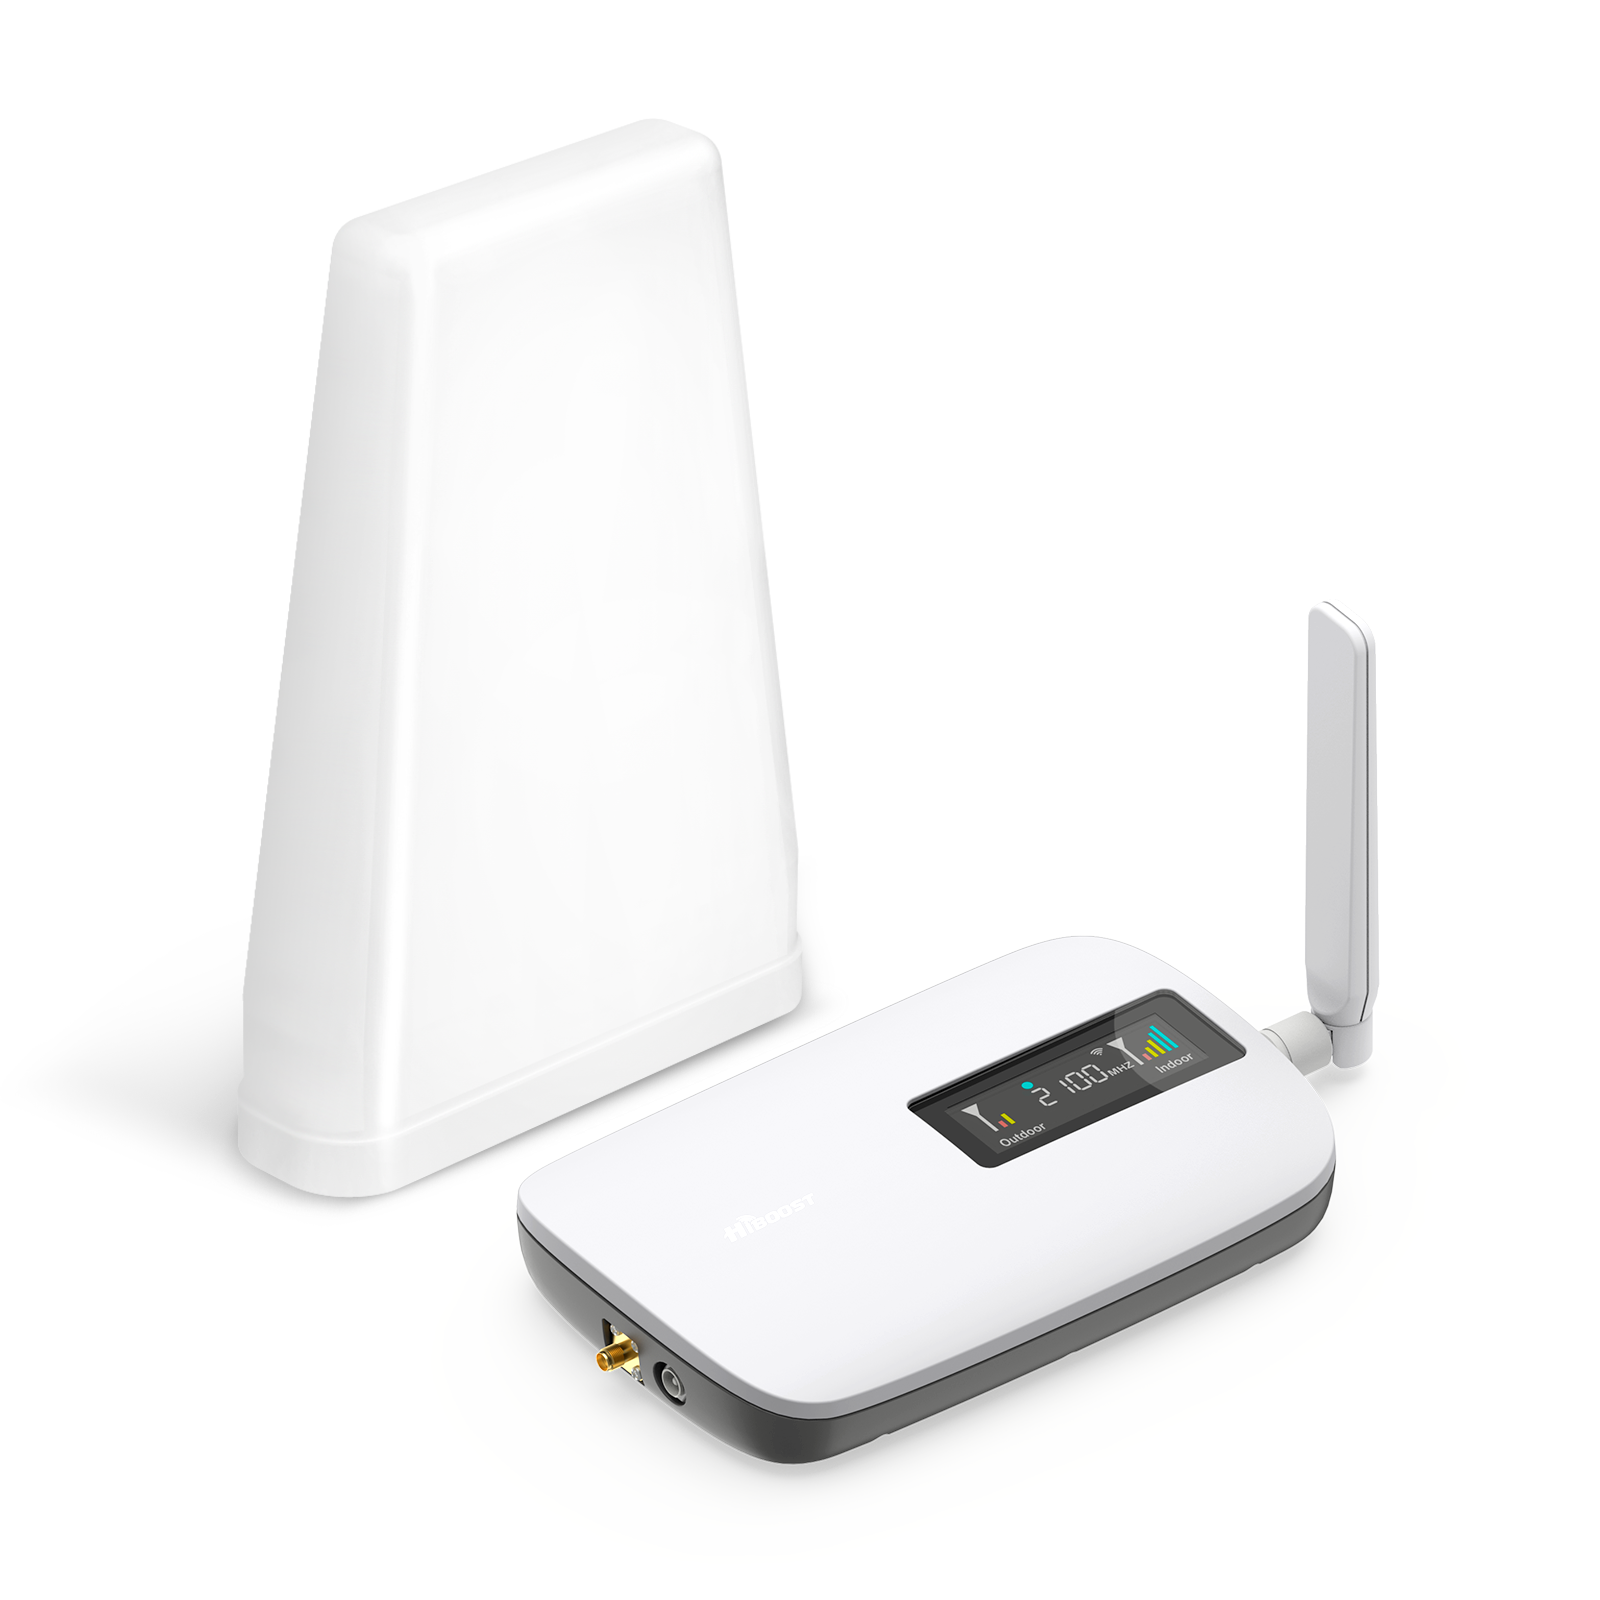
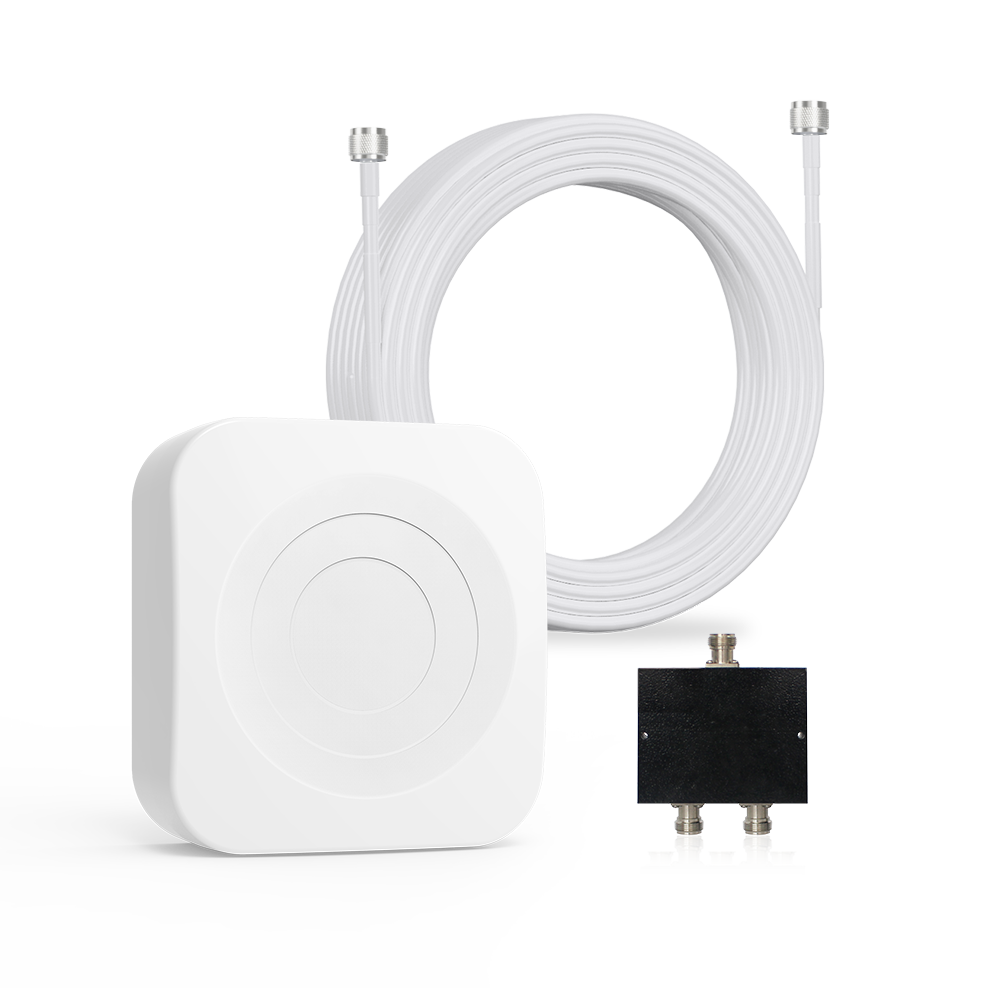
1. Use a Cell Signal Booster – One of the best tools for an RVer facing a weak cellular signal is a quality cell phone signal booster. These devices act like a hearing aid and megaphone for your phone. They use an outside antenna to grab faint signals, an amplifier to boost those signals, and an inside antenna to rebroadcast them in your RV
The result is that a bar or two of spotty 4G/5G can turn into a usable, stronger signal for calls and data. For example, a booster can take a fringe one-bar signal and amplify it so you can send emails or stream music even in rural locations. It boosts in both directions, so not only can you hear the cell tower better, but your phone’s transmitter gets a boost to reach back to the tower. This two way amplification often means the difference between a dropped call and a clear conversation when you’re far from civilization.
Modern multi device boosters (unlike older single-phone cradle boosters) will improve signal for all phones, hotspots, and cellular devices inside your RV simultaneously. They’re particularly helpful for voice calls (preventing those dreaded “can you hear me now?” moments) and general internet browsing.
It’s important to note, though, boosters can’t create signals out of thin air; there needs to be some cellular signal present to amplify. If you’re in a complete dead zone with zero bars, a booster won’t magically give you connectivity. But in most areas where there is a faint signal, a booster can bump it up enough to get online or make calls.
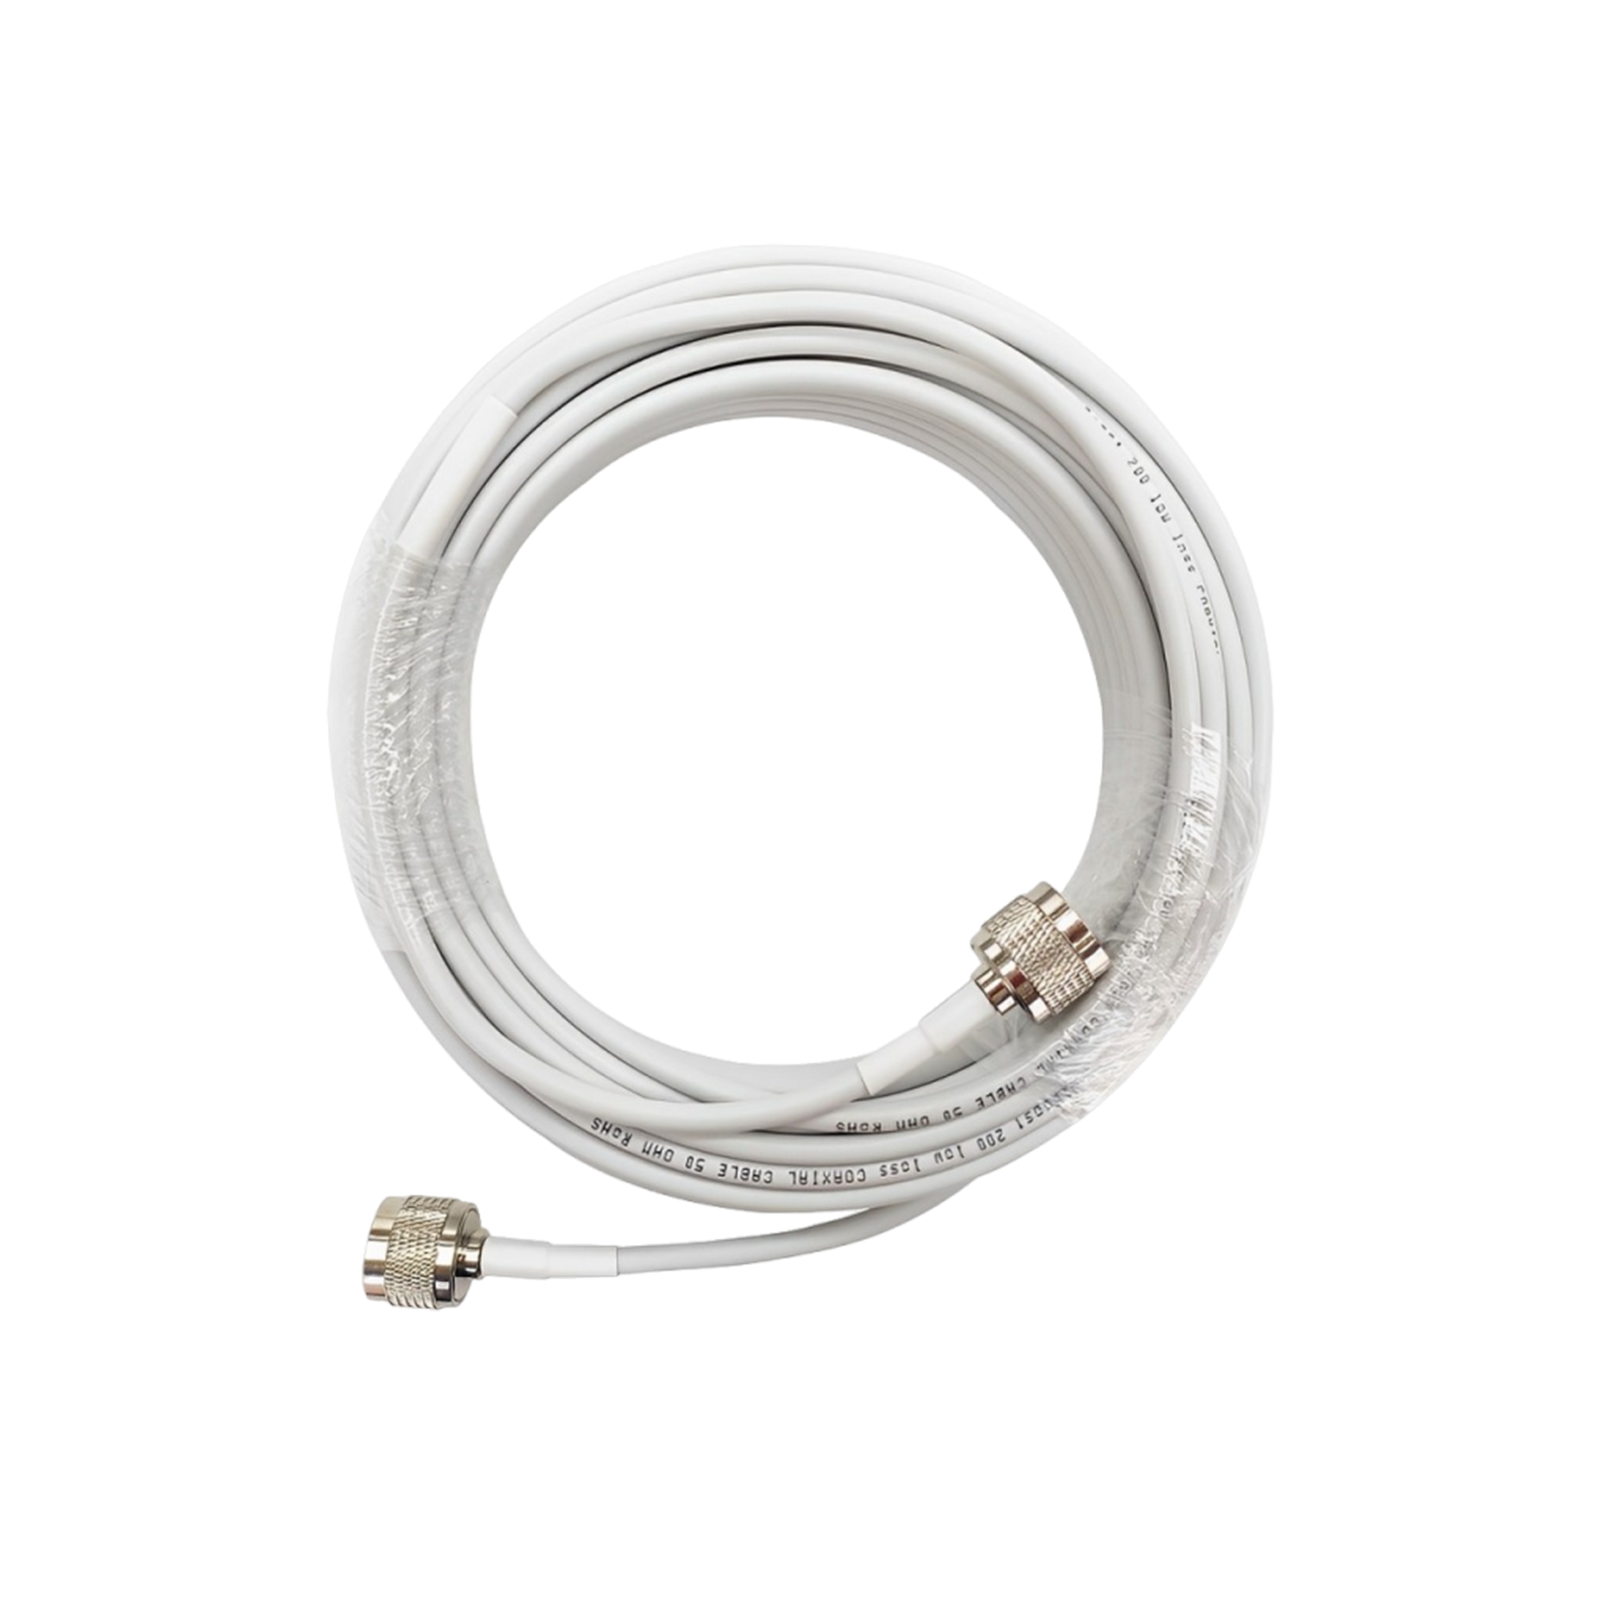
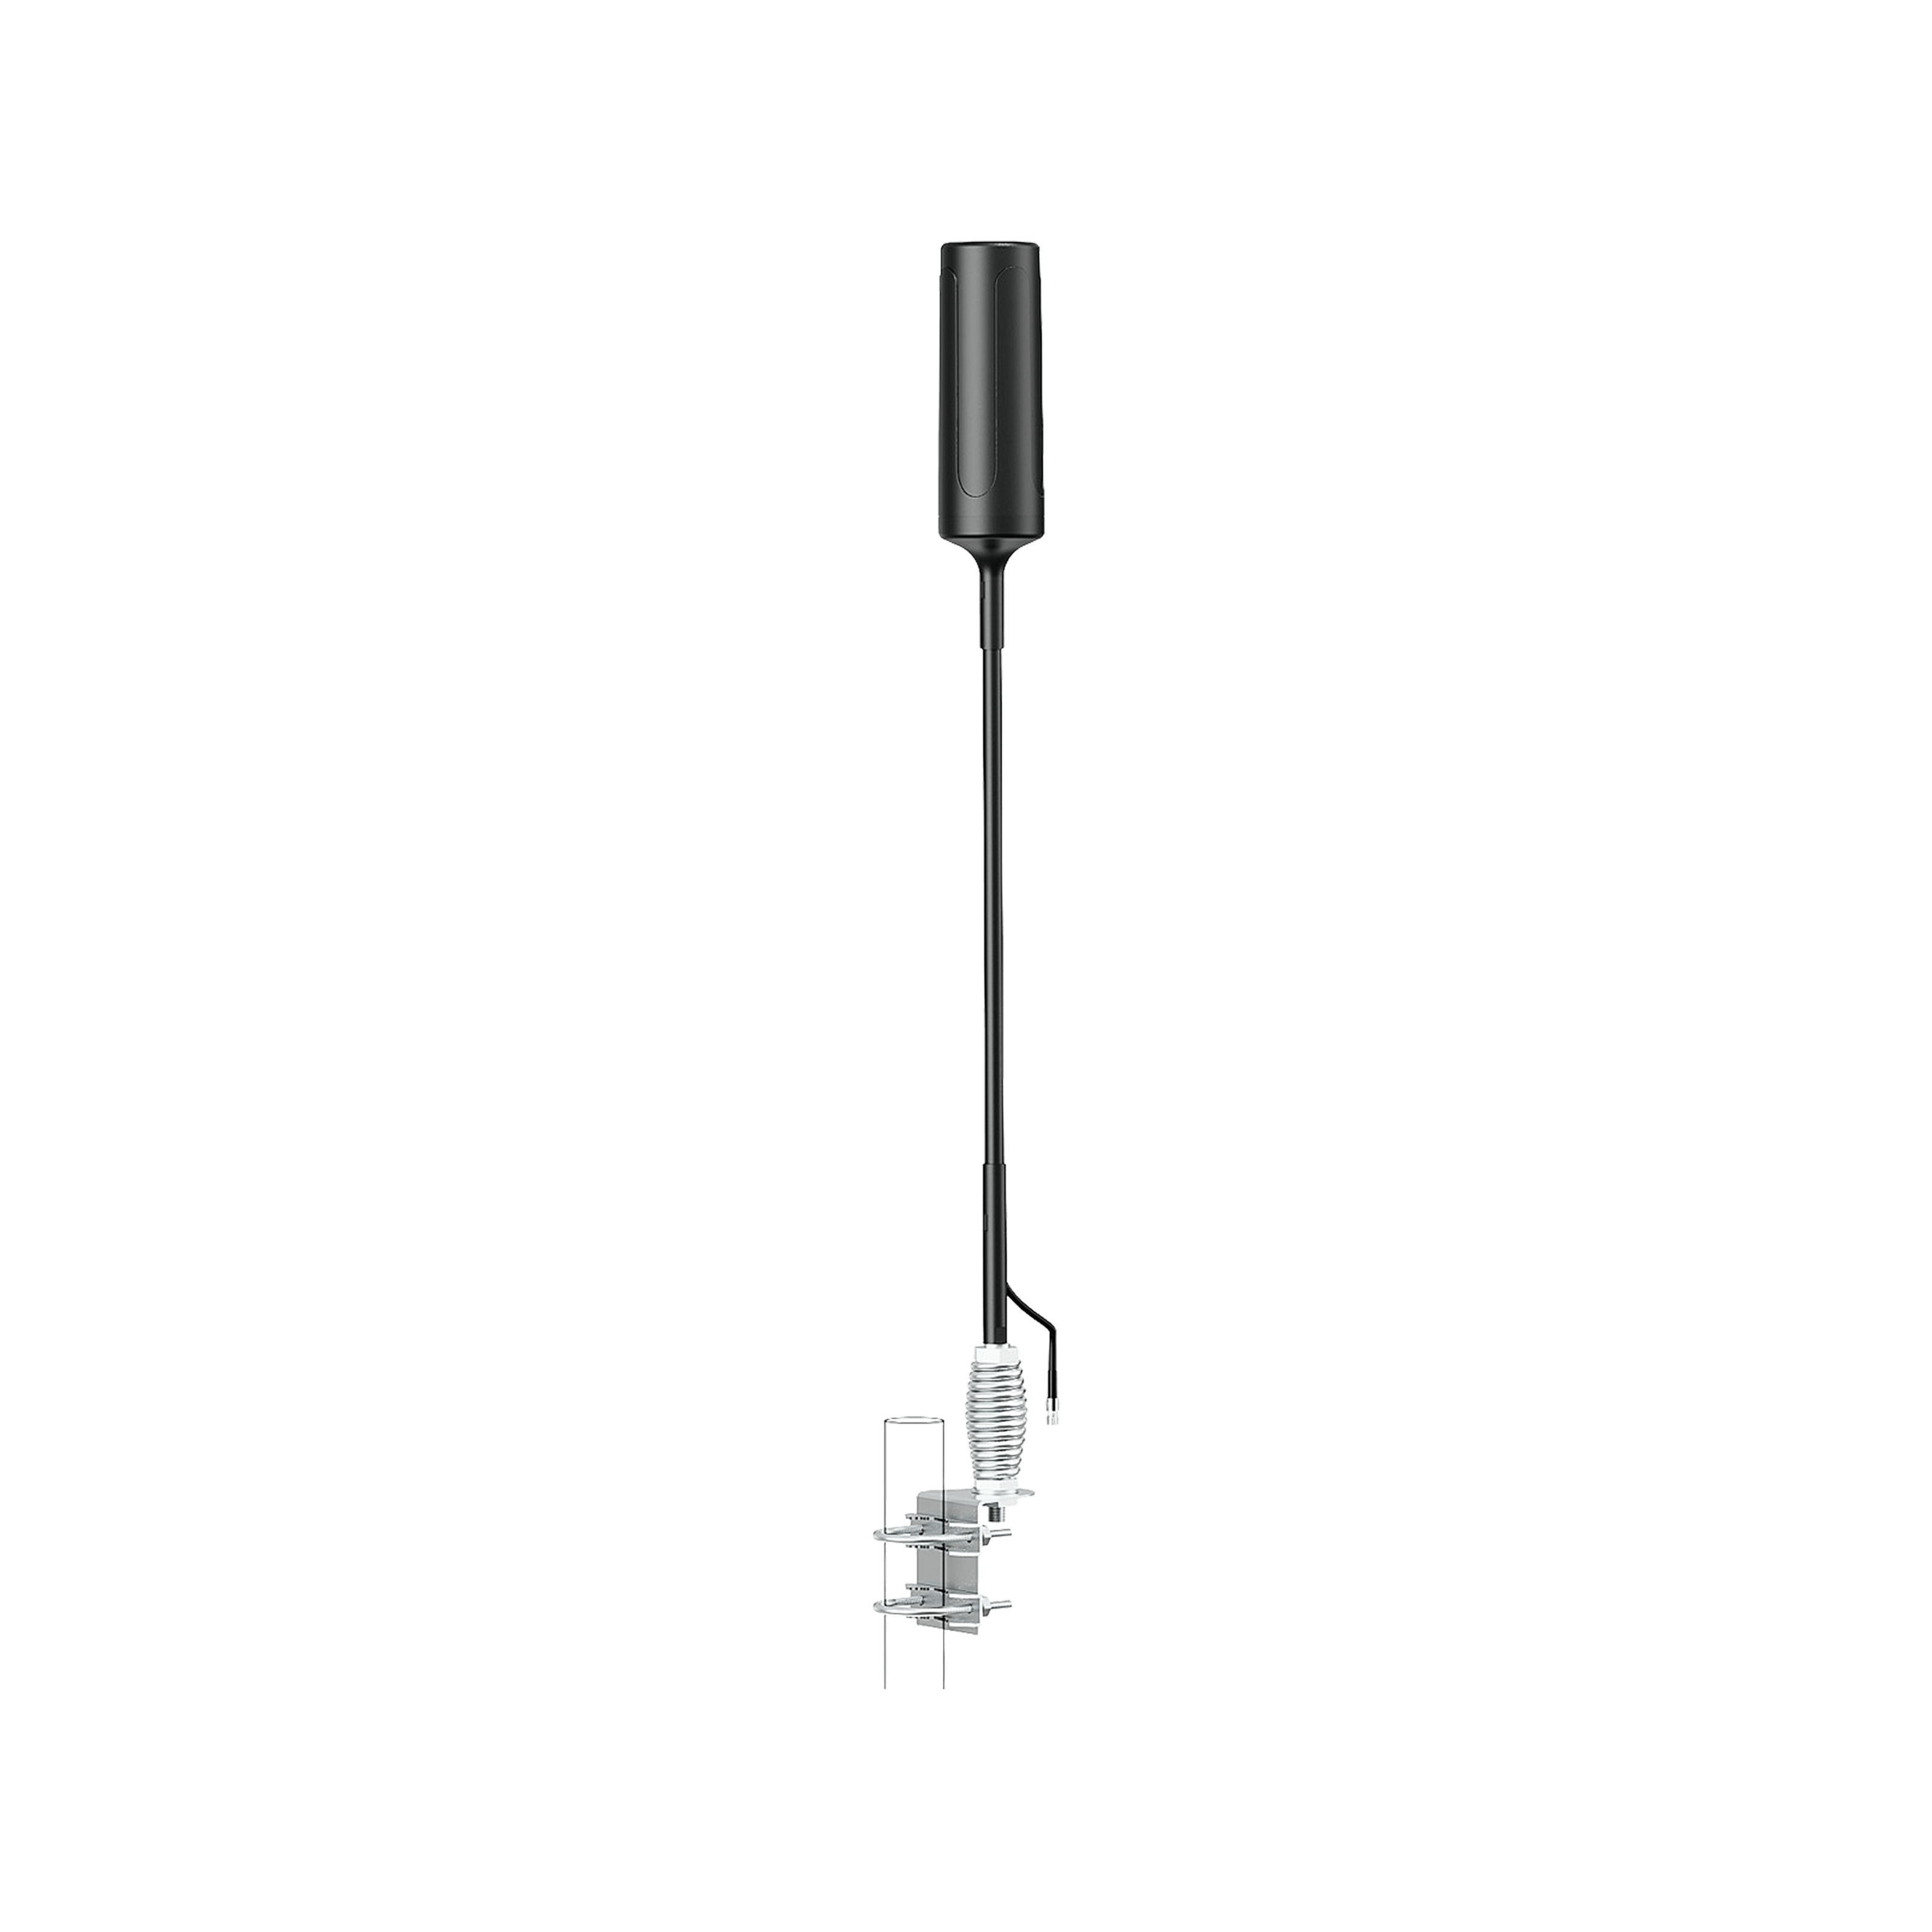
Installation is typically DIY: you mount a small external antenna on your RV’s roof or ladder (many are magnet mount or use brackets), run a cable inside to the booster unit, then place the indoor antenna in a central location. Vehicle cell phone boosters are designed to run off 12V power and work while moving, so you can get better signal even as you drive through spotty areas.
For instance, with a booster, you might be able to maintain a navigation app or a phone call through a mountain pass that would otherwise be cut out. (Most RV boosters use omnidirectional antennas that grab signals in all directions ideal for on-the-move use.)
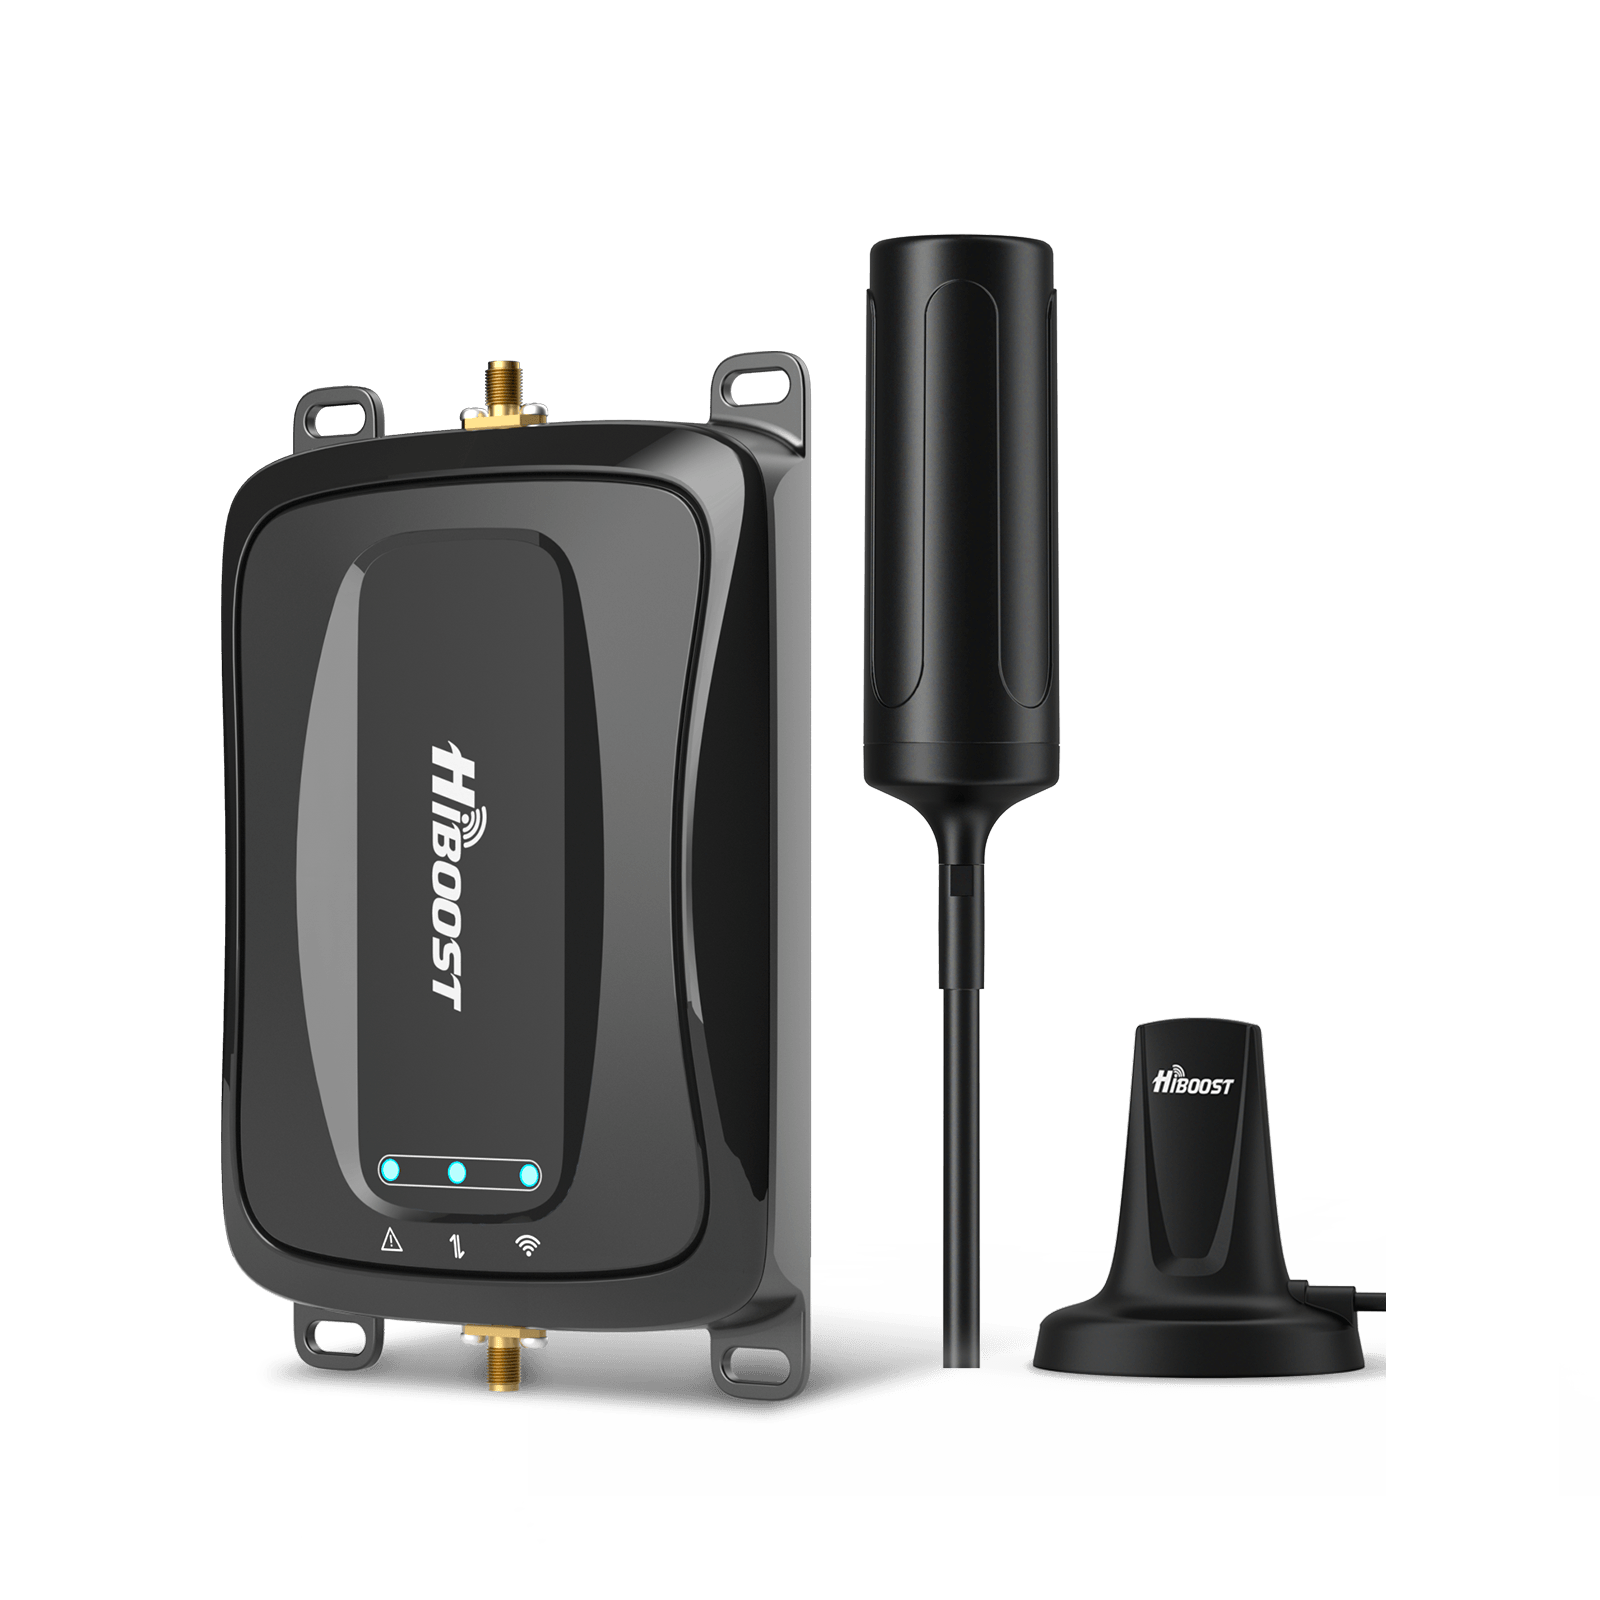
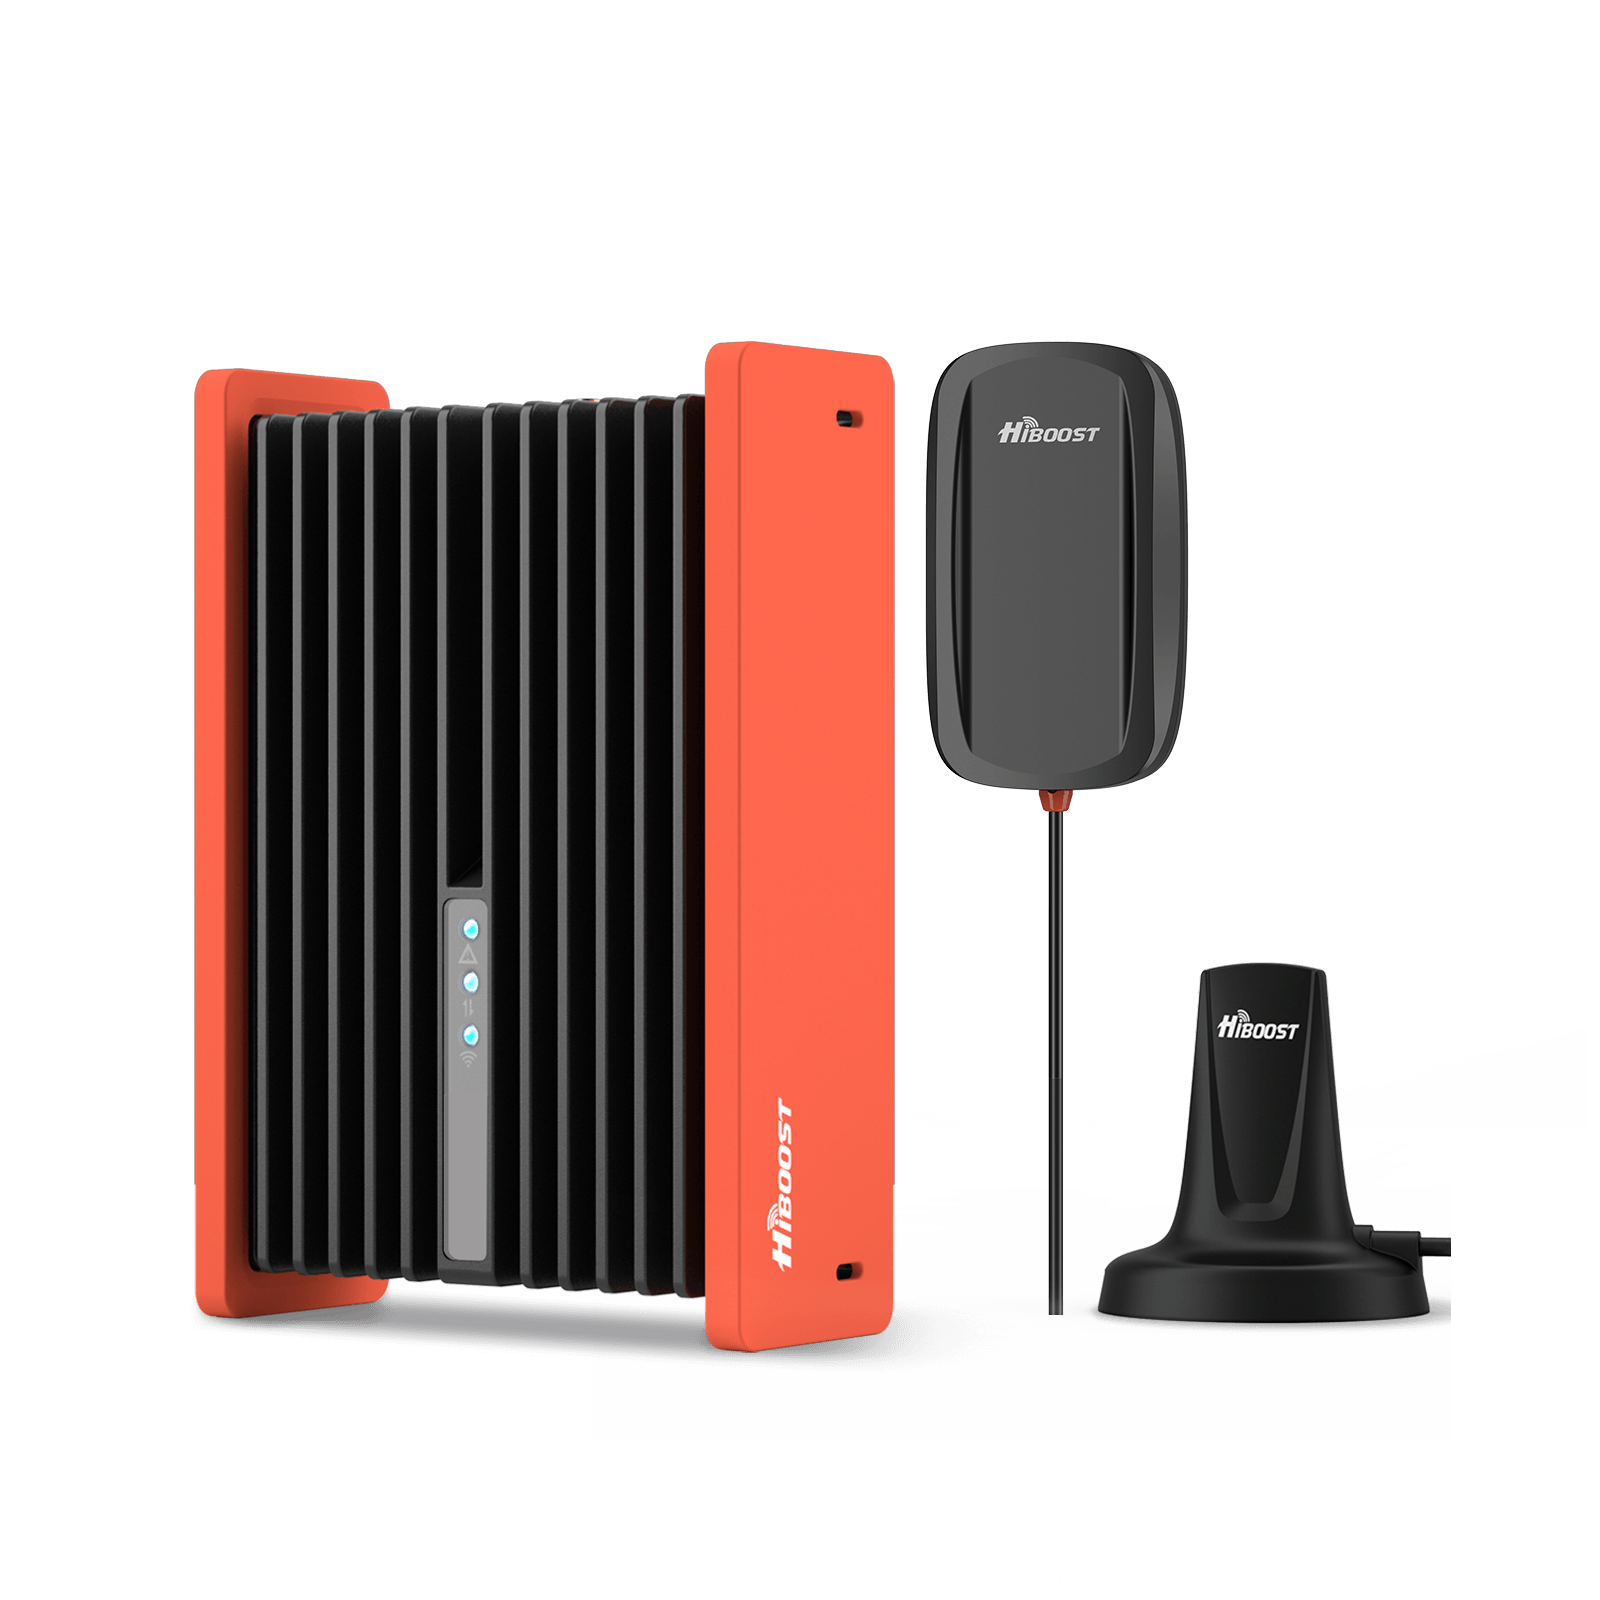
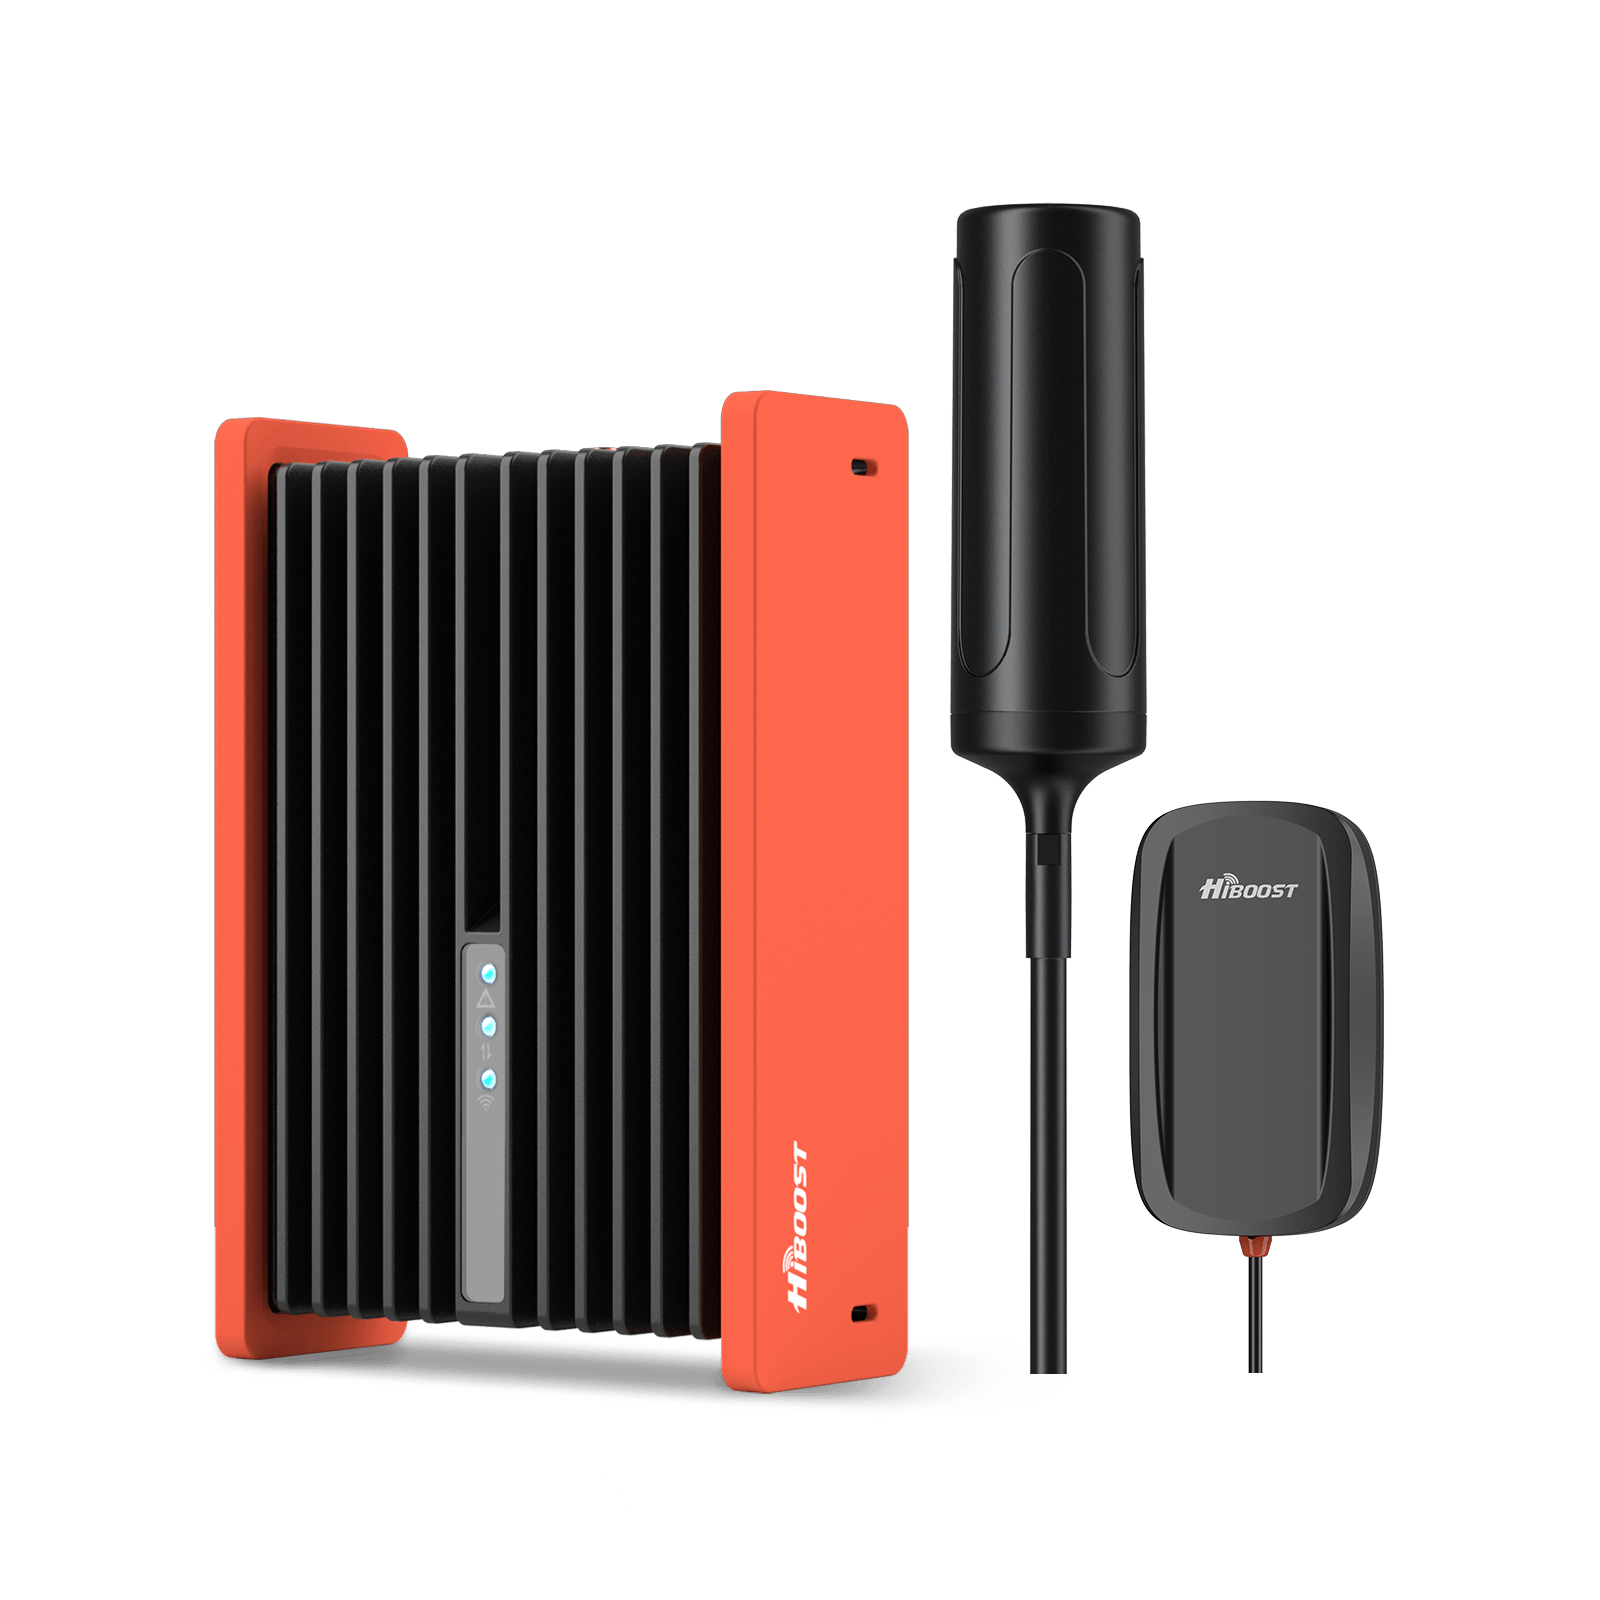
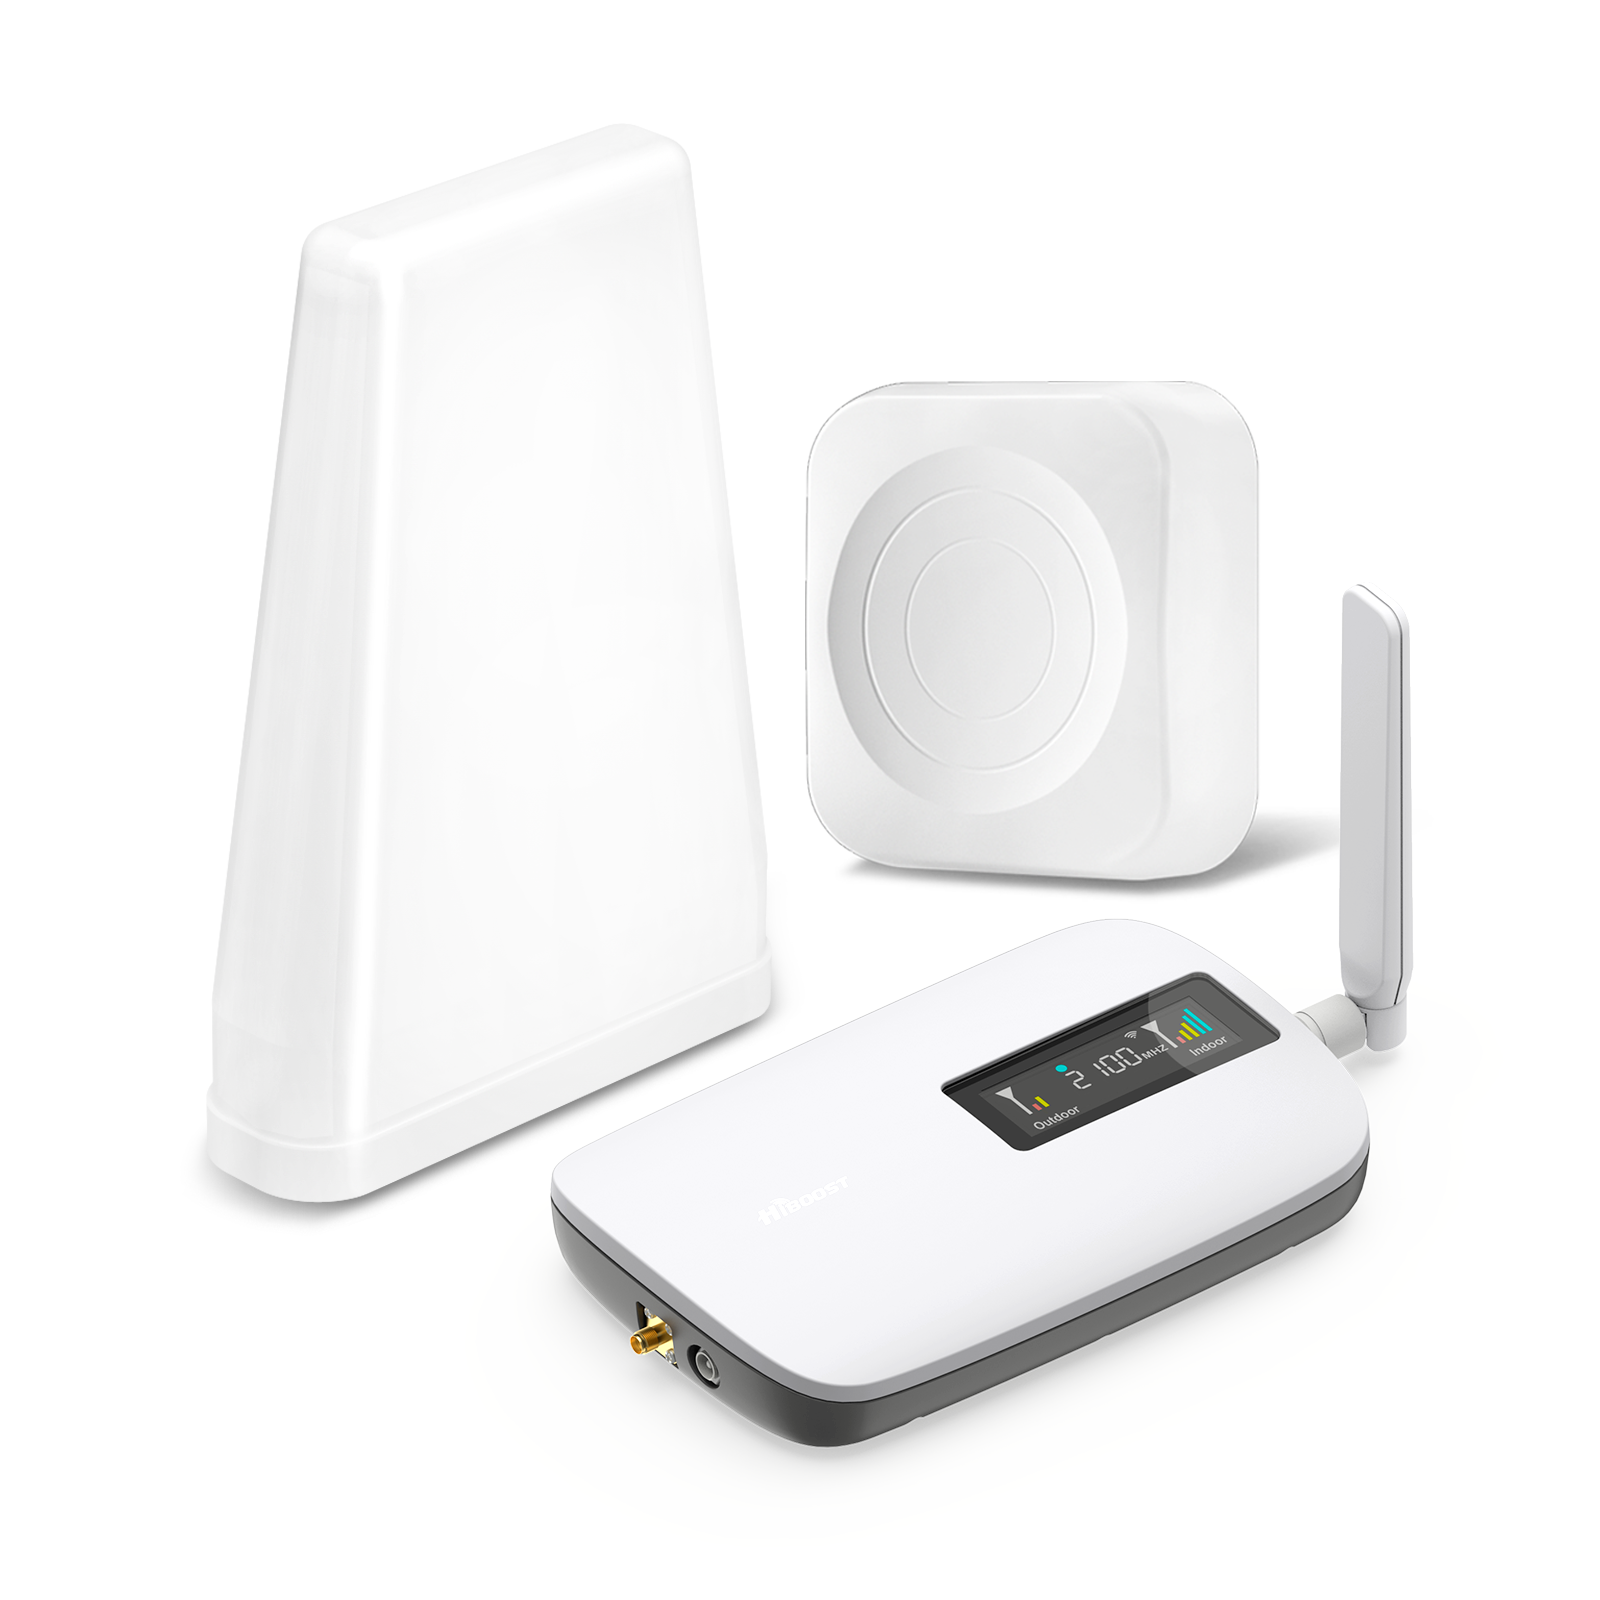
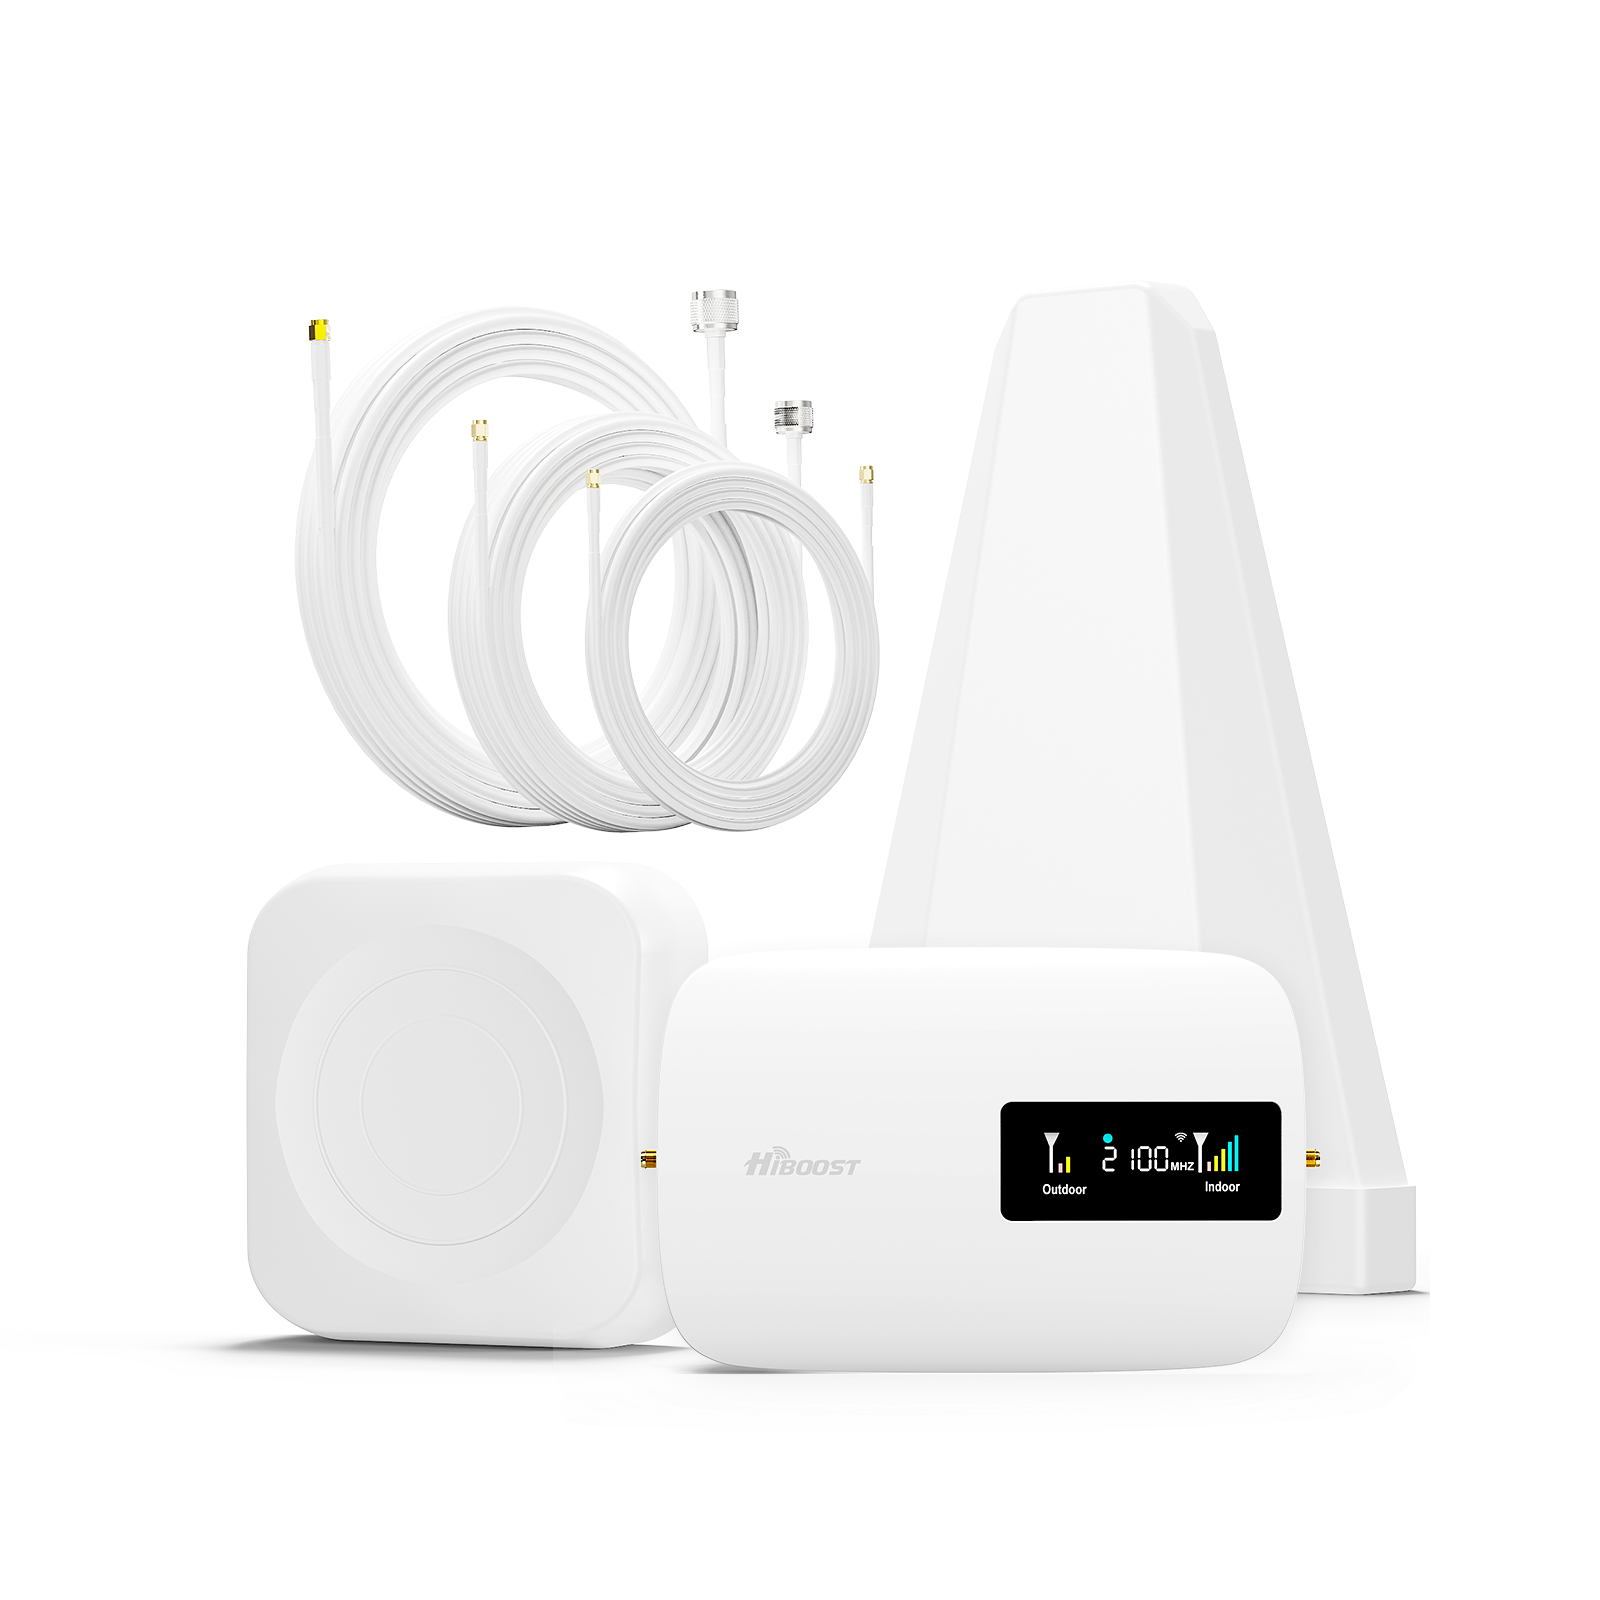
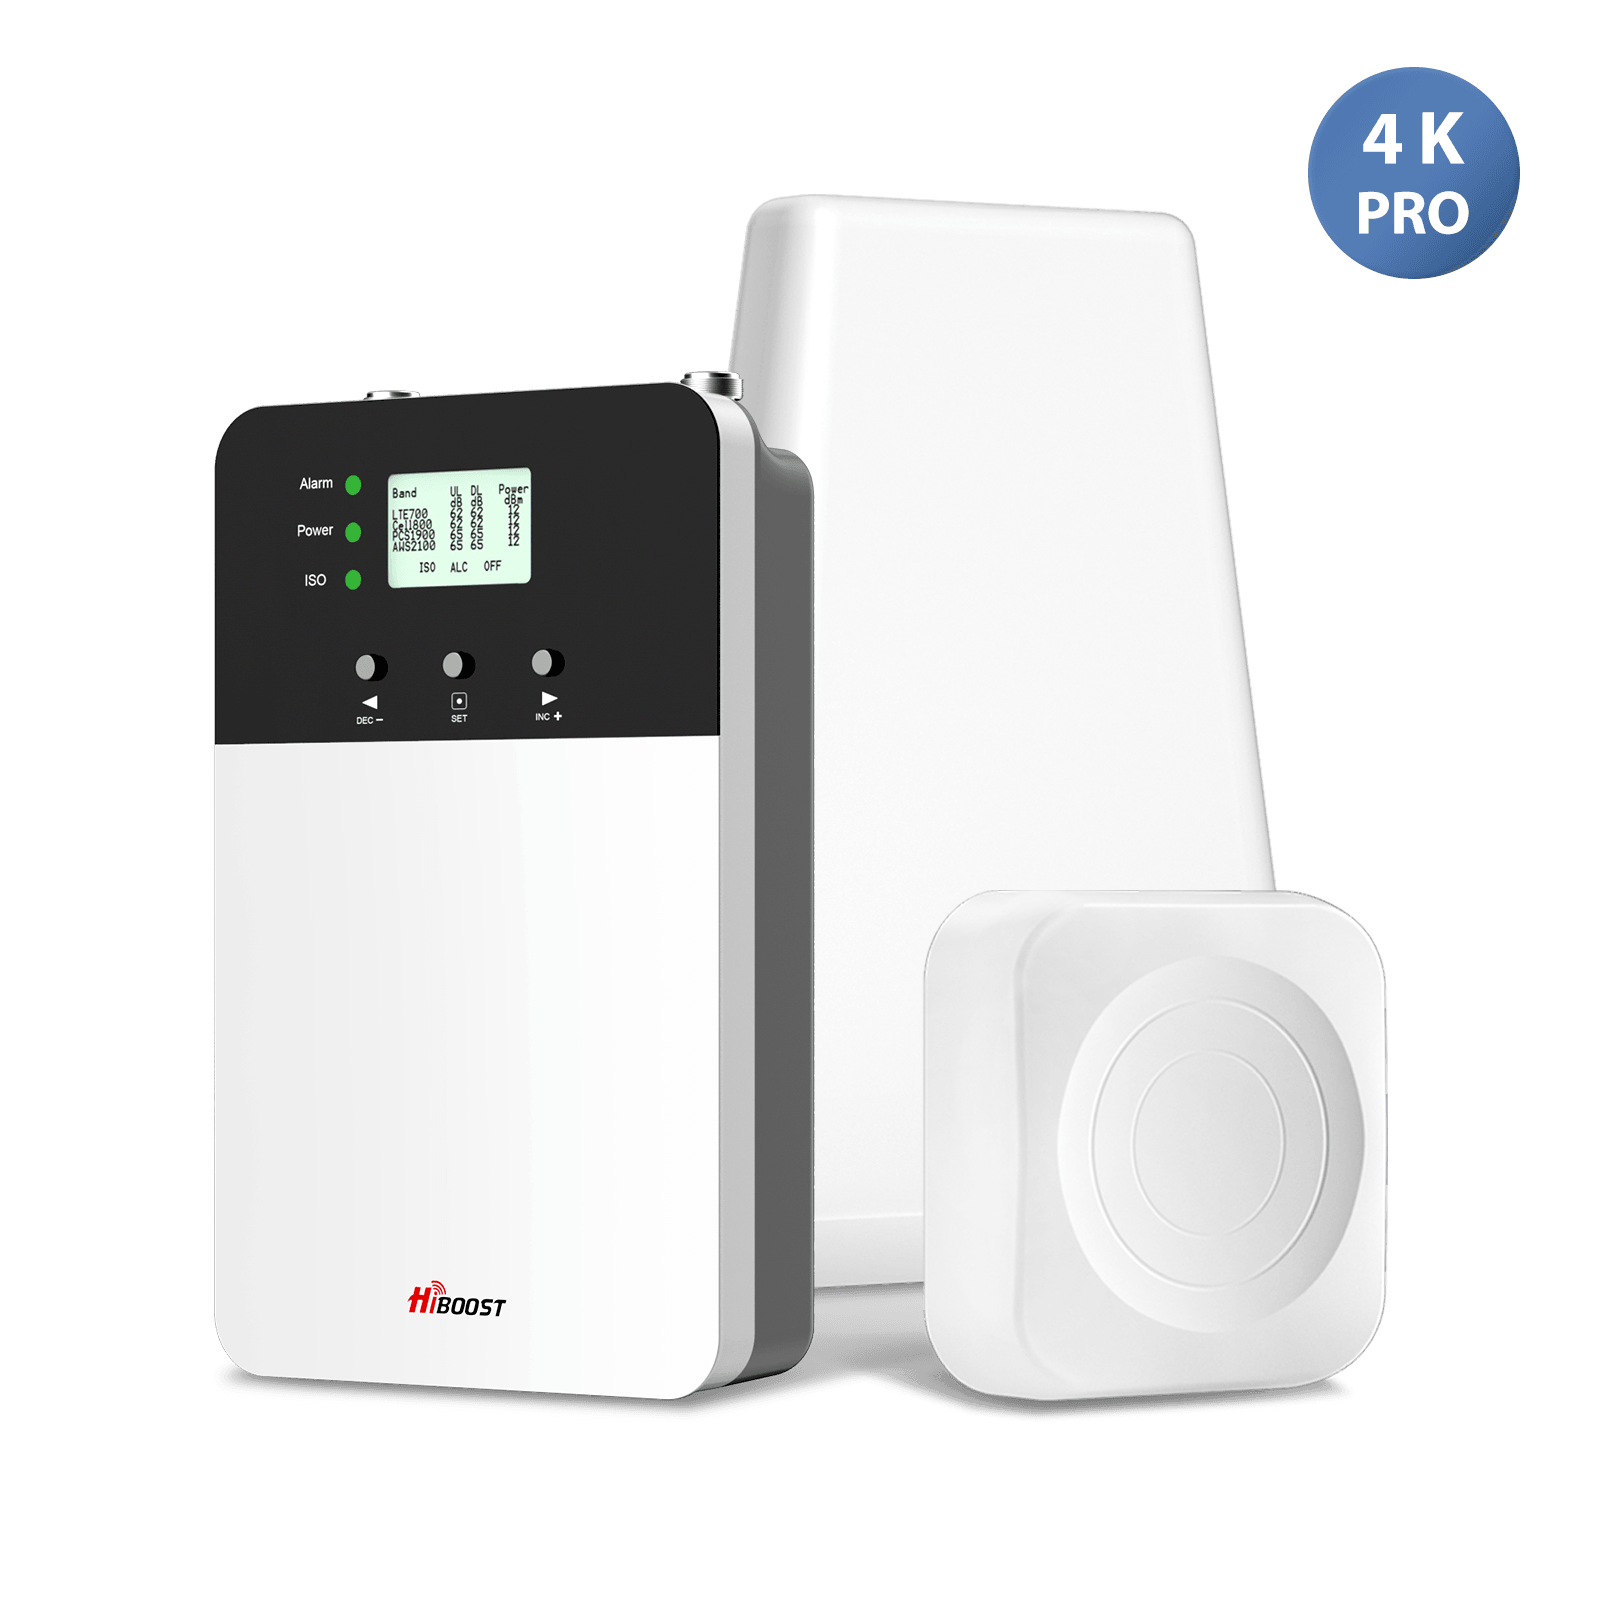
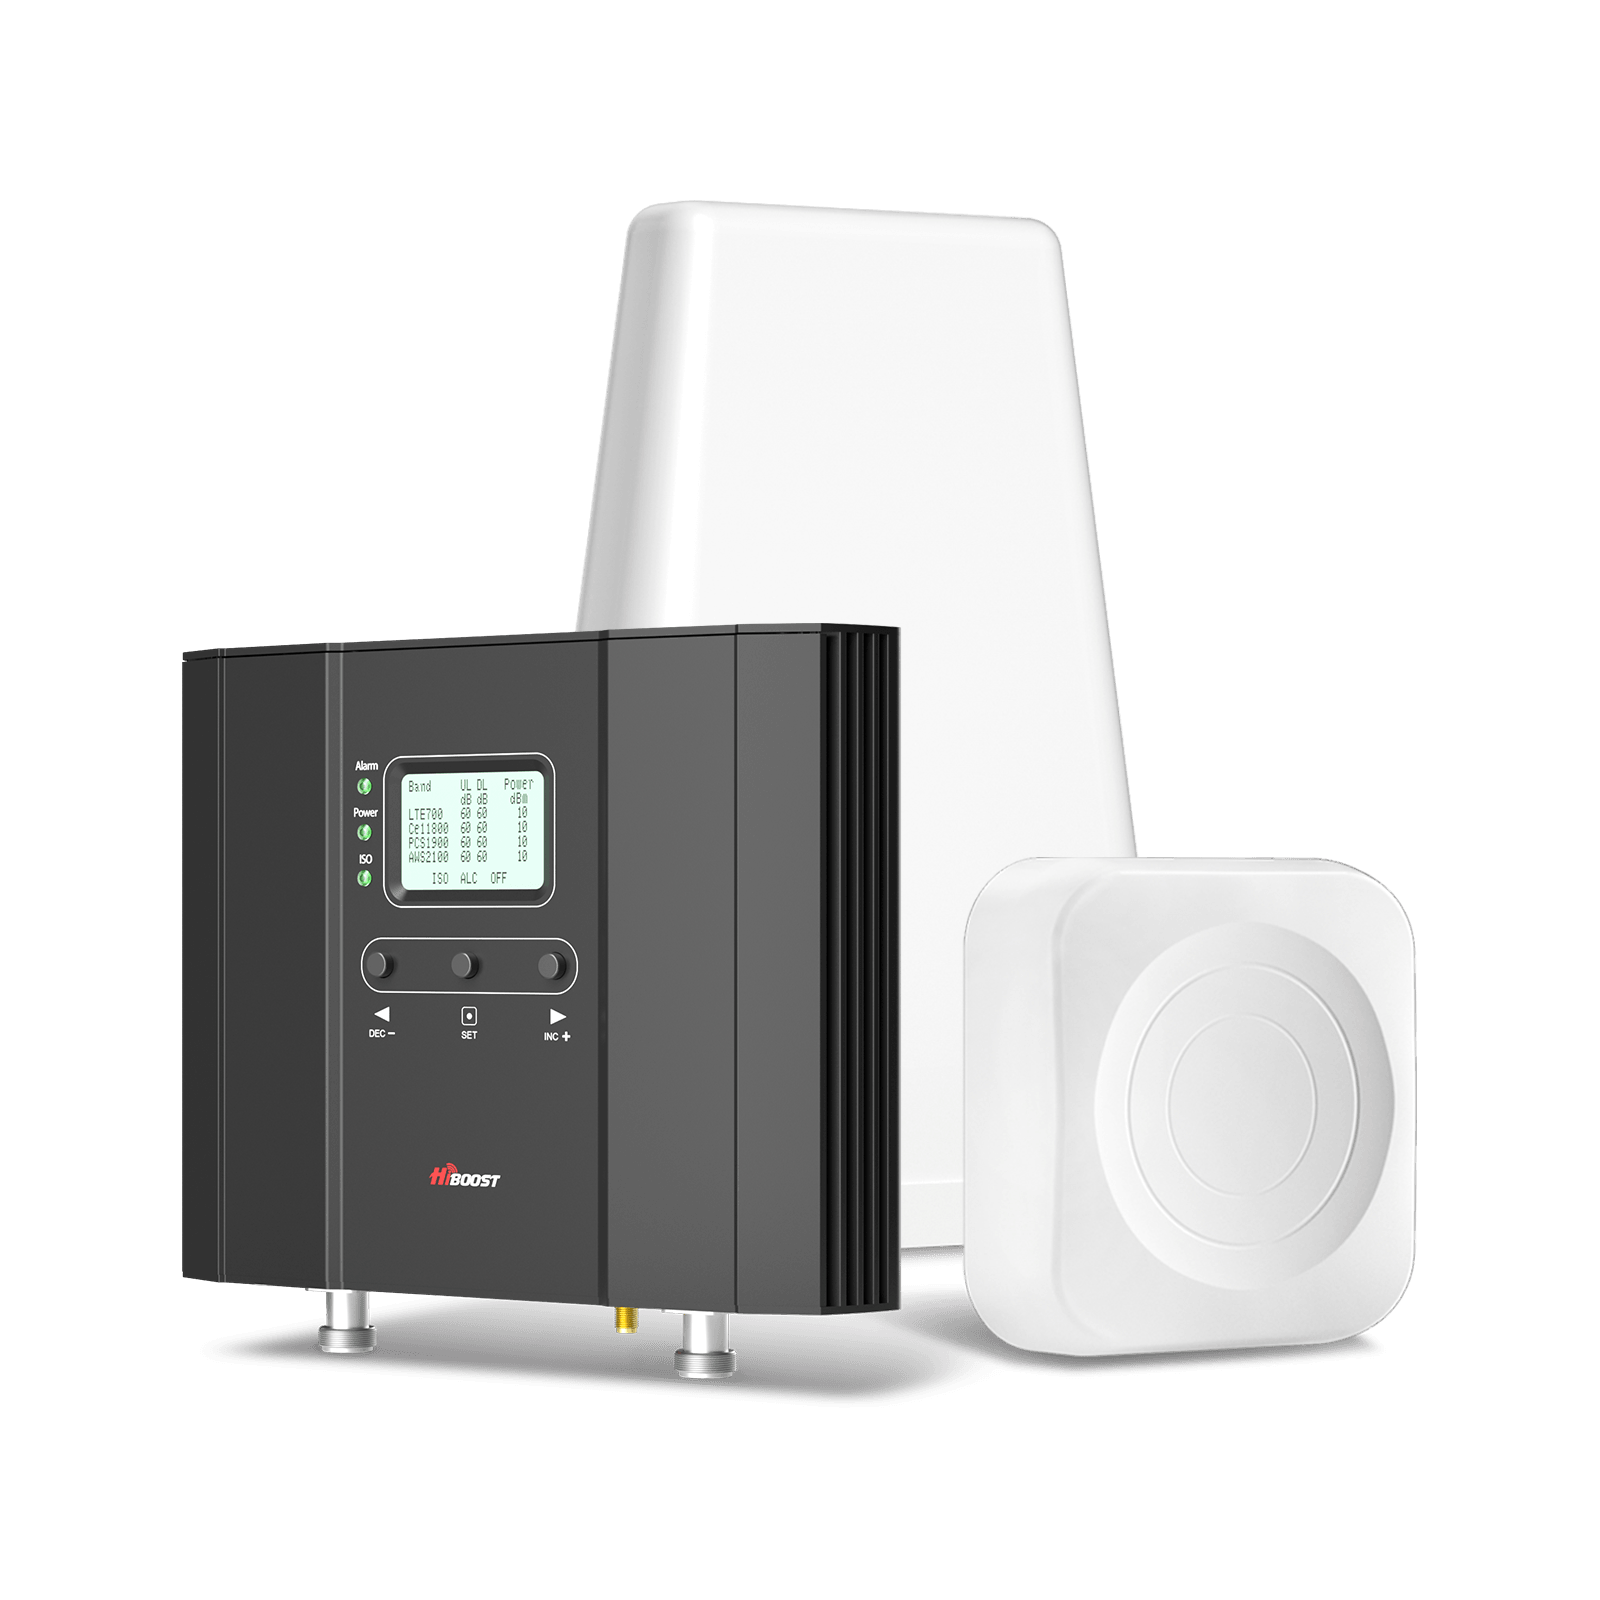
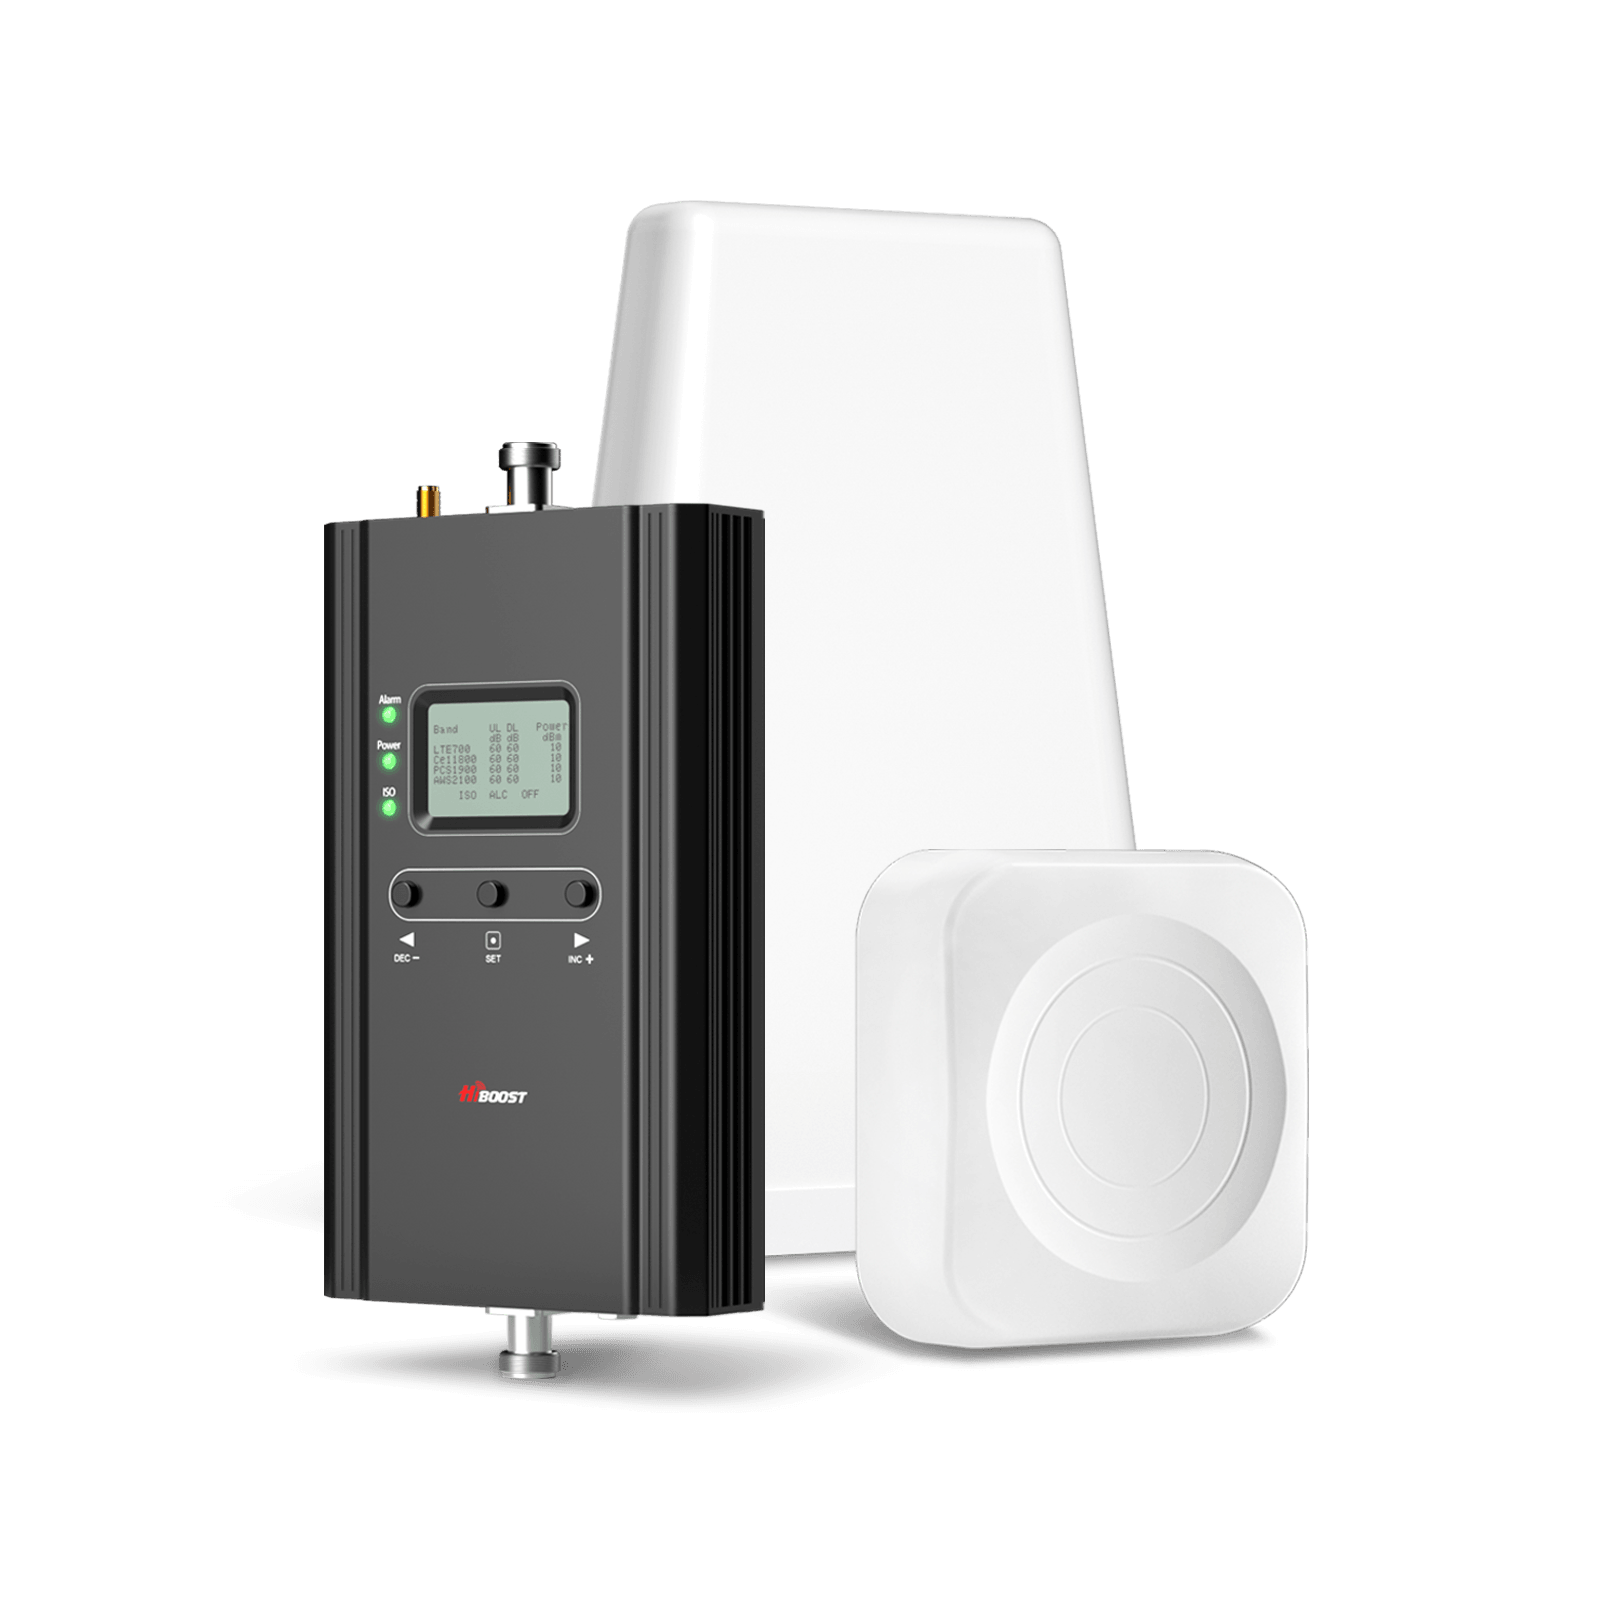
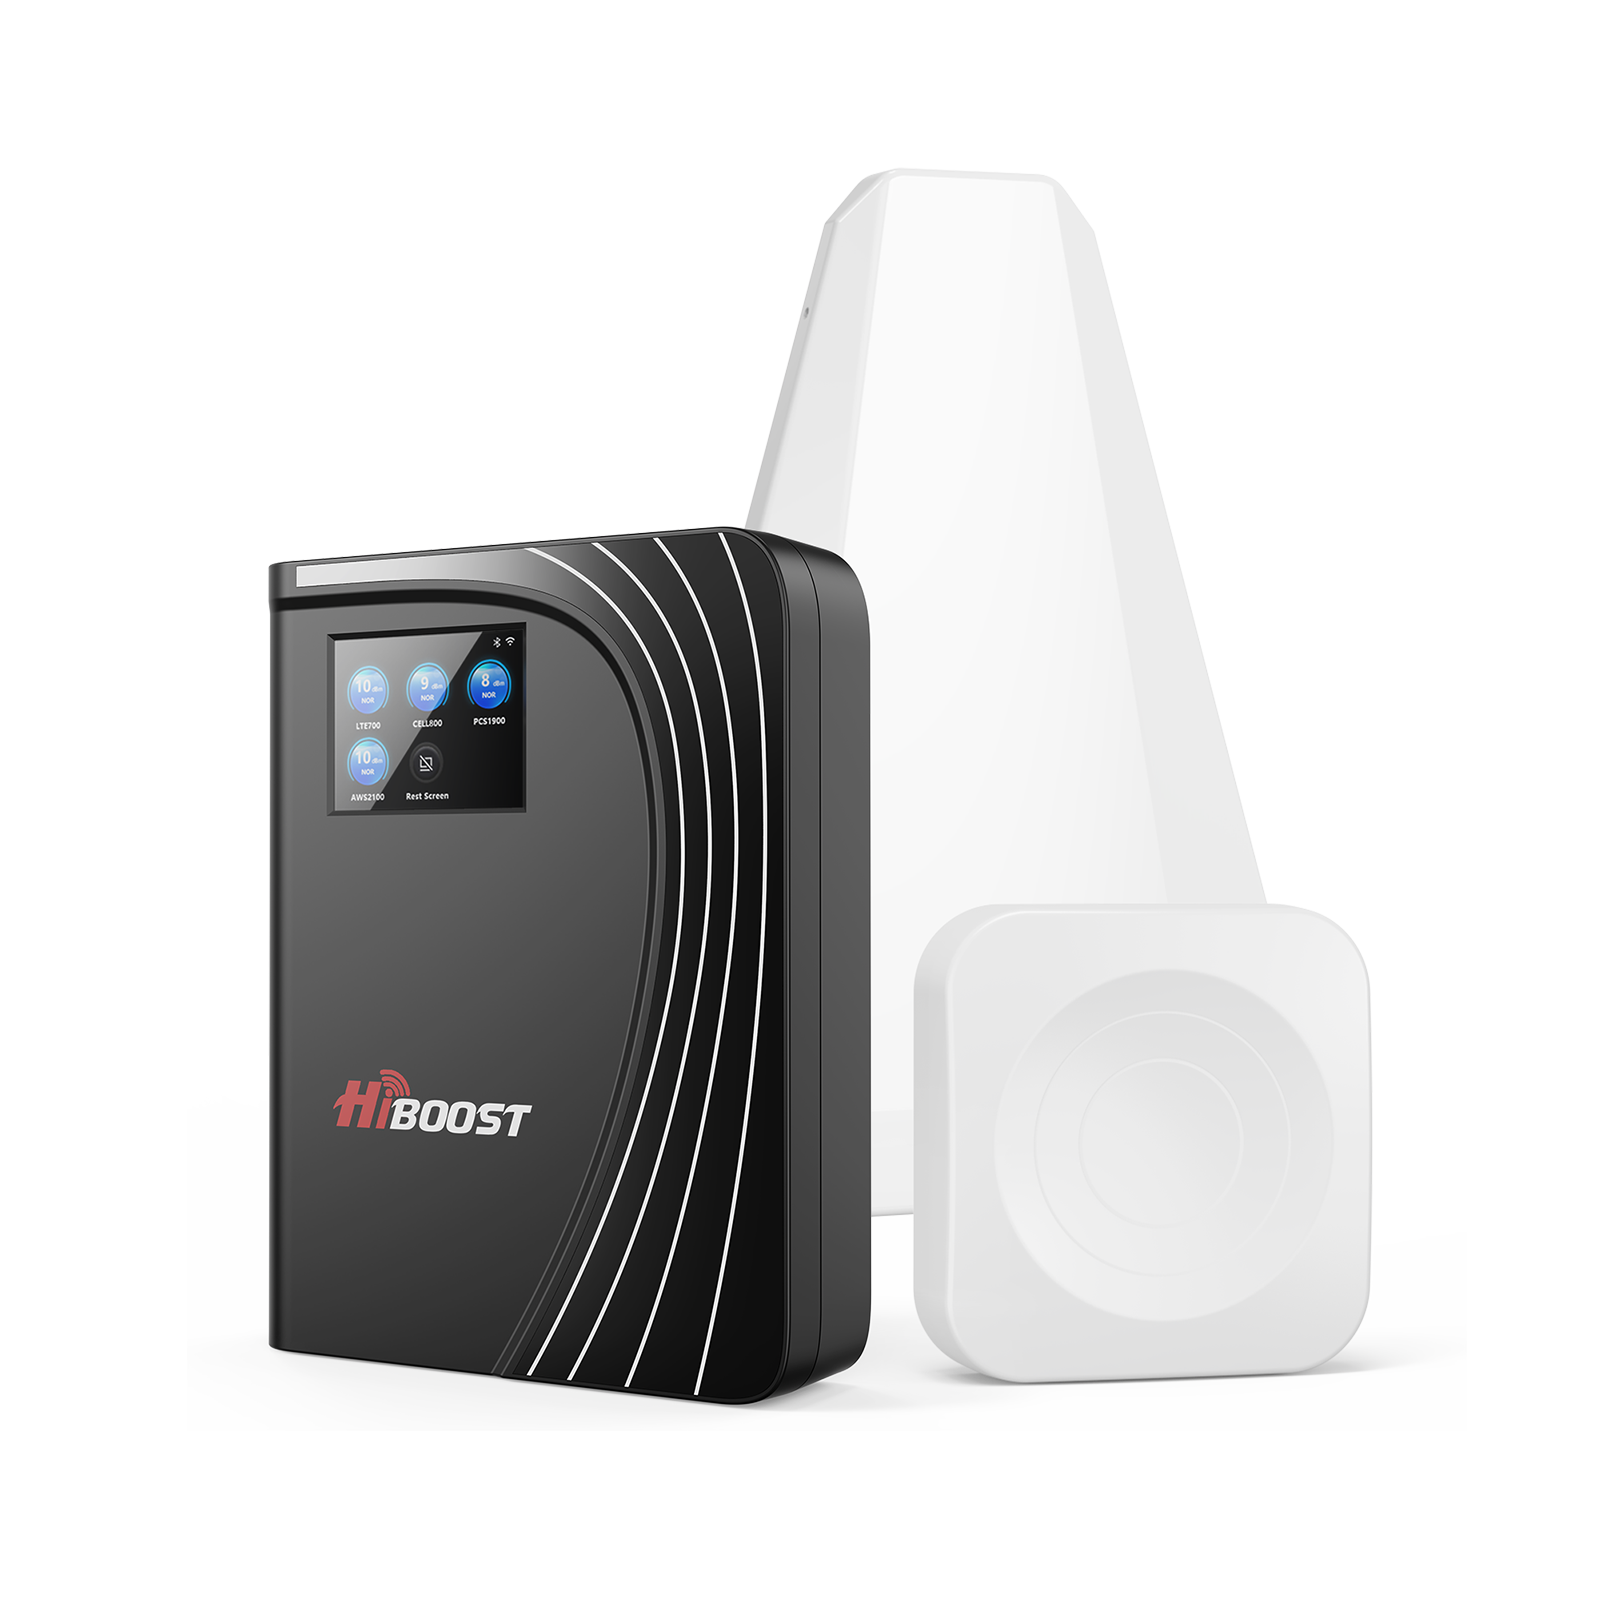
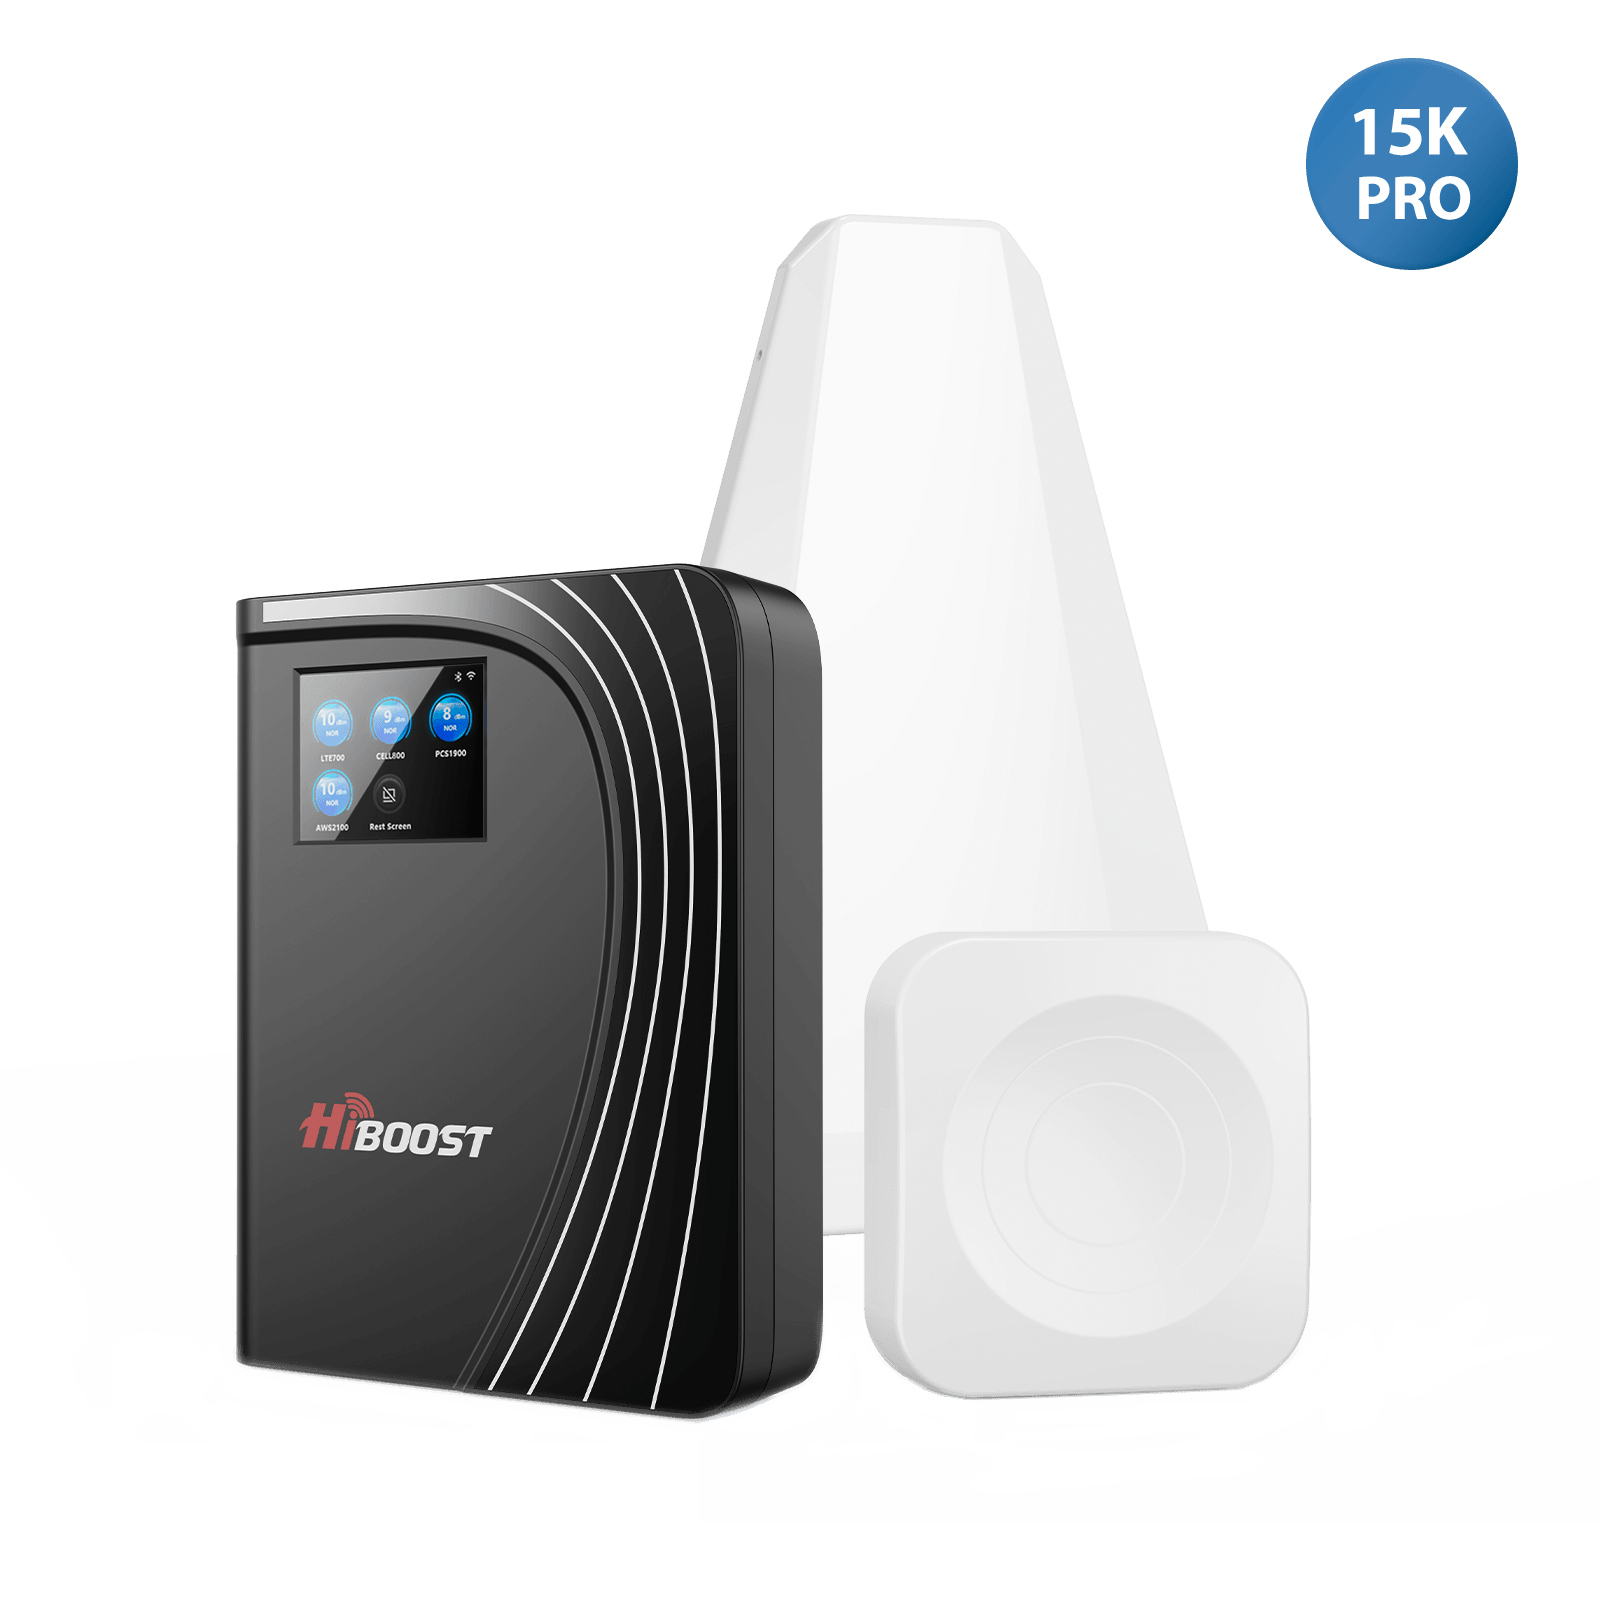
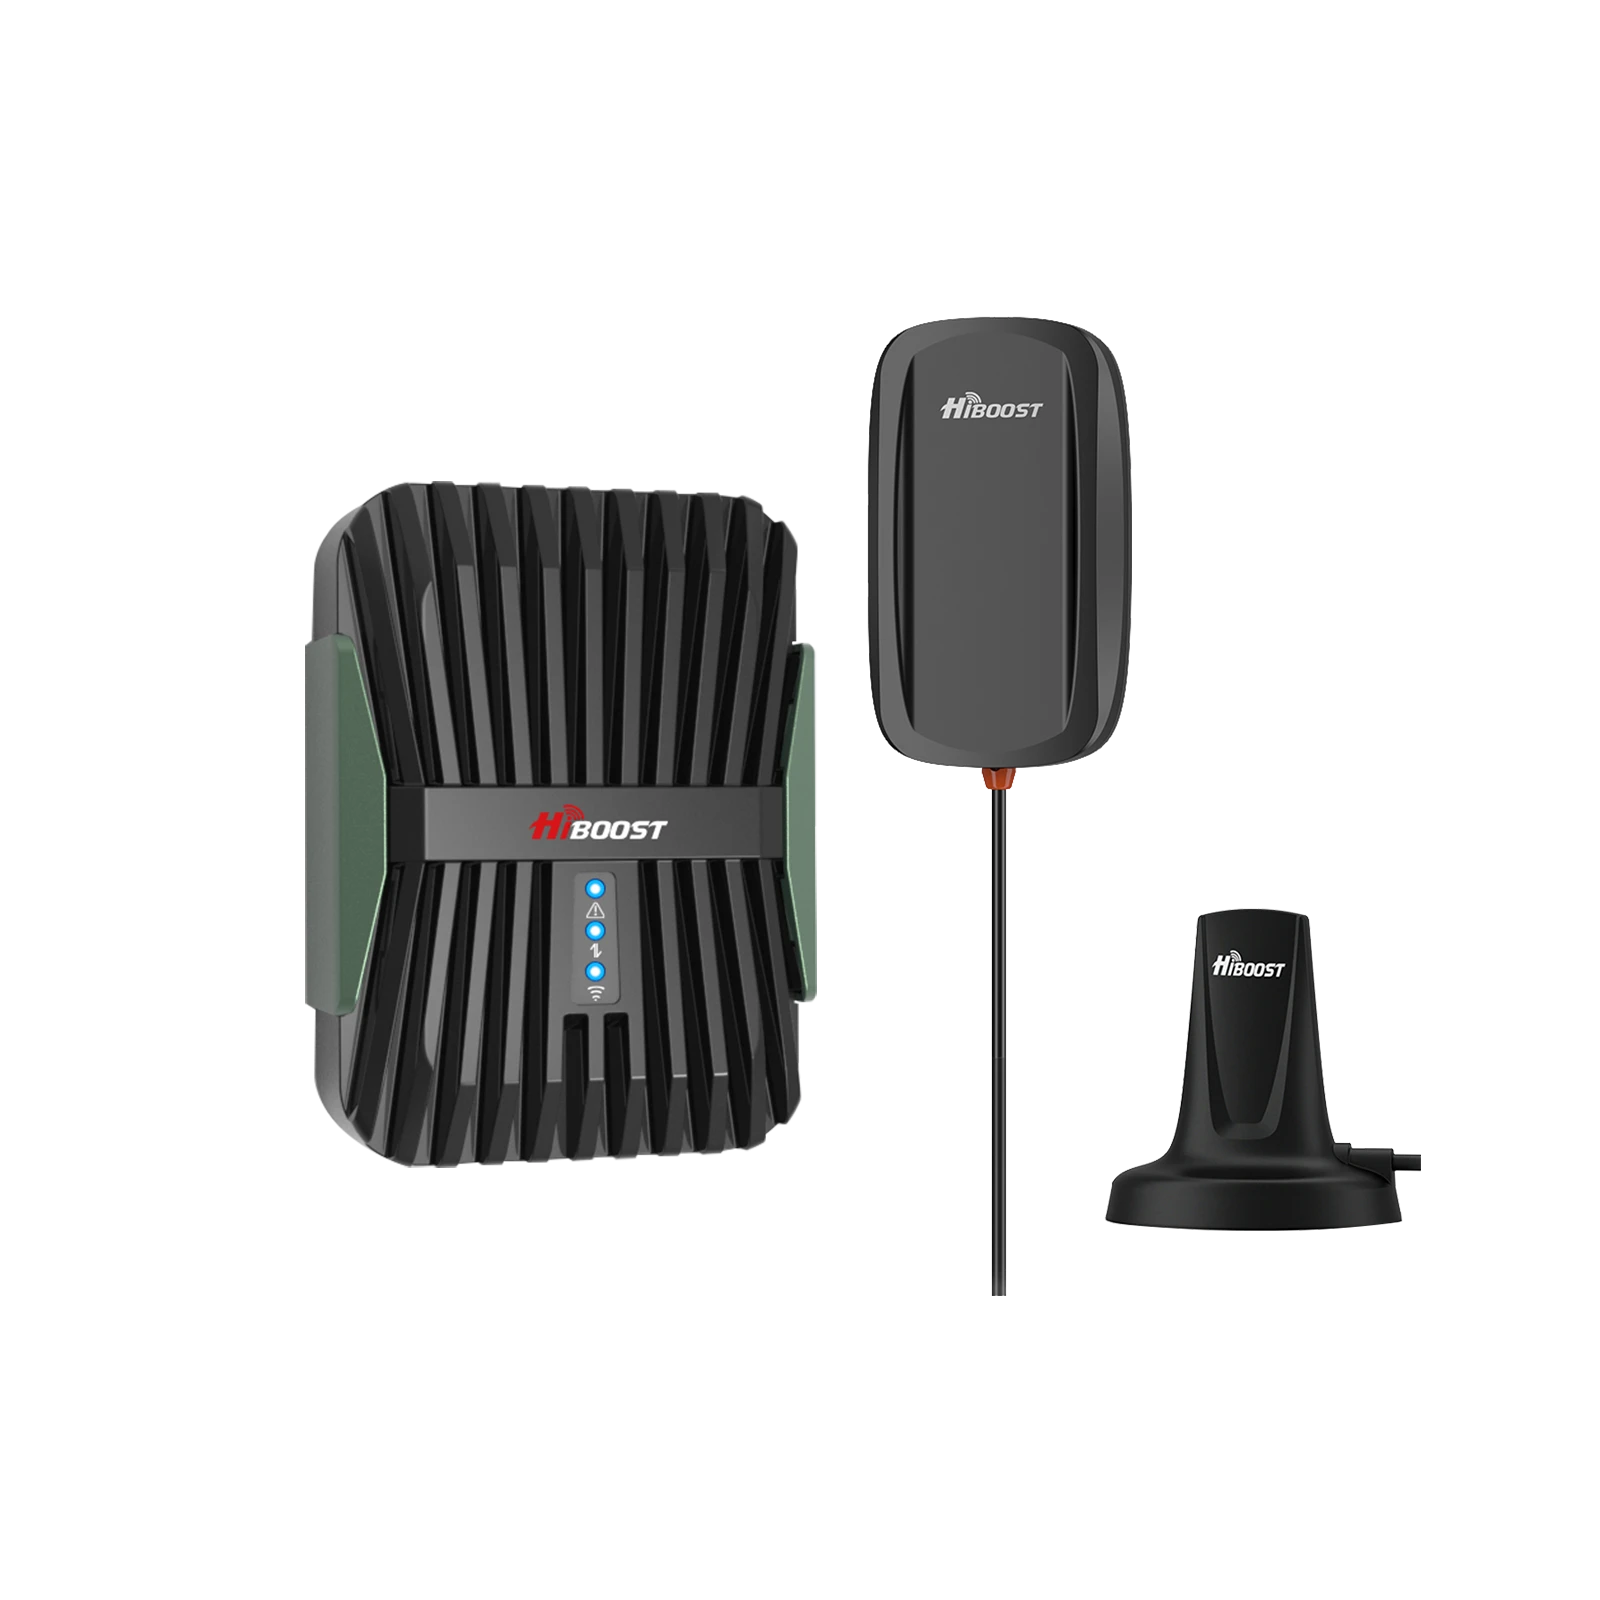
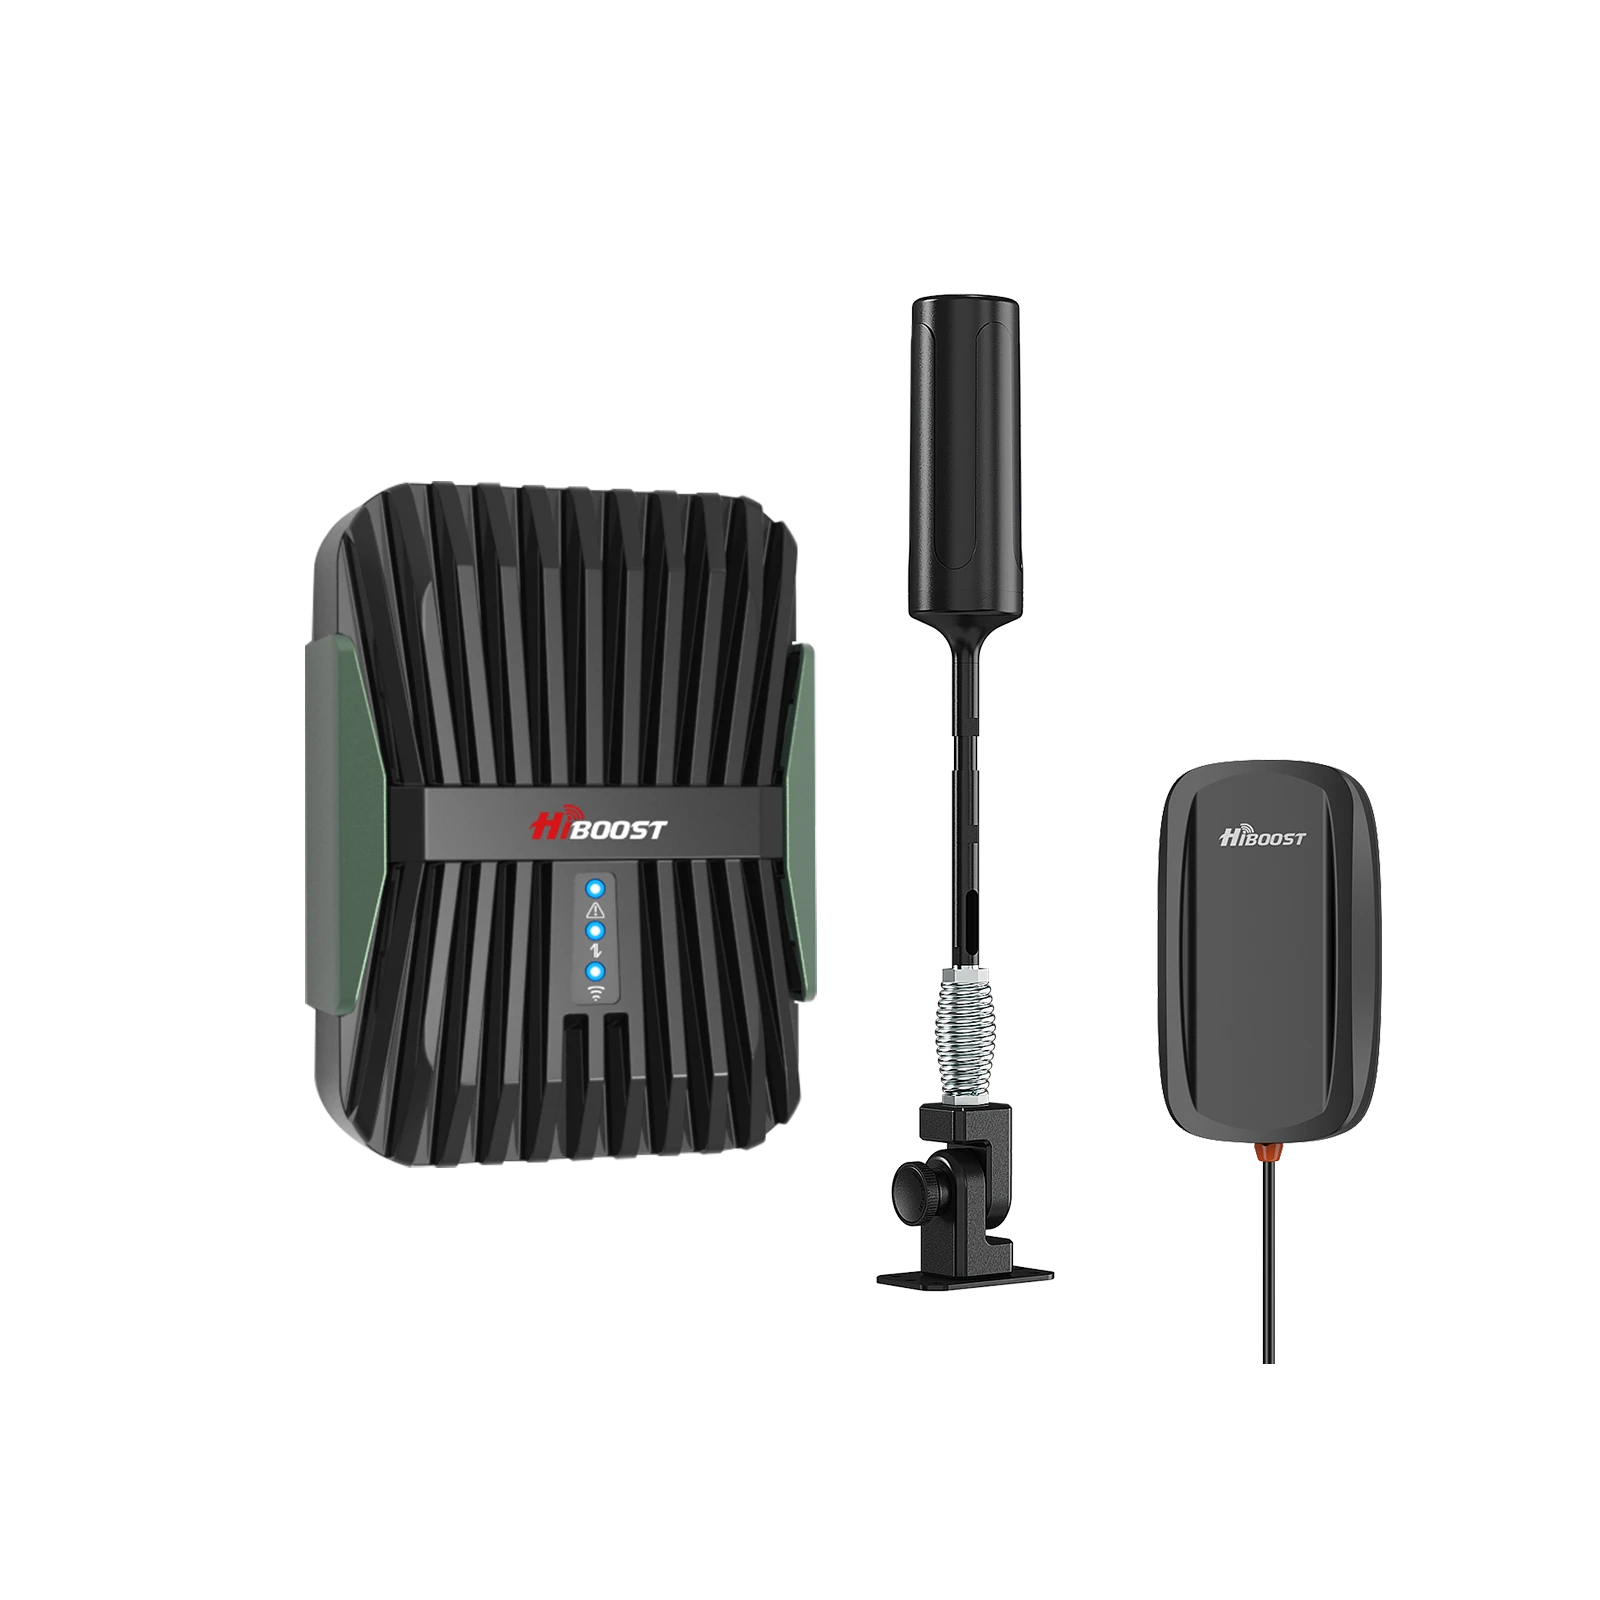
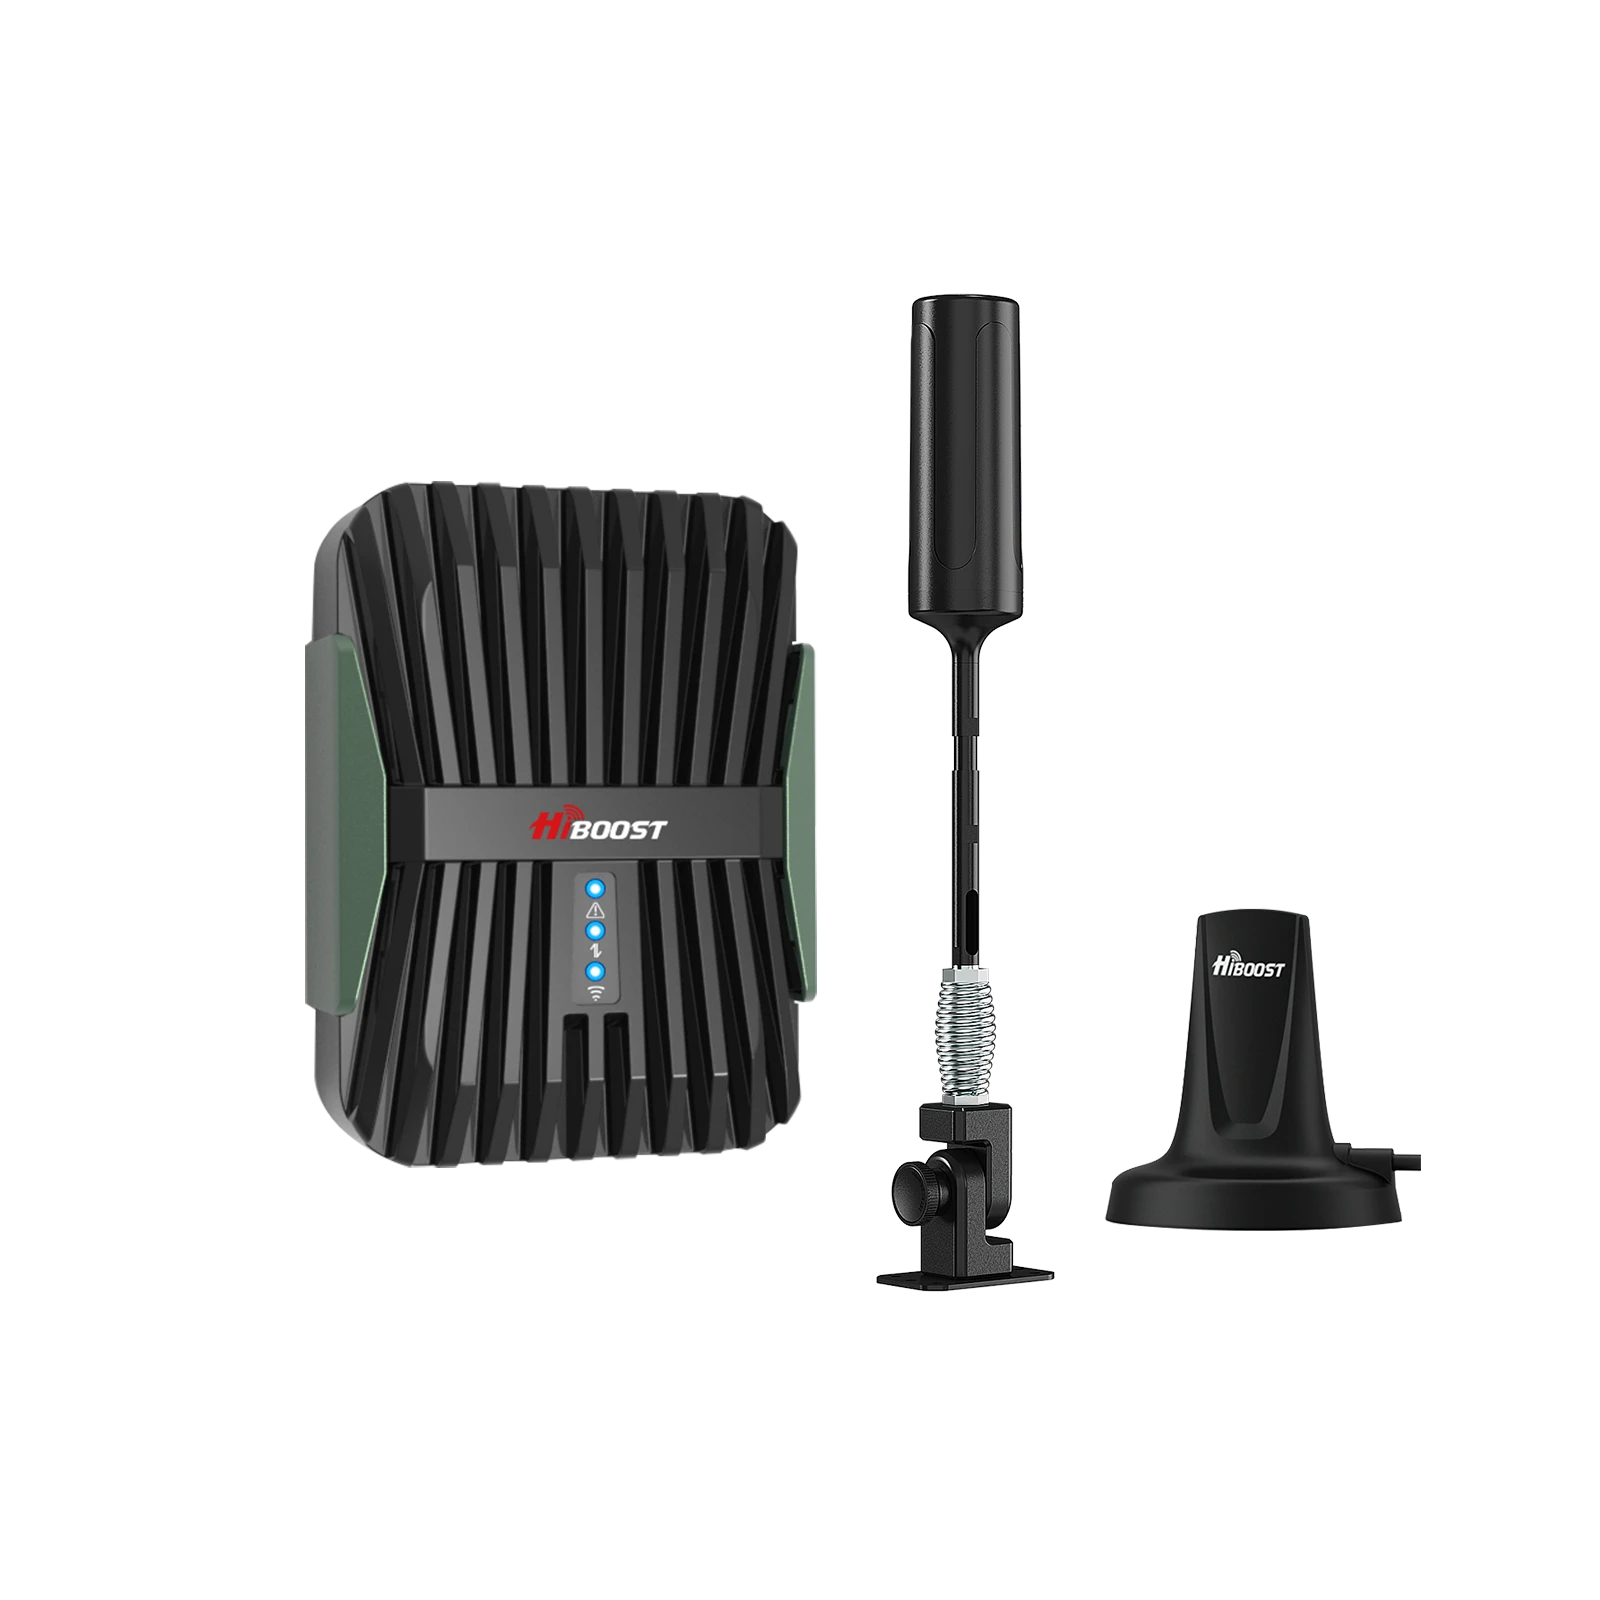
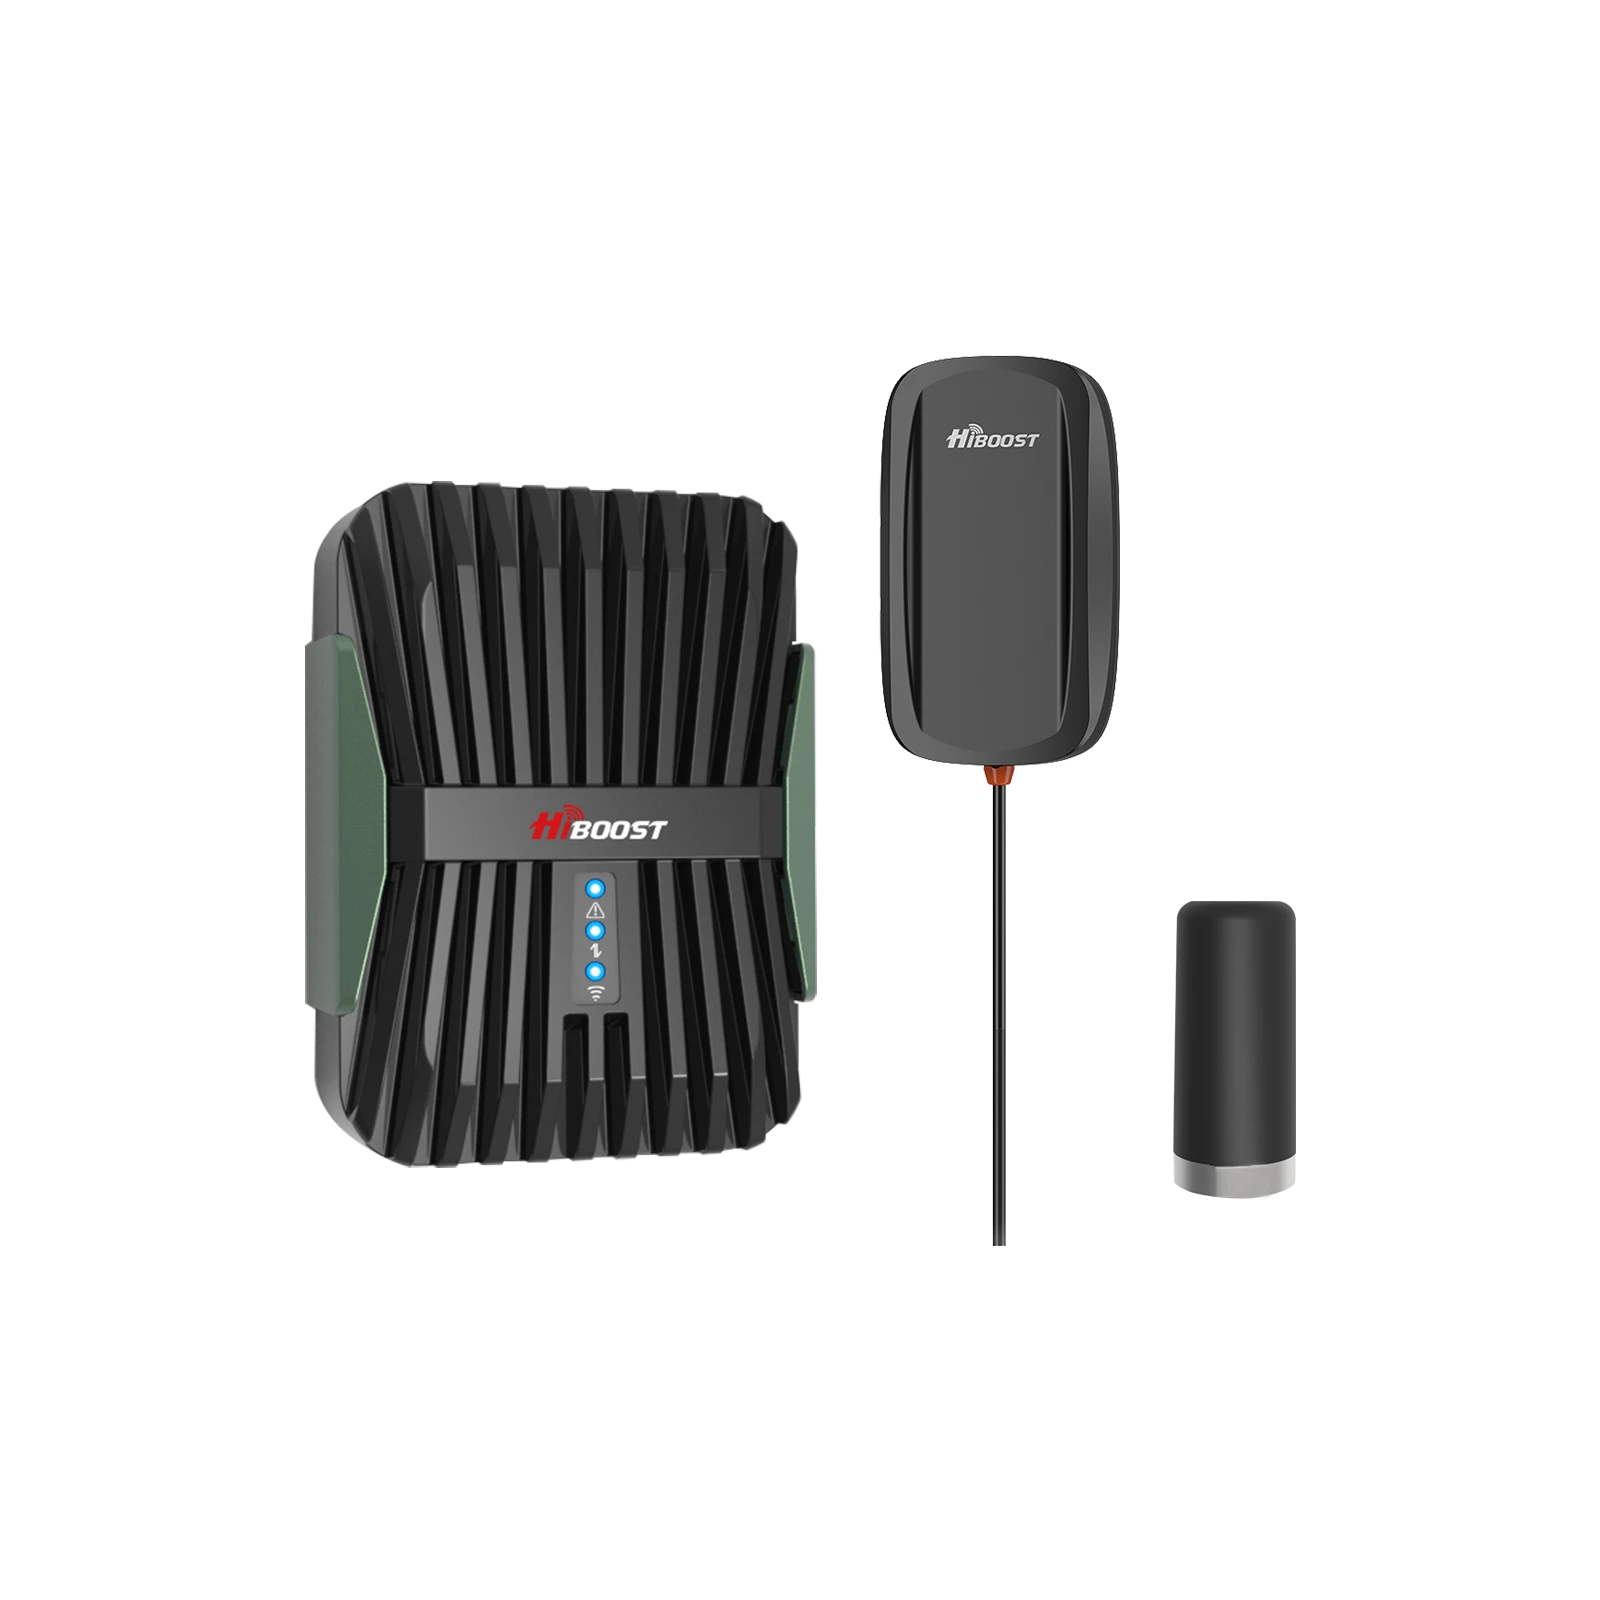
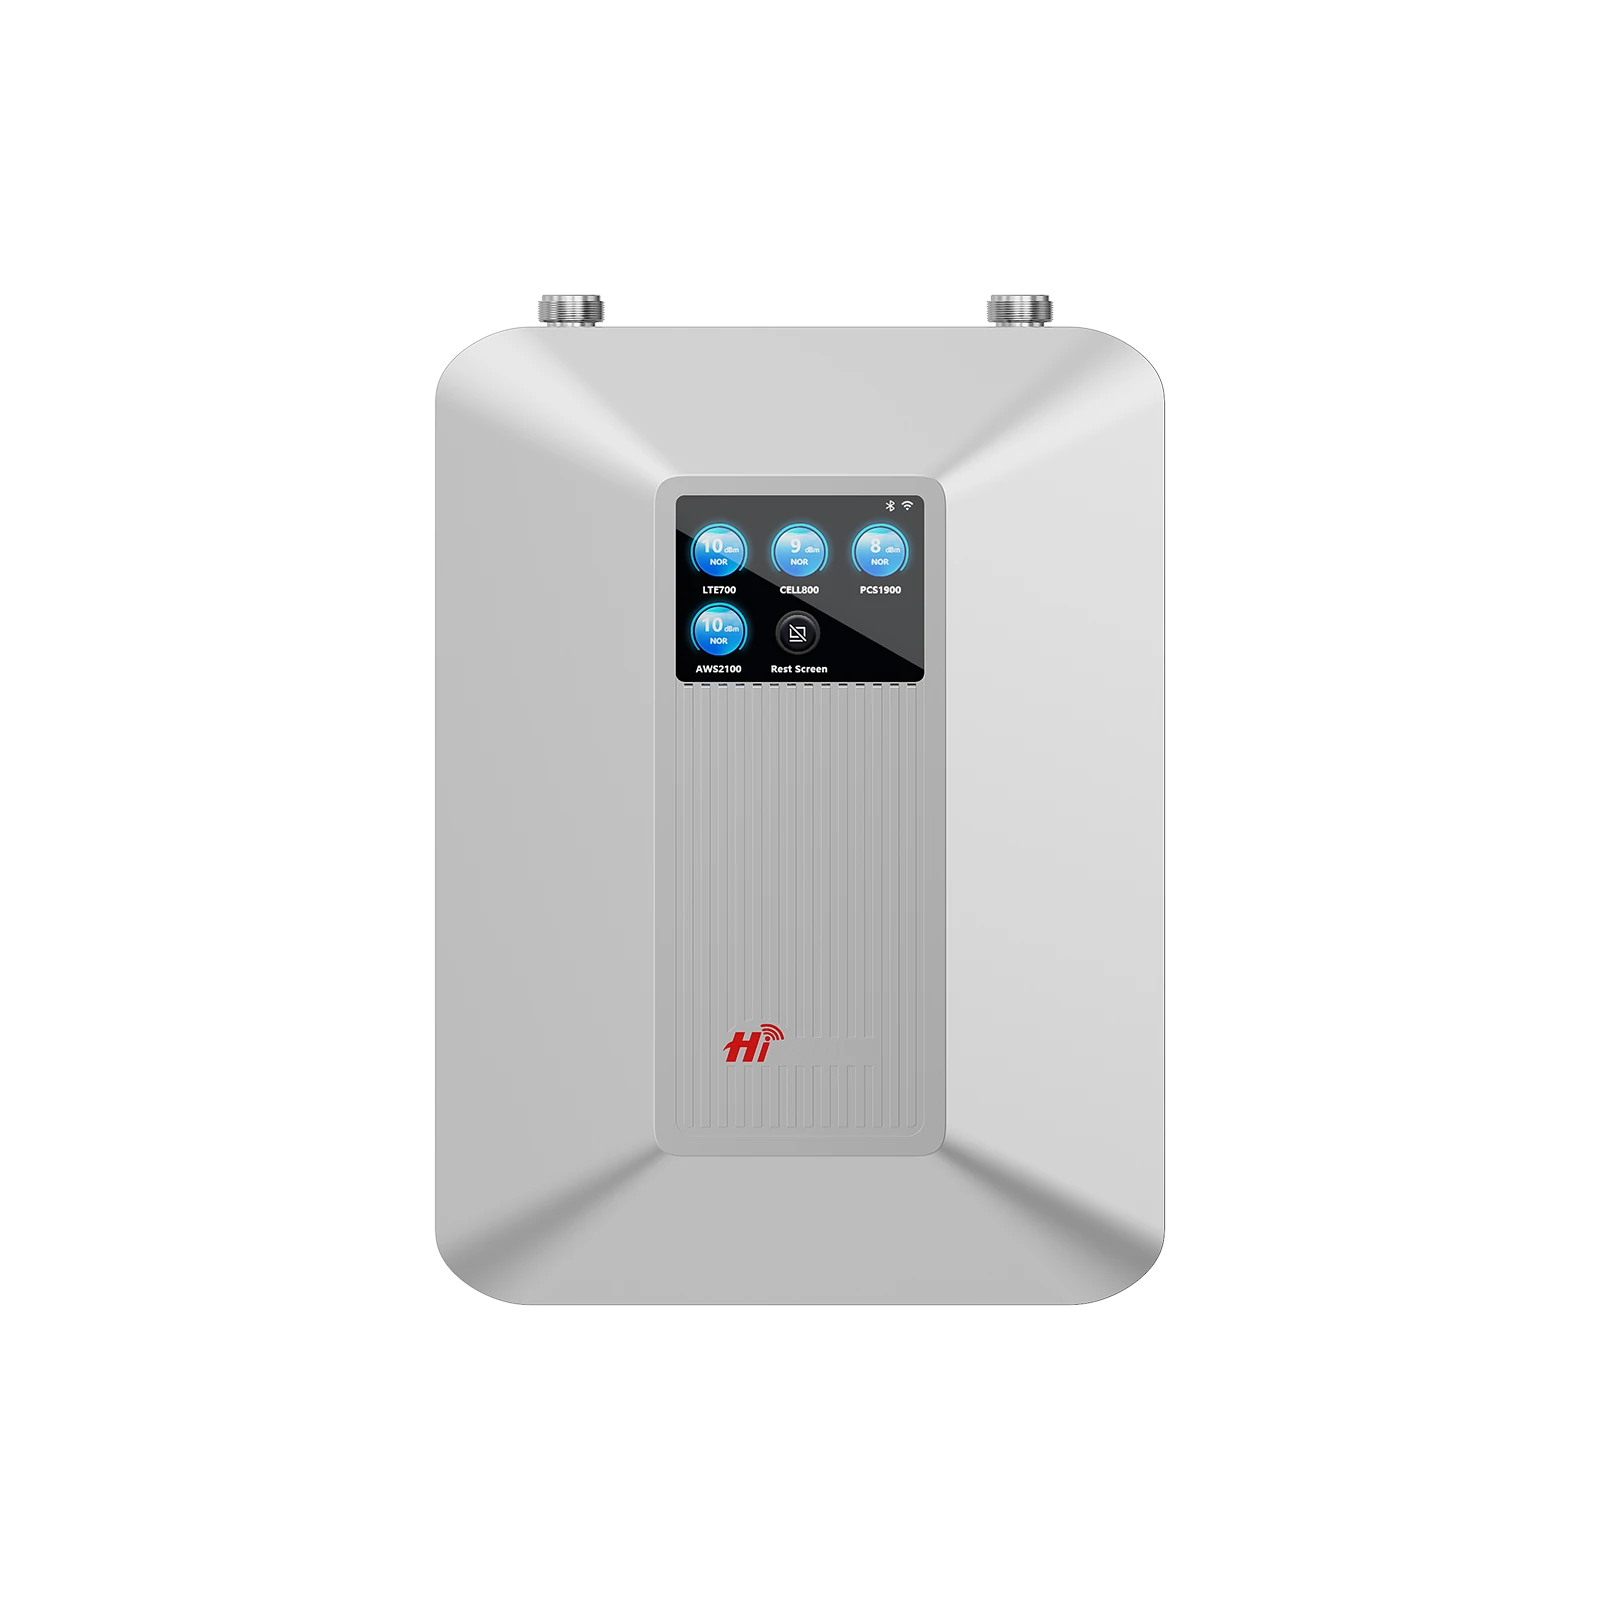
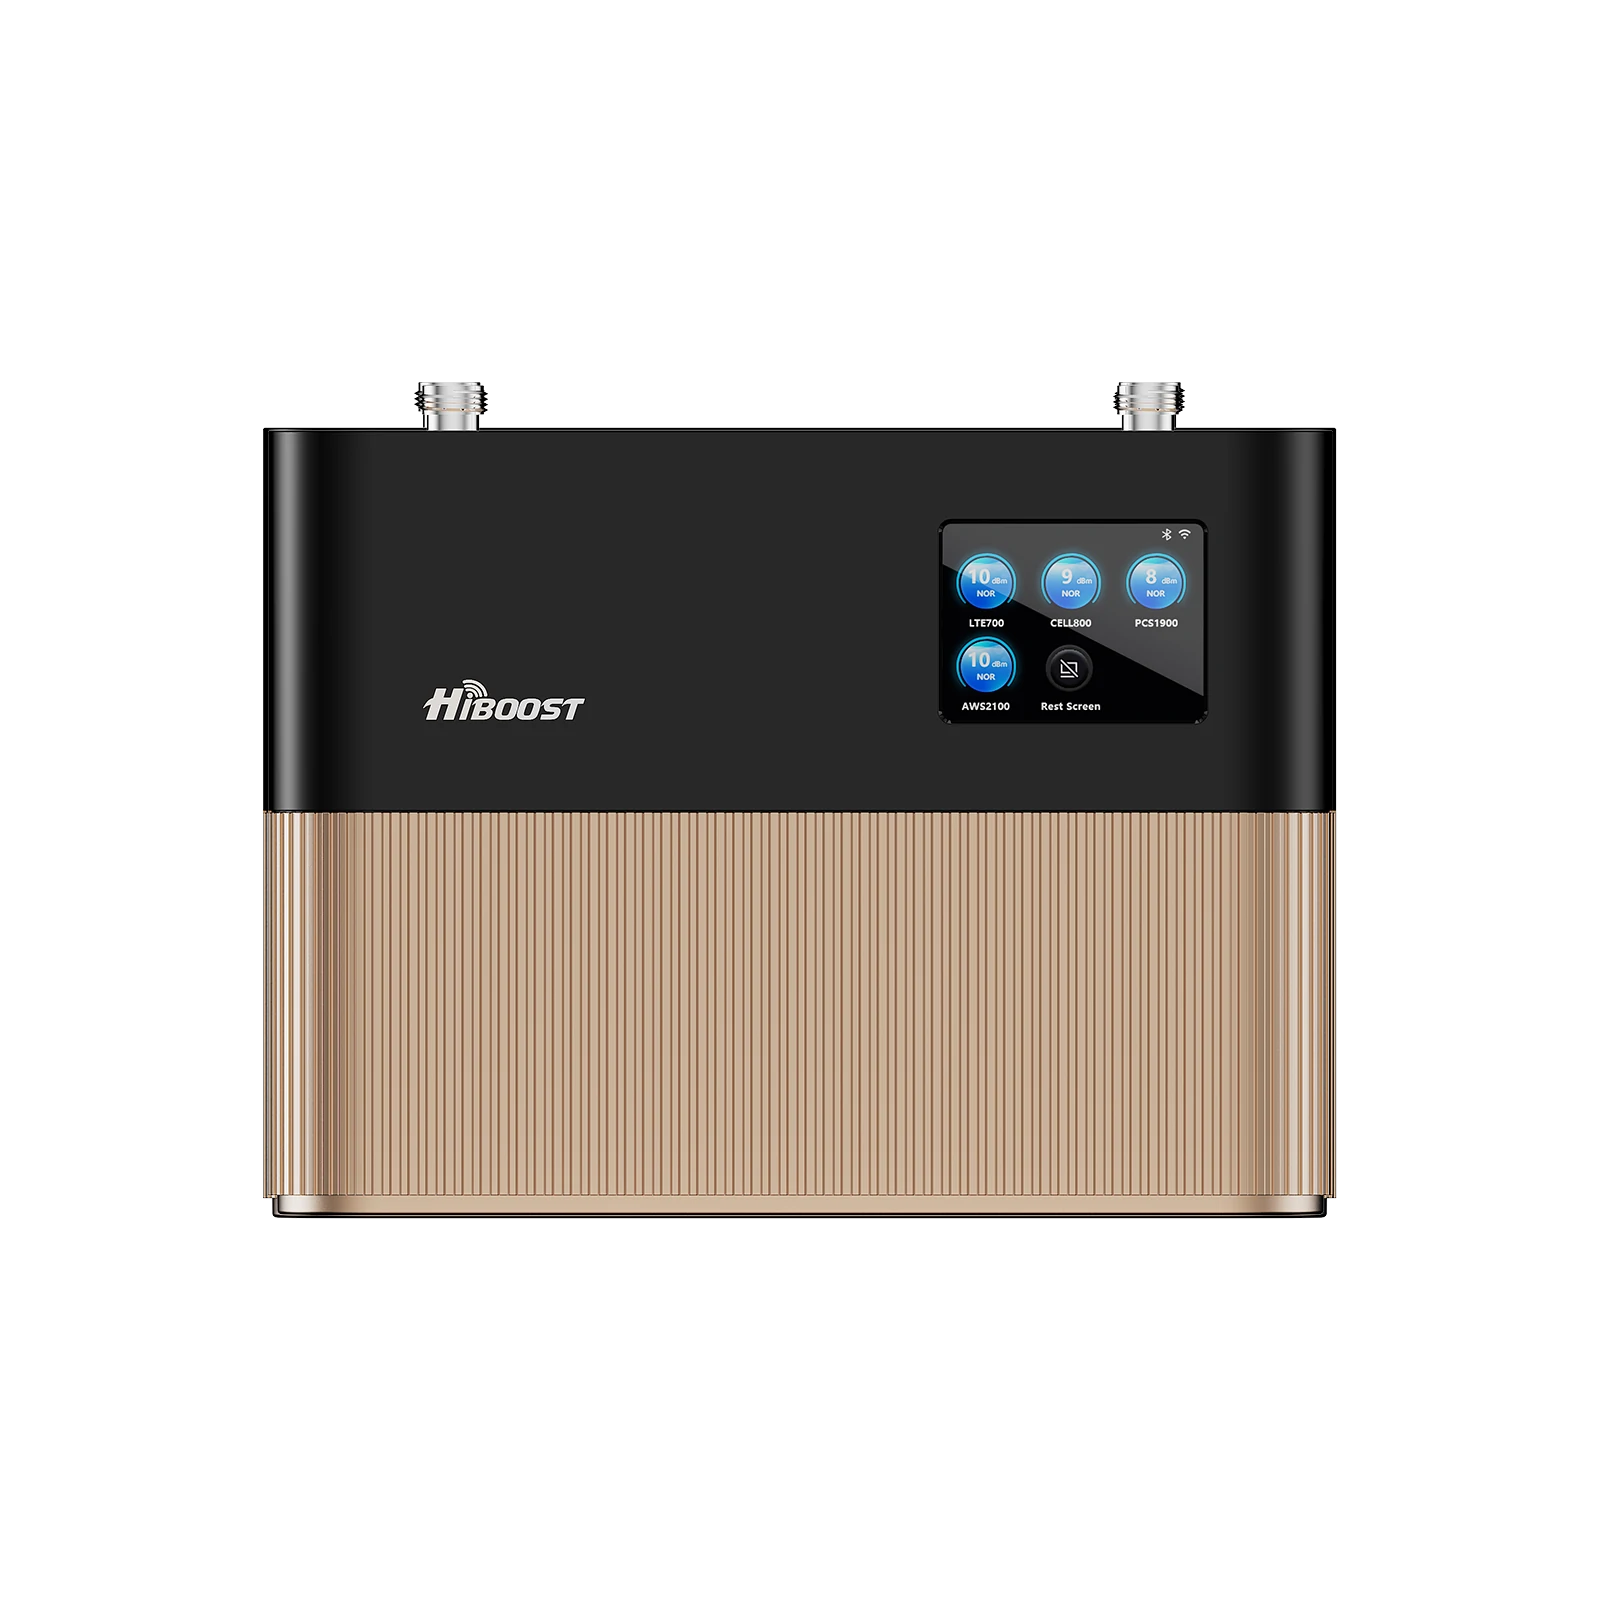
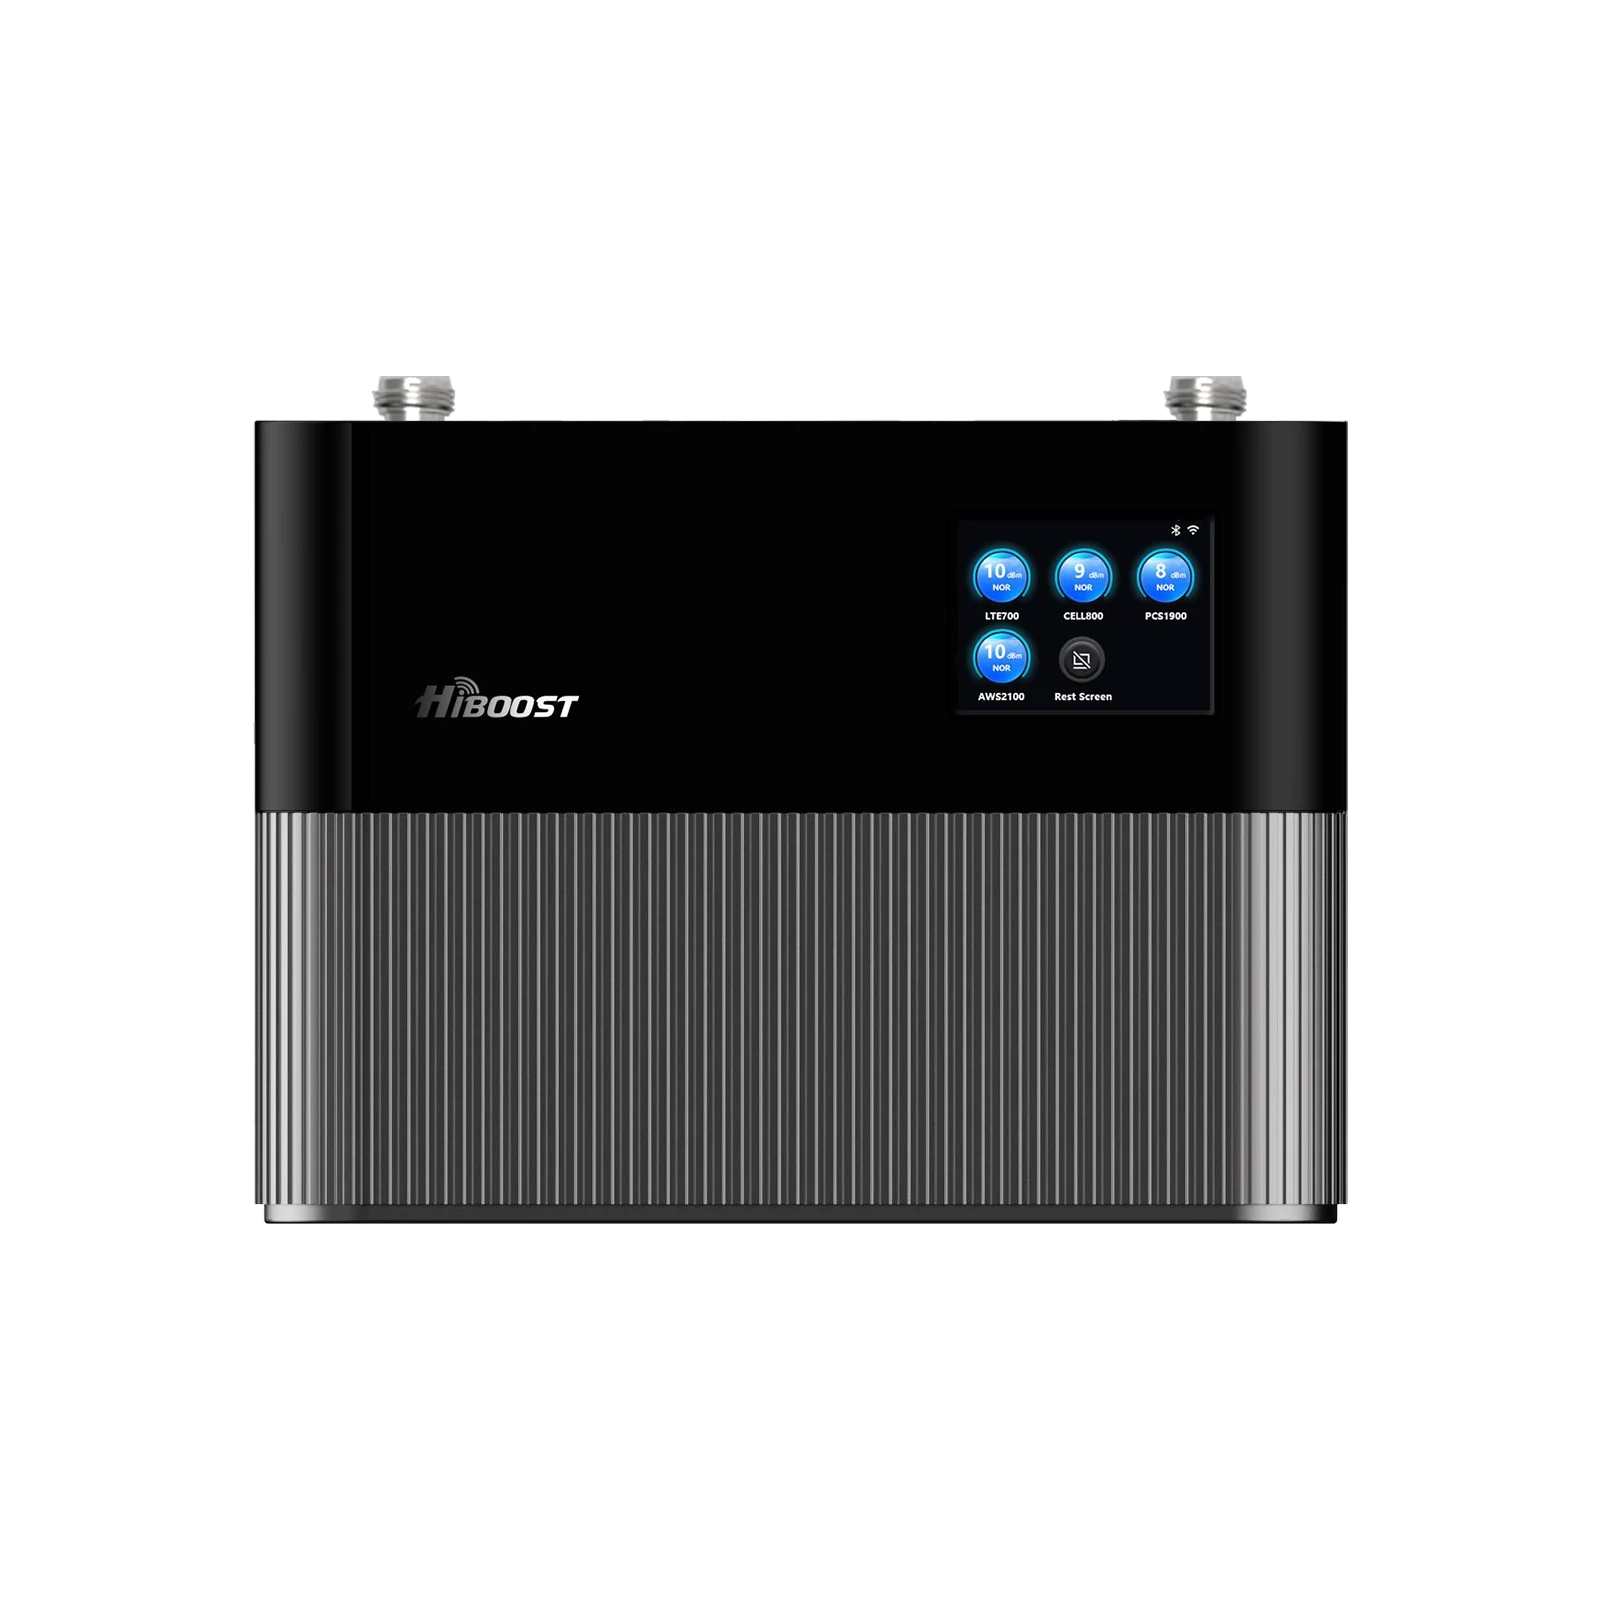
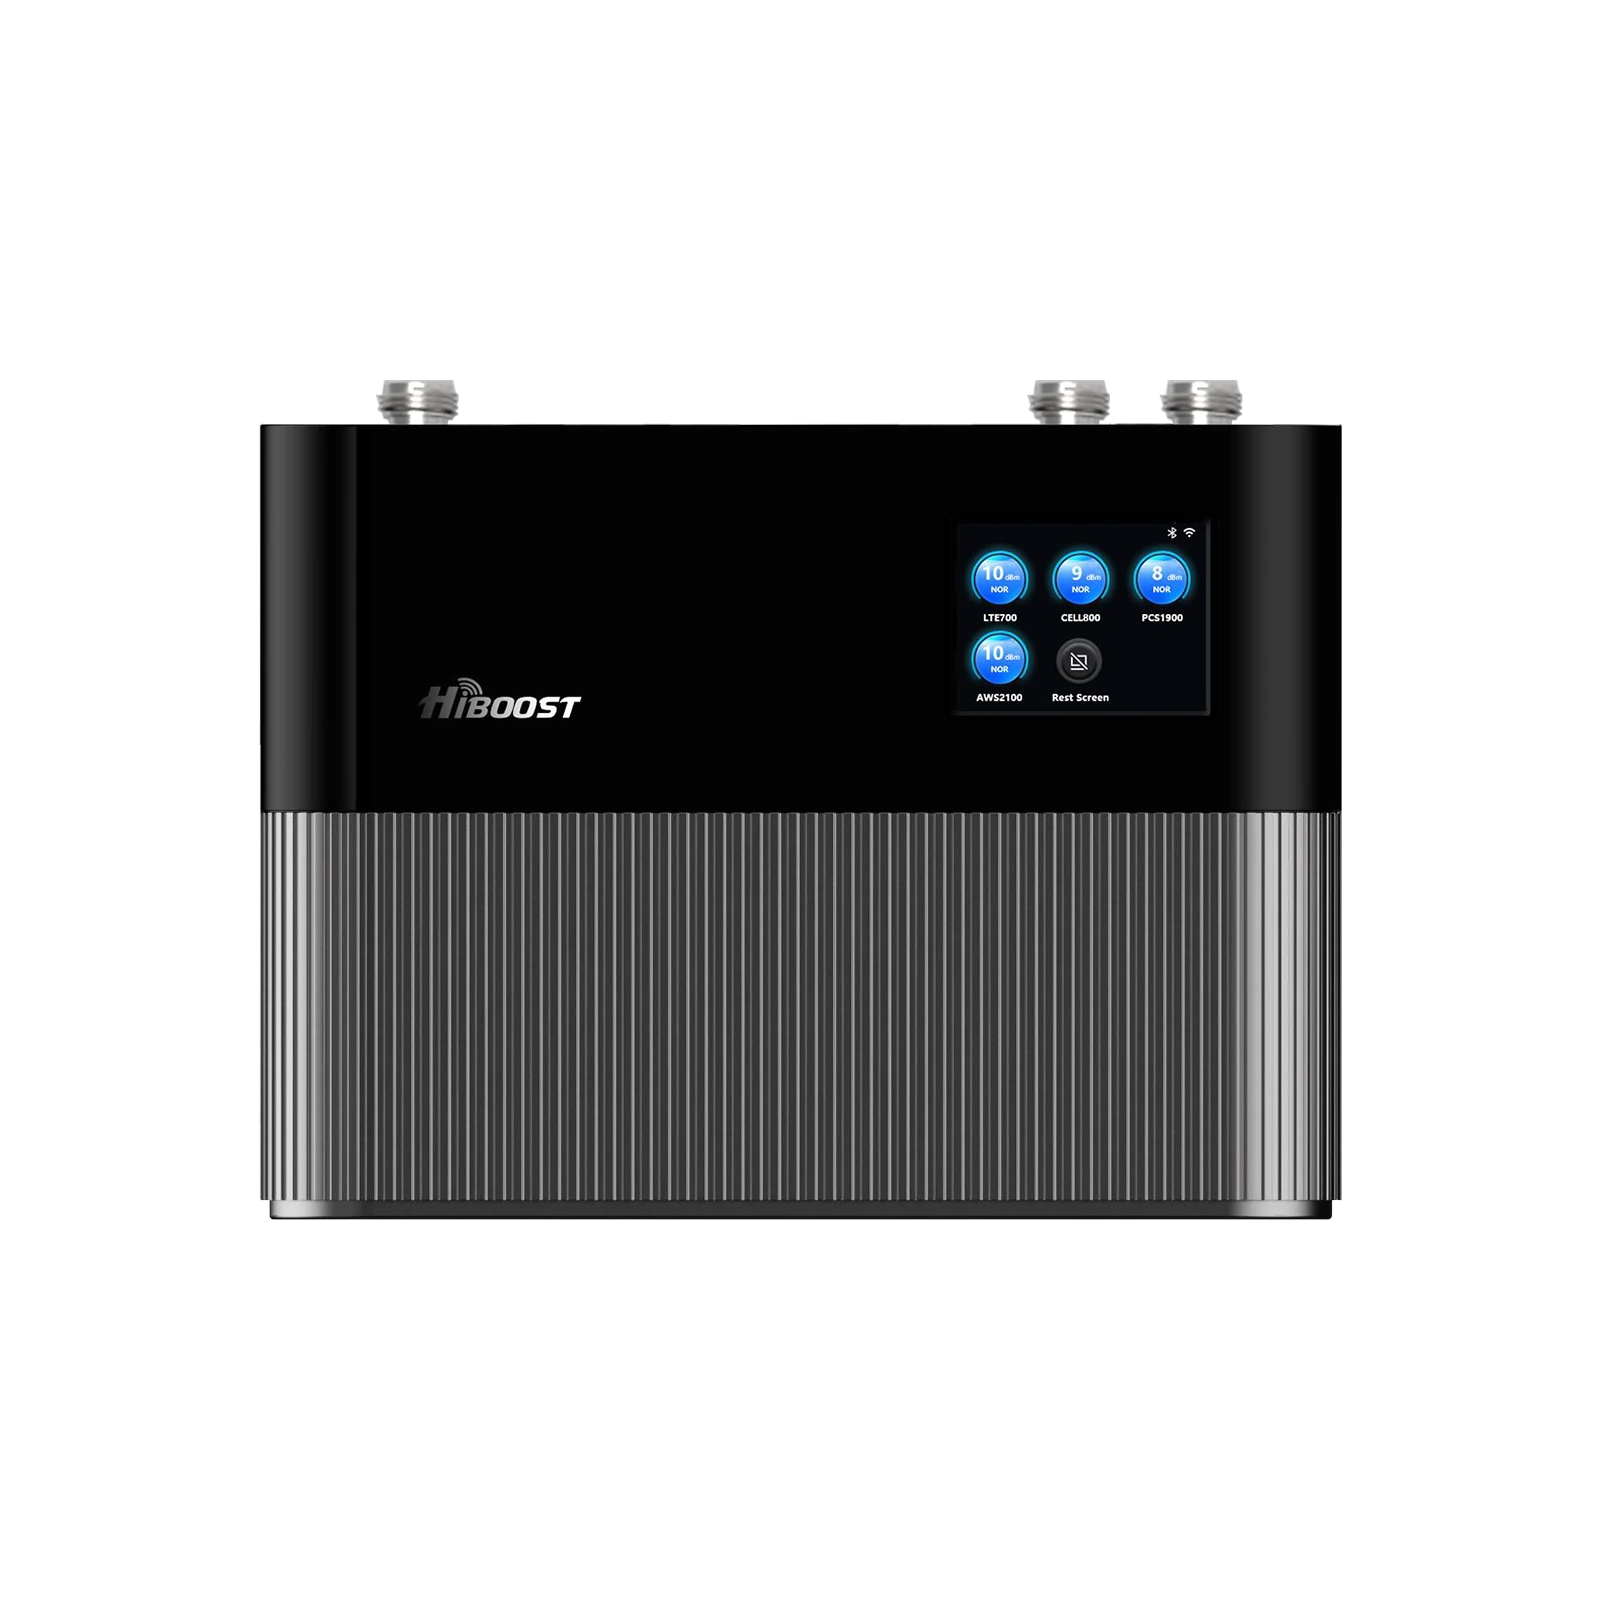
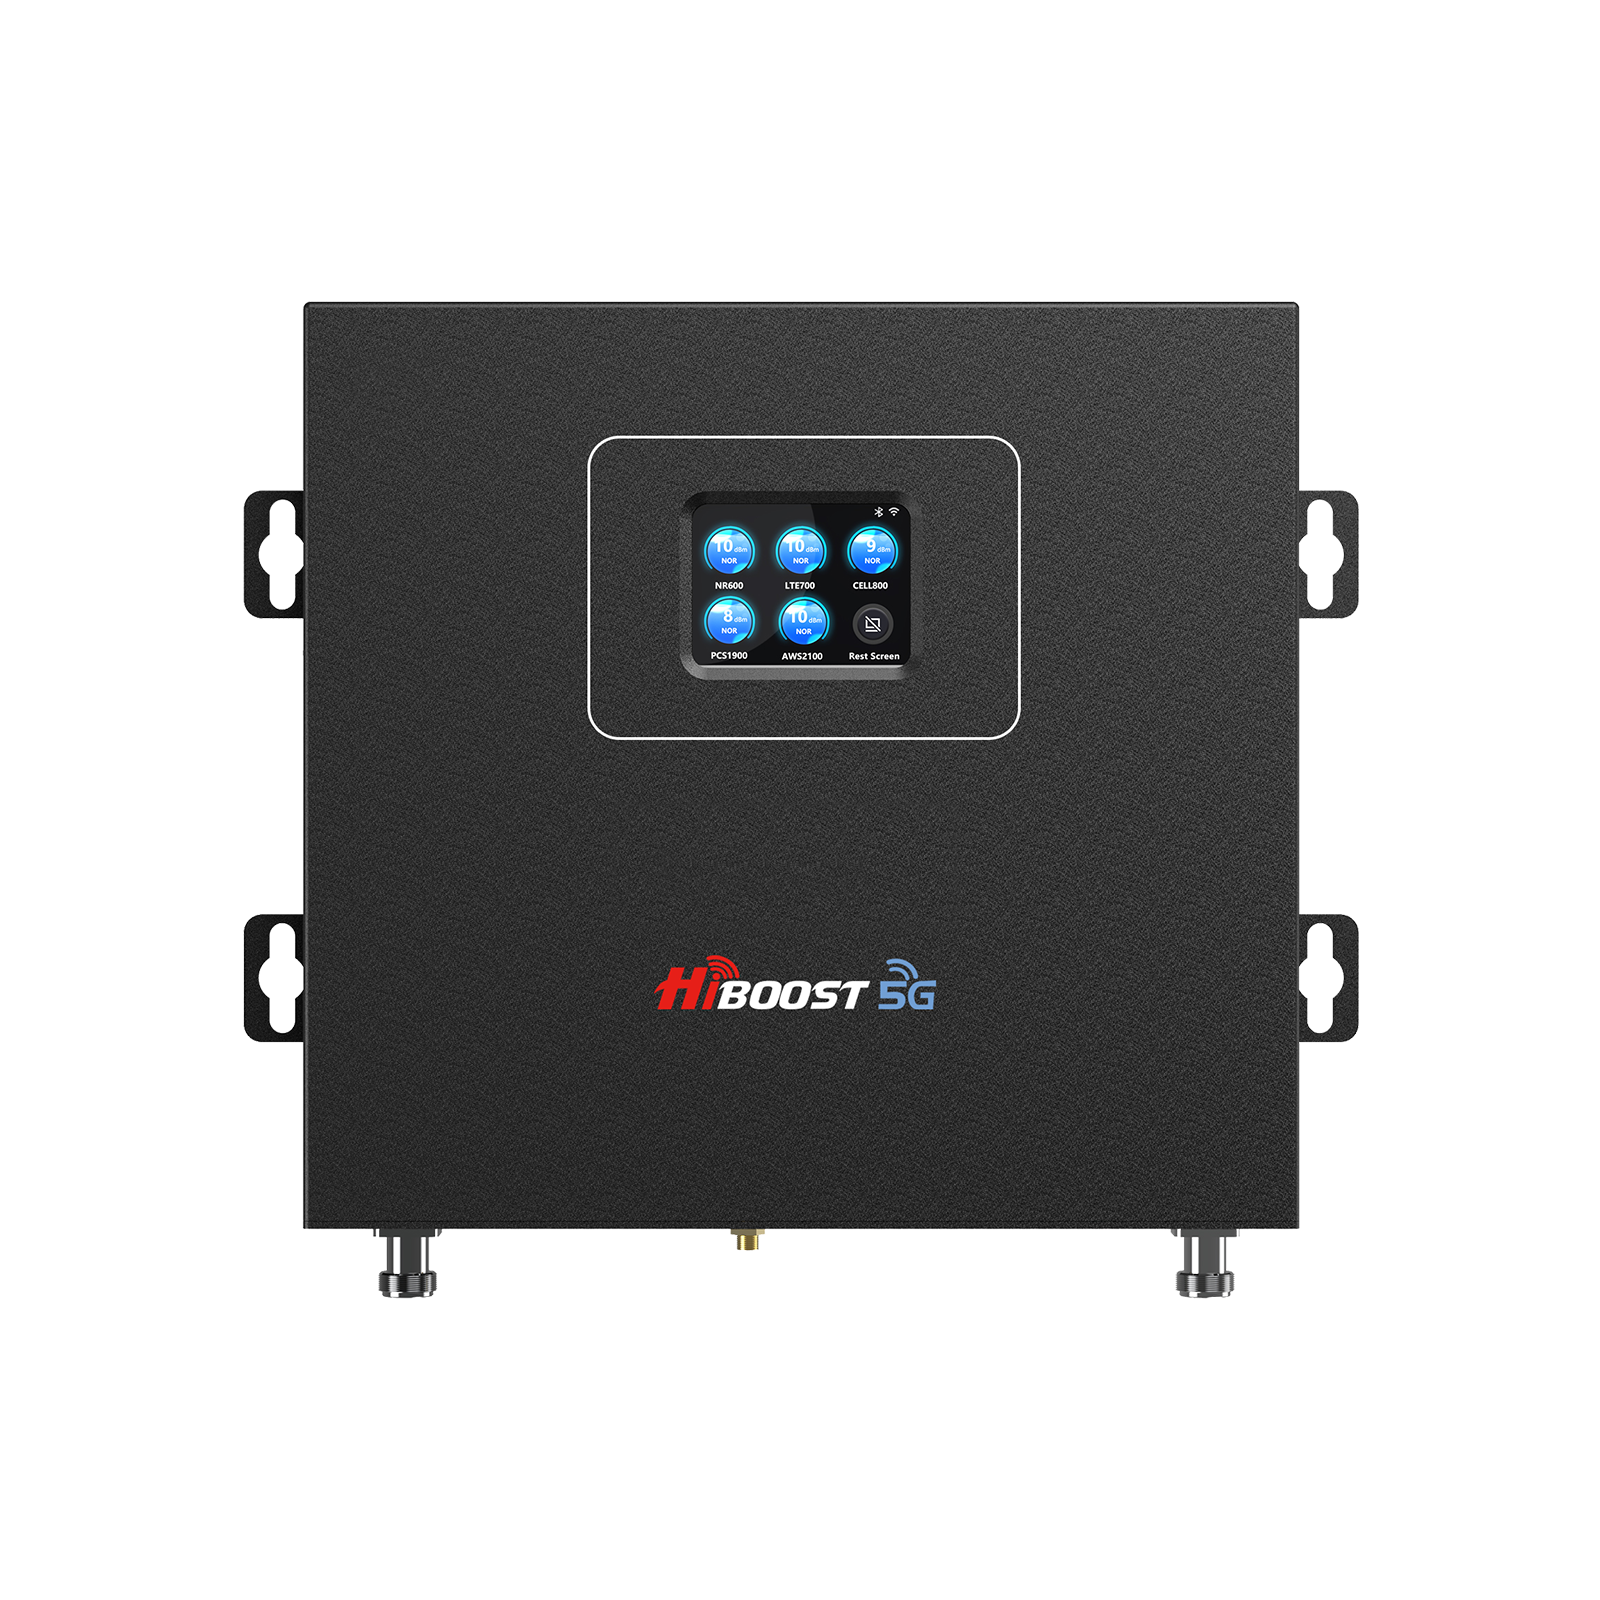
Since connectivity is so important, investing in a good booster pays off. HiBoost offers a range of boosters for different needs. For example, the HiBoost Travel 3.0 RV is a powerful amplifier kit specifically designed for RVs, motorhomes, and camper vans perfect for boosting cell signal during road trips and at camp.
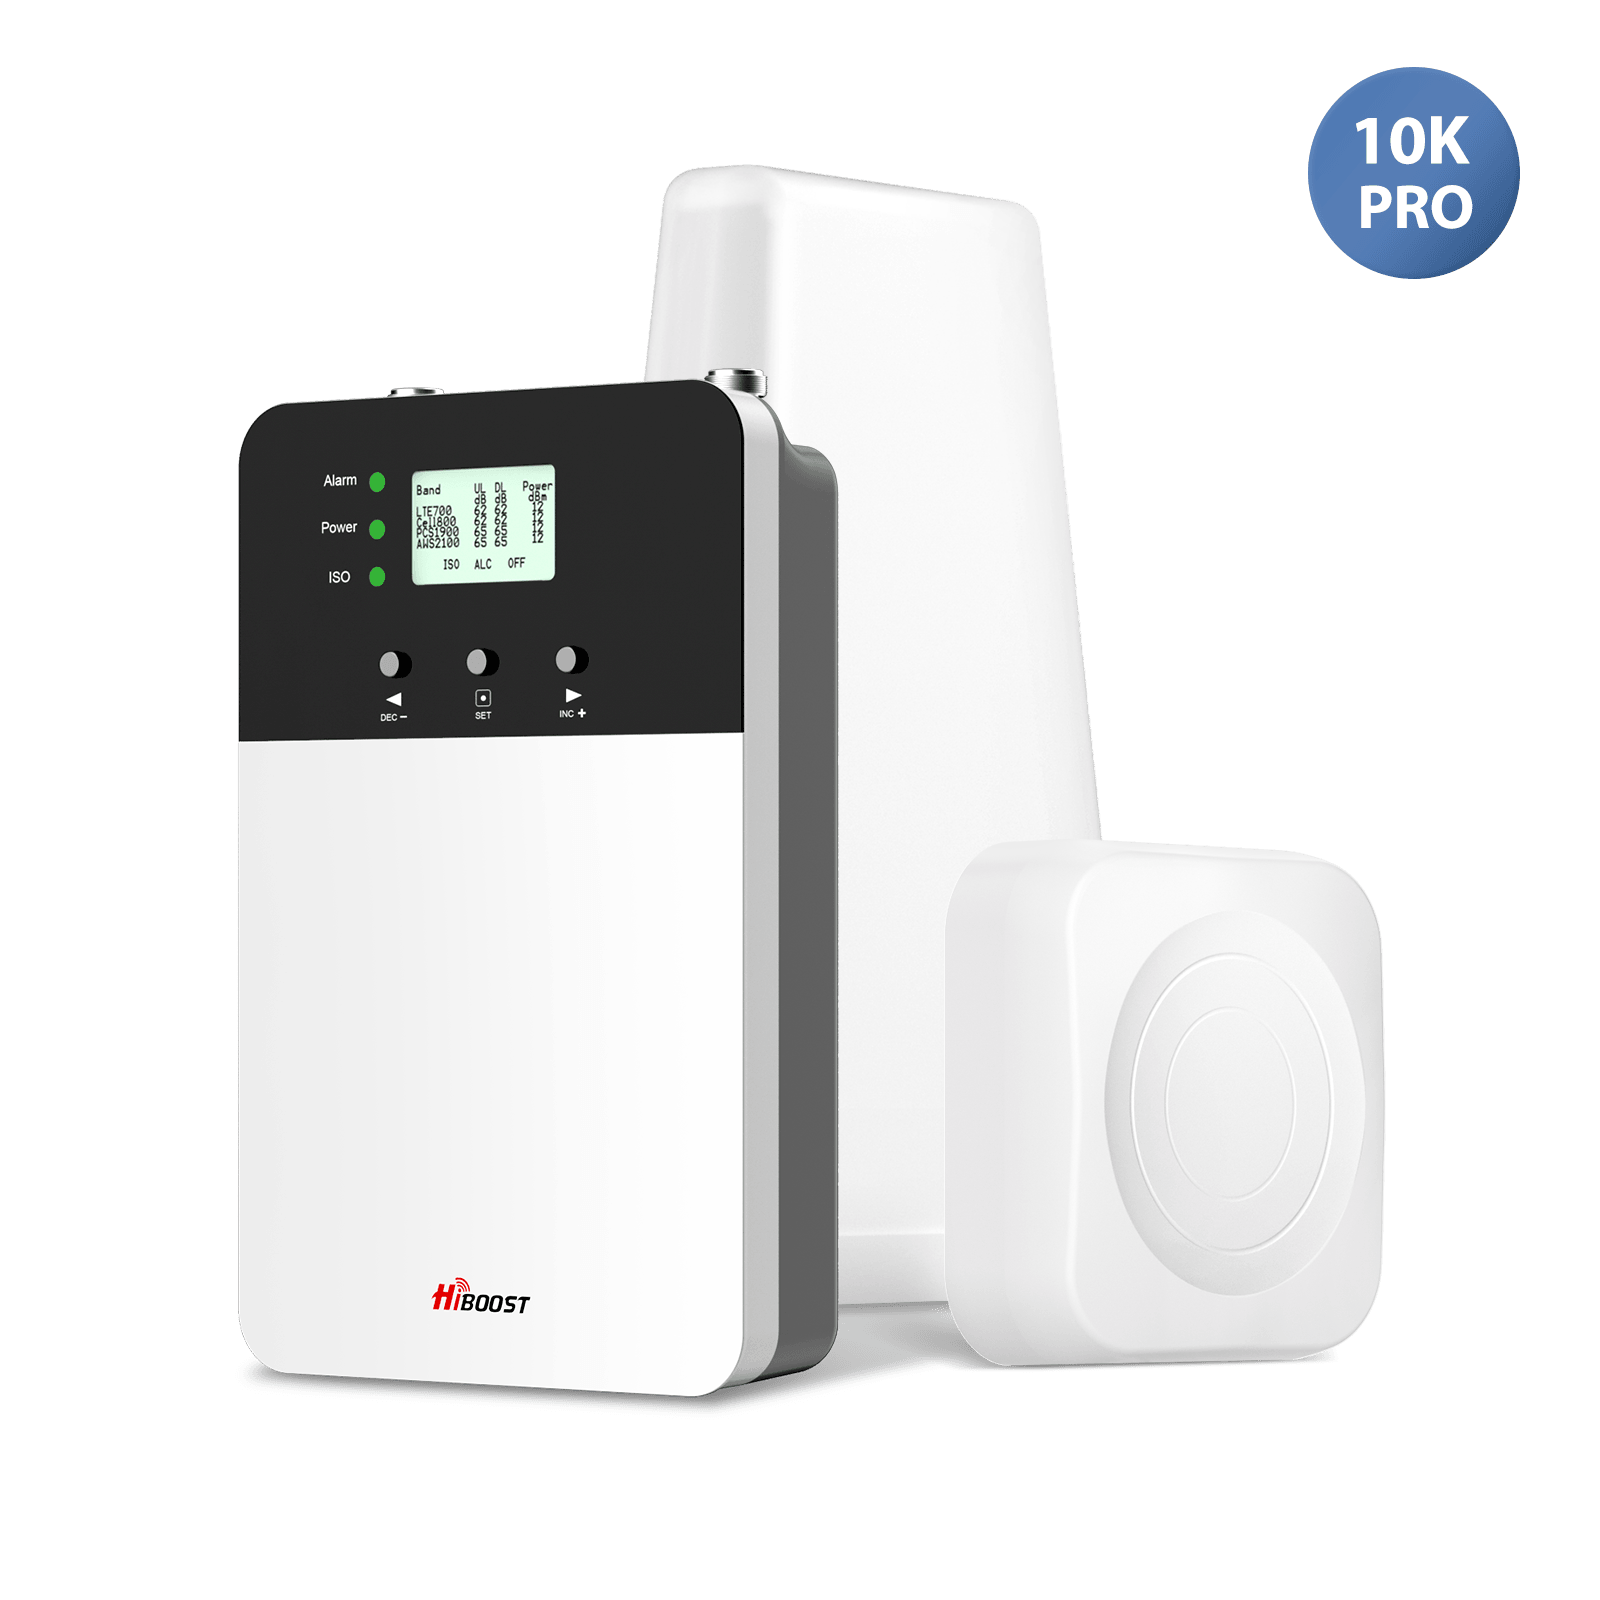
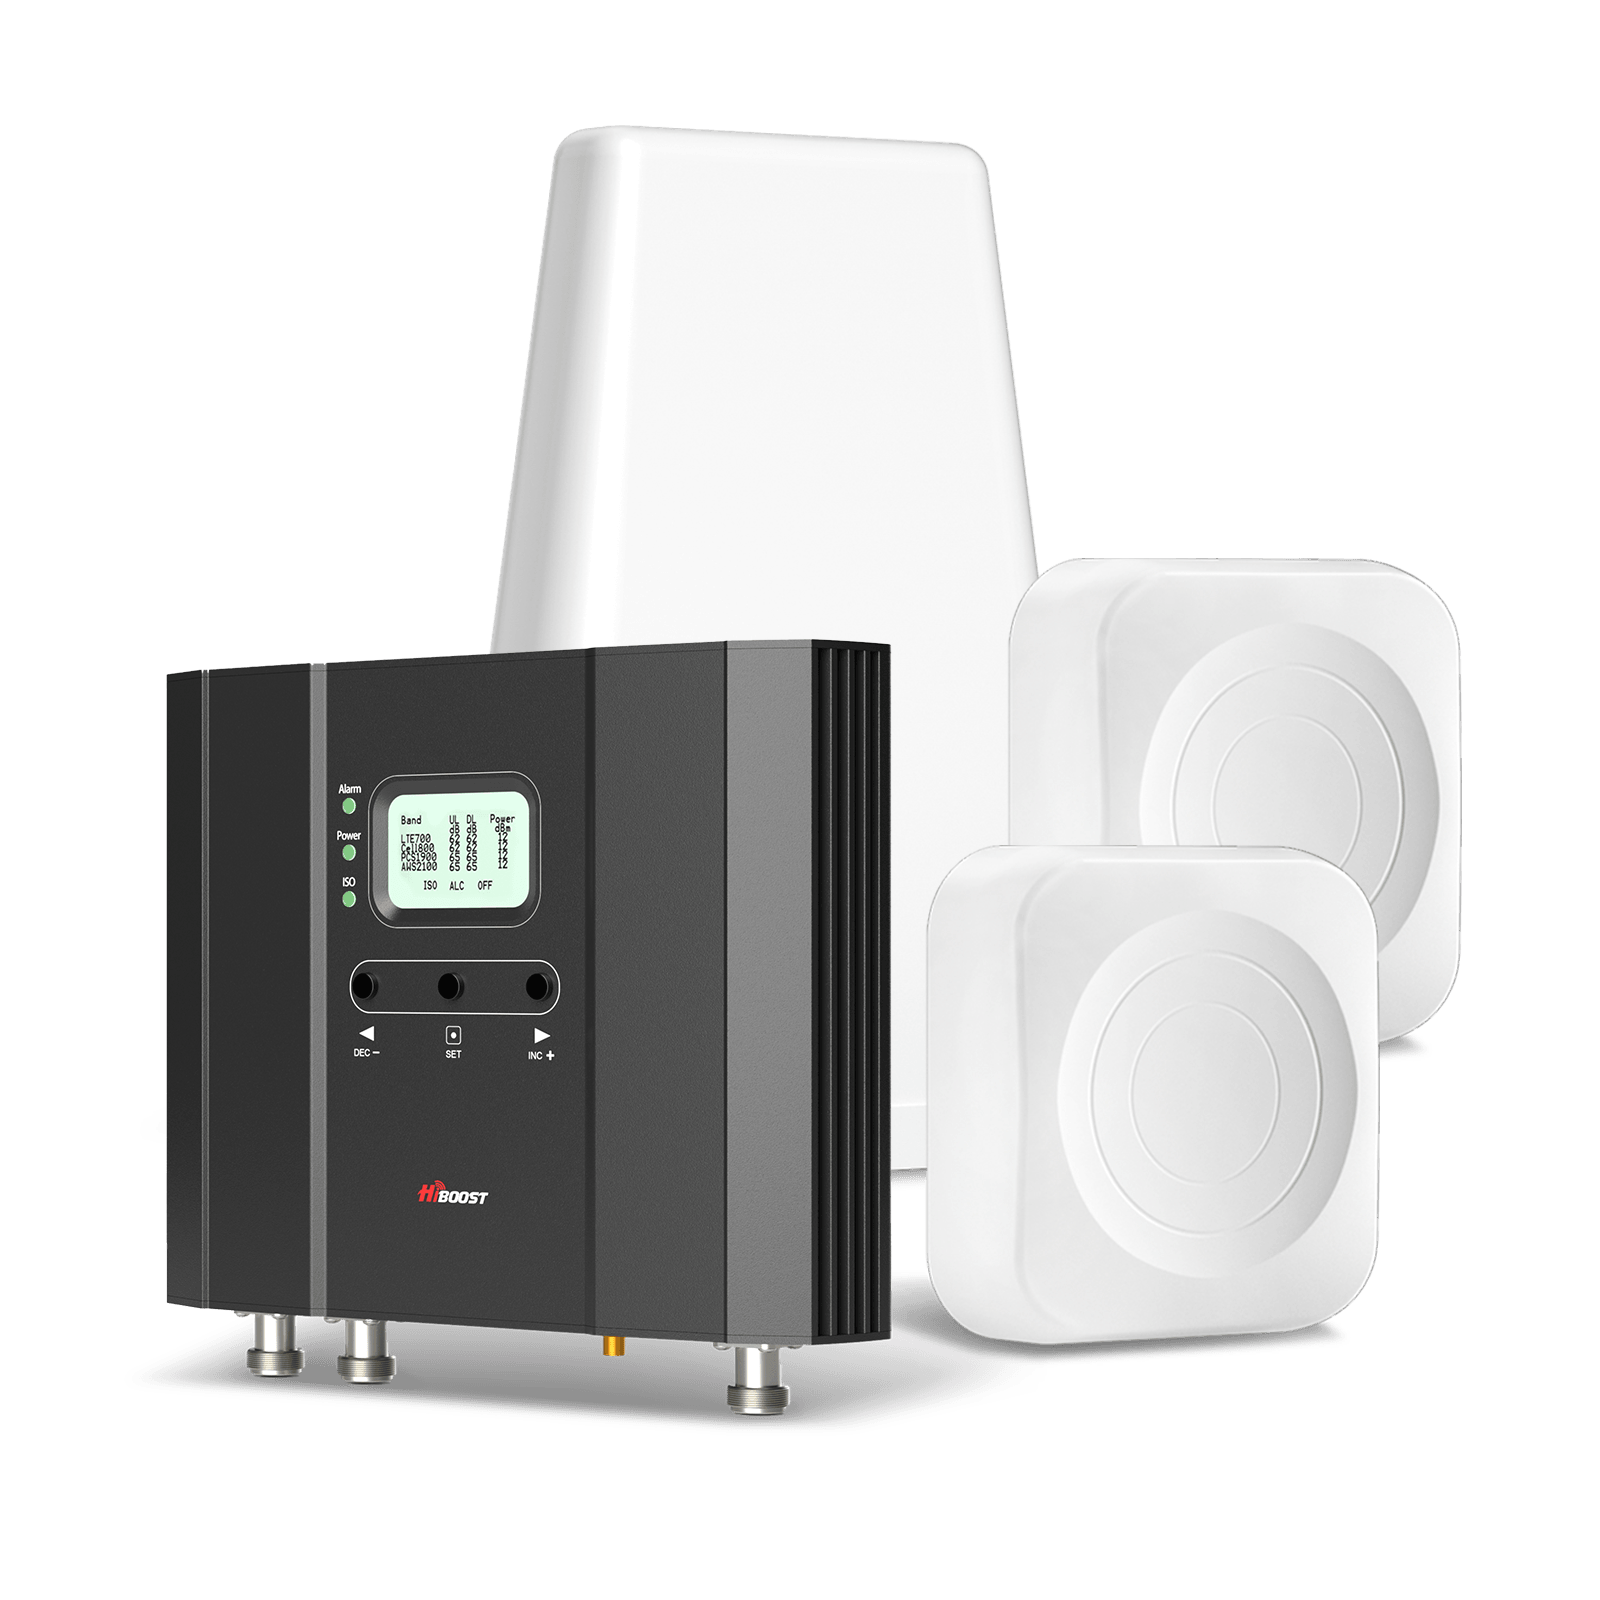
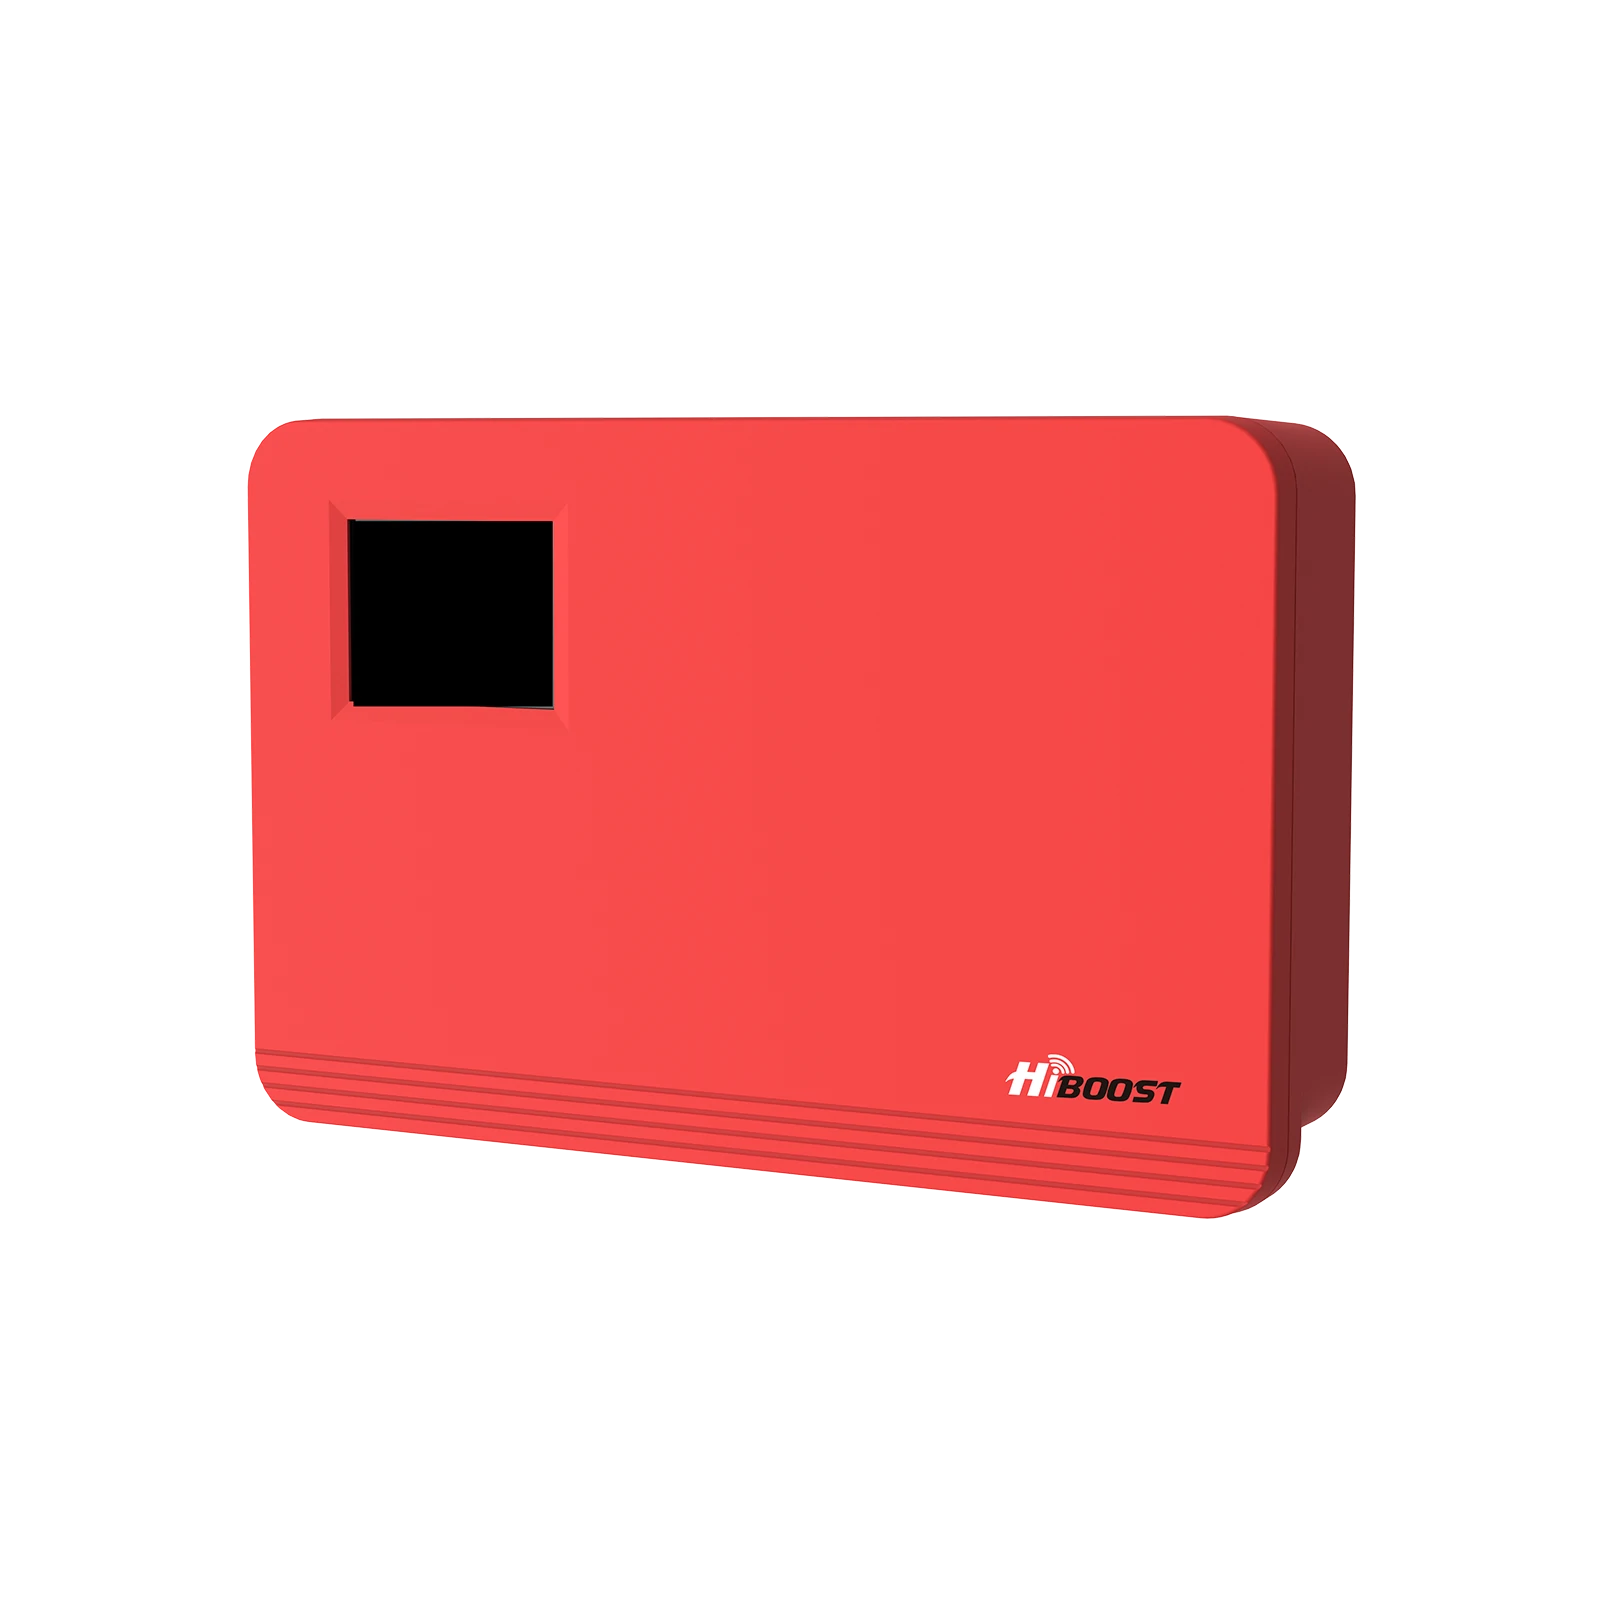
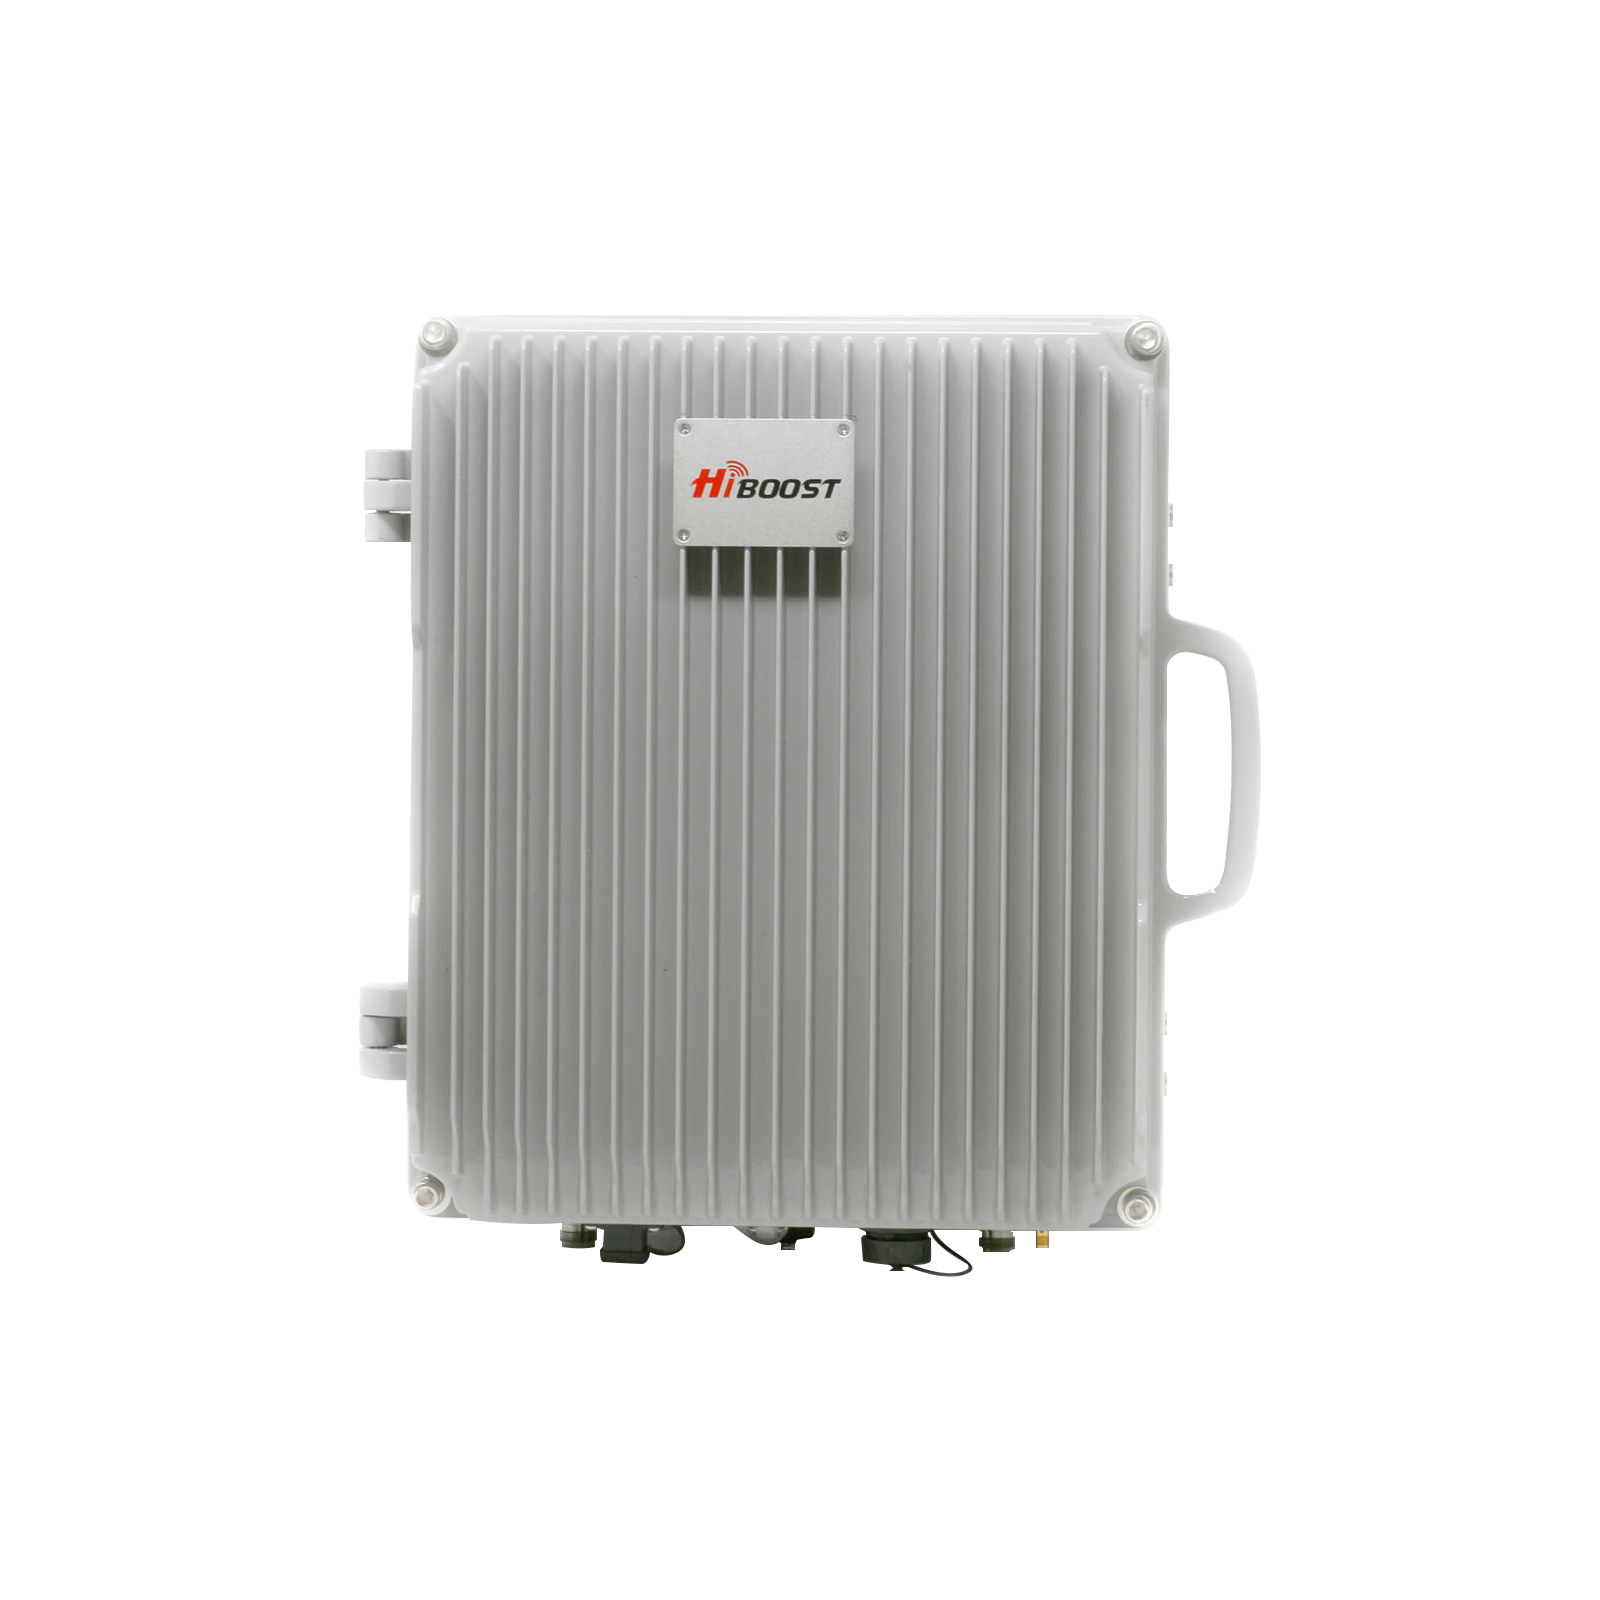
If you have a stationary cabin or often return to a remote home base, a home cell phone signal booster like the HiBoost Hero (covers ~500–3,000 sq ft) or HiBoost 4K Plus Pro (up to ~4,000+ sq ft) can dramatically improve indoor signal at your house or off-grid cabin. (The Hero is a professional grade booster for small buildings, think; home, remote farm, or even a large RV garage to keep you connected in those settings.)
The bottom line: a cell signal booster is one of the most effective ways to ensure you stay connected by strengthening whatever signal is available.
2. Carry a Mobile Hotspot – Even if you’re not working from the road, having a dedicated mobile hotspot device (also called a MiFi or jetpack) can be a game changer for internet access. Yes, most modern smartphones can act as a hotspot, but relying on your phone for all tethering can quickly eat up your data plan and phone battery.
A standalone hotspot is essentially a small, battery powered 4G/5G router with a SIM card it connects to the cellular network and then broadcasts a private Wi-Fi network for your devices. This means you can connect your laptop, tablet, and smart TV to your own secure Wi-Fi, all fueled by cellular data. The big advantage is that it prevents connectivity interruptions from relying on sketchy campground Wi-Fi and gives you a consistent network wherever you have cell signal.
With a hotspot device, you can often get specialized data plans (some carriers offer “hotspot only” plans or generous data buckets specifically for these devices). Many remote workers carry an RV specific hotspot so they don’t have to worry about campground networks or using up phone data.
When choosing one, consider devices like the Net ogear Nighthawk series or a carrier issued hotspot (Verizon’s Jetpack, AT&T’s MiFi, etc.). These often have better antennas and radios than a phone, thus pulling in signals more reliably. You can also attach external antennae to some hotspot units to improve reception further.
Check with your carrier about hotspot allowances. Some smartphone plans include a certain amount of hotspot data (e.g. 20 GB of high-speed tethering), after which they slow you down. In contrast, a dedicated hotspot plan might offer 100+ GB or truly unlimited data for that device. Be mindful of these limits streaming HD video can burn through data fast (a couple of movies could be several GB). For general browsing, email, and occasional video calls, even 50 GB can go a long way.
By using a hotspot device, you also free up your phone no need to leave it plugged in and draining battery to keep your laptop online. It’s worth noting you can usually add a hotspot line to your existing phone plan for a reasonable cost, or use an old spare phone as a hotspot by getting a data only SIM. However you do it, having your own personal Wi-Fi bubble with you ensures that whenever there’s cellular service, you can get all your devices online quickly and securely.
3. Install a Wi-Fi Extender or Repeater – This tip is all about squeezing more use out of existing Wi-Fi signals at campgrounds or other sources. An RV Wi-Fi extender (also called a Wi-Fi booster or repeater) is a device that captures a distant Wi-Fi network and rebroadcasts it inside your RV to strengthen the signal. For instance, if the only campground Wi-Fi antenna is up by the office and your campsite is at the far end of the park, you might barely get a one-bar Wi-Fi signal on your phone.
A high-powered Wi-Fi extender with a rooftop antenna could latch onto that network and provide a usable connection in your rig. These systems typically involve an external antenna (sometimes directional, sometimes omnidirectional) that you mount on your RV roof, wired to an amplifier/repeater unit inside. The inside unit creates a local Wi-Fi network that you connect your devices to, and it links back to the distant campground Wi-Fi as if your RV were a giant Wi-Fi client.
Wi-Fi extenders are great when some Wi-Fi is present but weak. They’ve become popular because many RV parks’ Wi-Fi signals simply don’t reach every site, especially with big RVs and metal walls blocking signals. By using an extender, you extend the range of the park’s Wi-Fi into your RV, so you’re not sitting outside the bathhouse just to get online.
Keep in mind, an extender can only boost the signal if the source network is functional. It doesn’t magically make a slow network faster if everyone is sharing a tiny internet pipe, you’ll still have slow speeds (you’ll just have a stronger connection to that slow network). That said, if you only need basic email or to download a PDF, leveraging that free Wi-Fi via an extender can save your precious cell data for when you really need it.
There are many RV specific Wi-Fi booster kits on the market. Some popular ones include the Alfa WiFi Camp Pro, Winegard ConnecT, KING WiFiMax, or C. Crane’s range extender kits. They all work on the same principle: high-gain antennas and amplifiers to pick up Wi-Fi from farther away.
4. An omnidirectional antenna is convenient because it can grab signals from any direction without aiming, useful if parks have multiple hotspots or if you frequently move. A directional antenna can reach even farther (when pointed correctly) which is handy if you often camp near a known public hotspot (for example, trying to pull signal from a library or cafe Wi-Fi nearby).
In summary, a Wi-Fi extender is a relatively inexpensive addition (~$100–$200 for many kits) that can pay off whenever you encounter usable-but-weak Wi-Fi at a campground or even when mooch docking near a friend’s house.
5. Use Starlink Roam or Satellite Internet – When cellular networks won’t reach you, satellites just might! Satellite internet has long been used by RVers in remote areas, but SpaceX’s Starlink Roam (the RV-tailored service formerly called Starlink RV) has truly changed the game in the last couple of years. Starlink uses a constellation of low-earth orbit satellites to deliver broadband internet nearly anywhere on the globe, provided you have a clear view of the sky.
For campers deep in the mountains or deserts beyond cell coverage, Starlink can provide home-like internet speeds. Starlink Roam offers regional or global plans; the regional plan ($150/month) covers a continent, while the global plan ($200/month) works across continents if you’re doing international overlanding. The hardware (a compact motorized dish often nicknamed “Dishy”) is about $599 upfront. Importantly, Starlink’s service is truly unlimited, with no data caps or throttling, so you can stream and video-conference to your heart’s content (just keep an eye on that power draw; the dish uses a notable amount of electricity from your RV’s battery).
For many off-grid RVers, being able to pull high-speed internet out of thin air is revolutionary. Download speeds of 50–150+ Mbps are common on Starlink, even in remote locales. That’s enough to not only do Zoom calls, but stream HD video or even do online gaming in the wilderness. Latency (delay) is around 30–50 ms typically far better than legacy satellite internet (which often had 600+ ms lag), meaning Starlink feels much more like “normal” internet.
You can pause the Starlink service month-to-month when you’re not traveling, so you don’t pay for it in months you don’t need it. The main downsides: the system is a bit power hungry (you might need solar panels or a generator to keep your batteries topped up during heavy use), it requires a clear view of the sky (tall trees or canyon walls can obstruct the signal), and of course the cost is higher than a typical cell plan. But for the ability to work from a zero cell-signal location or stay connected during extensive boondocking, many find it worth the price.
Other satellite options: Traditional satellite providers like HughesNet or Viasat also offer mobile plans, but they tend to have much lower speeds and strict data caps (often you get a limited amount of “priority” data, then very slow speeds). They use geostationary satellites, which means high latency (making video calls or VPN use is difficult) and you must park and aim a dish precisely. Starlink’s advantage is the easy setup (the dish auto-aligns itself) and the low orbit satellites that enable high throughput and low latency.
As of 2025, Starlink Roam is by far the most popular satellite option for RVers who truly need robust internet off grid. It’s not cheap, but if you’re a full-timer or serious camper who must have internet in the remotest corners, a satellite solution is your ticket. Many RVers actually use Starlink alongside cellular.
They’ll use normal cell data when in range of networks (since it consumes less power and doesn’t require setup each time) and then fire up the Starlink dish when they venture beyond cell coverage. This combo gives you the best of both worlds: cost-effective data when near civilization and independent internet when off the map.
6. Use Dual-SIM or Multi-Carrier Strategy – One of the simplest connectivity insurance policies is: don’t put all your eggs in one carrier’s basket. No single mobile carrier has coverage absolutely everywhere, so smart travelers spread their connectivity across multiple networks. This could mean carrying two phones (e.g. one on Verizon, one on AT&T) or using a phone with dual SIM capability to have two carriers active.
Many RVers carry backup SIM cards or plans from different carriers to ensure they always have service on the strongest network available. For instance, you might use a primary unlimited plan on Verizon (known for great nationwide coverage), but keep a prepaid AT&T or T-Mobile SIM handy for areas where Verizon is weak.
With eSIM technology now common in phones, you can often download a secondary carrier’s plan on-demand without needing a physical SIM card super convenient if you suddenly find yourself in a dead zone for your main provider.
Additionally, some cellular data device setups (like certain routers from Pepwave, MOFI, etc.) support multiple WAN connections or SIM slots. These can automatically switch between carriers or even combine them, but those are more advanced (and expensive) solutions mainly used by full time RVers who need constant reliable internet. For most people, simply having a hotspot on one network and a phone on another can cover a lot of bases.
Example: carry a Visible (Verizon network) SIM in an old phone for cheap unlimited data, and use your AT&T phone for everyday use between the two, you’ll rarely be without some signal. Or if you’re on T-Mobile but occasionally venture to very remote national parks, maybe grab a month-to-month Verizon hotspot for those trips. The flexibility of not being tied to a single carrier means you can pick and choose based on coverage maps.
Speaking of coverage maps, it’s wise to research the carriers for your destinations. If you know your route goes through lots of Verizon territory but has AT&T dead spots, plan accordingly (and vice versa). Some tools even aggregate coverage info the Coverage app (by technomadia) lets you overlay official coverage maps of major carriers so you can see where each has signal, even offline. In short: diversify your connectivity.
It might cost a bit more to have two plans active, but if connectivity is important for you, the redundancy can be priceless when you roll into that gorgeous campsite where, oops, only one carrier gets service.
7. Use Signal Finder Apps – Sometimes the difference between no bars and usable signal is just a few feet or the direction you face. This is where signal finder and network mapping apps come in handy. Apps like OpenSignal, Network Cell Info, Cellmapper, or RootMetrics can help you identify where the nearest cell tower is or which direction to point your phone/hotspot for the best reception.
For example, OpenSignal features a compass that shows the direction of the strongest signal and the towers for your carrier RVers who often use it to orient their RV or antenna for optimal signal. If you’re camping in a spot with marginal coverage, walking up a hill or moving 100 yards in one direction might significantly improve reception; a signal app can reveal that.
How to use these apps: Before you lose service, download a couple of these tools. OpenSignal will run speed tests and show coverage maps contributed by users. Network Cell Info (Android) gives very detailed signal readings and even an arrow pointing to your connected tower (if known).
When you arrive at a new campsite, you can fire up the app and do a quick survey: it might show, for instance, that 0.5 miles down the road there’s 4G signal, meaning if you’re willing to relocate or go for a walk, you can get connected.
Or it may show that if you position your RV facing east (where the cell tower is), your internal antenna (like a MiFi device by the window) gets a stronger link. Some apps also have a feature to find public Wi-Fi hotspots nearby e.g. the OpenSignal app has a Wi-Fi finder map. That could be useful if you truly have no cell service; maybe there’s a café in town or a visitor center with Wi-Fi you can use.

Pro tip: Many RVers combine apps with external hardware for even better results. For instance, using a cell signal booster’s external antenna + a signal app you might put your booster’s external antenna on a telescoping pole and use a signal meter (or app readings on a phone connected to the booster) to rotate it until you get the highest reading. This is essentially a manual way to aim at towers and can double or triple your data speeds in weak areas.
There are also online resources like FCC tower maps and crowd-sourced maps on CellMapper.net where you can look up known tower locations around you. It might sound geeky, but a few minutes of signal sleuthing can turn an unusable campsite into one where you can at least send messages or make a call. It’s almost like an easter egg hunt to find that sweet spot of signal!
8. Plan Ahead Using Coverage Maps – Last but not least, good old fashioned planning is a proven strategy. Before you head into a new region, take a look at coverage maps from the major carriers (Verizon, AT&T, T-Mobile, etc.) for that area. All carriers publish interactive maps on their websites. While these aren’t 100% accurate, they give a general idea of where you’ll have 4G/5G, where you might drop to 3G or none.
If you see that your route goes through a big donut hole of no coverage on your carrier, you can plan around that, maybe arrange to be offline for that stretch, or travel through that zone during off work hours if you’re working, etc. Many experienced RVers also use user submitted info from apps like Campendium or RV Life campers often leave reviews noting “no Verizon signal, but AT&T worked” for campsites. Those community insights are gold.
Additionally, consider downloading offline maps and info ahead of time if you suspect a coverage gap. If you know you’re going into Yellowstone’s back loops (which are notorious for little to no service), download Google Maps offline and any content you want before you get there. Part of planning is also deciding which tools to deploy for a given trip.
For a weekend in a state park that has decent cell coverage, you might not need to pack the Starlink. But if you’re going to venture into Utah’s remote canyons, you might decide to bring the satellite kit or at least a backup hotspot on a second carrier.
It can help to have a connectivity checklist before big trips: check carrier maps, update any app data (like the Coverage? app overlays), and ensure your tech (boosters, antennas, hotspot plans) are ready. As the saying goes, “forewarned is forearmed.” Knowing what to expect signal-wise lets you set expectations (for instance, letting your boss know you’ll be offline mid-day driving through West Texas, or telling family you’ll check in once back in range).
In summary, a bit of research using coverage maps and travel planning tools can prevent unpleasant surprises. The Ubifi RV internet guide put it well: your ideal setup depends on your travel style, weekend campground warriors might do fine with just a phone, while full-time nomads need a multi-layered connectivity plan. By planning ahead, you can tailor your approach for each adventure and ensure you’re as connected (or intentionally disconnected) as you want to be.

Real-Life Example: Staying Connected in the Wild (Trust Builder)
With the right gear, even a cliffside campsite can become a remote workstation. Modern RVers mix technologies to stay connected in places once considered off-grid.
Meet Alex and Jamie, a couple who have been traveling full-time in their RV while working remotely for the past year. They’ve journeyed through lonely deserts, up mountain forest roads, and into national parks all while keeping internet and phone service most of the time. How? They use a smart combination of the methods above. Here’s a glimpse into their connectivity setup and experiences:
Not long ago, they camped at a remote BLM site in Utah, surrounded by red rock canyons.
Cell signal was weak about 1 bar of 4G on a good day but they needed to attend video meetings. To solve this, Alex mounted a HiBoost Travel 3.0 RV cell booster on their rig. The booster took that faint signal and amplified it inside the RV, going from an unstable 1 bar to 3 bars of usable LTE service.
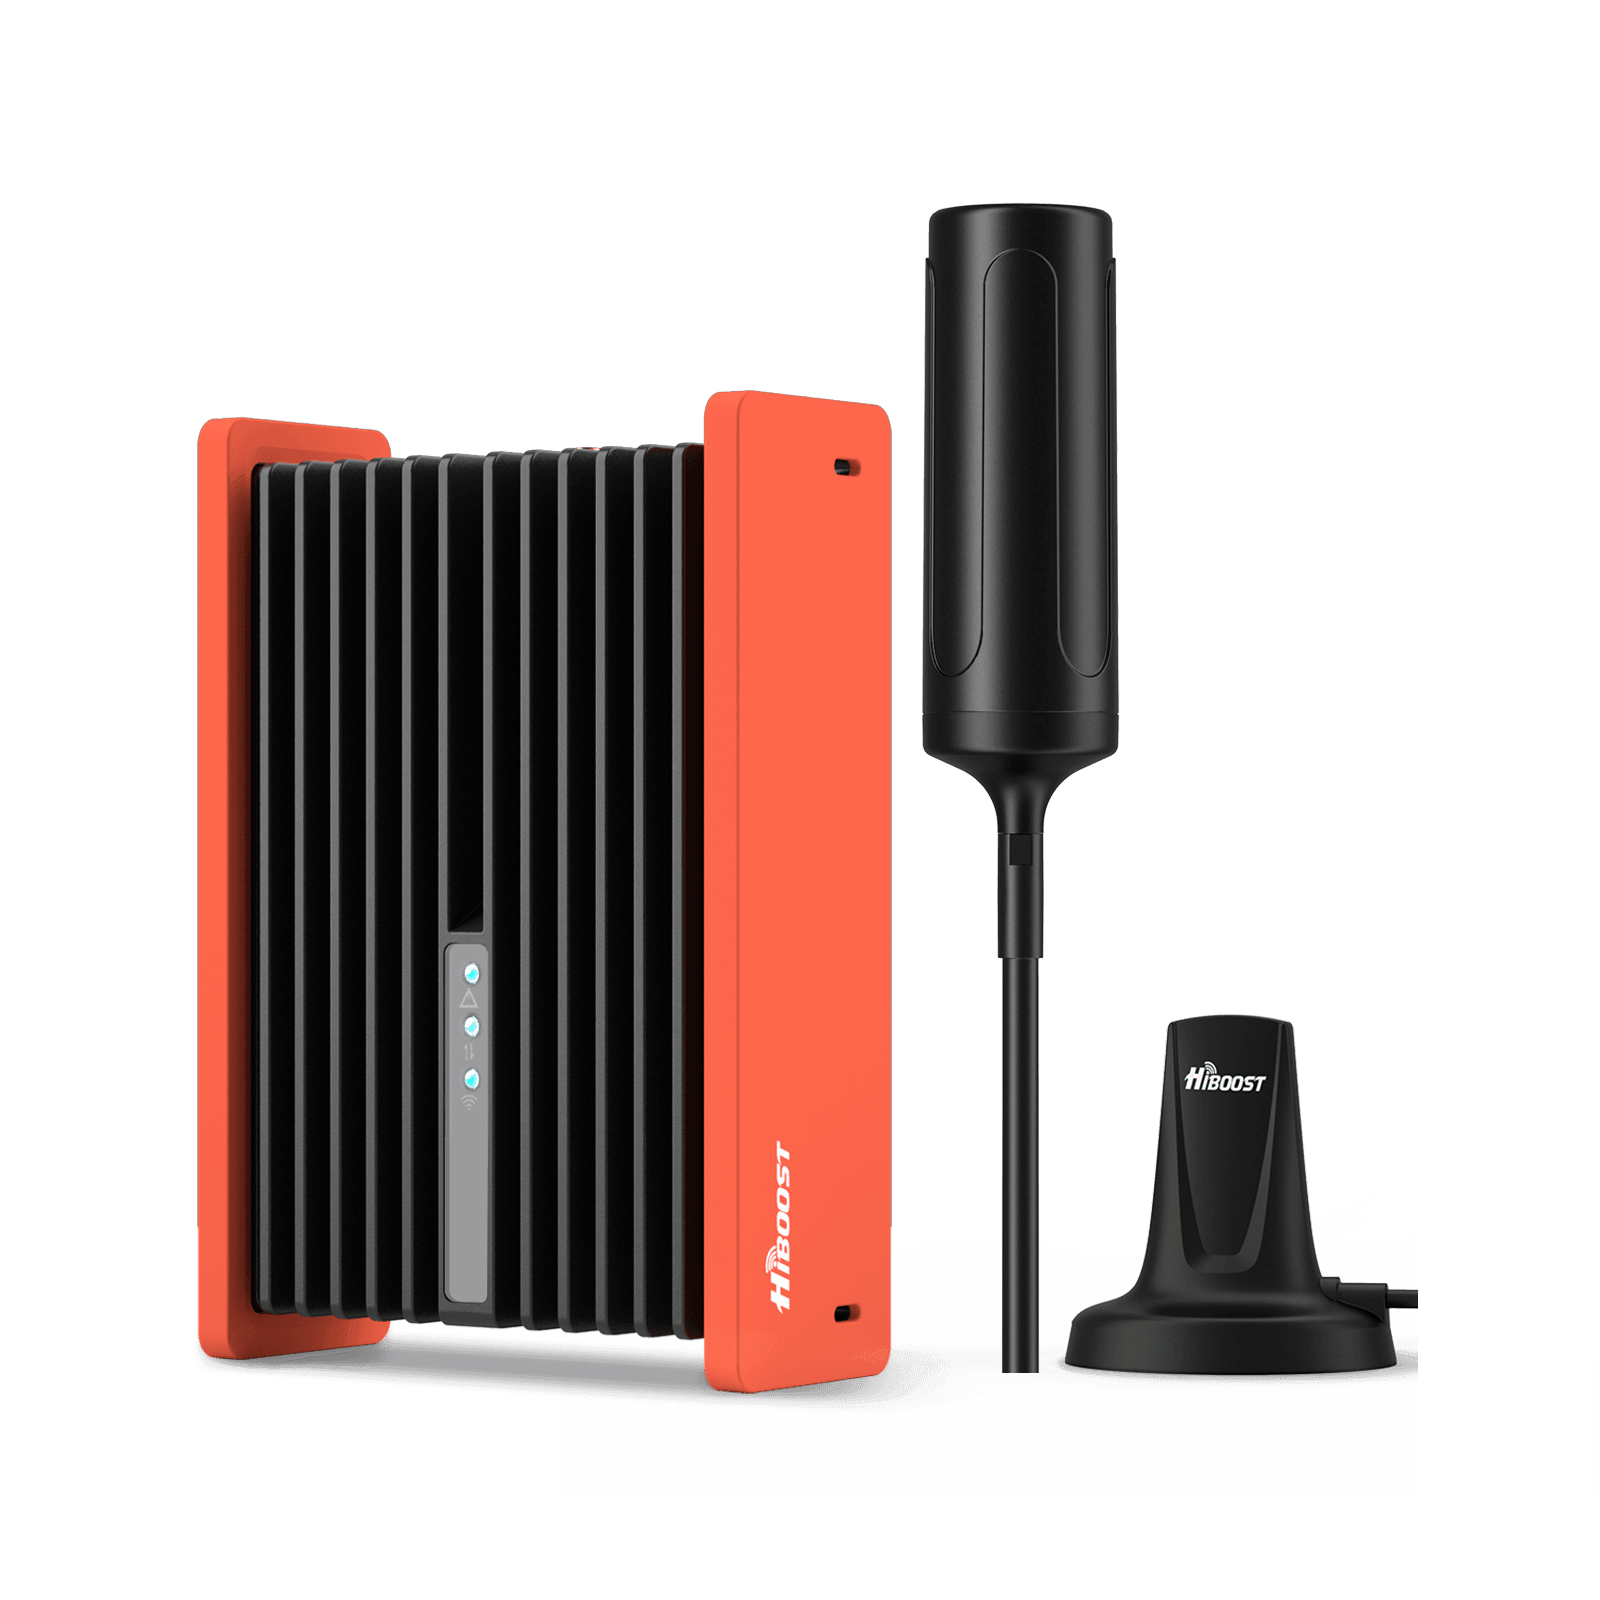
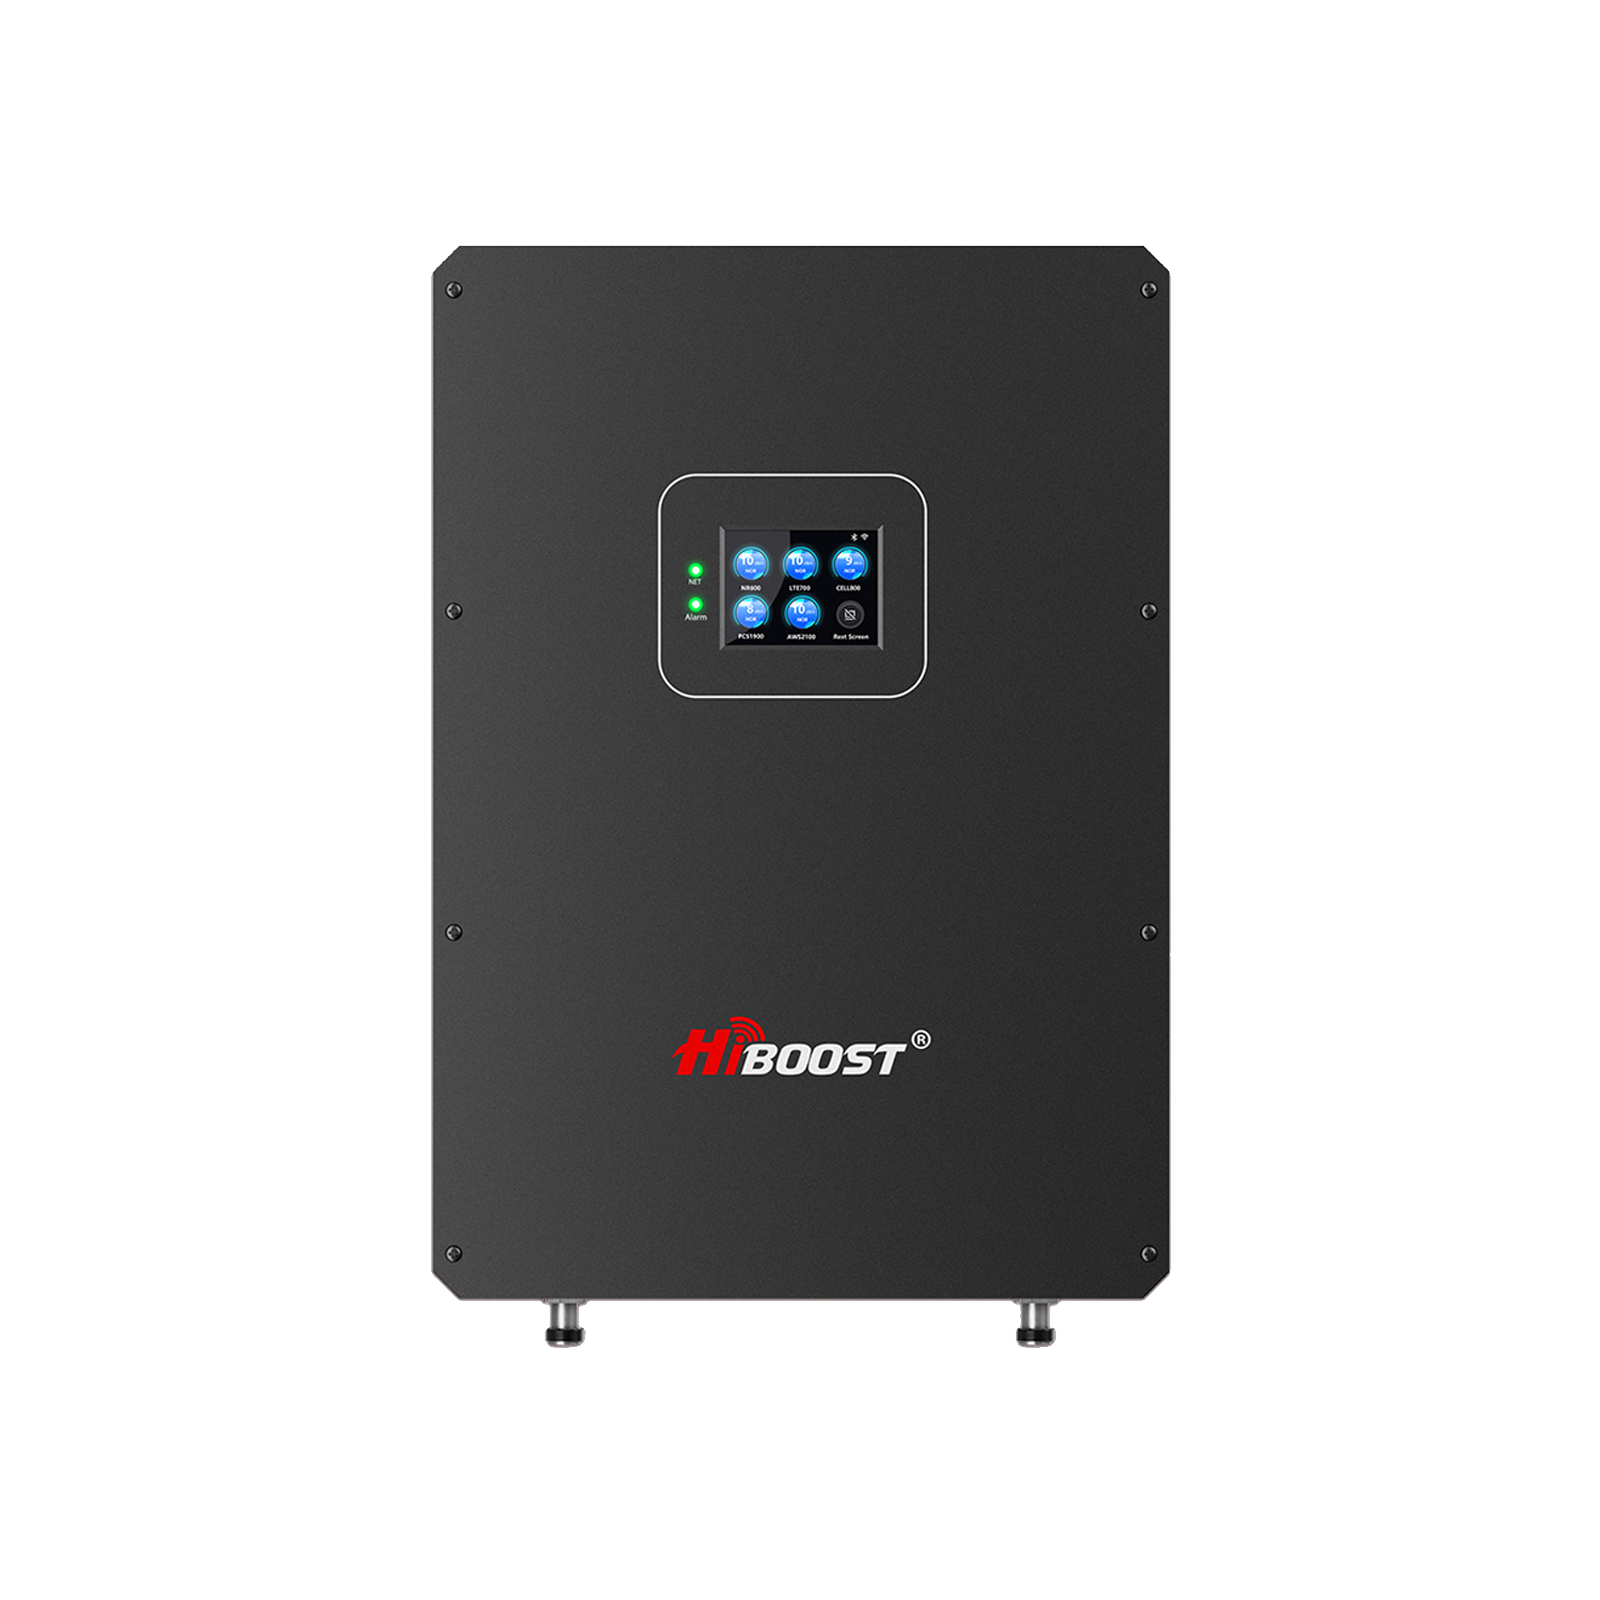
HiBoost Travel 3.0 RV Cellular Signal Booster
For RVs, campers, motorhomes, travel trailers, vans, and mobile homes
Jamie was able to upload her work files and Alex joined his Zoom call with only minor hiccups. “Without the booster, we’d have had to drive 20 miles back toward town to get any service,” Alex recalls. “With it, we were emailing from a place with zero development in sight – it felt like magic!”
On another occasion, deep in the Sierra Nevada, there was truly no cell coverage from any carrier. It was one of those beautiful dead zones. But they weren’t worried when they broke out their Starlink Roam satellite kit. Within 15 minutes of parking, their Starlink dish acquired a signal from space, and suddenly they had broadband internet in the middle of nowhere.
“We were Facetiming our families from a mountain meadow that had no cell service at all,” Jamie says. With download speeds often over 100 Mbps and no data caps to worry about, they even relaxed at night by streaming their favorite show in HD.
The only challenge was managing power, since Starlink draws a lot but they had planned for this with extra solar panels and a beefy battery bank. They also know to park with a clear view of the northern sky for Starlink.
Dual carriers have saved them more than once too. Alex’s work phone is on Verizon, while Jamie’s is on AT&T. In rural Oregon, their campground had a decent AT&T signal but Verizon was roaming or dead. No problem they simply used Jamie’s phone hotspot that week for all their devices. Conversely, in parts of Arizona, Verizon was king and AT&T had nothing. By having two carriers, they rarely find a place where both are out (and if they do, that’s when Starlink steps in).
“We learned early on that carrier coverage can be weird if you drive 5 minutes and one carrier magically gets full bars,” Jamie laughs. Do they often consult the Coverage? app before heading somewhere new, to see which carrier is likely to work, and they plan stops accordingly.
They also swear by signal-finder apps. When parking the RV at a new site, Alex will walk around with his phone running an app to see where the signal is strongest. Even an improvement of -5 dBm (a measurement of signal strength) can be the difference between buffering and smooth internet.
“One time on a forest road, we literally moved the trailer 40 feet forward after a test and suddenly we got two extra Mbps of speed just because we weren’t right behind a hill,” says Alex. These little optimizations, plus tricks like using a directional antenna for their hotspot, have allowed them to work from spectacular remote locations without losing touch.
The result: Alex and Jamie have built trust with their employers and clients that they can do their jobs from anywhere. They’ve taken video calls from a beach in Baja, uploaded reports from a national forest, and kept a lifeline for safety everywhere in between. By using a layered approach cell booster + multiple carriers + satellite backup + smart planning they stay connected virtually 100% of the time.
And when they do decide to unplug, they know it’s by choice, not because their setup failed. Their story is a testament to how the connectivity tools we’ve outlined can work in real life. With a bit of investment and knowledge, even the most off-grid explorers can remain confidently connected.
(Trust note: The example above is based on common setups and experiences of real RVers who share their stories in forums and blogs. Your exact results may vary, but thousands of travelers in 2025 are successfully using these methods to stay online on the move.)
Frequently Asked Questions (FAQ)
Q1: Do signal boosters work while driving?
Yes most vehicle cell signal boosters (including those for RVs) are designed to operate whether you’re parked or on the move. They typically use an omnidirectional external antenna that can pick up cell tower signals from any direction, which is ideal while driving. As long as your booster is installed correctly and powered (via your RV’s 12V outlet or inverter), it will continually amplify cell signals for everyone inside the vehicle. This means you can enjoy fewer dropped calls on the highway and better data for navigation or music streaming as you travel through rural areas.
Do note that extremely weak areas are still extremely weak if you’re in a vast dead zone, even a booster might not find much to amplify. But generally, yes, a booster can and does work in motion. Many RVers keep theirs running whenever they drive through sketchy coverage zones, so that their passengers can stay online and apps like Google Maps stay connected. It’s a great feeling to maintain 2–3 bars of LTE/5G while cruising through a previously unreliable stretch of road, all thanks to the booster.

Q2: Can I use my existing phone plan for tethering (hotspot)?
In most cases, yes you can use your smartphone’s plan to create a Wi-Fi hotspot (known as tethering) for your other devices. However, carriers often have specific rules or limits on this. Many phone plans include a set amount of high speed hotspot data (for example, 10 or 50 GB per month); after that, they might slow down your tethered speeds.
You’ll want to check your plan’s details for “mobile hotspot” or “tethering” allowances. If your plan allows it, you can simply enable the hotspot feature on your phone and connect your laptop or tablet. Keep in mind that tethering can consume a lot of data activities like streaming video or large updates will count against your usage. Also, heavy hotspot use can drain your phone’s battery quickly and generate heat.
To mitigate this, plug your phone into power when using it as a hotspot, and keep an eye on data usage so you don’t unknowingly burn through your allotment. If your current plan doesn’t allow hotspot or has a very low cap, you might consider upgrading to one that does, or getting a dedicated data plan for a hotspot device. Some carriers make it easy to add a portable hotspot to your existing account for an extra fee. In summary, using your existing plan for occasional tethering is fine (and very handy), just be aware of the limits and the potential need for a better plan if you rely on it heavily for home like internet on the road.
Q3: Do cell phone boosters really work for RVs?
They sure do with the caveat that they work within the bounds of available signals. A quality FCC-approved cell booster absolutely can take a weak, spotty cell signal and make it stronger and more reliable inside your RV. This translates to more bars, better call quality, and often faster data.
RV-specific booster kits (like those from HiBoost, weBoost, etc.) are tuned to handle the size of an RV and the typical signal environments you’ll encounter (rural highways, forested camps, etc.). Many RVers will attest that a booster saved the day in places where they otherwise couldn’t get any connectivity. For example, if you’re getting a lot of dropped calls at a campground, a booster can often fix that by amplifying the signal and stabilizing the connection.
They are especially effective for improving LTE and voice. For data-intensive needs, boosters help when the signal is weak but still there, allowing you to go from, say, barely loading a webpage to actually streaming music. Just remember, as mentioned, boosters need an existing signal to boost; they can’t connect to a tower that your phone can’t detect at all. So in truly no signal scenarios, even the best booster won’t conjure one (that’s when you’d need a satellite). Also, boosters don’t discriminate between carriers; a wideband booster will amplify all major carriers’ signals at once, which is great if you have people on different networks in your RV. In summary, boosters do work and are a proven solution for RV connectivity problems. Be sure to get a reputable brand (FCC certified) and install it properly. Once you fire it up, you’ll likely notice your phone’s bars jump, and you’ll wonder how you managed without it.
Q4: Can I work remotely from an RV?
Absolutely! Working remotely from an RV is increasingly common. Thousands of “working nomads” are doing it successfully right now. The key is planning and having the right tech setup for connectivity. You’ll want some combination of the tools we’ve discussed: a reliable cellular data plan (or two), possibly a cell booster, and/or Starlink if you will be in truly remote locations frequently.
Many remote workers carry an RV Wi-Fi hotspot and other gear specifically because being a digital nomad requires a solid internet connection wherever you go. Beyond the internet, consider your power needs (invest in solar or a generator so you can keep your laptop and devices charged), and create a comfortable workspace in your RV (a small desk or a standing setup on the counter ergonomics matter if you’re doing this full-time!).
Communication is also important: let your employer or clients know your travel plans and time zones, and have a backup plan in case you hit an outage (for example, know the nearest town with a coffee shop Wi-Fi). With a bit of experience, you’ll get the hang of timing your work tasks around connectivity. Maybe you do uploads on days you’re in town, or schedule meetings for when you know you’ll be at a campground with a strong signal.
Many people are living proof that you can log in from a national park or a beachside RV and get your job done. In fact, remote work is what enables a lot of us to enjoy this lifestyle in the first place. So yes, with the right preparations, you can work remotely from an RV and be just as effective (perhaps even happier and more inspired!). Just treat connectivity as a critical part of your setup, and you’ll be typing away from a picnic table with a grin on your face.
Q5: What’s the best carrier for RV travel?
There is no one-size-fits-all “best” carrier for everyone, but Verizon is often cited as having the most extensive overall coverage in rural and remote areas frequented by RVers. Verizon’s network tends to reach into many national parks, remote highways, and small towns, which is why many RV folks use them as a primary provider. AT&T also has very strong coverage in many regions and can sometimes beat Verizon in specific rural pockets. It's a close second and for some people, AT&T will work better depending on the area.
T-Mobile has improved greatly (especially with mid-band 5G coverage), and it’s fantastic in and around cities and along many interstates. However, T-Mobile historically had more gaps in very remote countryside, though they are expanding coverage (including more low-band spectrum and roaming agreements) year by year. In 2025, T-Mobile covers a lot of areas, but in the far reaches Verizon might still have the edge. Because of these nuances, a lot of RVers adopt a multi-carrier approach for example, having Verizon and a backup on AT&T or T-Mobile, as discussed in Tip #5.
If we’re talking strictly about the USA, and you only want to pay for one carrier, Verizon is a safe bet for widest coverage. AT&T would likely be next, and T-Mobile can be great if your travels keep you within their covered zones (and they often offer better pricing). Also consider MVNOs (reseller carriers) like Visible (Verizon network), Cricket (AT&T), or Google Fi (T-Mobile/Sprint) which can offer cost savings and flexibility, but be aware they sometimes have lower priority on the networks in congested areas. In Canada or Mexico, the “best” will differ (e.g., in Canada, Rogers or Telus have good rural coverage, whereas in Mexico Telcel is king).
For U.S. travelers, you really can’t go wrong starting with Verizon for broad coverage. Just remember that even Verizon has dead spots, so savvy RVers always have a plan B. Check coverage maps for where you plan to go, and that will reveal which carrier likely serves those areas best. And if you’ll be truly all over the map, consider the dual-carrier strategy so you’re covered by multiple networks.
Embrace the Journey (and Stay Connected!)
Staying connected as a camper or RVer in 2025 is very achievable in fact, it’s getting easier each year with advancing tech. By understanding the challenges and using a combination of the strategies above, you can virtually bring the internet with you anywhere you roam. Whether you’re a weekend camper who just wants to upload some photos and have cell service for safety, or a full-time digital nomad running a business from your motorhome, there’s a setup that will keep you linked to the world.
Remember, the goal is to balance connectivity with the freedom of the road. With a bit of gear and planning, you won’t have to stress about missing an important email or being unable to call for help in a pinch. A solid cell signal booster, for instance, can make sure your phone has full bars in places it never did before. Products like the HiBoost Hero, Sidekick, Travel 3.0 RV, or 4K Plus Pro boosters are great examples – they’re designed to amplify weak signals and keep your calls clear and data flowing when it matters most. These boosters, combined with a good data plan (or two), and tools like hotspots or Starlink, give you a robust safety net for connectivity.
So, as you map out your next adventure, take a moment to also map out your connectivity plan. Download that offline map, extend that antenna, fire up that booster, and double-check the coverage where you’re headed. Then hit the road with confidence, knowing that you can stay connected anywhere from mountaintop vistas to desert valleys.
Finally, don’t forget to occasionally unplug and enjoy the reason you went out there in the first place! There’s a big difference between having the ability to connect and needing to be online 24/7. Use your connectivity toolkit to enrich your journey and provide security, but also give yourself permission to log off and soak in the sunsets tech-free when you can. After all, the best of both worlds is being able to enjoy nature’s beauty while still being a call or click away from those who matter.
Ready to improve your on the road connectivity? Check out HiBoost’s range of cell phone signal boosters from the RV-ready Travel series to powerful home units to find the perfect solution for your needs. With the right booster and setup, you’ll never have to choose between adventure and communication. Here’s to traveling far, exploring wide, and staying connected every mile of the way!
Key Takeaways for Staying Connected
- Connectivity is essential in 2026 for work, safety, and entertainment.
- Weak signals are still common in rural and off-grid areas.
- Combining cellular data, mobile hotspots, and a reliable signal booster ensures you stay online wherever you travel.
- Planning and the right gear are the keys to stress-free connectivity on the road.
Next Step: Explore HiBoost RV signal boosters to enhance your coverage before your next adventure.
Recommended Reading
How to Get Better Cell Signal in an RV
Why RV Owners Are Choosing HiBoost Travel 3.0 for Better Signal
How to Boost the Cell Phone Signal in Your RV
Why Do I Drop Calls in My Car And How to Fix It?
Car/Suv,RV,Truck,Vehicle
Our Home Signal Booster
Popular Articles


Leave a comment
All comments are moderated before being published.
This site is protected by hCaptcha and the hCaptcha Privacy Policy and Terms of Service apply.