Staying connected on the road is more important than ever. In 2026, millions of RV travelers rely on internet and cellular connectivity for navigation, remote work, schooling, and entertainment. In fact, studies show 84% of RV users want internet access while traveling, and 59% have worked from their RV at least once. Whether you’re a full-time digital nomad or a weekend camper, weak signals and dead zones don’t have to spoil your journey.
This guide will help you understand common RV connectivity challenges and present practical solutions from optimizing your phone and using signal boosters to tapping into Wi-Fi, mobile hotspots, 5G, and satellite internet. We’ll also cover tools to monitor signal strength, real-world scenarios, future trends, and answer frequently asked questions. RV travel doesn’t mean you must disconnect with the right approach, you can stay online anywhere in the U.S. and make the most of your adventures.
An RVer working remotely from a camper modern RV life depends on reliable connectivity.
1. Understanding RV Connectivity Challenges

Staying connected in an RV isn’t as simple as in a house. Let’s break down why RVers face unique hurdles with internet and cell signals on the road.
1.1 Types of Connectivity Issues on the Road
- Sparse Cell Tower Coverage: RVs often roam through rural highways, mountains, deserts, and forests where cell towers are few and far between. The farther you are from a tower, the weaker your signal leading to dropped calls and slow data. Remote parks or scenic byways may have no service at all due to carrier focus on populated areas.
- Physical Obstructions: Terrain and man made obstacles can block or degrade wireless signals. Hills, dense trees, and canyon walls absorb or deflect cell signals, creating dead zones. Even your RV’s construction plays a role: metal walls, aluminum frames, and tinted windows can act like a Faraday cage that weakens signals inside the RV. Often you’ll find stepping just outside the RV yields a better signal because you’ve moved past these barriers.
- Network Congestion: At popular campgrounds or RV parks, dozens of people may connect to the same cell tower, causing slow speeds or inability to get data through. This network congestion is common during peak hours or at big RV rallies where everyone is streaming and uploading simultaneously.
- Weather Factors: Rain, snow, and storms can weaken radio signals by absorbing or scattering the signal. Extremely hot days or very cold temperatures can also impact device performance and battery life. While you can’t control weather, it’s useful to know it might make a marginal connection even worse.
Understanding these challenges prepares you to address them. Next, we’ll see why RVs specifically have a tougher time staying connected compared to traditional homes.
1.2 Why RVs Struggle More Than Homes
An RV is a mobile metal box, which isn’t ideal for radio signals. Many RVs have aluminum siding or metal roofs, insulated walls, and UV-tinted windows all of which block cellular and Wi-Fi signals much more than a typical wood frame house. The metal frame can reflect signals away, so devices inside get only a fraction of the outside signal. Homes usually don’t use as much metal in the walls, and they often have more openings for signals to pass through.
Another factor is that houses are stationary. A home can have a fixed broadband line or a permanently mounted high-gain antenna and booster system. In contrast, RVers must rely on mobile networks or campground Wi-Fi, which can be less stable.
Also, mobile signal boosters for vehicles are legally limited to lower power for safety, whereas home boosters can be more powerful. This means an RV booster covers a smaller area versus a home booster covering an entire house, a consideration for larger RVs with multiple rooms. In short, an RV in a fringe area has to work harder to get connected than a house in the same spot.
1.3 Common Frequency Bands and Their Coverage
Not all wireless signals are equal; the frequency they operate on affects how far they reach and how well they go through obstacles. Lower frequency bands travel much farther and penetrate walls or trees better than higher frequencies. That’s why carriers use low-band frequencies for wide rural coverage; these signals can cover many miles but don’t carry as much data. Higher frequency bands can transmit huge amounts of data but only over short distances and open areas. They also struggle to get through RV walls or dense foliage.
For example, T-Mobile’s “Extended Range 5G” uses 600 MHz low-band to reach far-flung areas, whereas its ultra-fast mid-band 2.5 GHz 5G is mostly in cities or suburbs. Similarly, Verizon and AT&T rely on low bands to blanket highways and rural towns, while higher bands serve urban capacity. Understanding frequency bands helps set expectations in remote areas; you might only get low-band 4G or 5G, which has great range but modest speeds.
And for Wi-Fi in your RV, the same concept applies: 2.4 GHz Wi-Fi goes farther through RV walls but is slower, while 5 GHz Wi-Fi is faster but you might lose signal if you step outside or even behind an RV wall. The key takeaway is that long-range coverage and high-speed capacity are a trade-off in wireless networks, which is why multiple solutions are needed to stay fully connected on the road.
2. Mapping Connectivity Across the US
Coverage isn’t uniform across the United States. As an RVer, it helps to know which regions have strong signals and where you might encounter dead zones.
2.1 Best and Worst Coverage Regions
In general, urban areas, interstates, and well-traveled highways have the best cellular coverage, while very remote regions have the worst. All three major carriers advertise nationwide networks, but their strengths differ:
- Verizon: Known for excellent overall coverage, including many rural areas and highways. Verizon’s network is strong in suburban and rural regions, with extensive 4G LTE and expanding 5G along interstates. It often works in national park gateway towns and remote highways where others might not. Notable weak spots: Some parts of the Mountain West still see gaps.
- AT&T: Very good coverage in most parts of the country, especially the South and Midwest. AT&T’s network has improved in rural areas, and it has the dedicated FirstNet band for emergency responders. Weak spots: The northern Rocky Mountains and certain New England mountain pockets can be spotty.
- T-Mobile: Leader in 5G deployment you’ll find T-Mobile’s 5G in a lot of places, and their extended-range 5G covers wide areas. T-Mobile can offer great speeds near cities and along some highways, but historically their rural LTE coverage was behind the others. They’ve improved, but weak spots remain in very remote forests, some desert regions, and off-the beaten path locales. In sparsely populated areas, you might drop to roaming or no service sooner on T-Mobile than on Verizon/AT&T.
It’s also worth noting regional carriers like US cellular operate in certain states. If you travel in those areas, a plan that can roam on or use those networks might help.
For a big-picture view, the FCC’s national broadband map and carrier coverage maps can be useful planning tools. They show that most of the U.S. population is covered by 4G or 5G now, but significant land areas still lack reliable signal. As an RVer, you’ll likely encounter some of these areas during cross-country trips.
2.2 Common Dead Zones for RV Travelers
Despite carriers’ best efforts, some locations are notorious “dead zones” for any cellular service. Here are a few to be aware of:
- National Parks and Remote Public Lands: Ironically, the most beautiful parks often have zero cell service. Many large national parks have policies or practical limits that result in no towers inside the park. For example, Big Bend (TX), Sequoia (CA), Joshua Tree (CA), and parts of Olympic National Park (WA) have little to no reception. In these places, once you enter the park boundaries you may be entirely off-grid.
- Mountainous Areas: Portions of the Rocky Mountains, Appalachians, and Sierra Nevada have dead zones in valleys and passes where signals are blocked by terrain. For instance, western Montana and eastern Idaho have stretches with no coverage on highways. The same goes for certain canyons in Utah or Colorado. If a road sign says “No Services Next 50 miles,” that likely includes cell service.
- Deserts and Great Plains: In sparsely populated desert regions and some Great Plains areas, you can find yourself out of range. There might be one tower covering a huge area if you’re far from it, you’ll have a weak signal or none at all. West Texas and eastern Oregon are examples where there are sizable “coverage holes” between small towns.
- Far Northern Areas: In regions like northern Maine or remote parts of Alaska, cellular infrastructure is minimal. An RV adventure into those areas will likely require satellite communication if you need connectivity.
Being aware of these common dead zones means you can plan around them, download maps or podcasts ahead of time, schedule work calls when you’re in coverage, or have a satellite device for emergencies. Next, we’ll explore solutions to tackle connectivity challenges as you travel.
3. Solutions for Staying Connected on the Road
No single solution will solve all your connectivity woes, but by combining multiple strategies and tools, you can significantly improve your connected experience. Here’s a step-by-step guide to staying online in your RV:
3.1 Optimize Your Mobile Device
Start with the simplest “device tweaks” that can enhance your existing phone or tablet’s connectivity:
- Use Wi-Fi Calling and Texting: Most smartphones allow Wi-Fi calling, which lets your phone make calls over any internet connection. If you’re in a spot with weak cellular but you have campground Wi-Fi, enable Wi-Fi calling so you don’t miss calls or texts. This can bridge the gap when cell signal is poor but you have some form of internet.
- Limit Background Data & Auto-Updates: When traveling through areas with a weak or metered connection, turn off automatic app updates, cloud backups, or large downloads. This prevents your device from trying to use data in the background that could hog the limited bandwidth. On iPhones, for example, you can turn off Background App Refresh and on Android limit background data in settings. This ensures the bandwidth you do have is used for what matters instead of app updates.
- Refresh Your Connection: If your phone shows one bar or is stuck on a slow 5G signal, it can help to toggle Airplane Mode on and off to refresh the network connection. This forces the device to reassociate with the network and sometimes connect to a nearer tower or switch down to 4G LTE if that’s stronger. Likewise, restarting your phone once in a while can clear network cache and help it perform better.
- Maximize Signal Reception: Treat your phone or hotspot like the radio device it is. Small actions can improve signal: use your device near a window or even outside the RV to get a better line-of-sight to cell towers. Avoid enclosing your phone in metal compartments.
- If you’re stationary and desperate, you can even put your phone in a plastic bag and hoist it up a pole or roof to grab an extra bar, then use Bluetooth or a remote desktop to access it. While extreme, it shows that height and lack of obstructions can really help. A more practical tip is to remove or avoid thick cases or antenna blockers when signal is weak; some heavy-duty cases can reduce cellular antenna performance.
- Battery and Temperature: Keep your device charged and cool. A phone with very low battery might reduce power to its antenna to save energy, and an overheating device might throttle its performance. Using a 12V phone charger in the RV and not leaving the phone in direct sun can ensure it maintains optimal signal strength.
These optimizations cost nothing and can often turn an unusable connection into a tolerable one. Next, we move to dedicated hardware solutions that can dramatically boost your connectivity.
3.2 Use RV-Friendly Cell Phone Signal Boosters
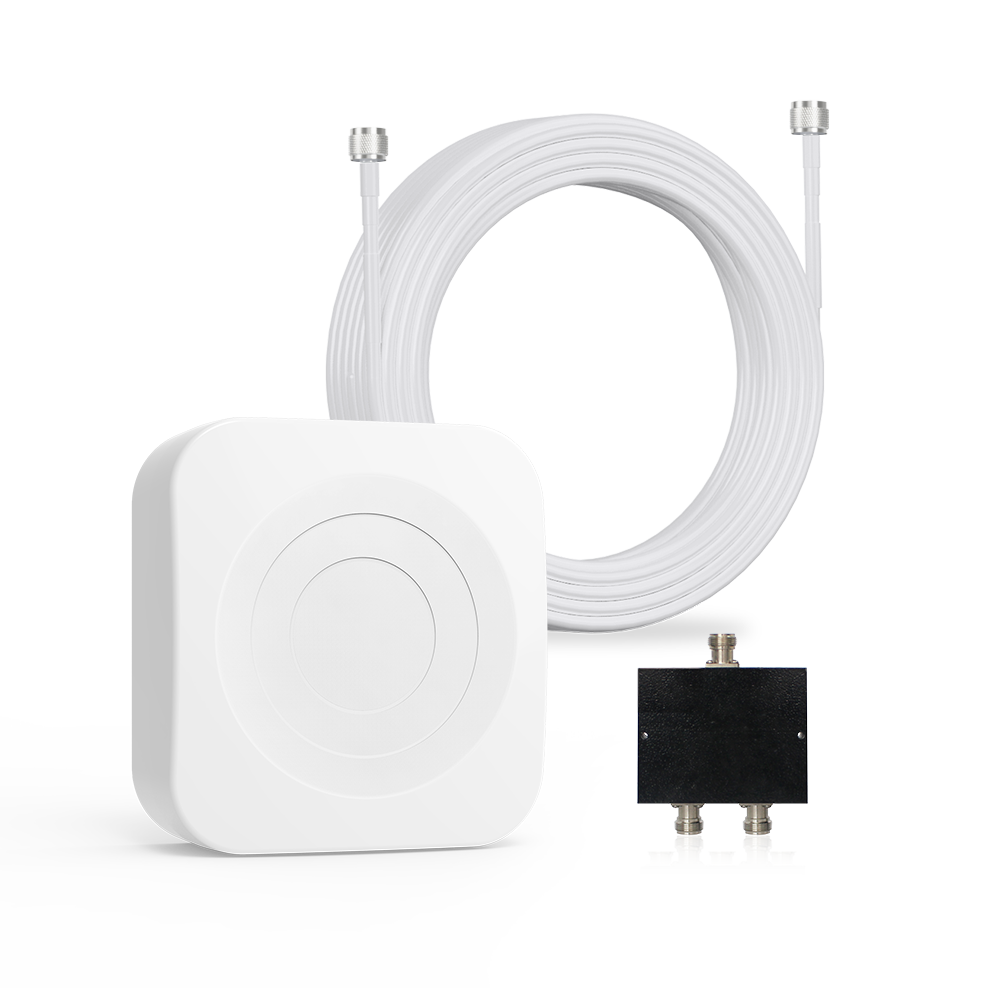
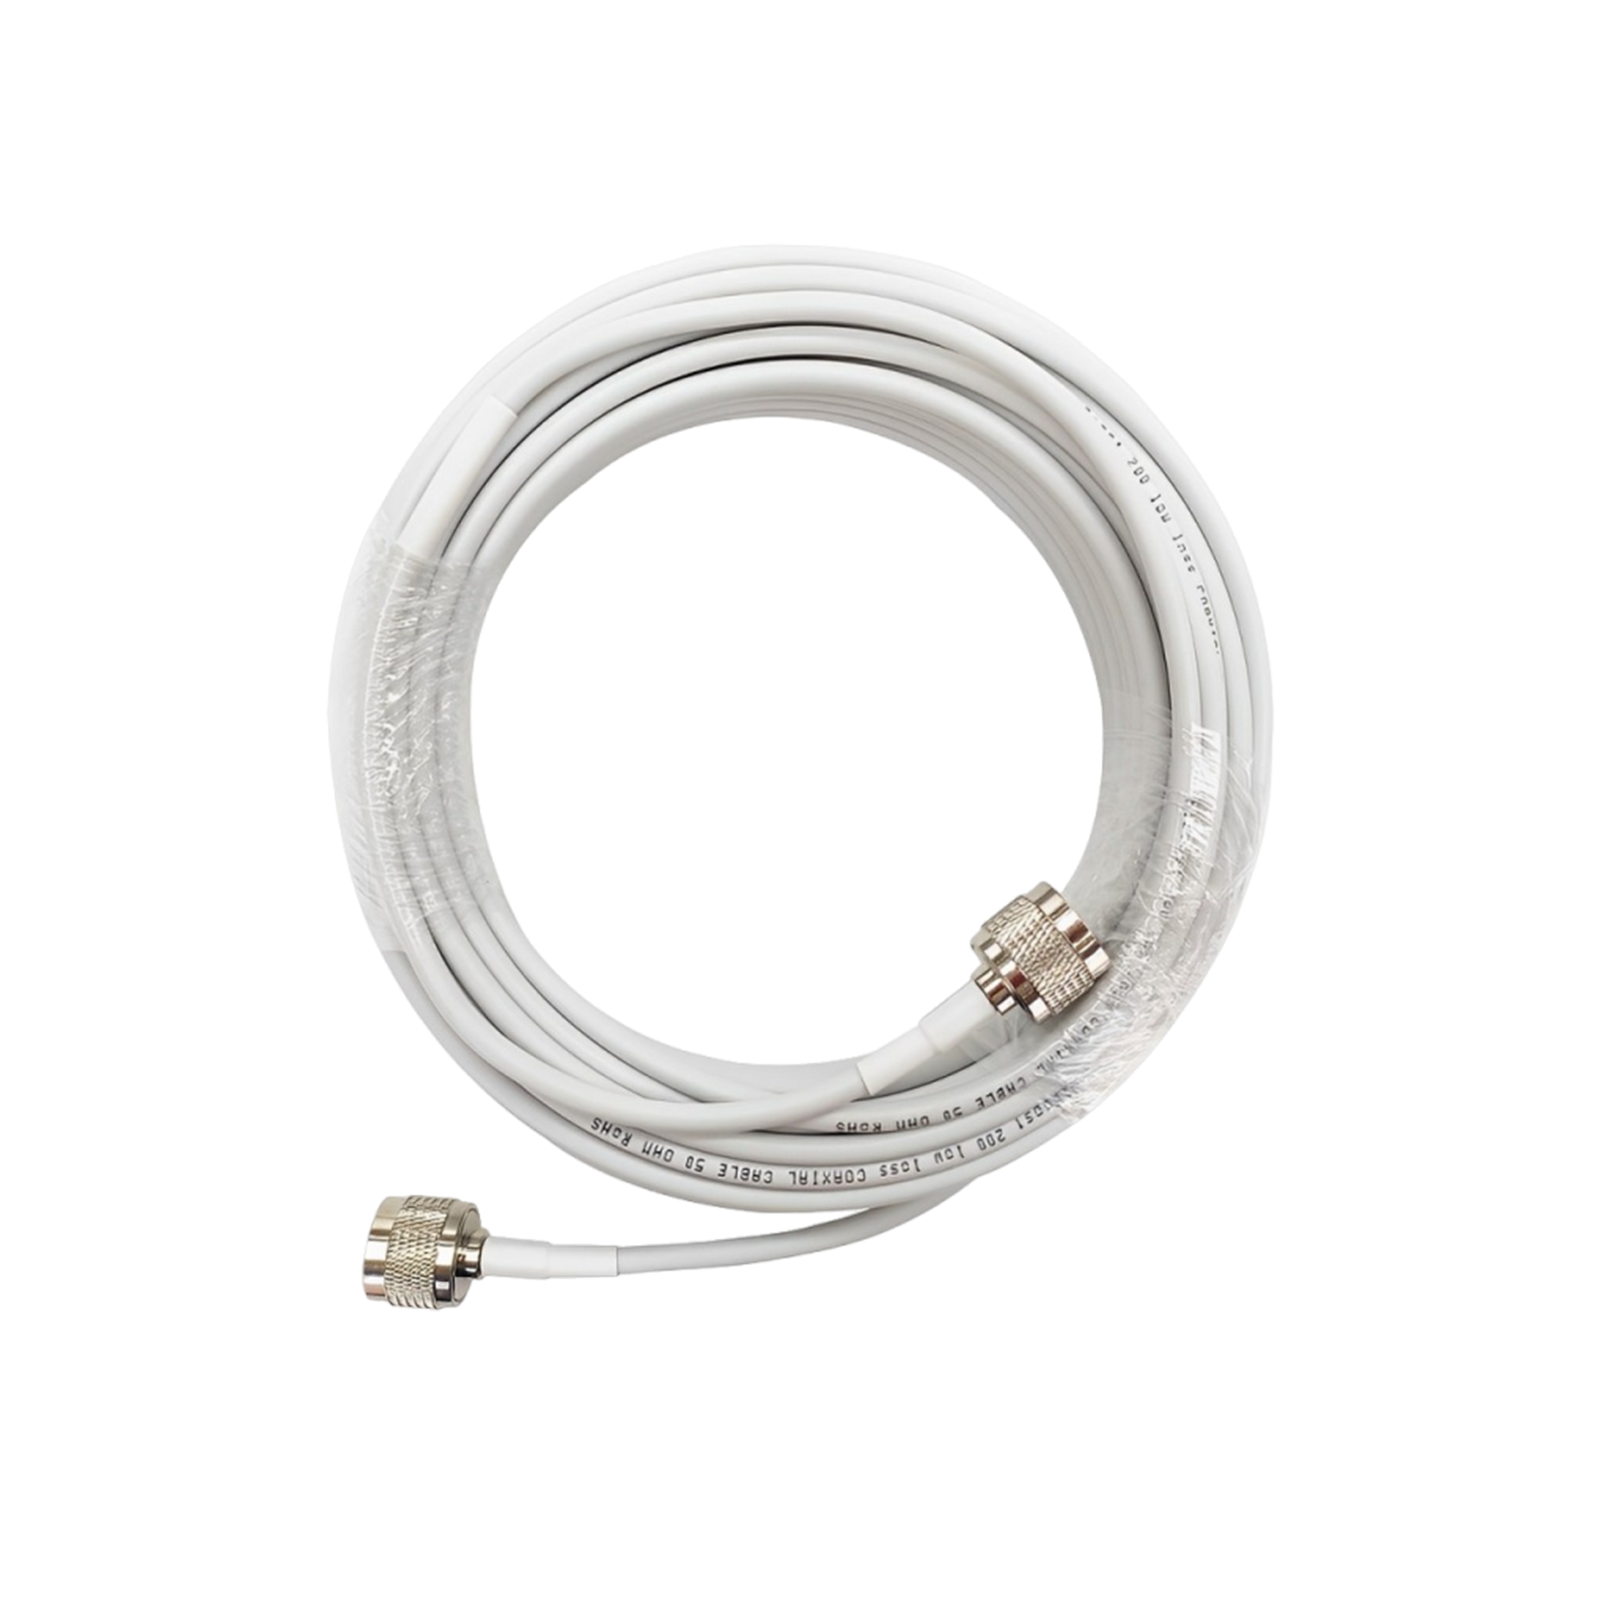
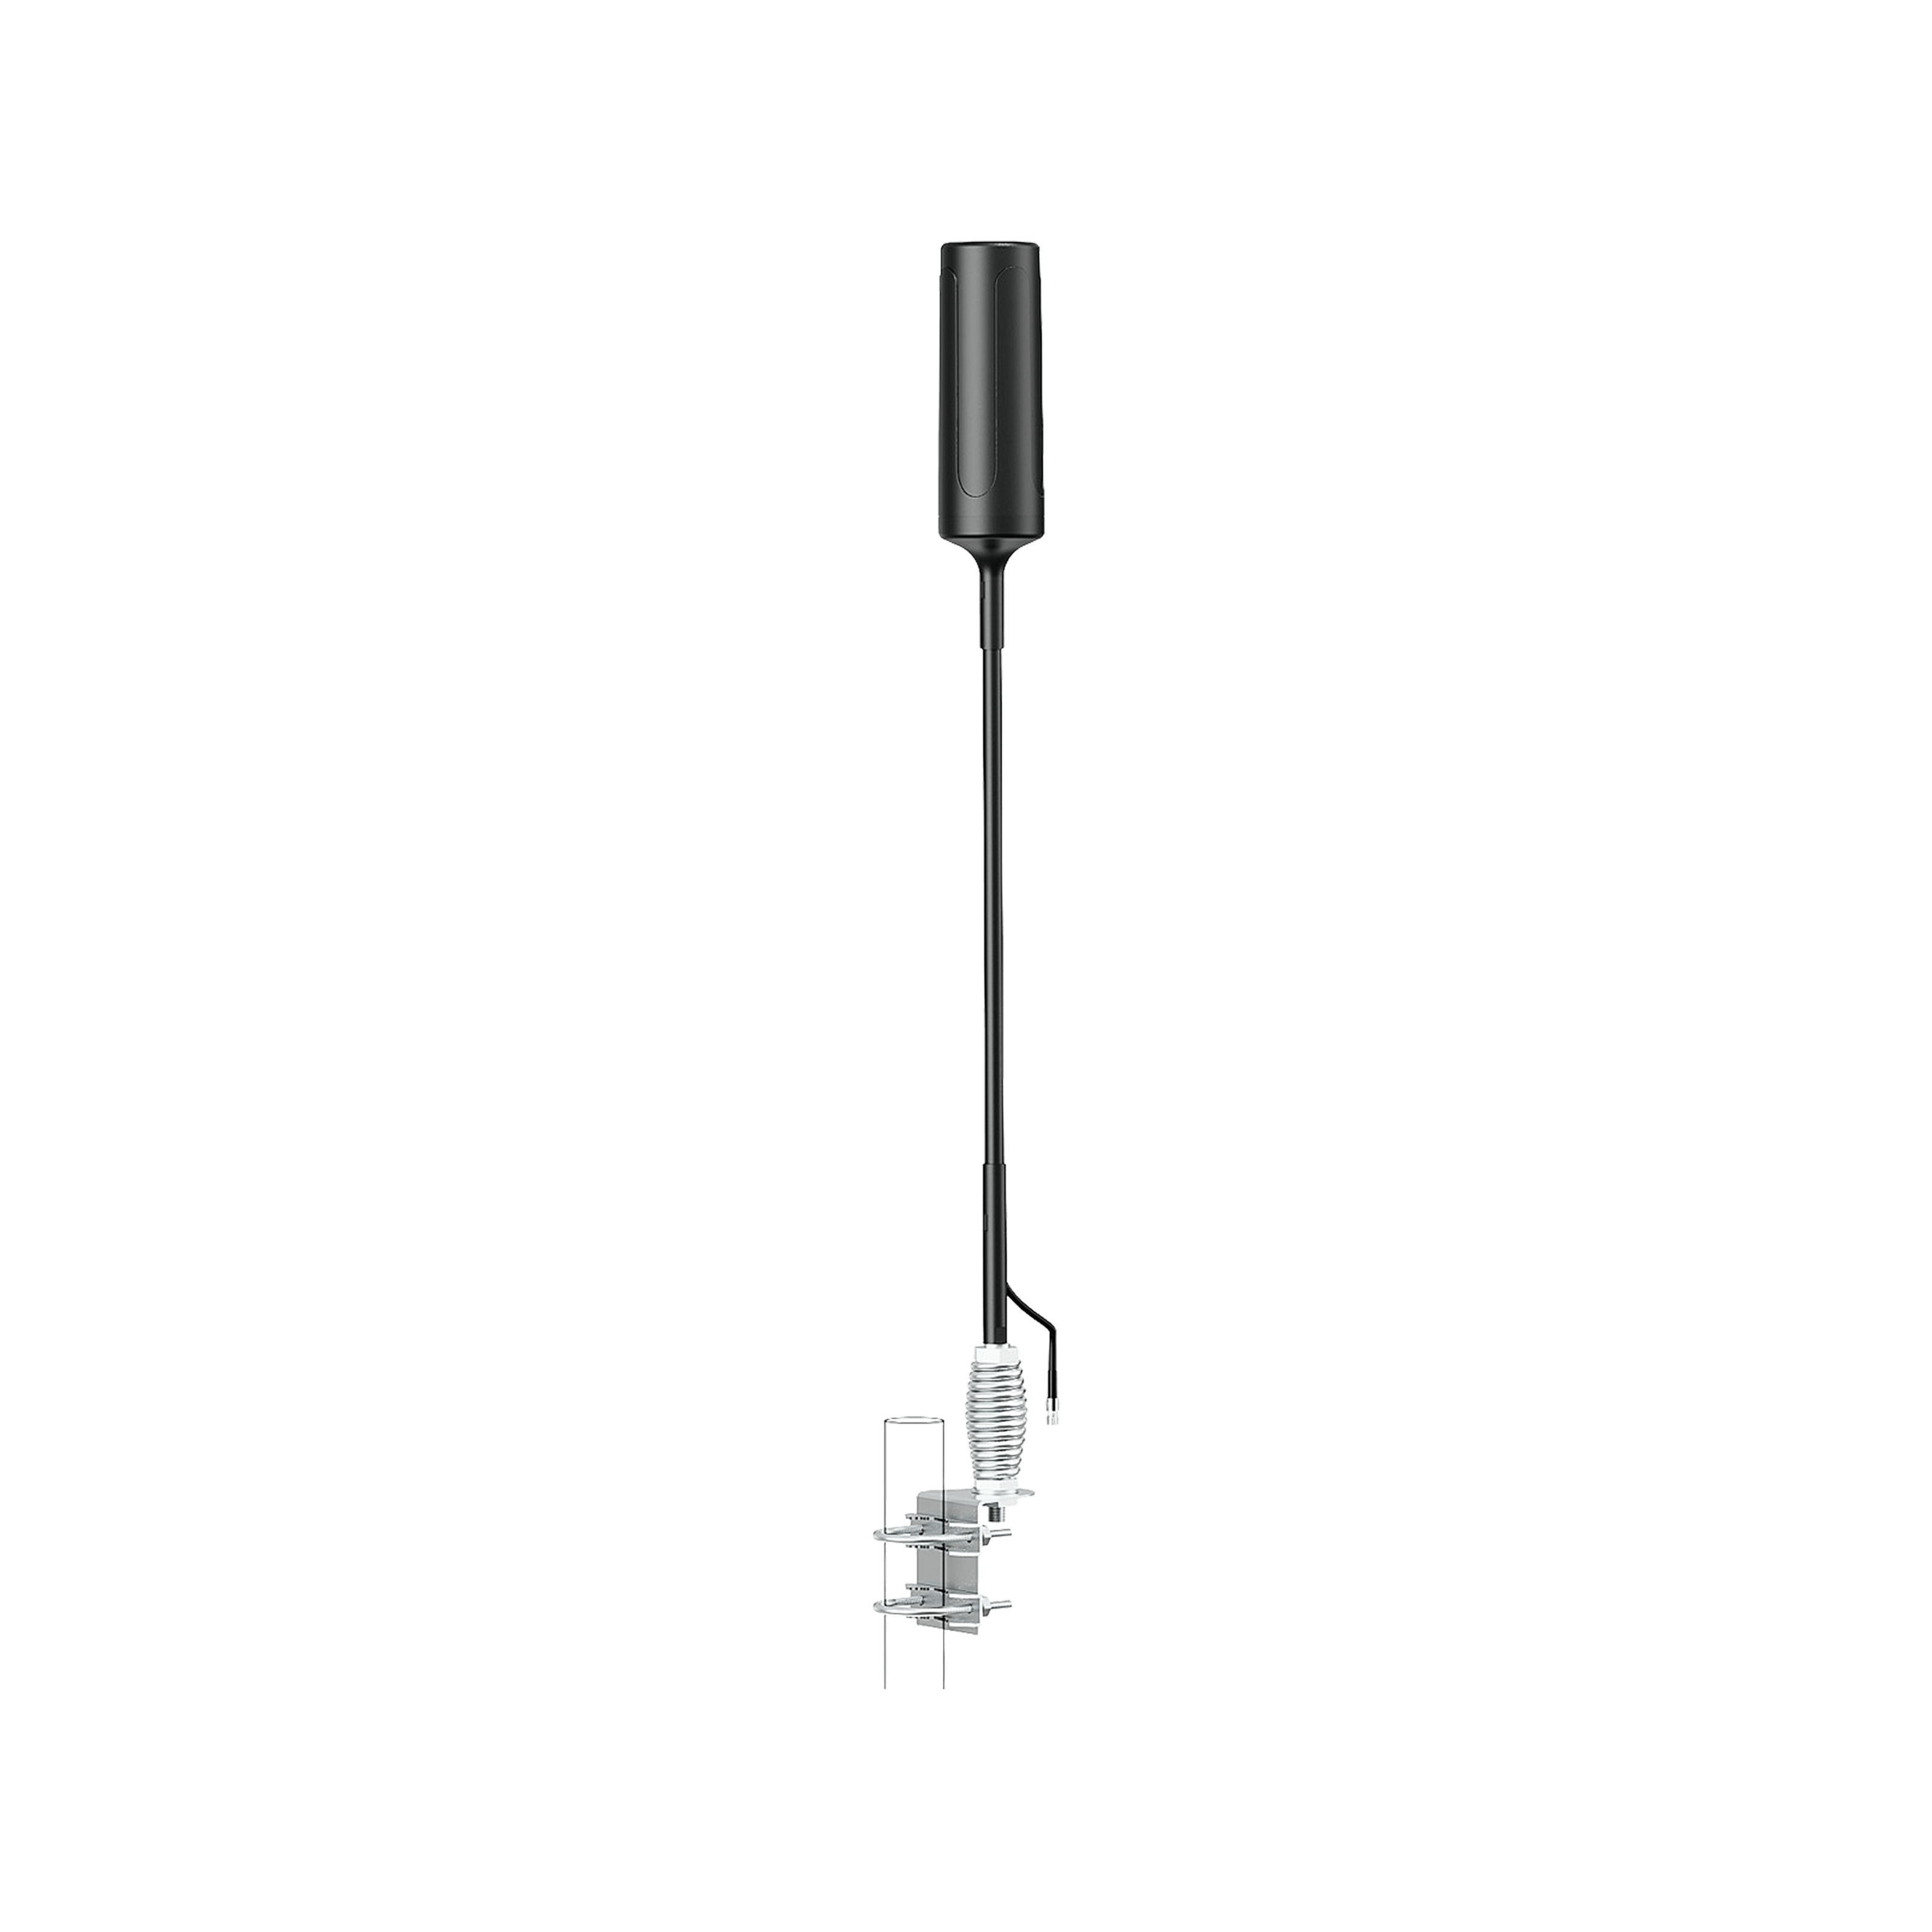
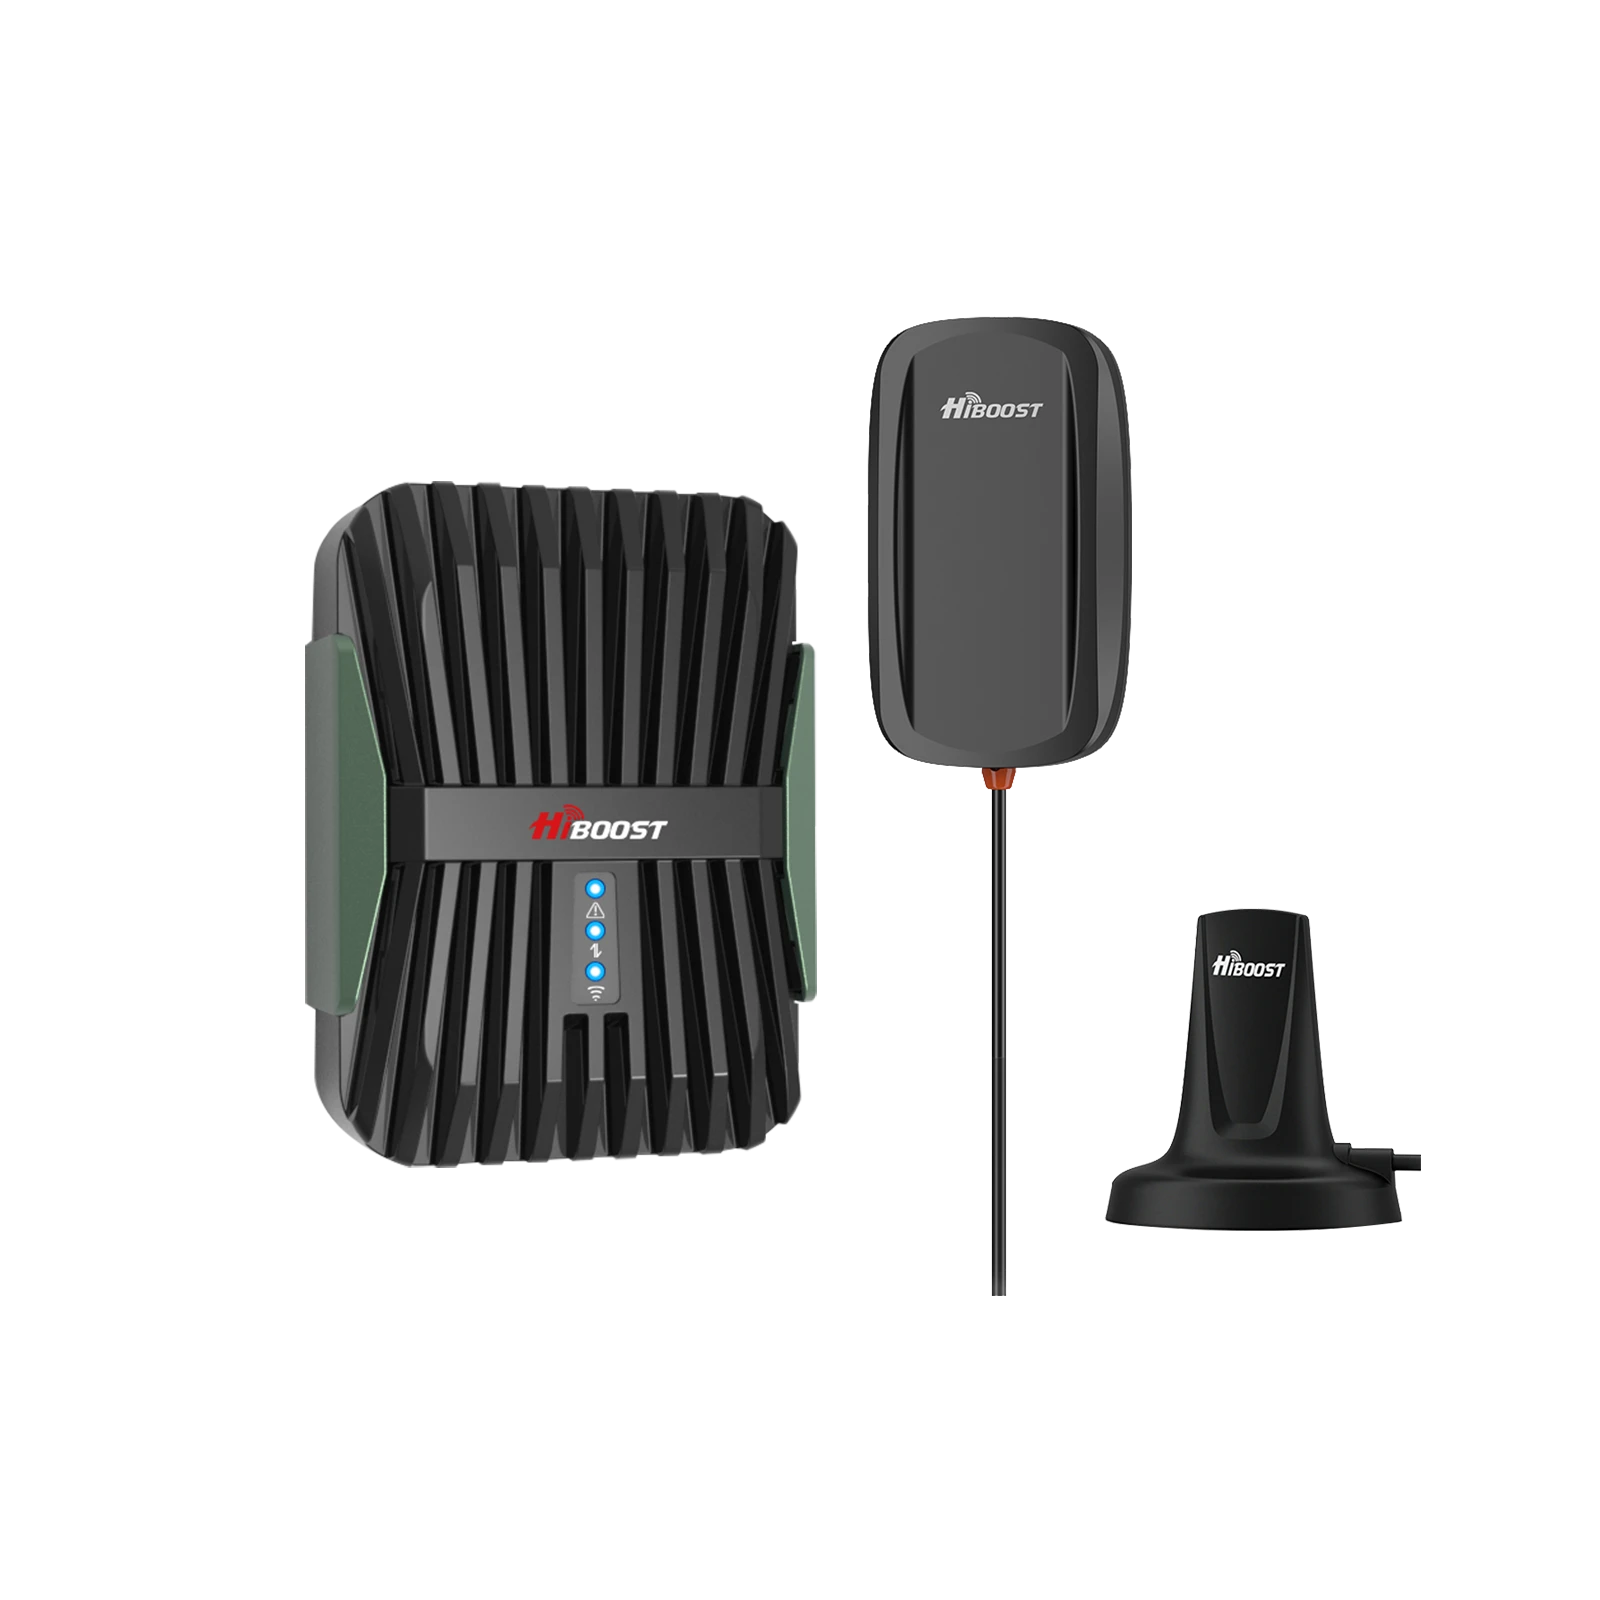
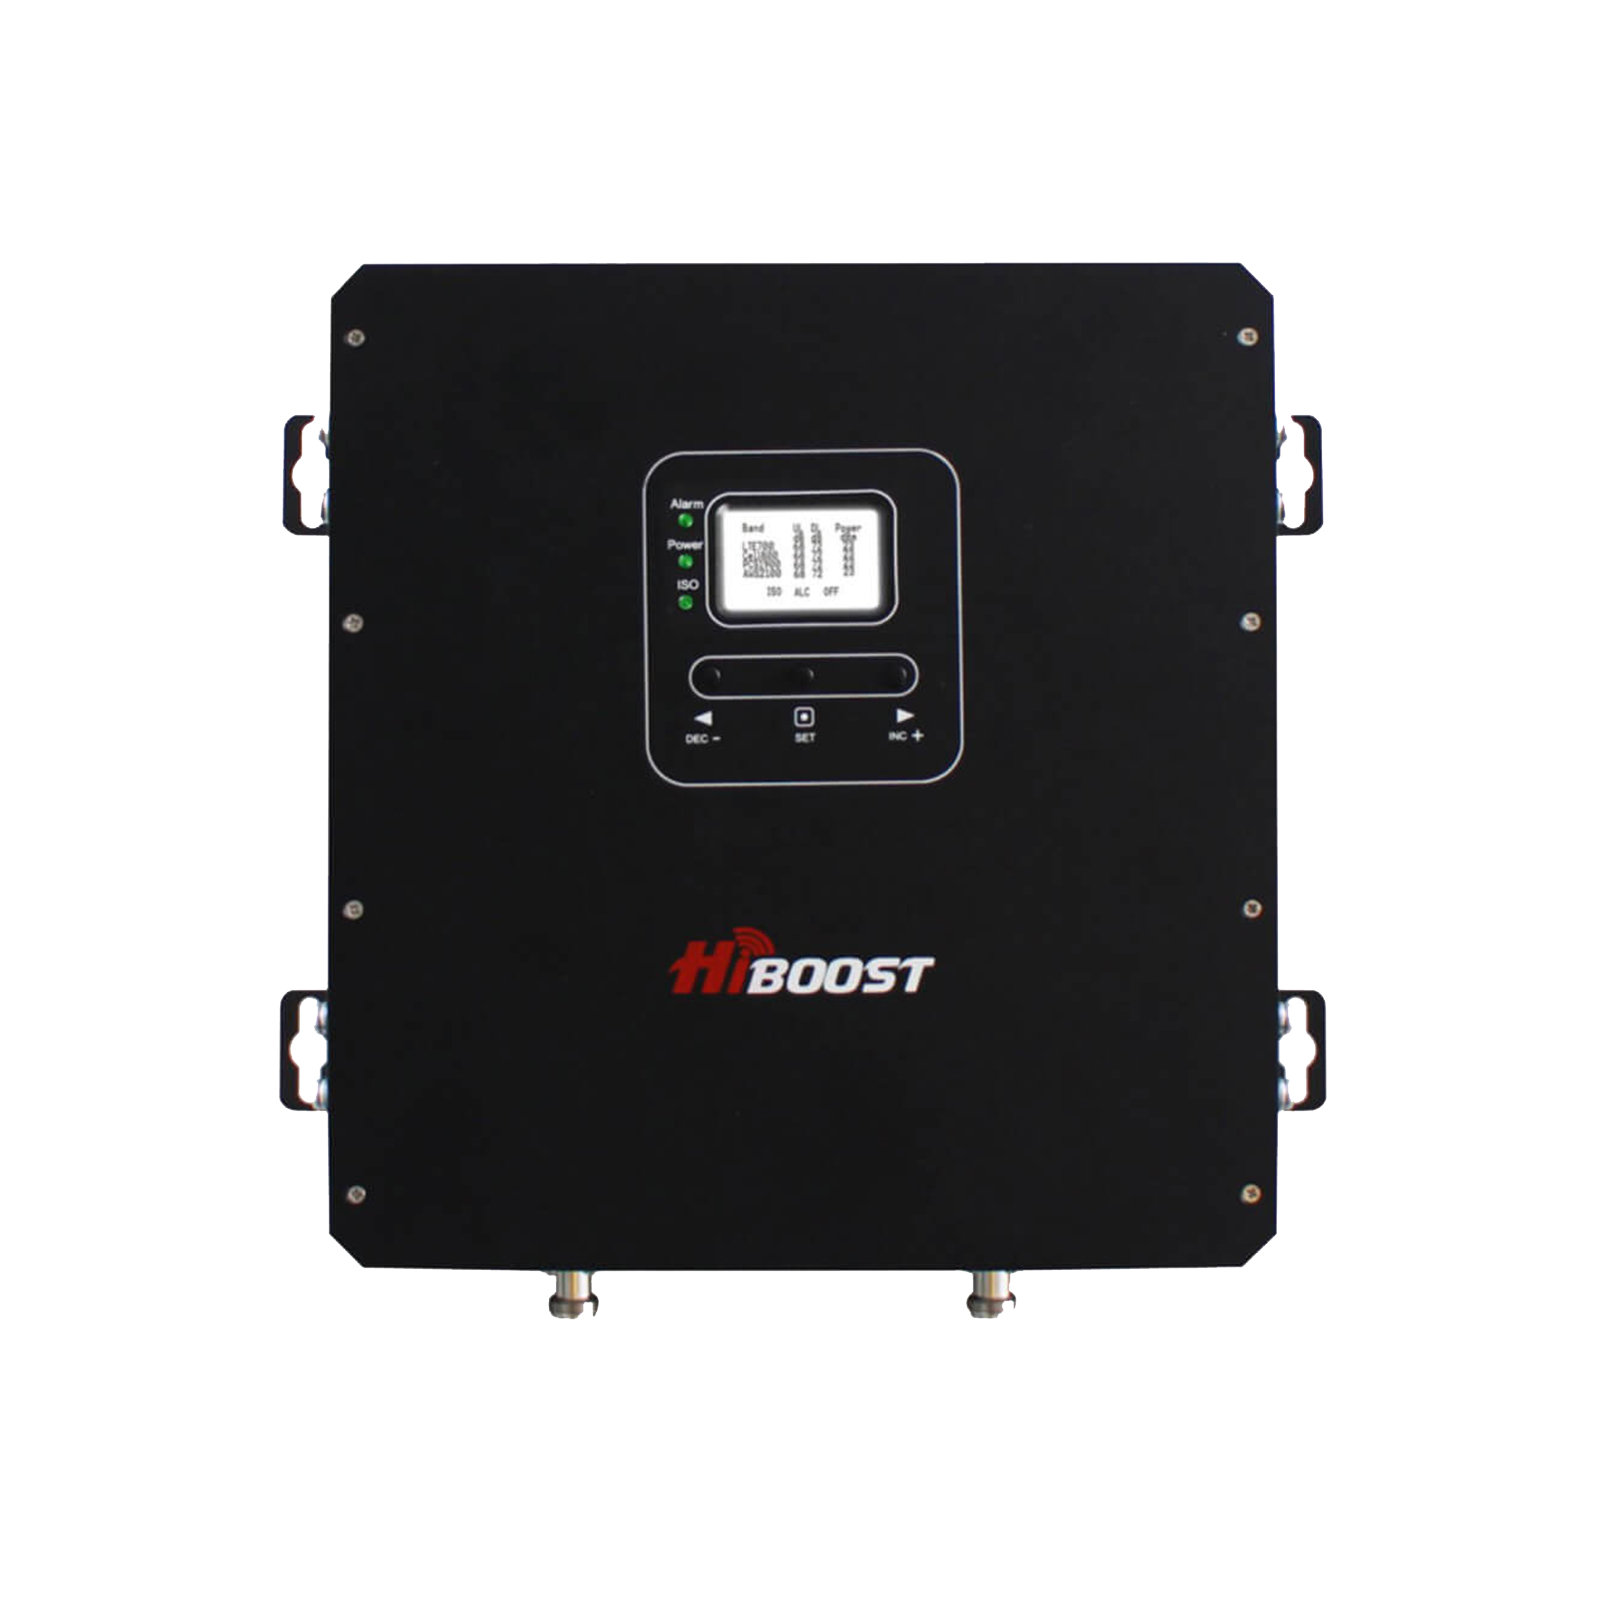
One of the most effective tools for an RVer is a cell phone signal booster. These devices literally boost the existing cell signal in your area to make it stronger for your phone, hotspot, and other devices. Here’s how they work in a nutshell: a booster kit has an outdoor antenna, an amplifier unit, and an indoor antenna. The outside antenna which you mount on your RV’s roof or ladder captures whatever cell signal is around.
The amplifier then cranks up that signal. The indoor antenna rebroadcasts the strengthened signal inside your RV, creating a zone of good reception. This allows multiple devices to connect simultaneously to the improved signal. Essentially, if you have 1 bar outside, a booster might give you 3-4 bars inside, turning a near-dead zone into a usable service area.
Why boosters are great for RVs: They address the root causes of poor signal distance and RV construction by pulling in far-away signals and bypassing the signal-blocking RV walls. Unlike getting a separate internet plan, a booster has no monthly fees; it simply amplifies the carrier service you’re already paying for.
And modern boosters support all major U.S. carriers and even the latest 5G signals that share those frequency bands, so you don’t have to swap anything when you drive into a new coverage area. They also work for any device in range; you do not need one booster per phone or anything like that.
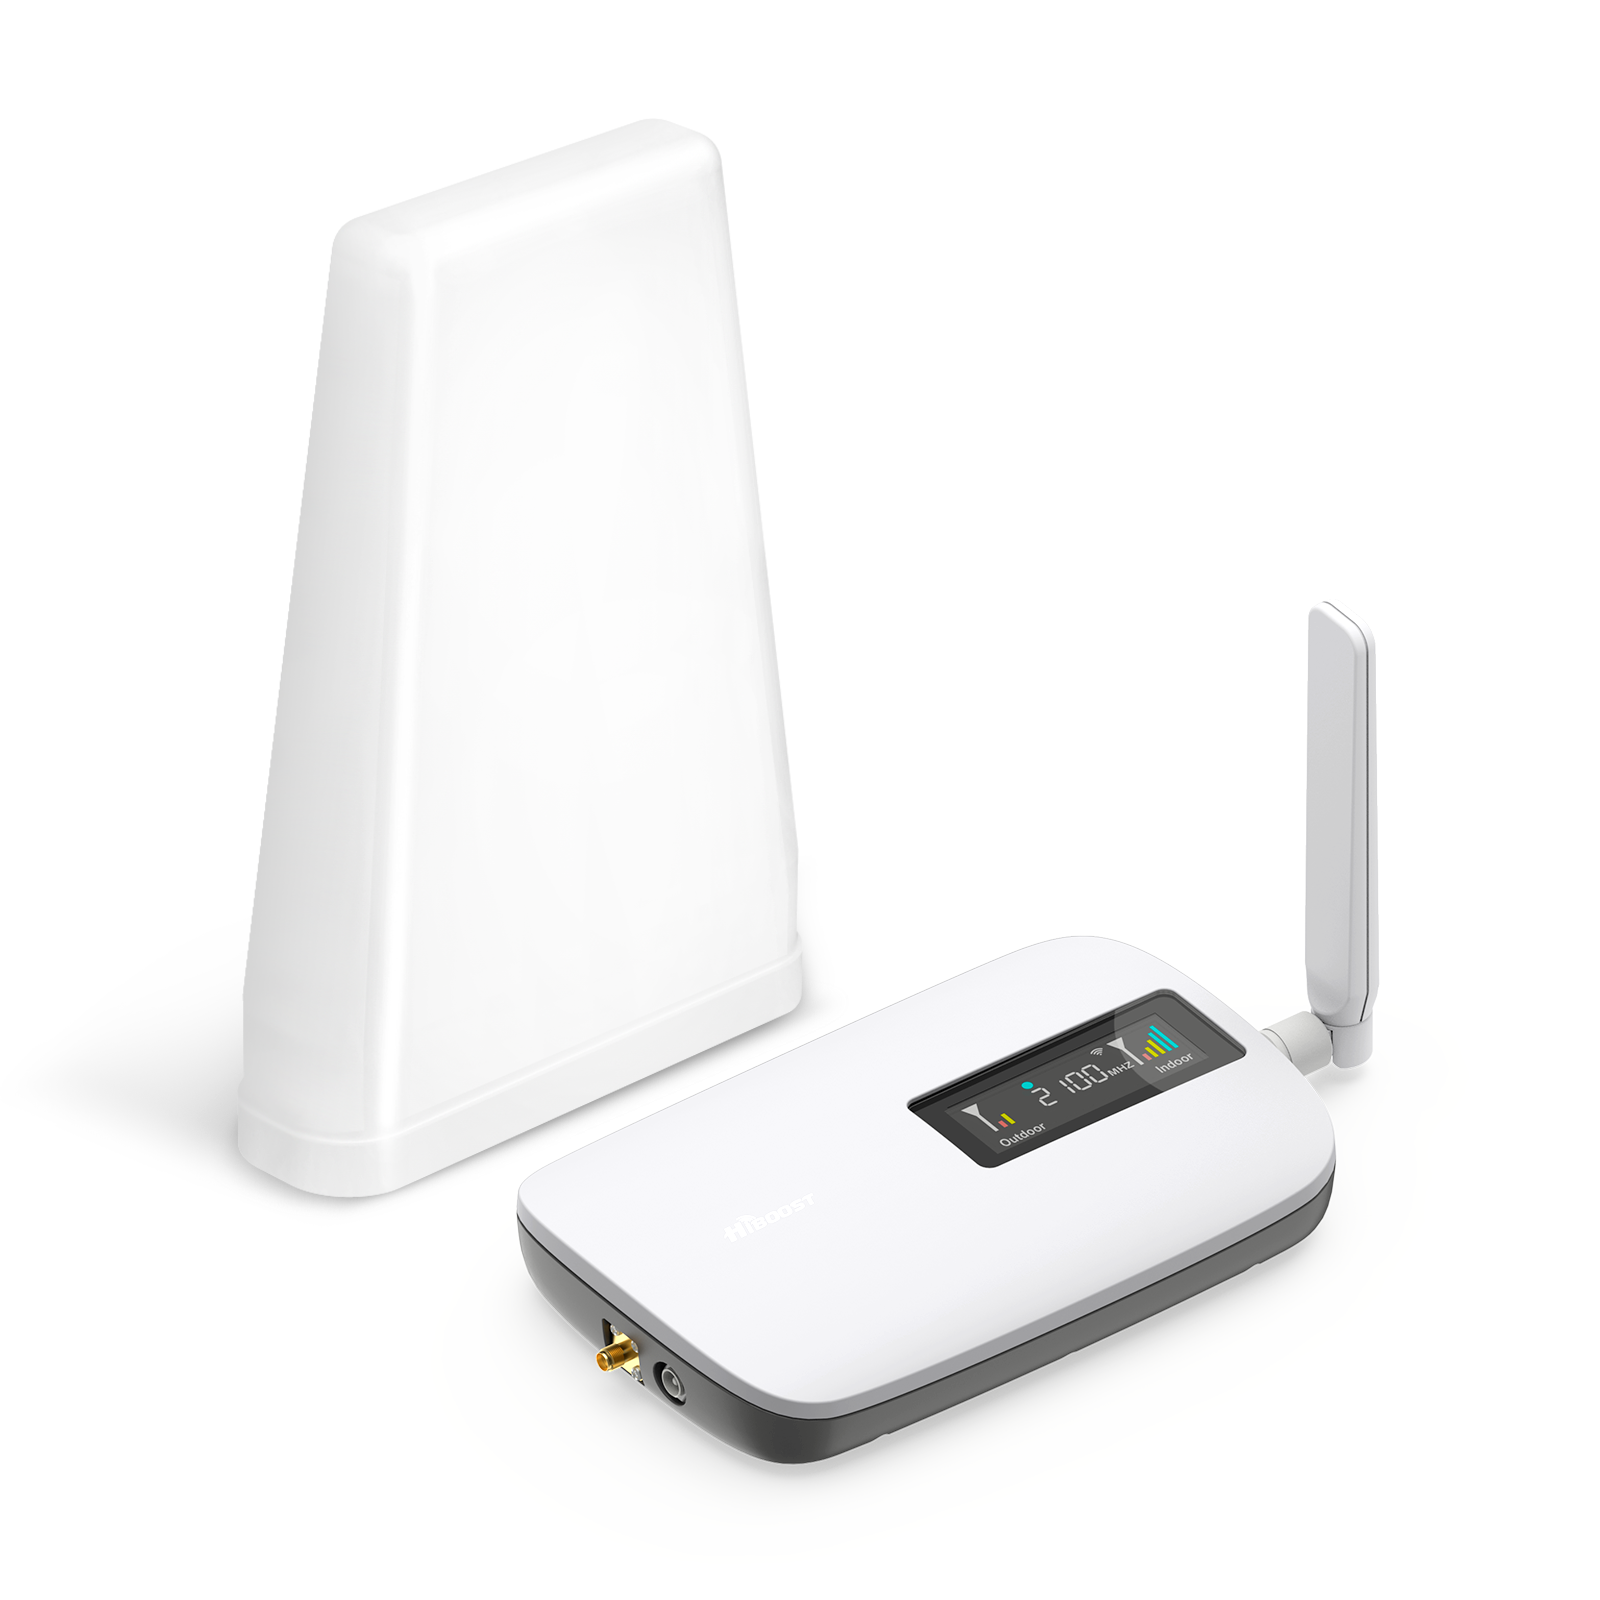
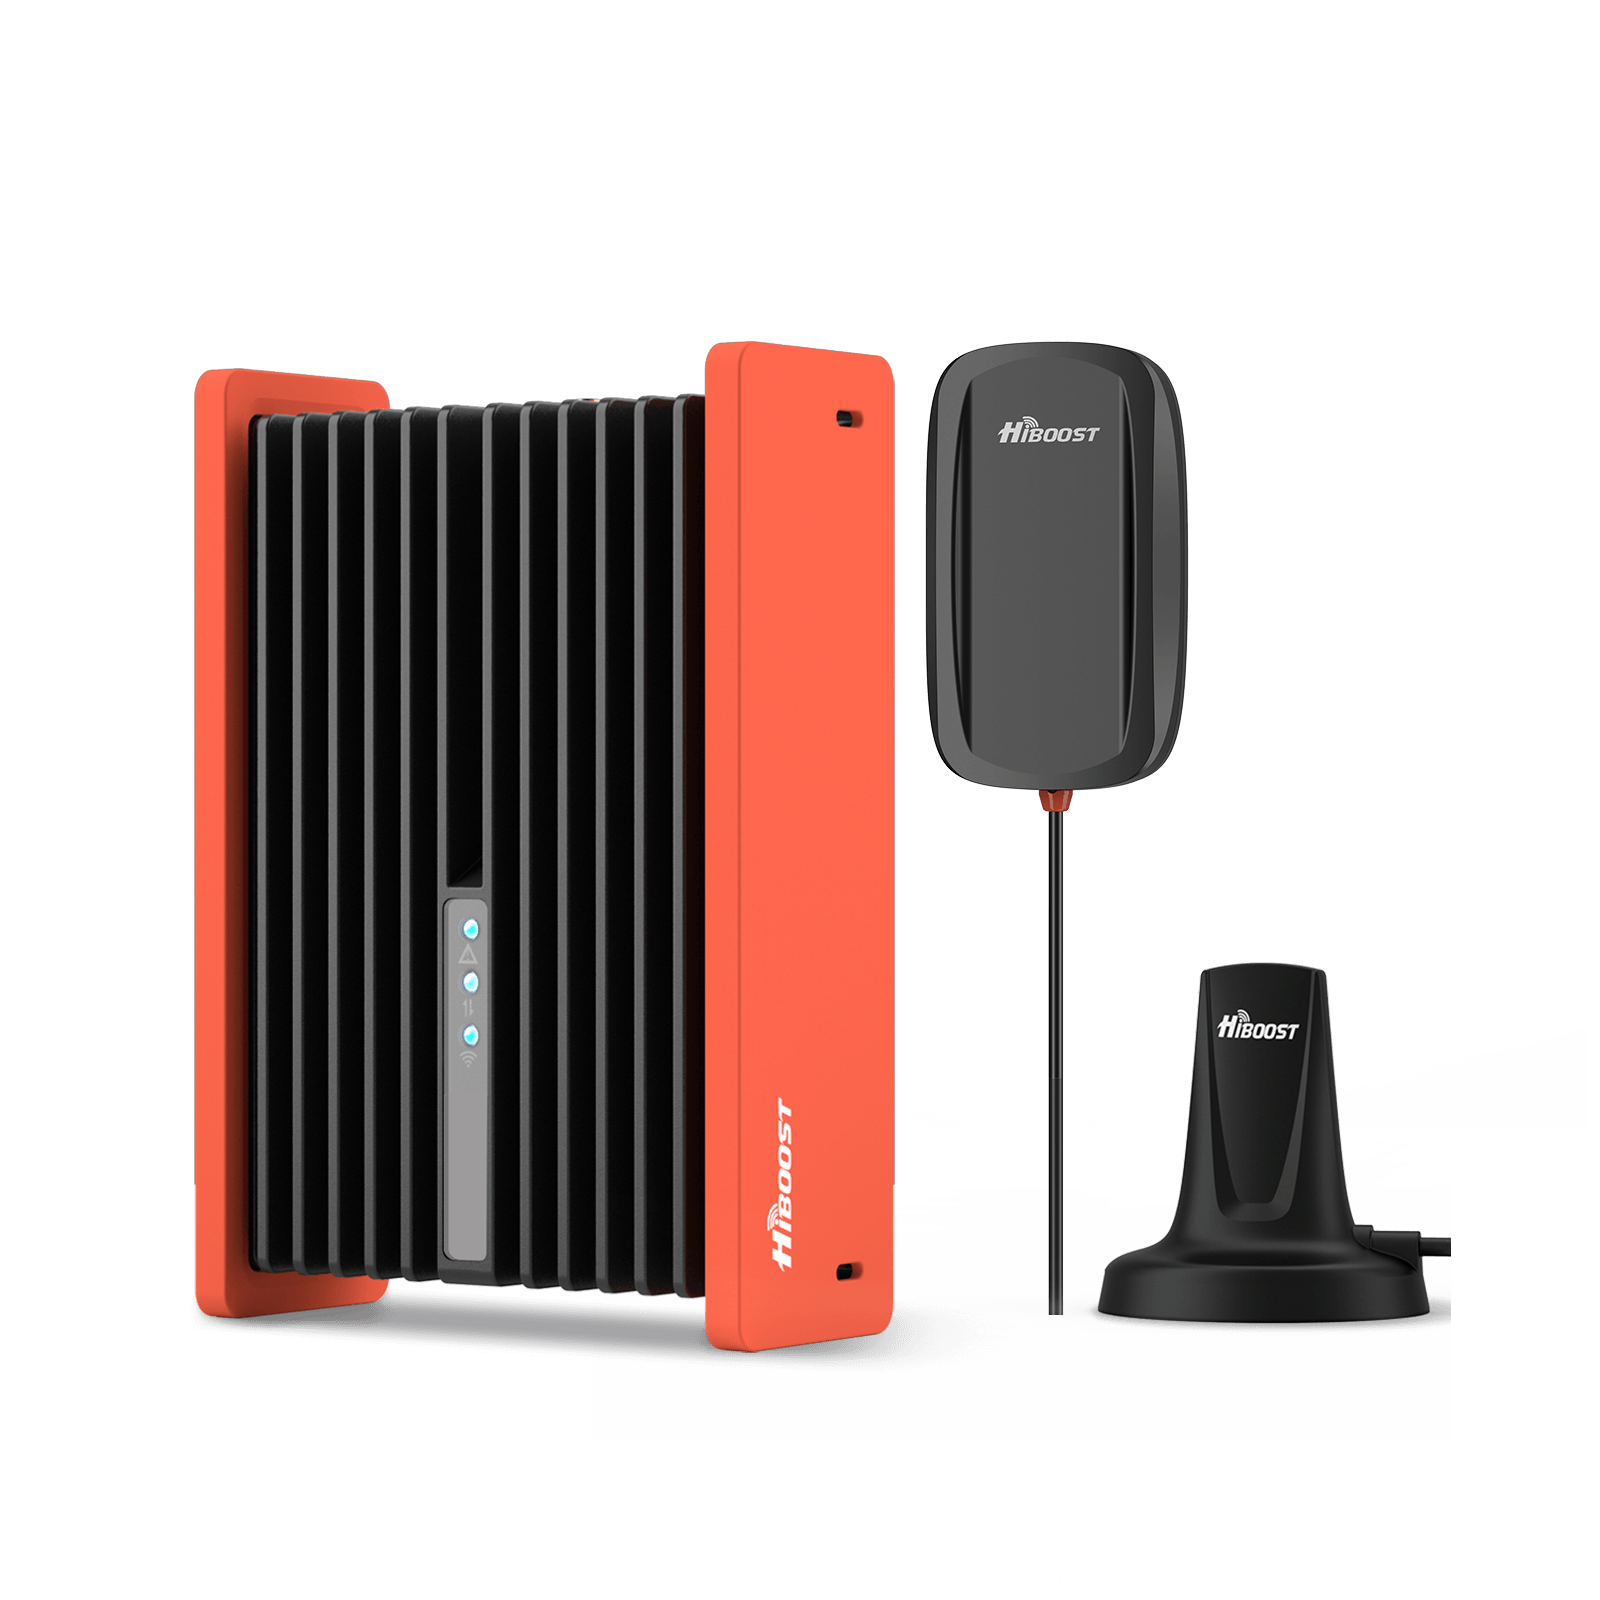
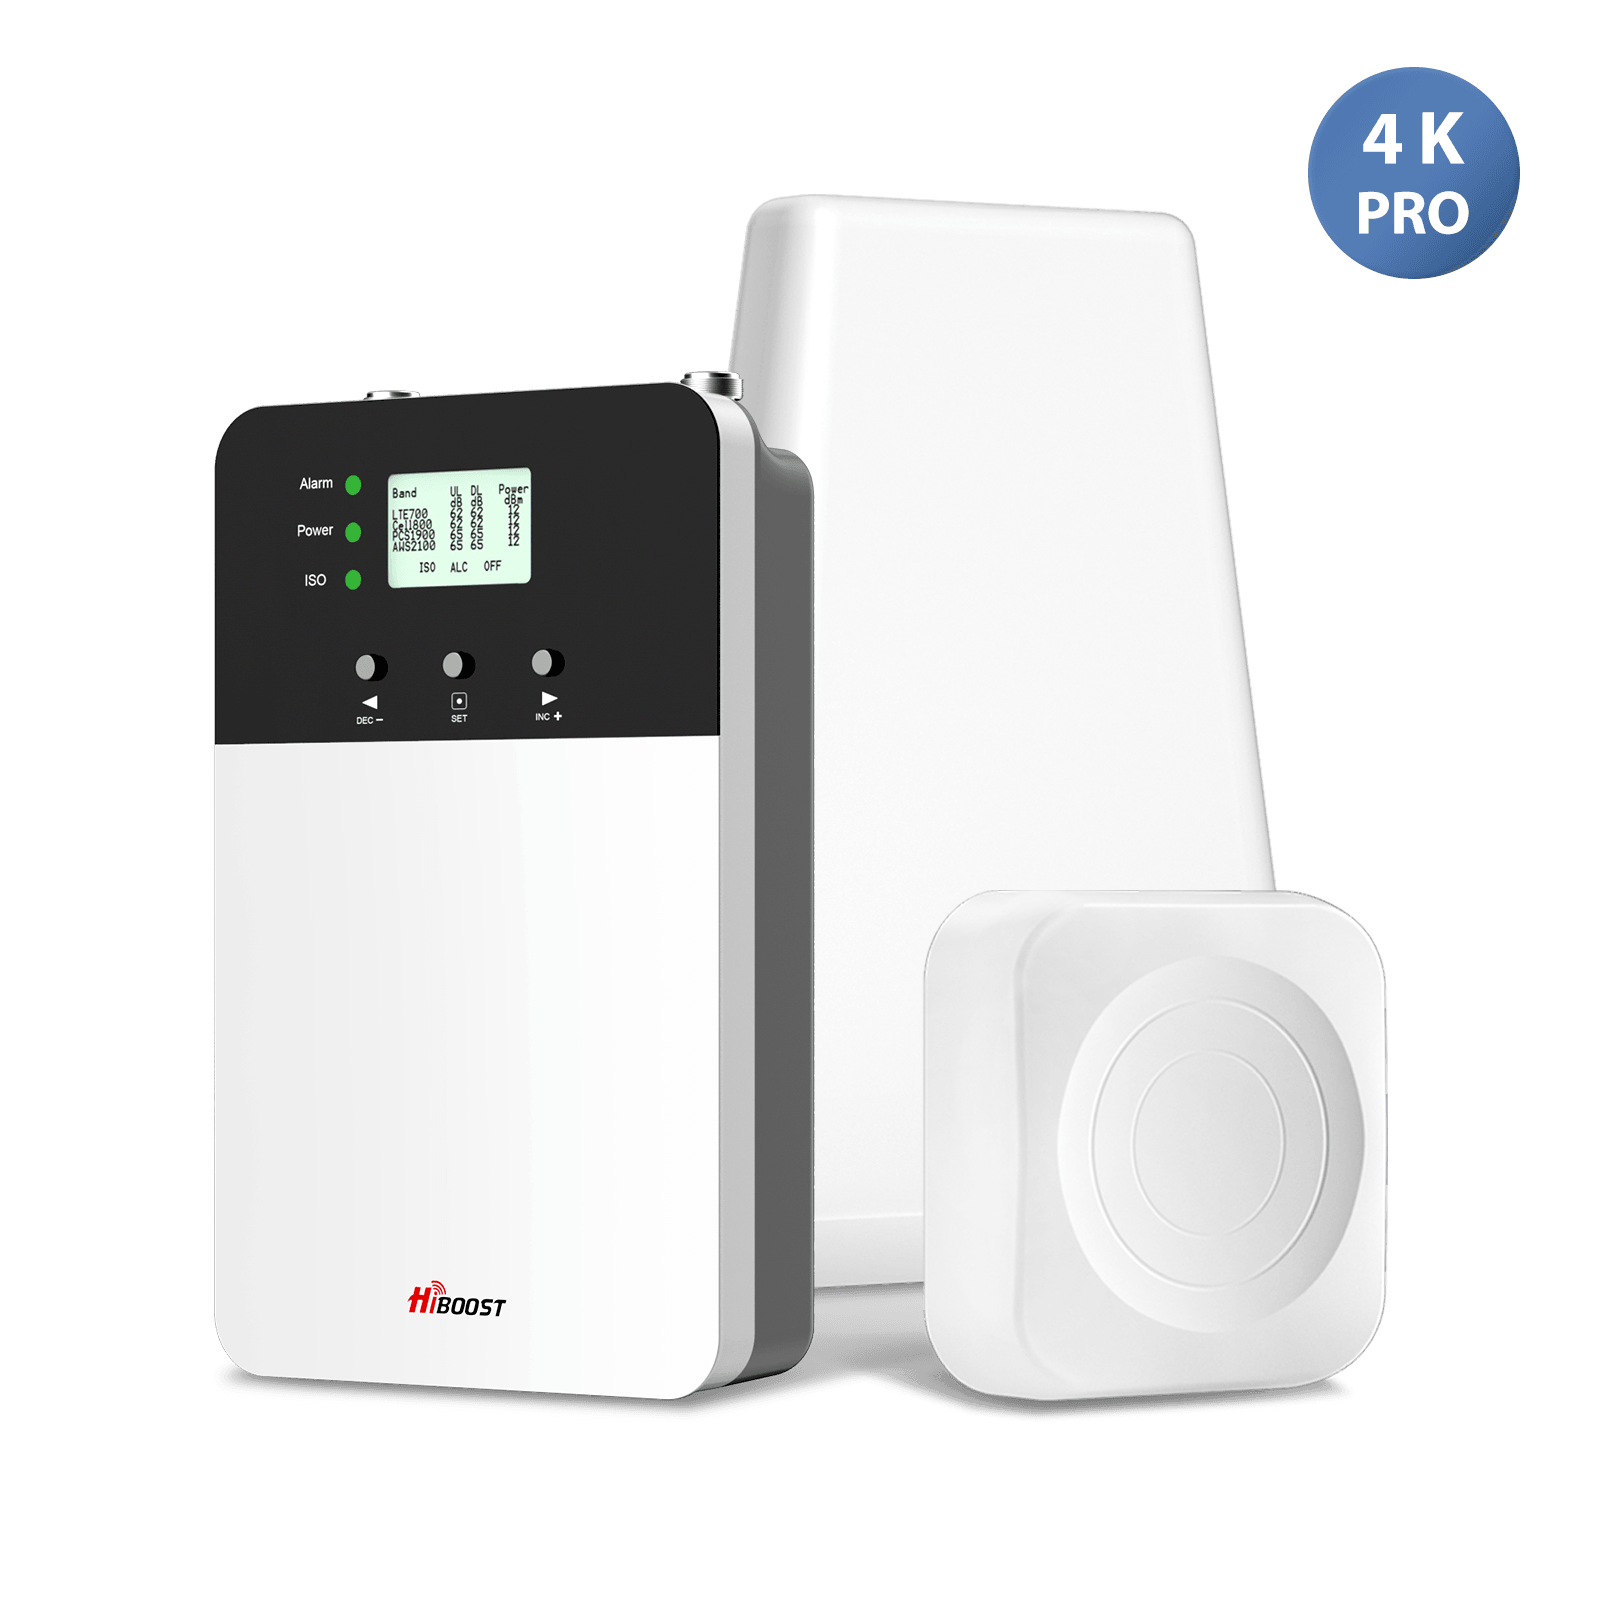
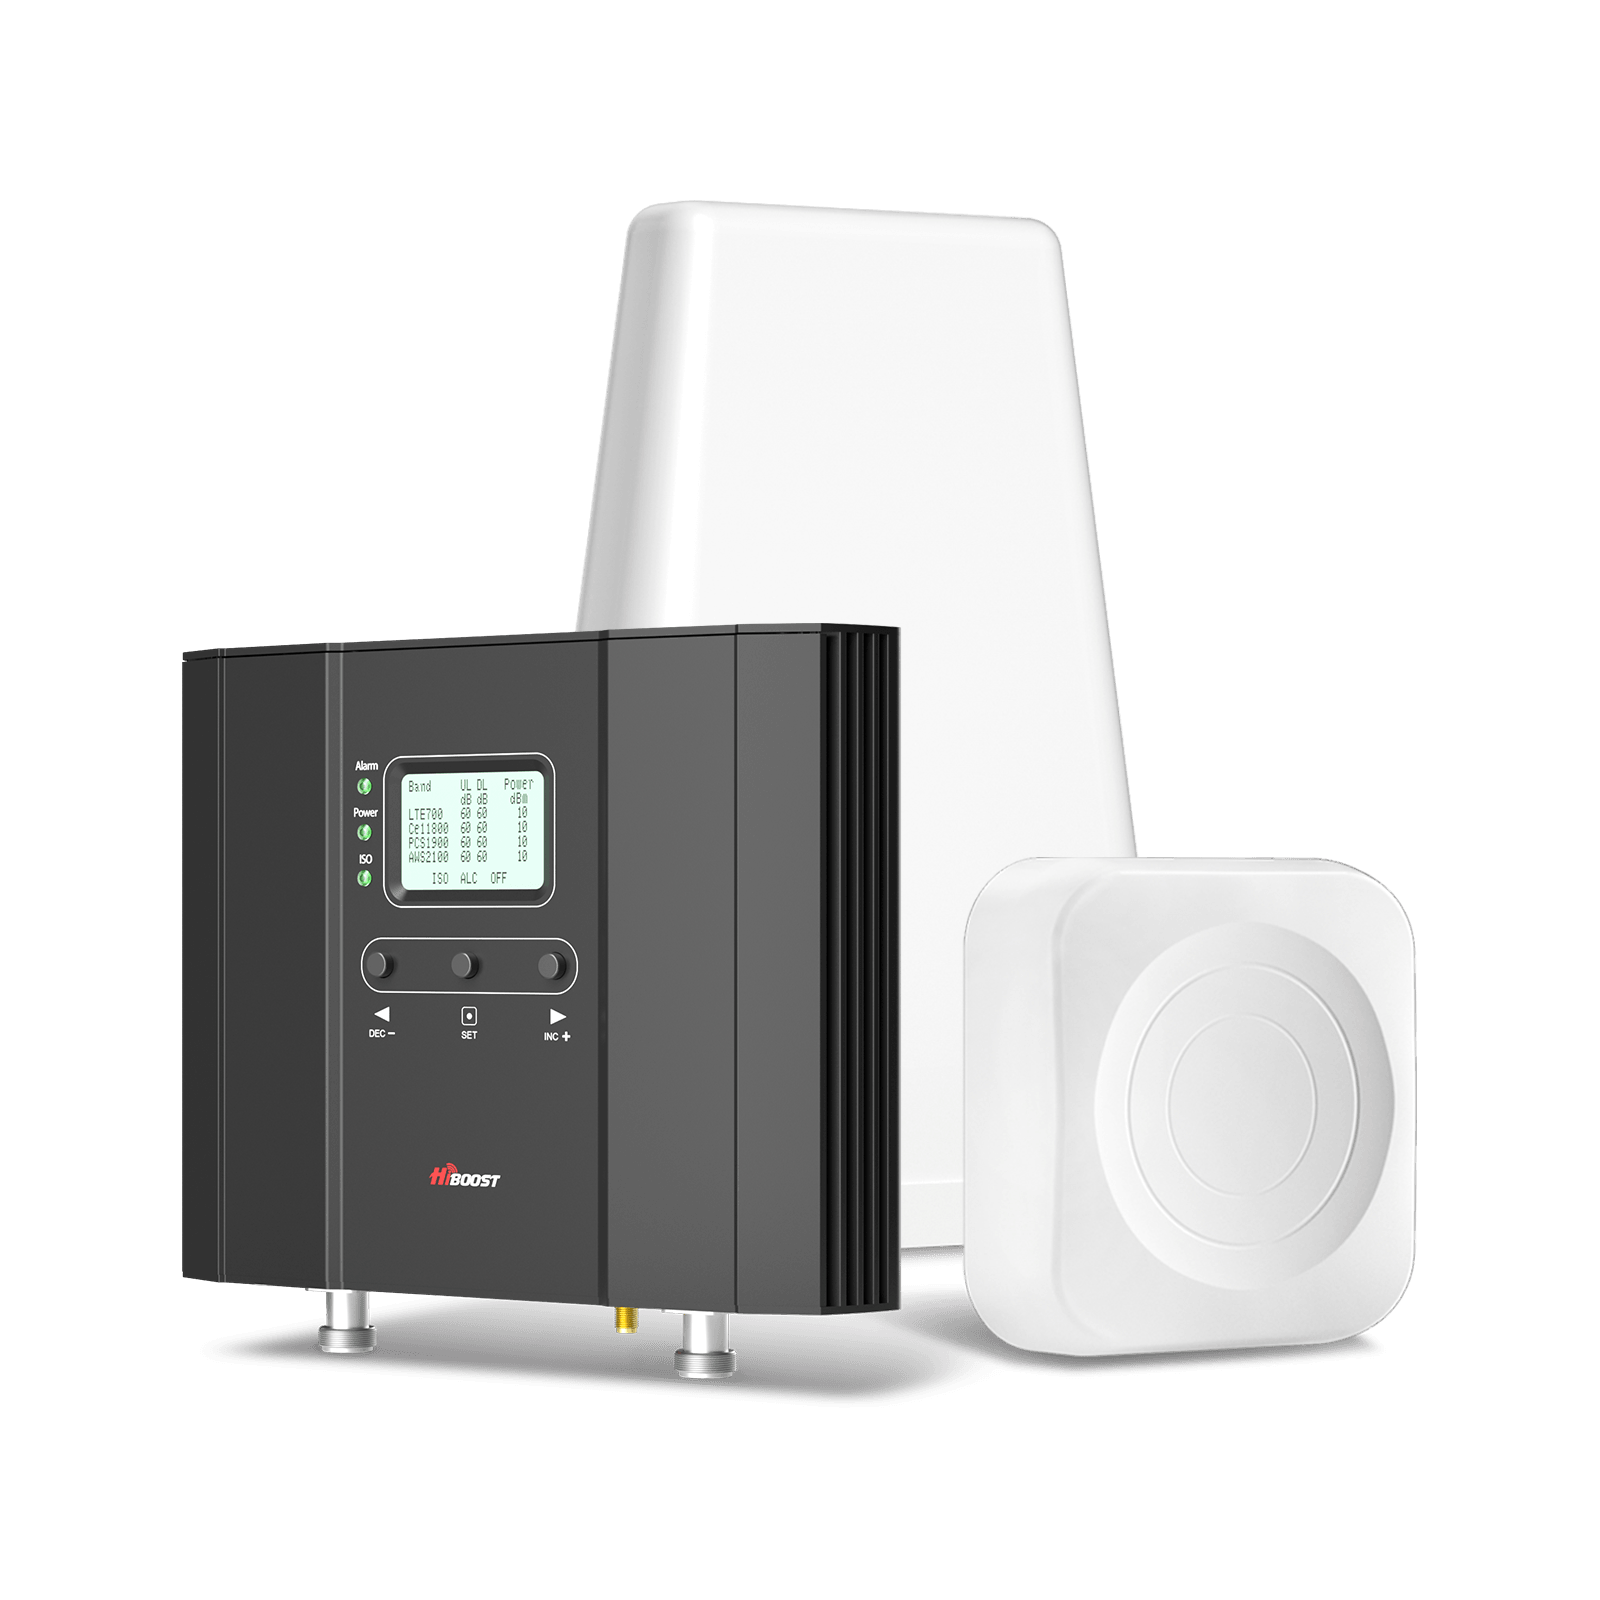
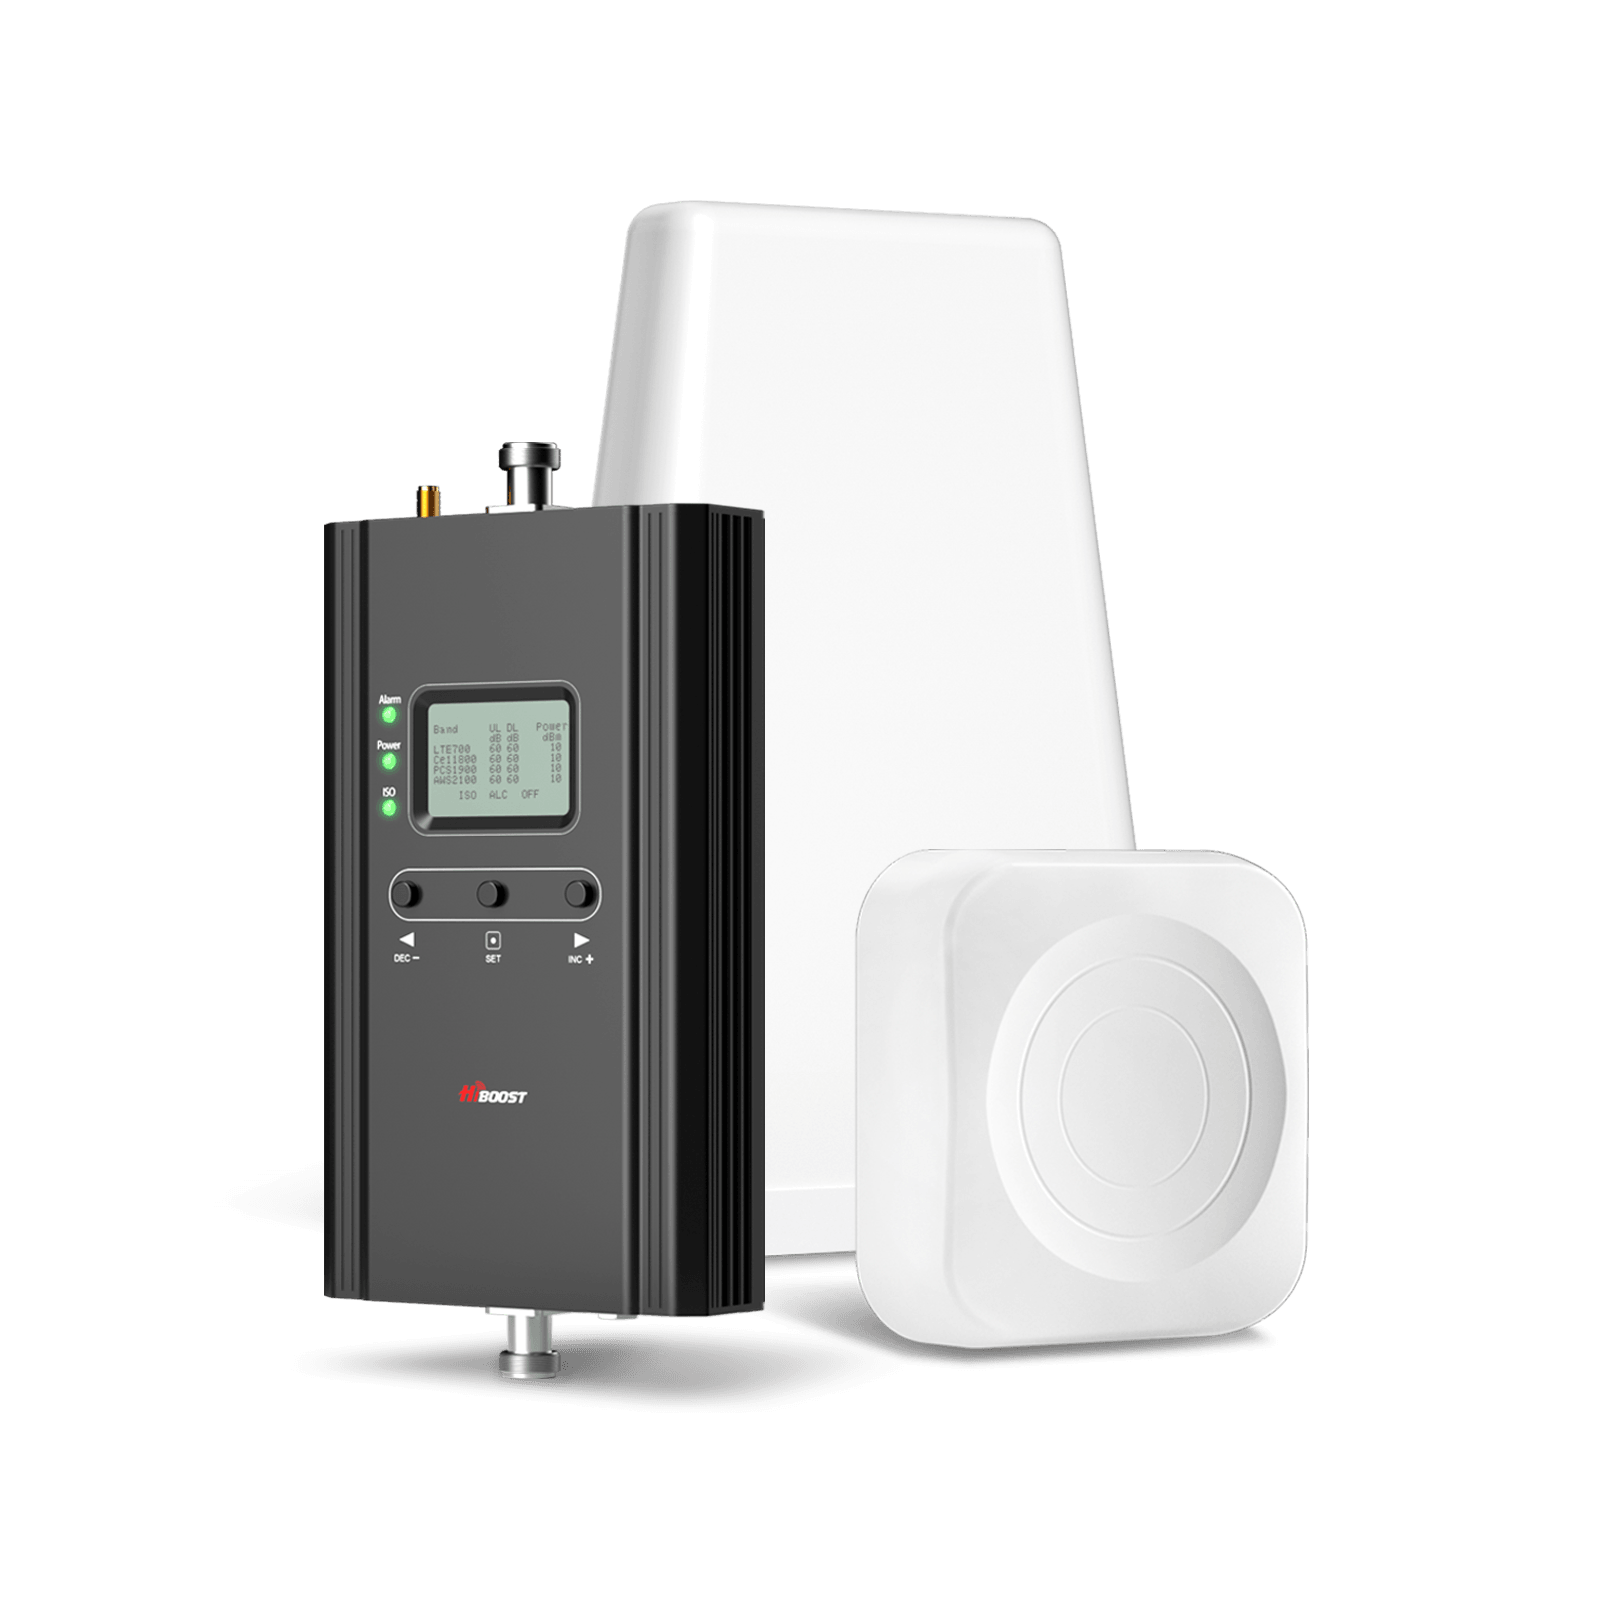
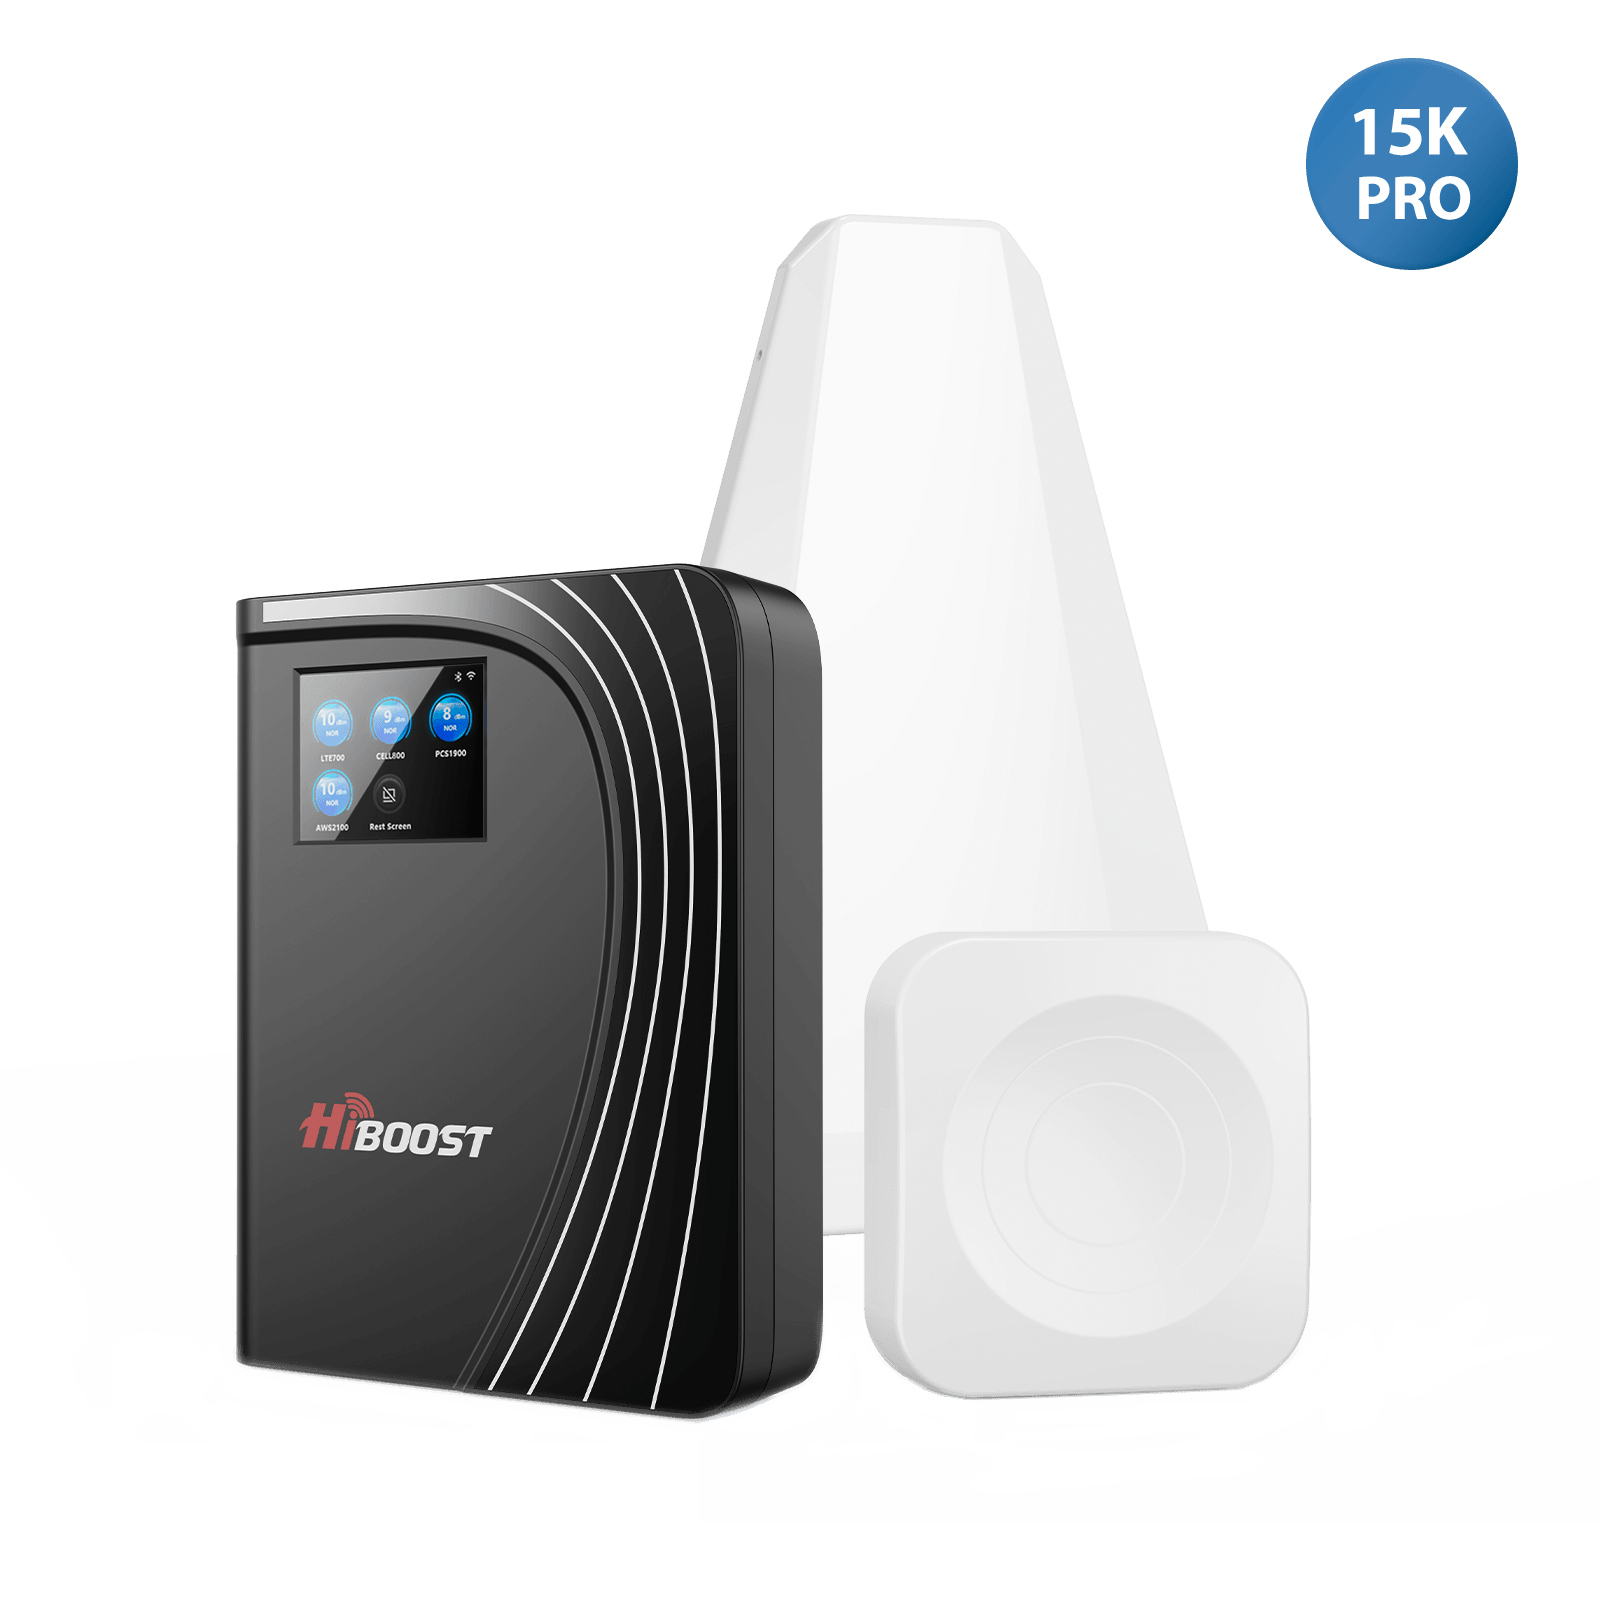
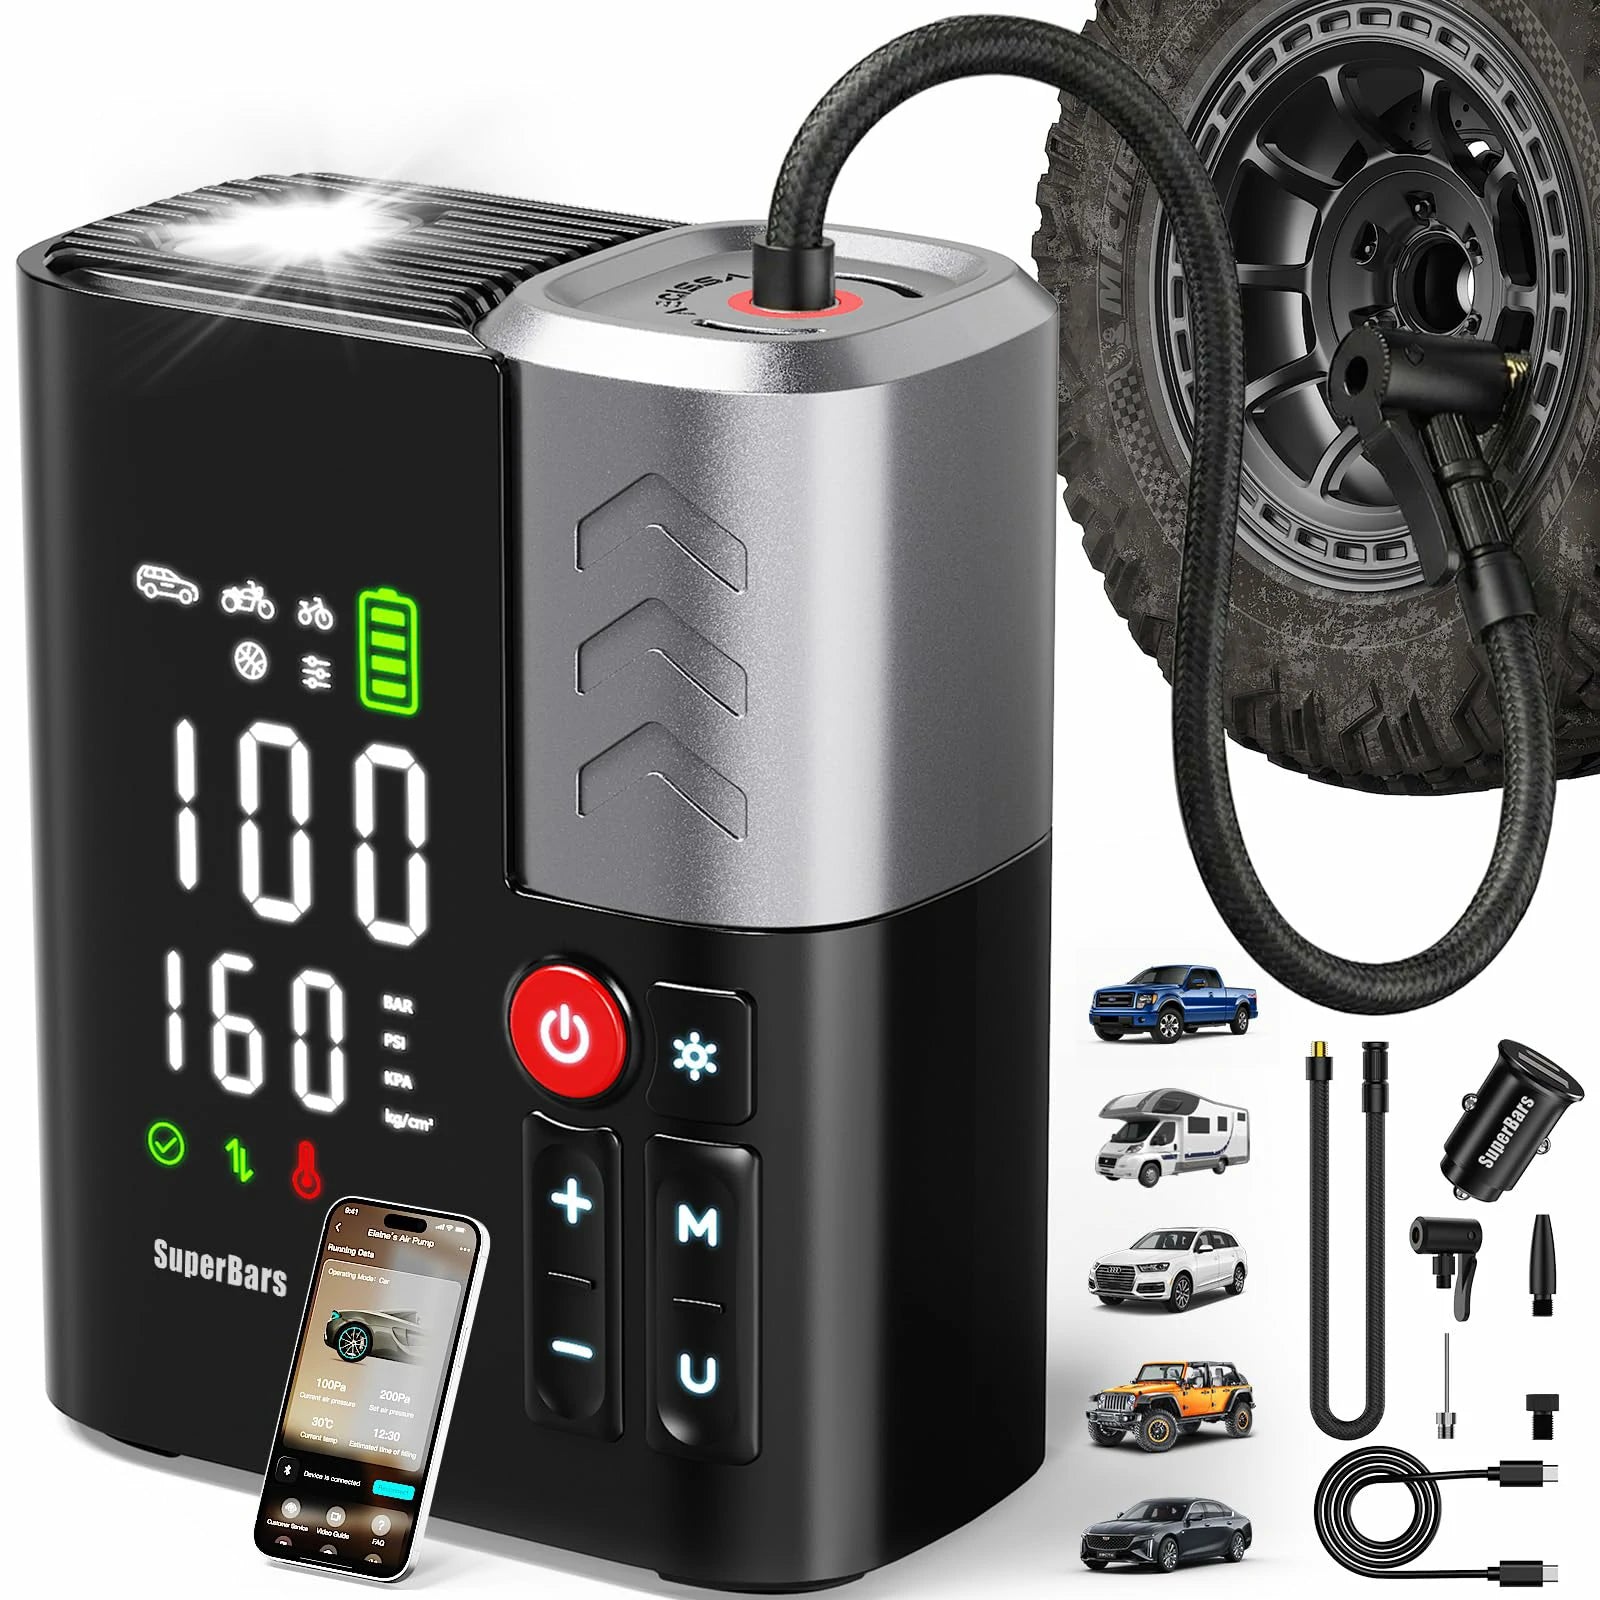
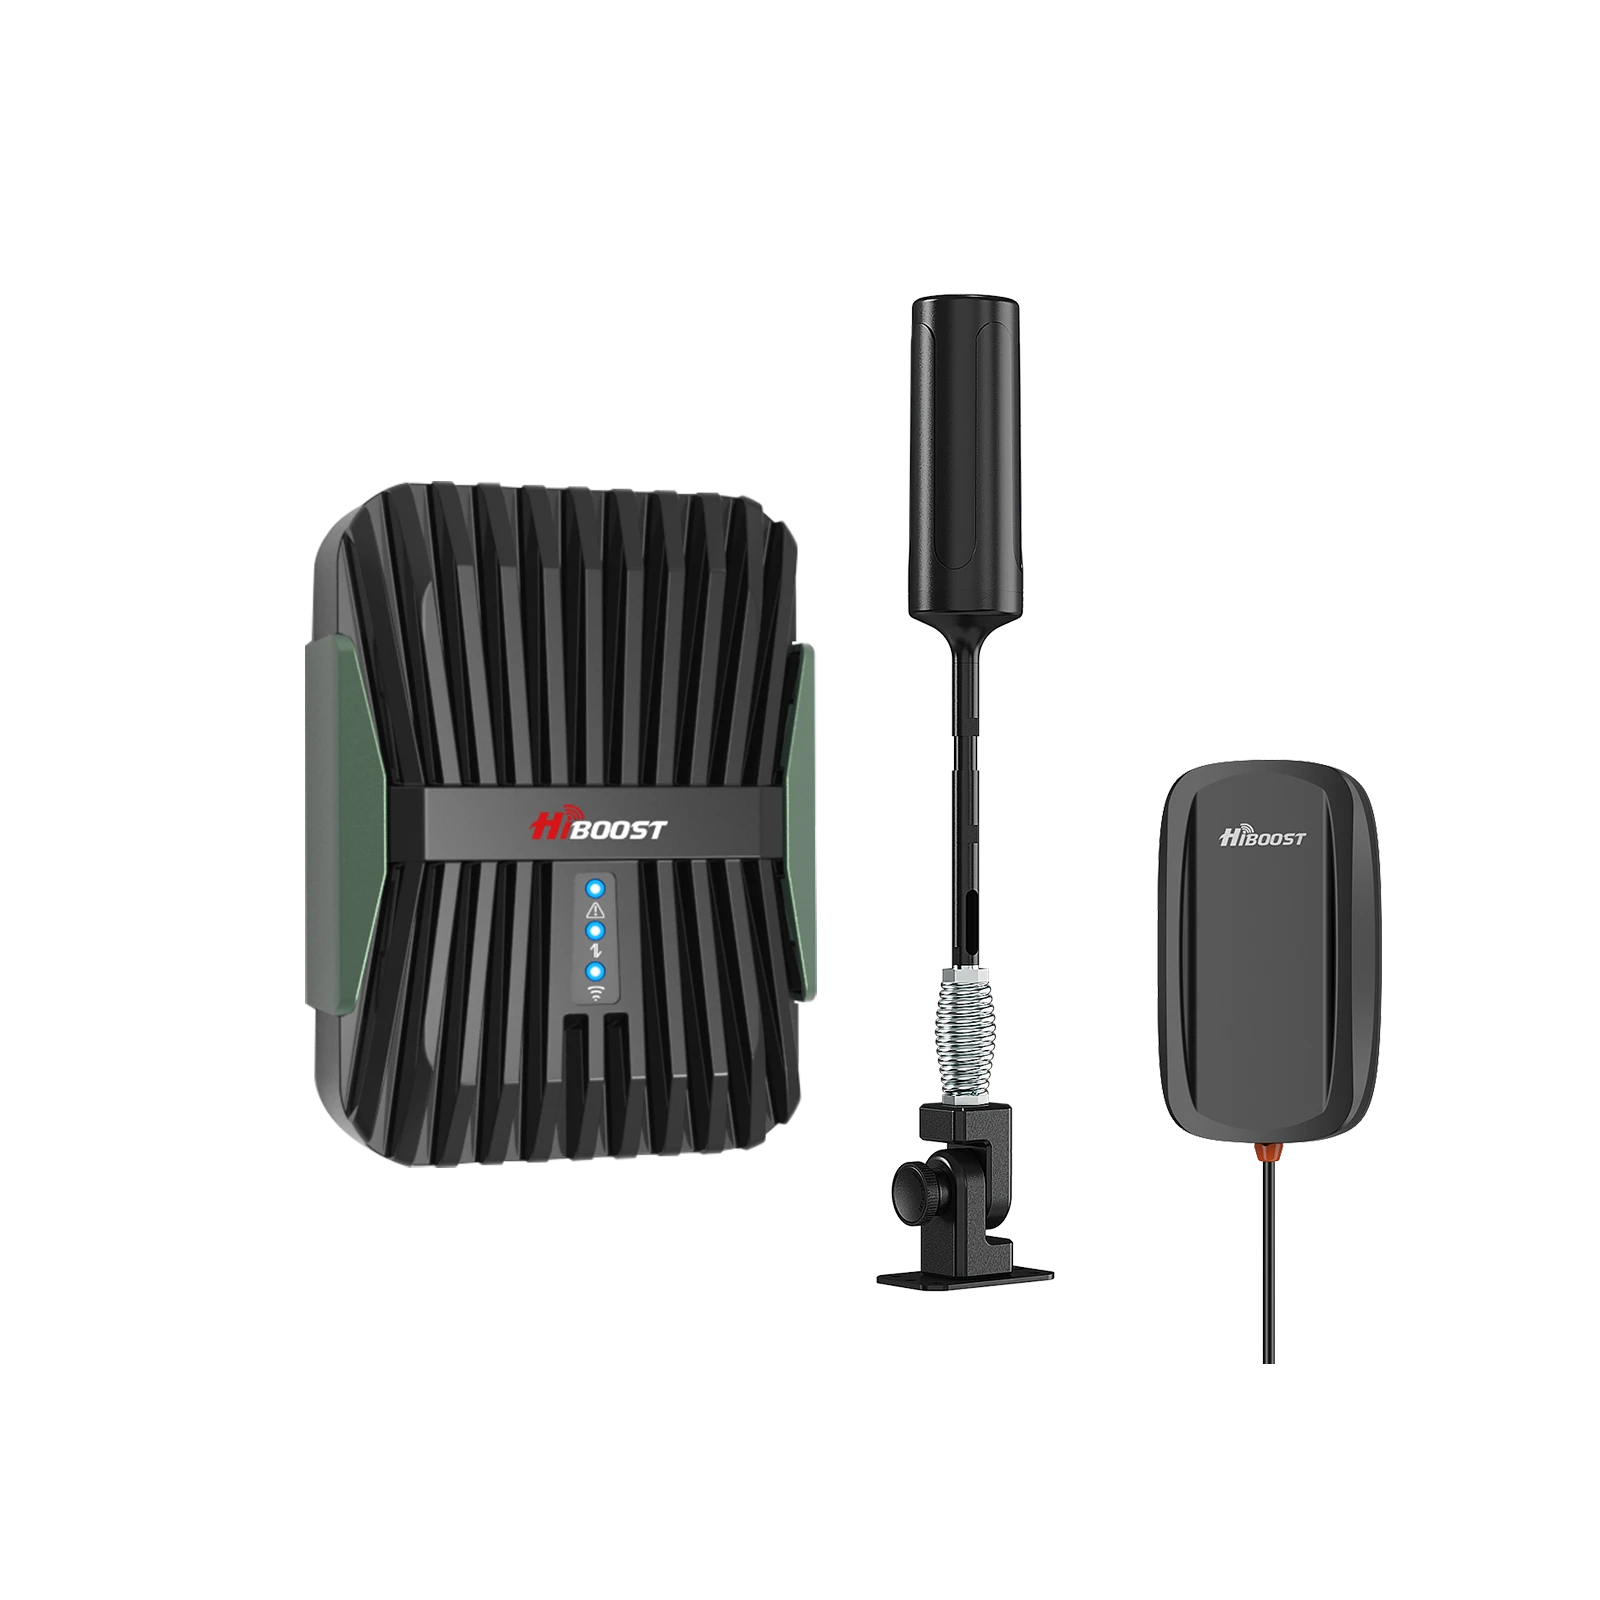
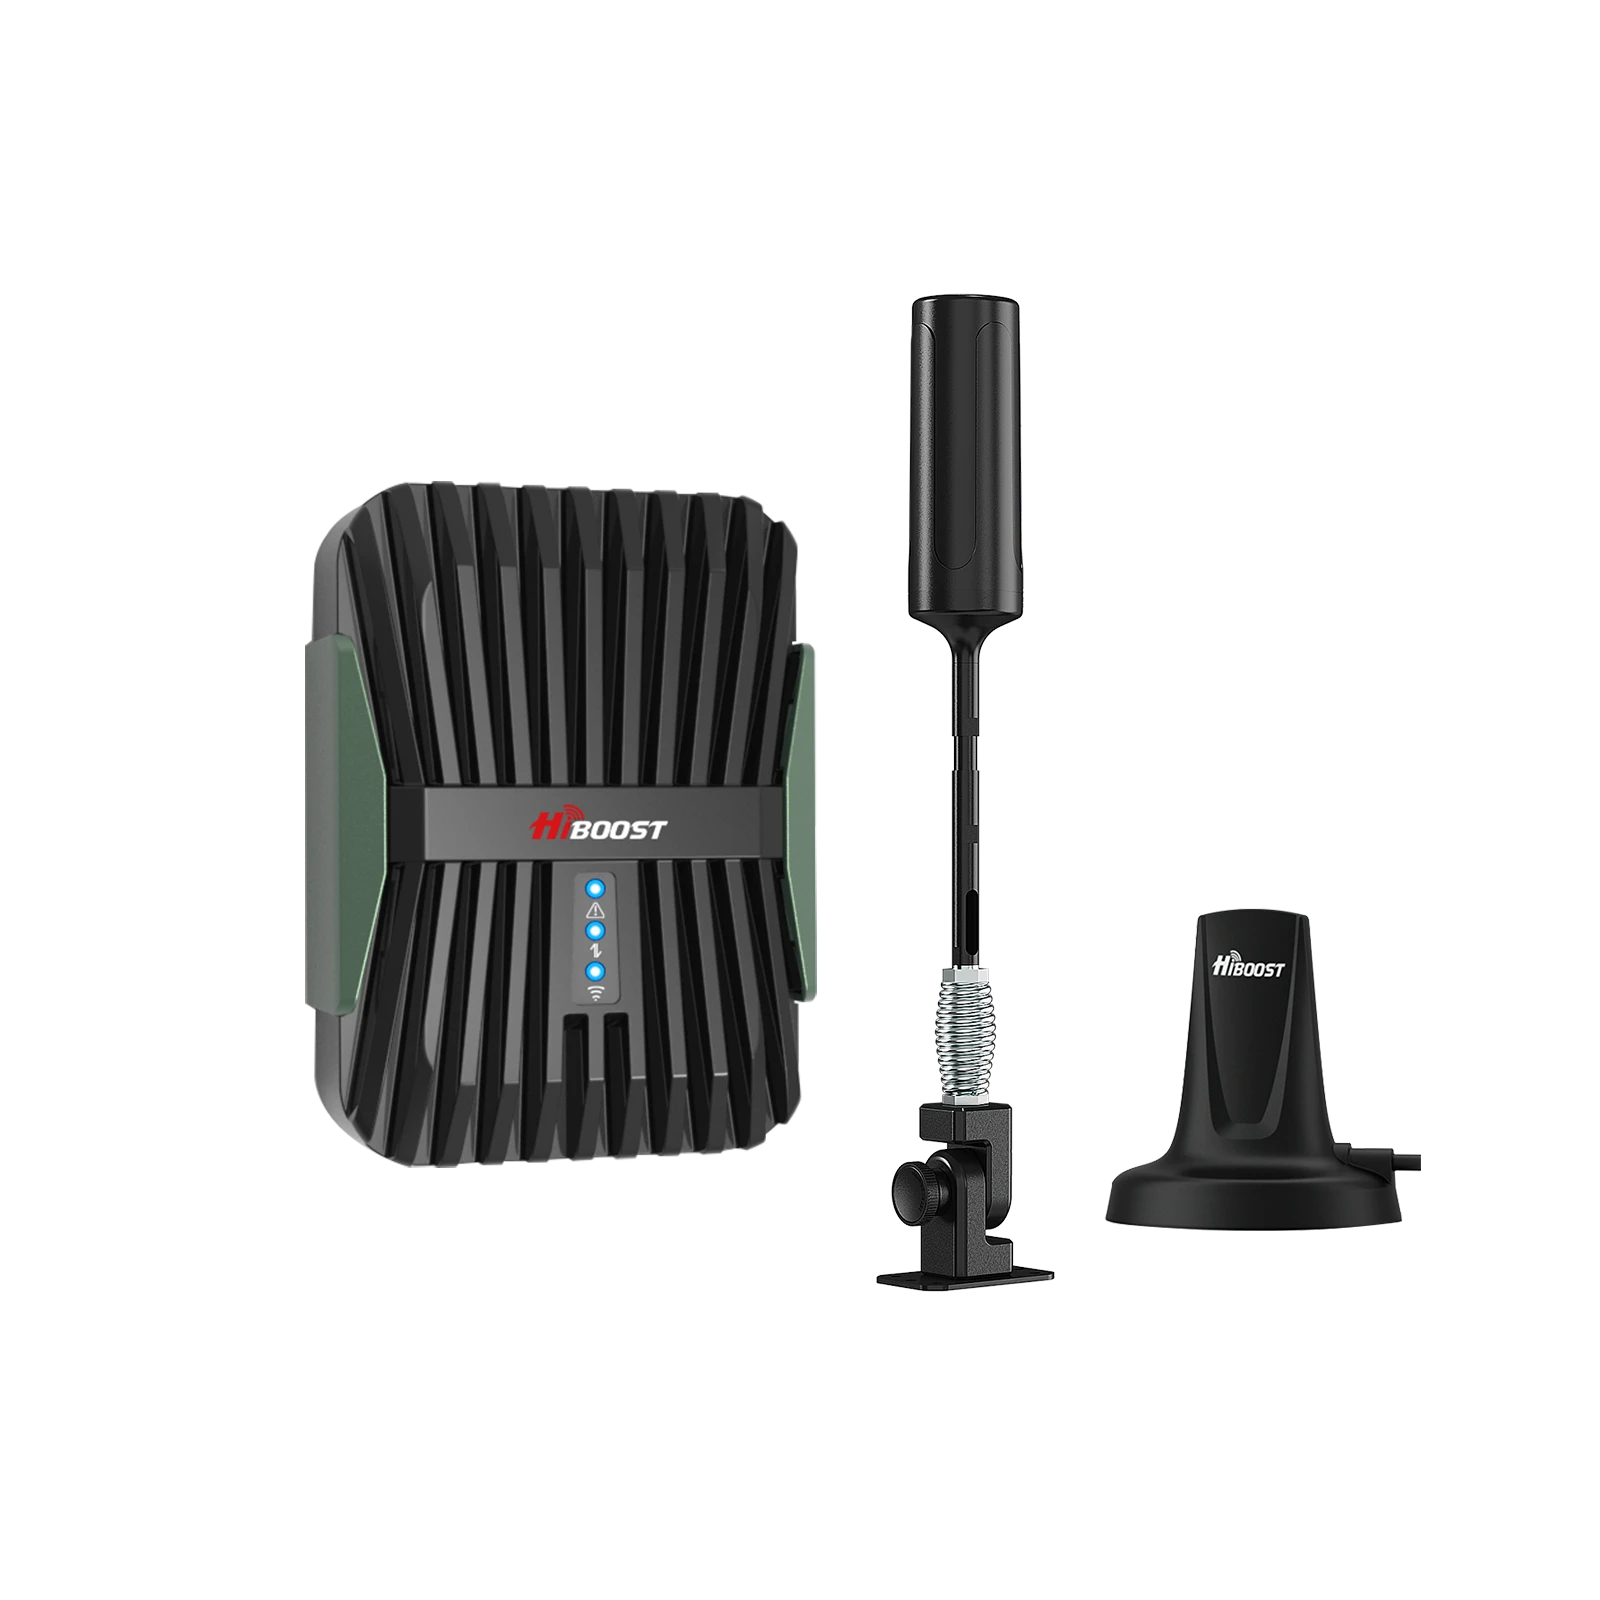
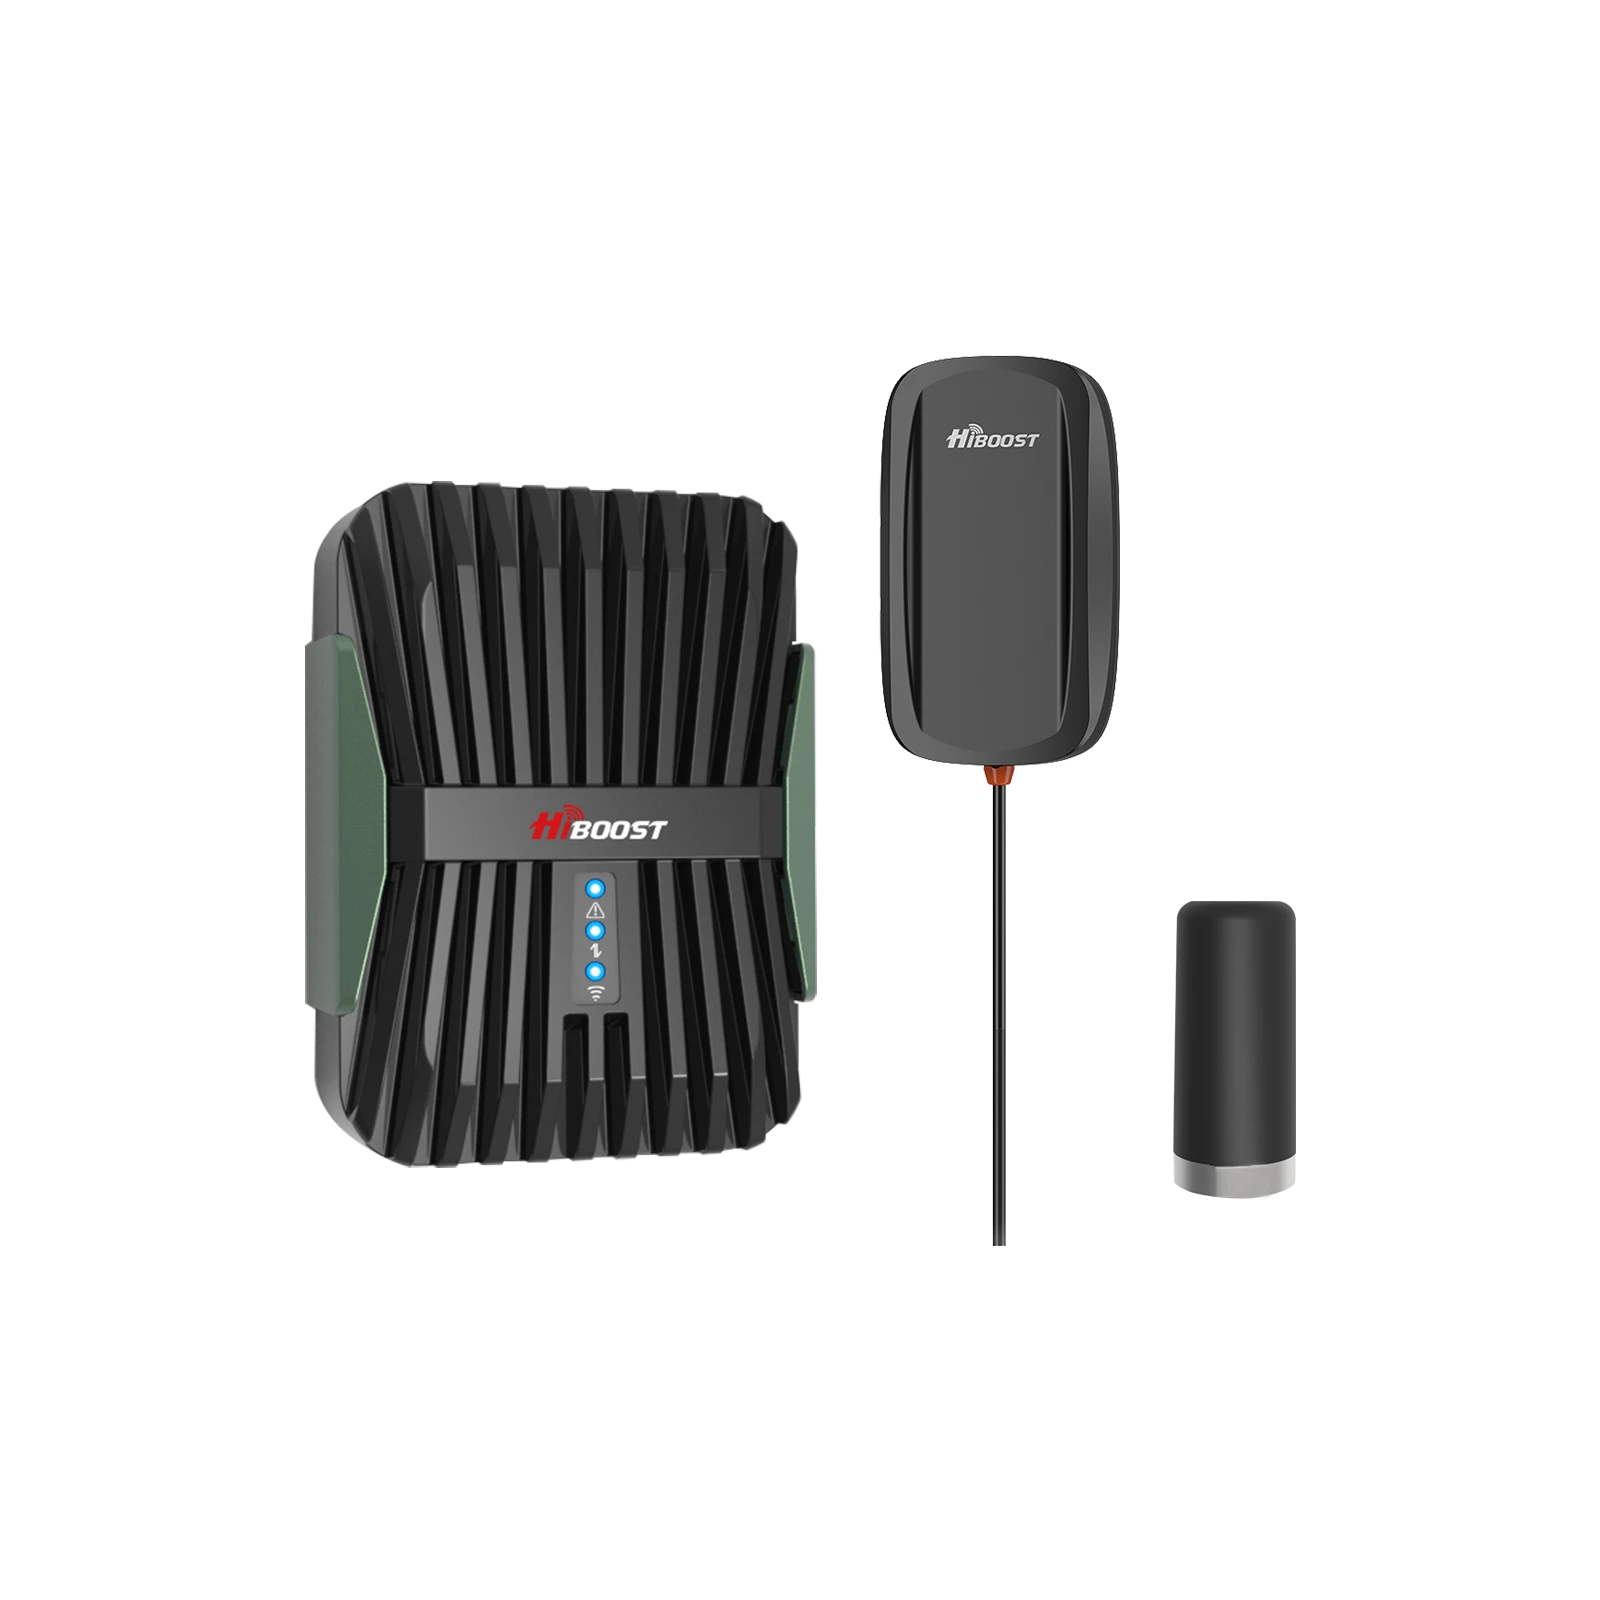
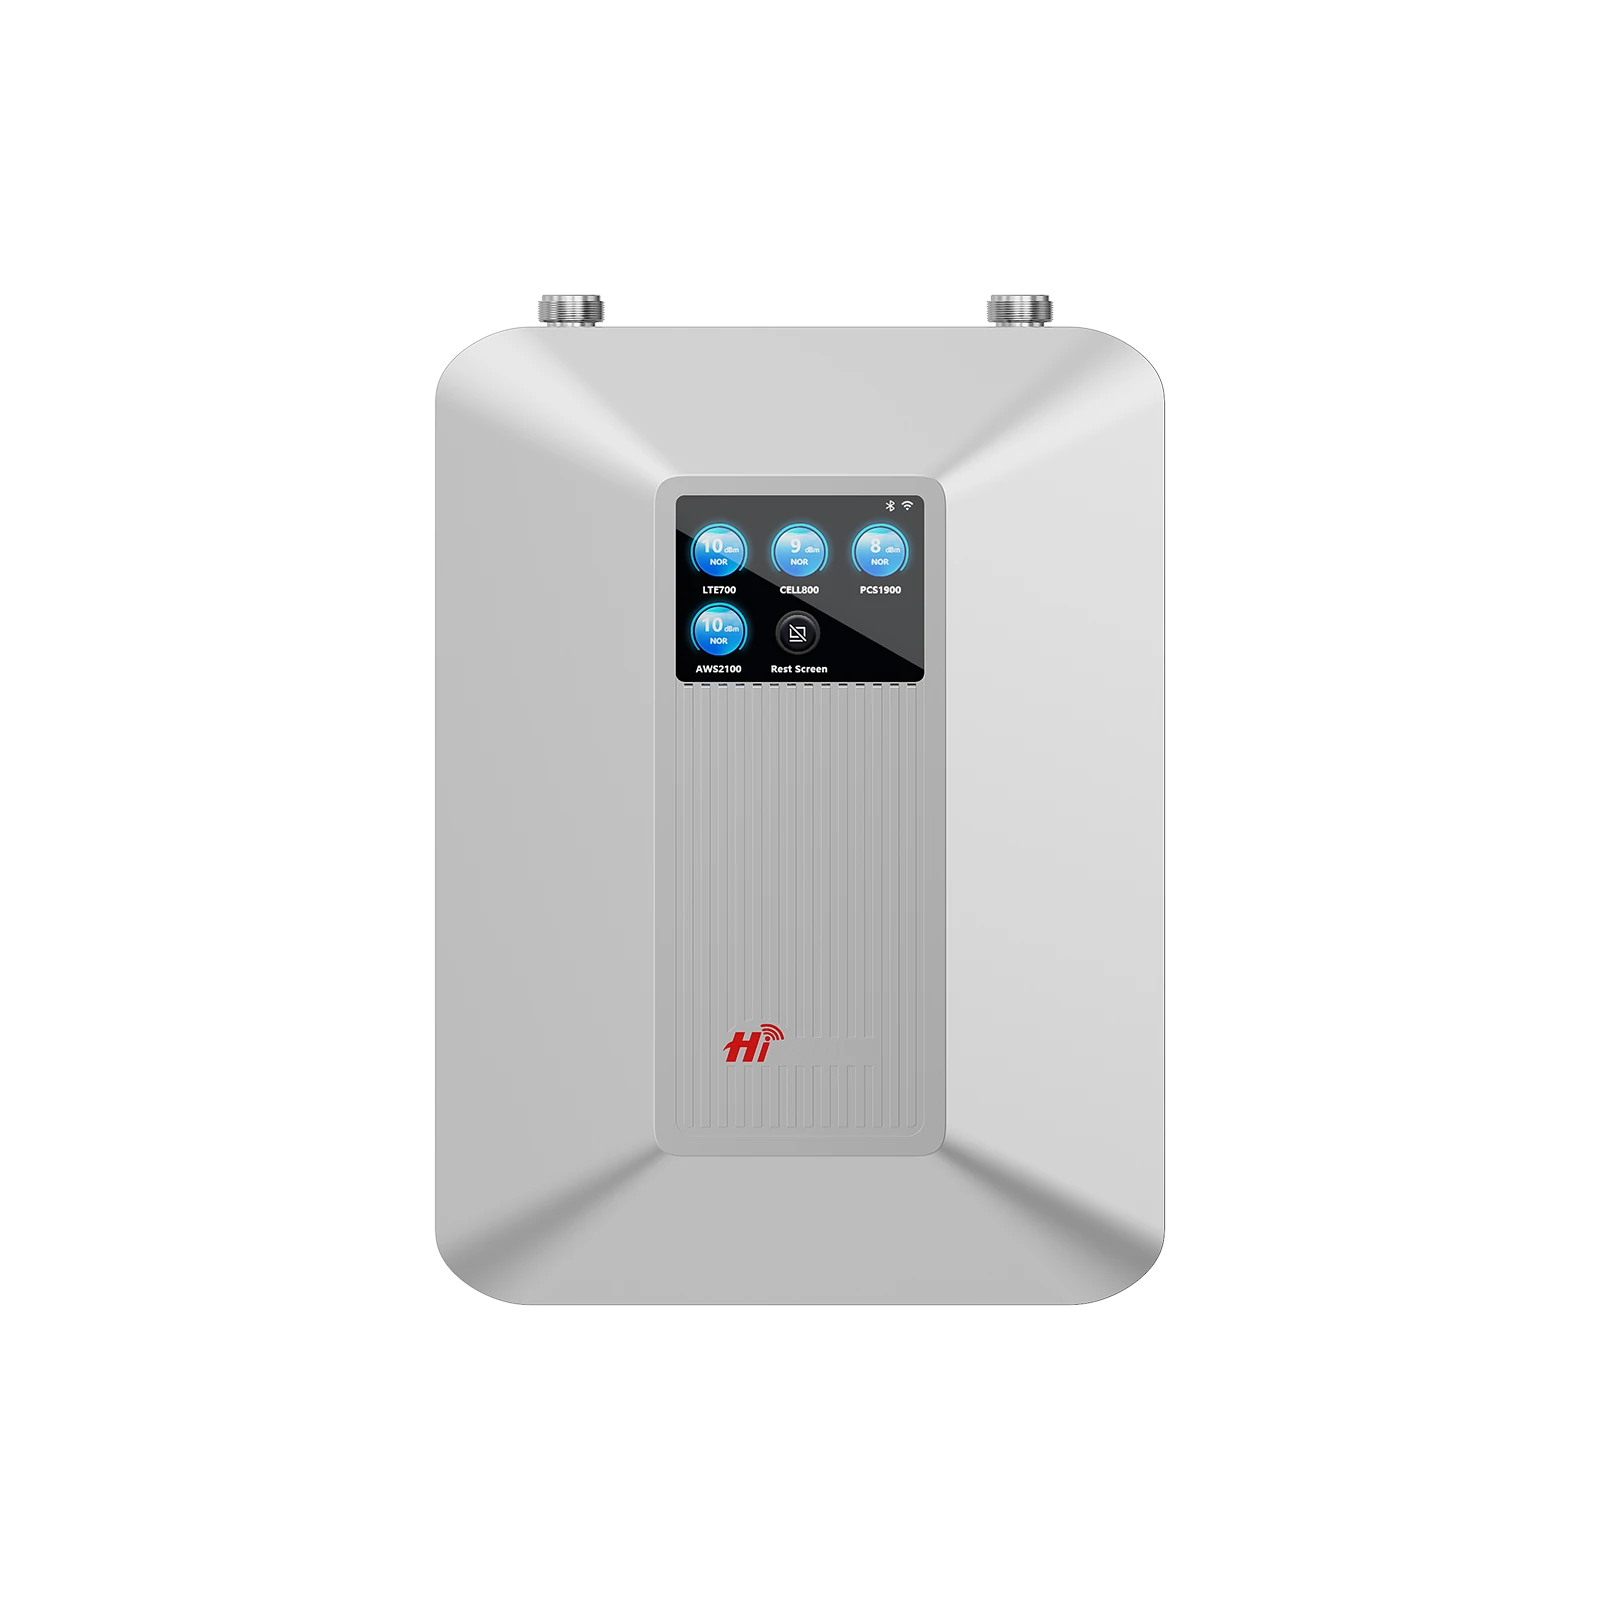
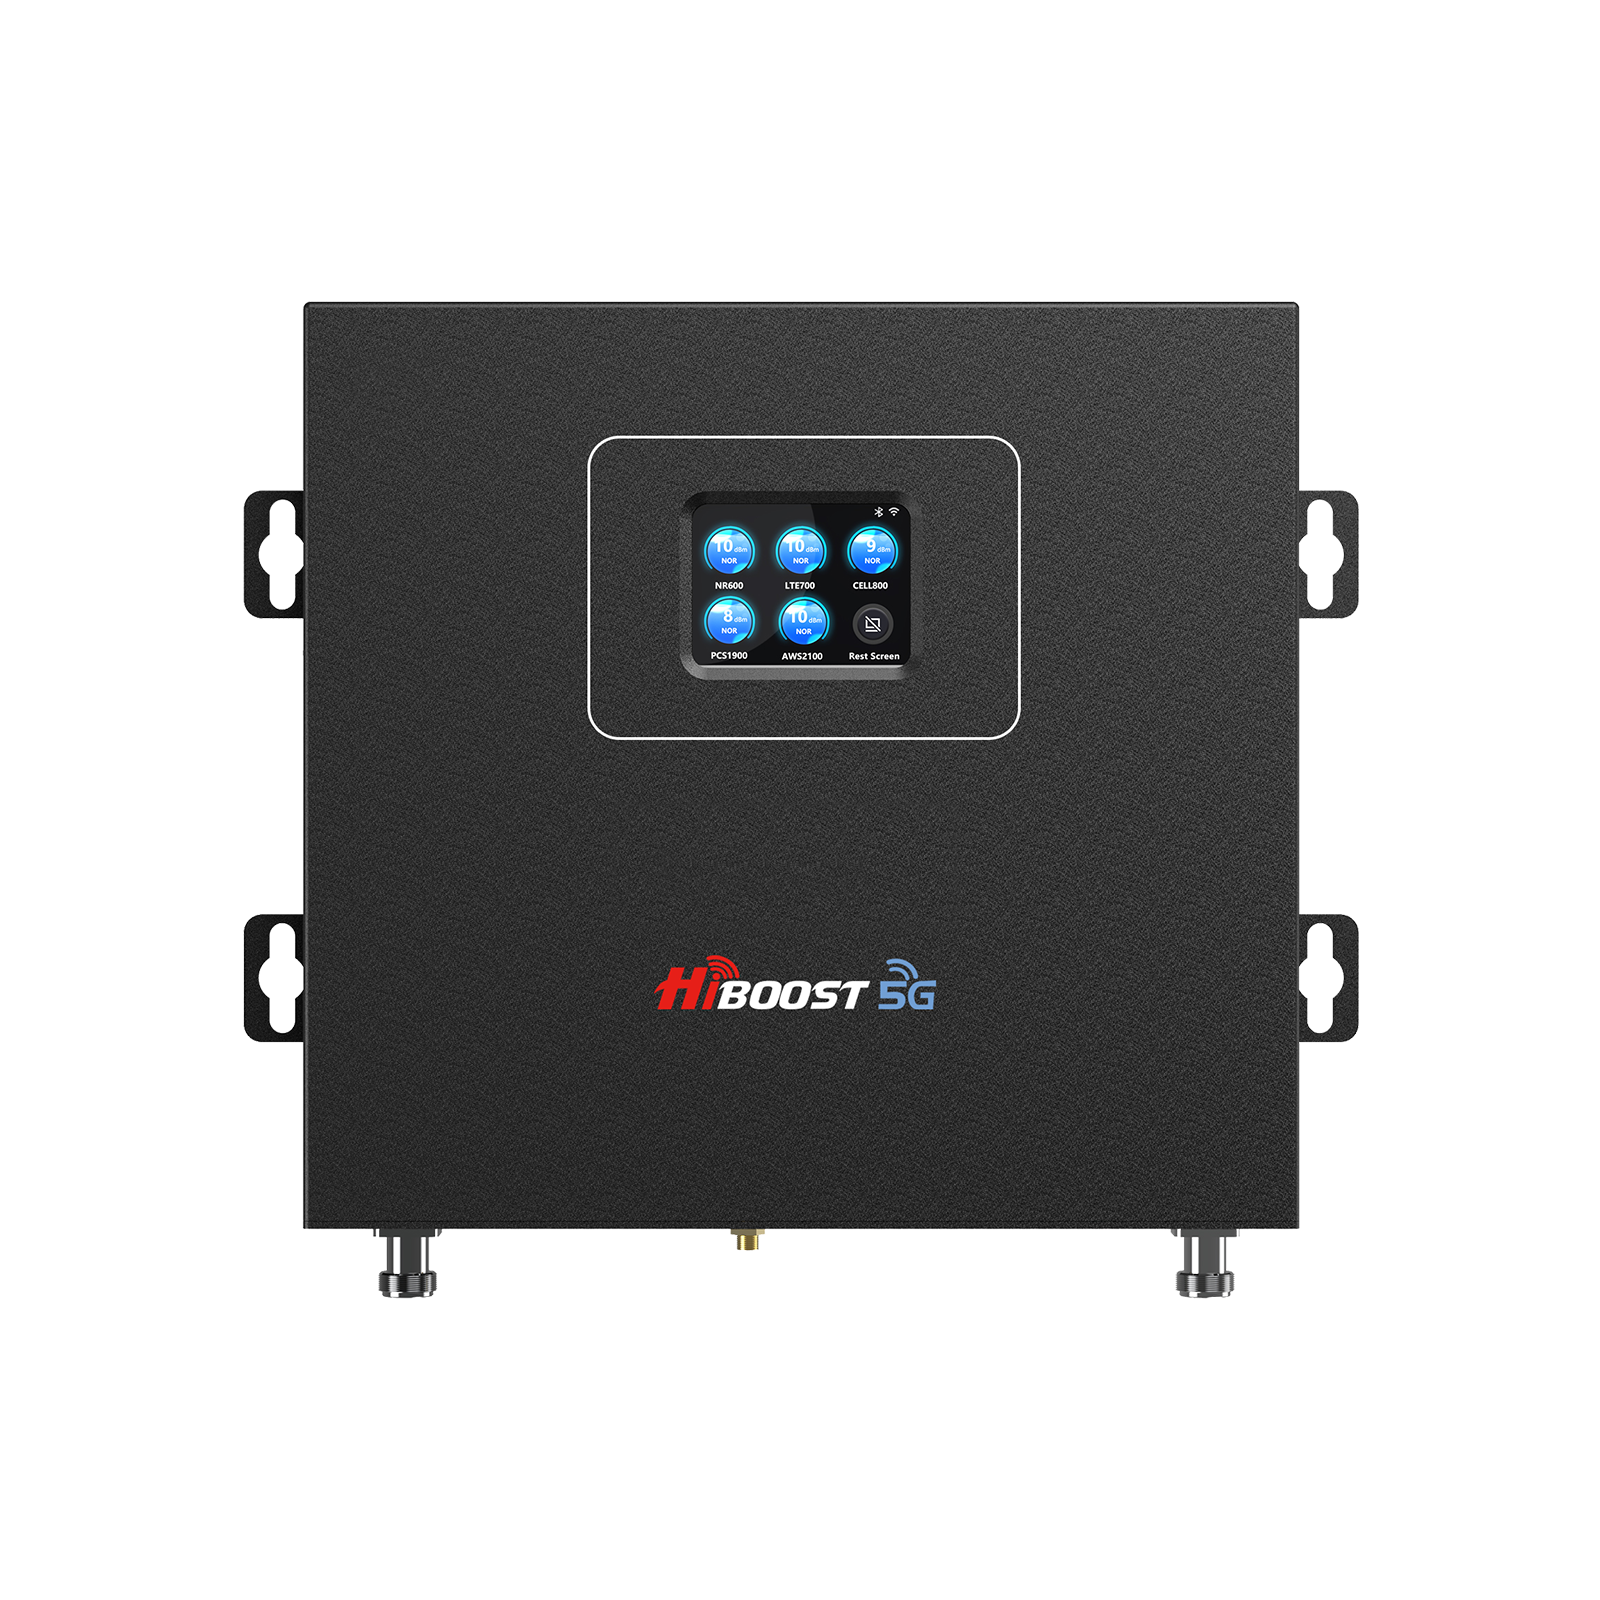
Recommended RV Booster Models: When choosing a booster, look for those specifically designed for RVs and vehicles, as they’ll be built to handle motion, vibration, and 12V power. For example, HiBoost offers a Travel 3.0 RV cell booster that’s made for campers and motorhomes. It provides up to 50 dB gain and supports multiple devices on all carriers.
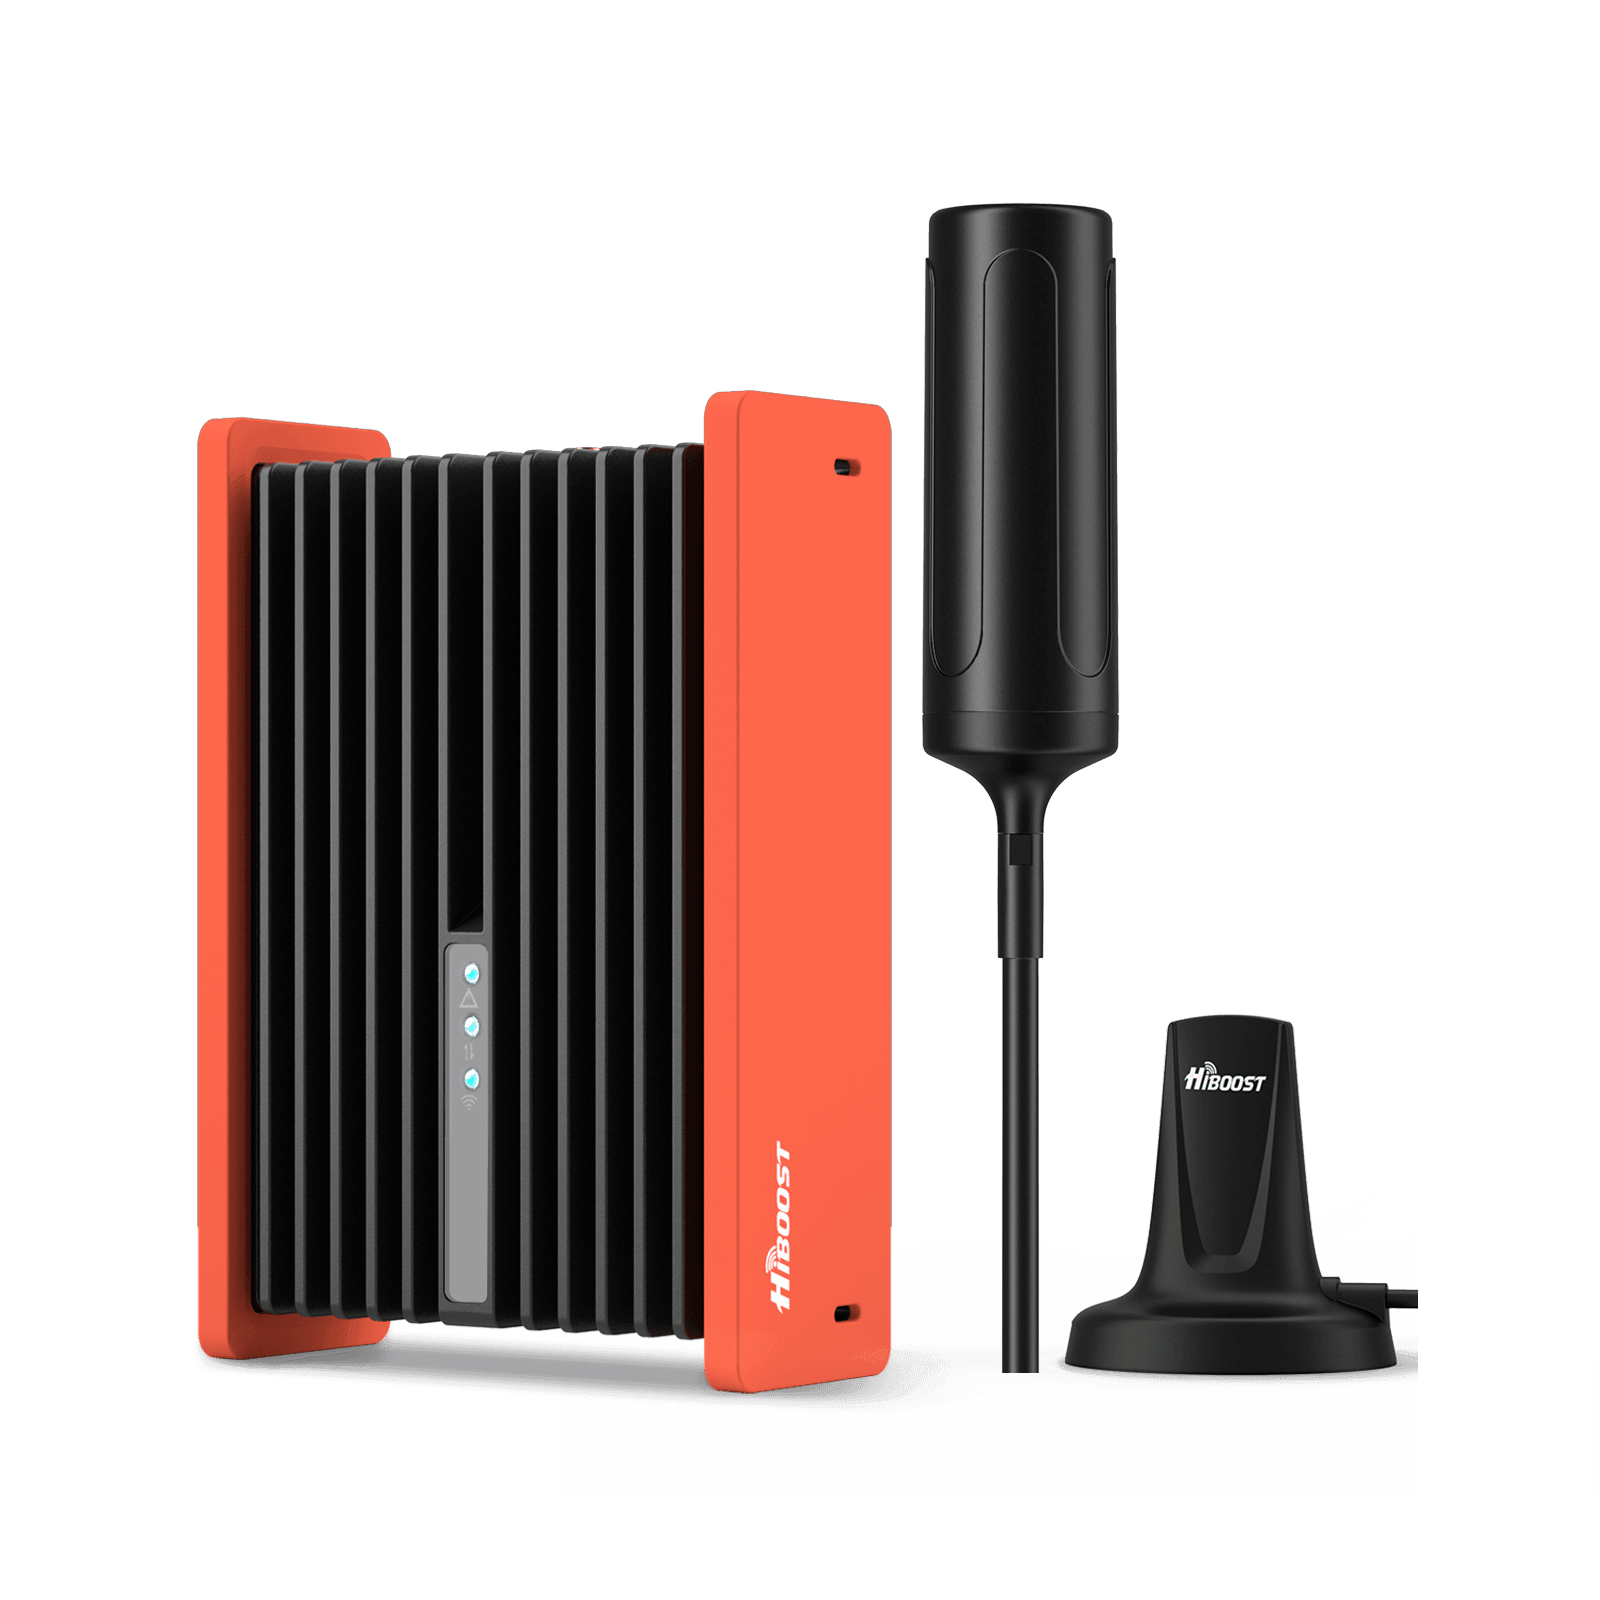
HiBoost Travel 3.0 RV Cellular Signal Booster
For RVs, campers, motorhomes, travel trailers, vans, and mobile homes
Users report it can turn an unusable 1-bar 4G/5G signal into solid coverage for streaming and Zoom calls, even near remote parks like Yellowstone. The kit comes with an upgraded outside antenna for mounting on your RV roof and an easy interior setup: just mount the antennas, connect the cables, and plug into a 12V outlet.
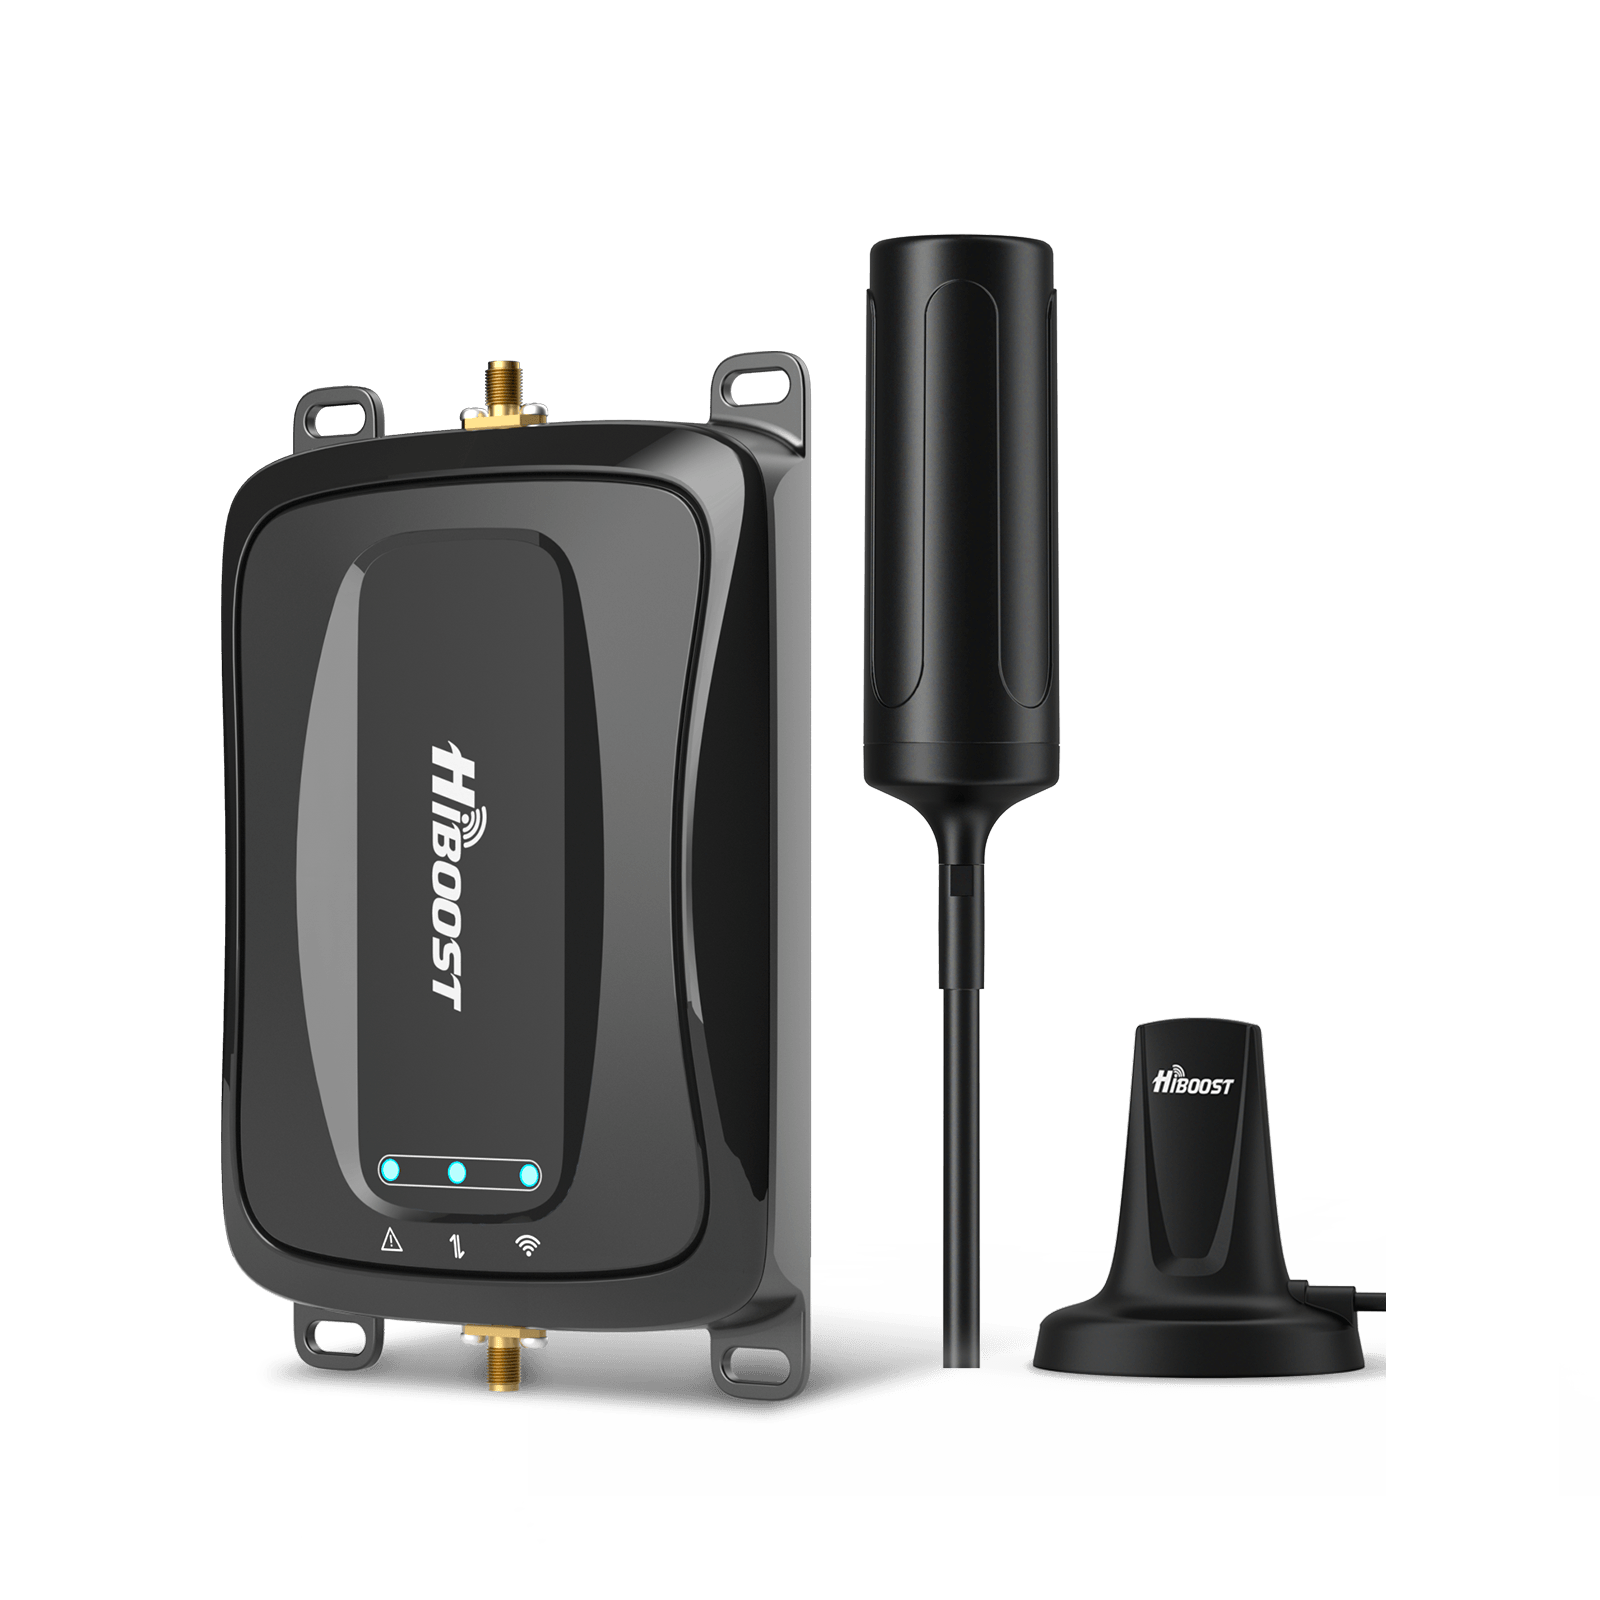
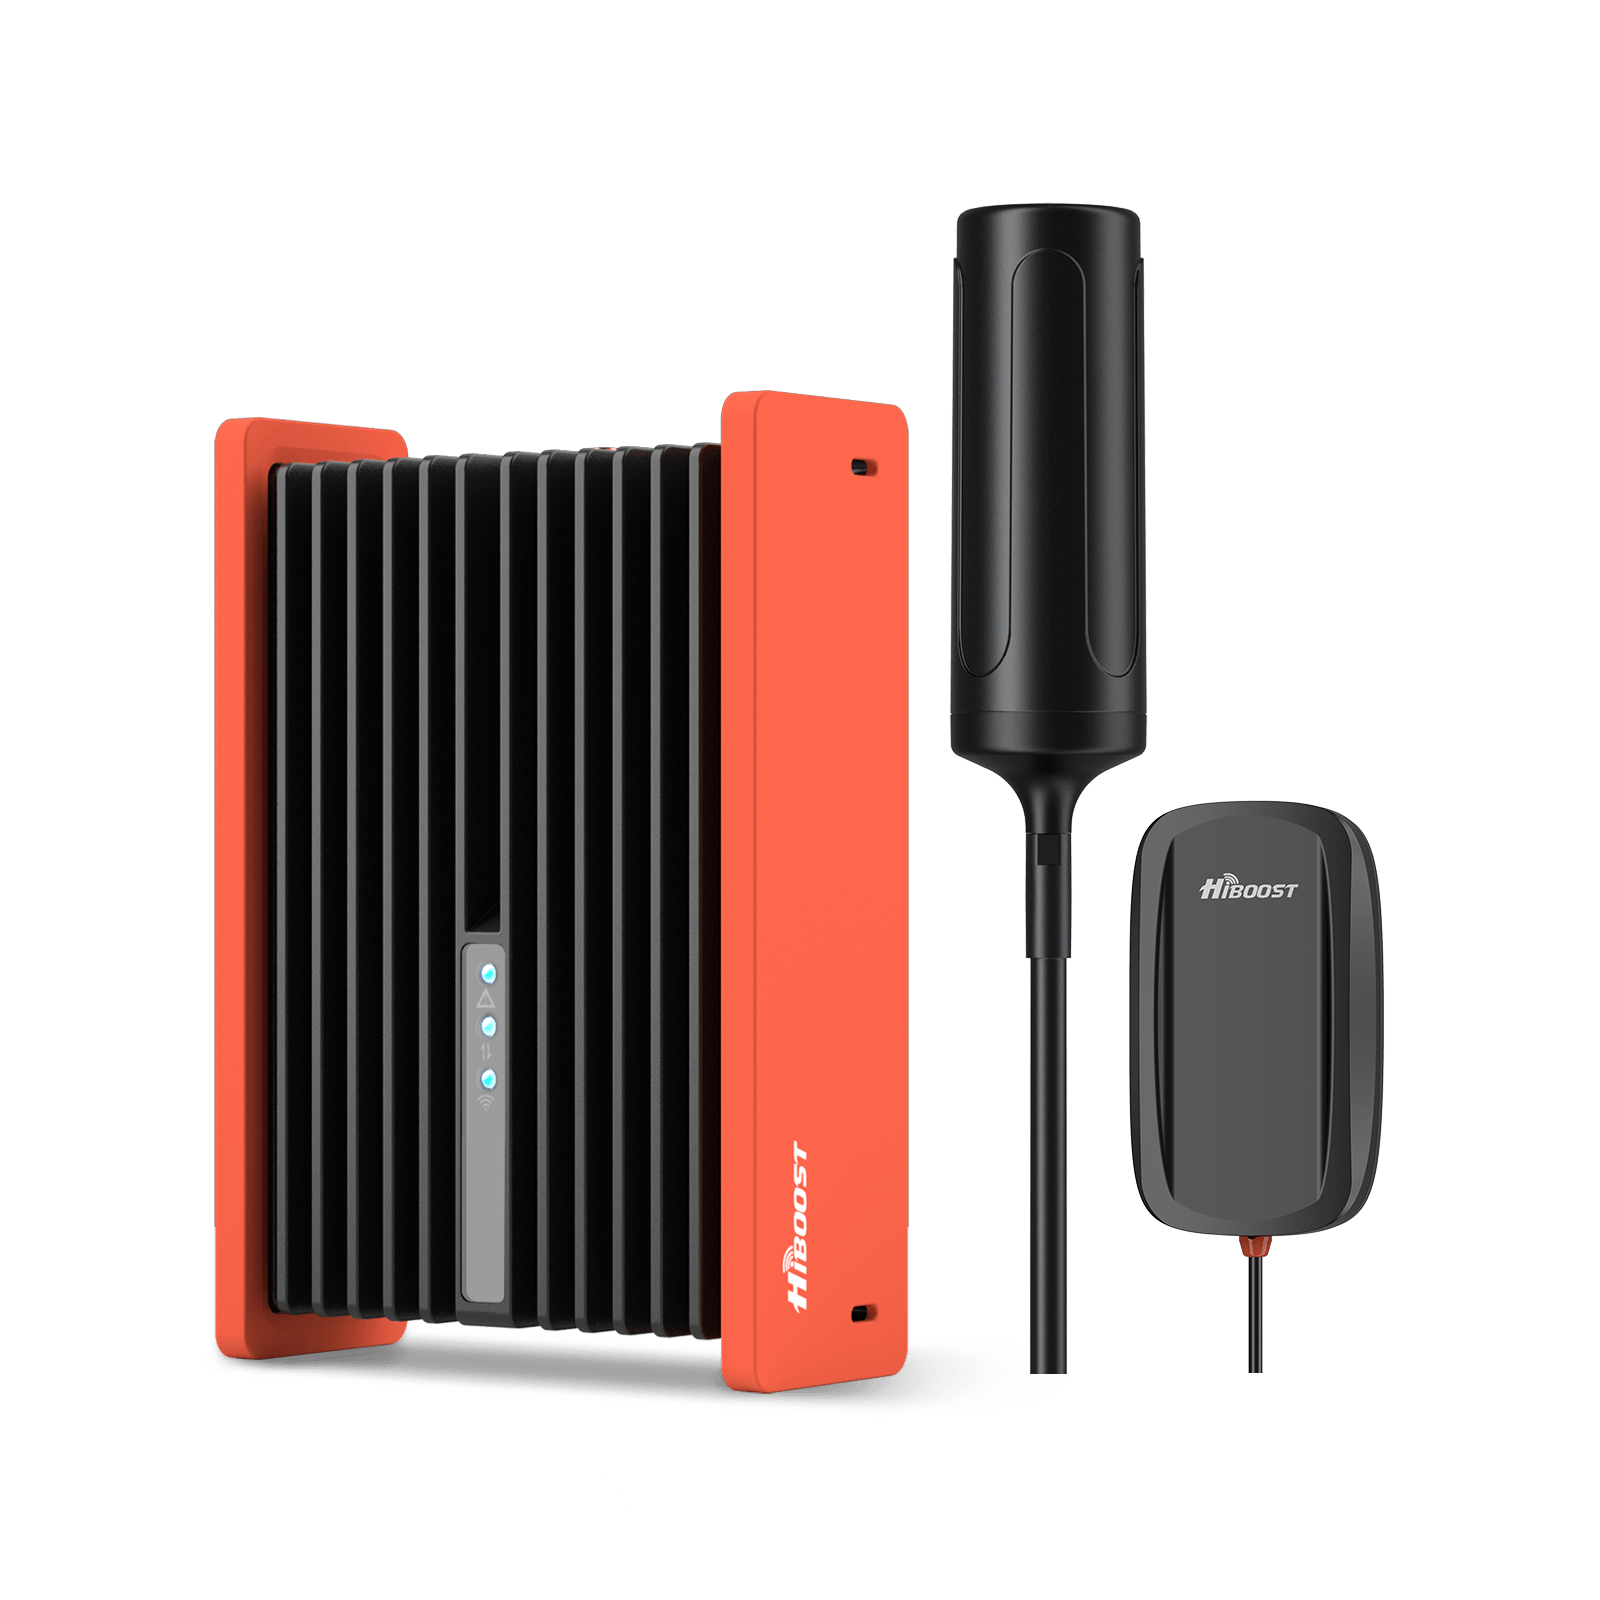
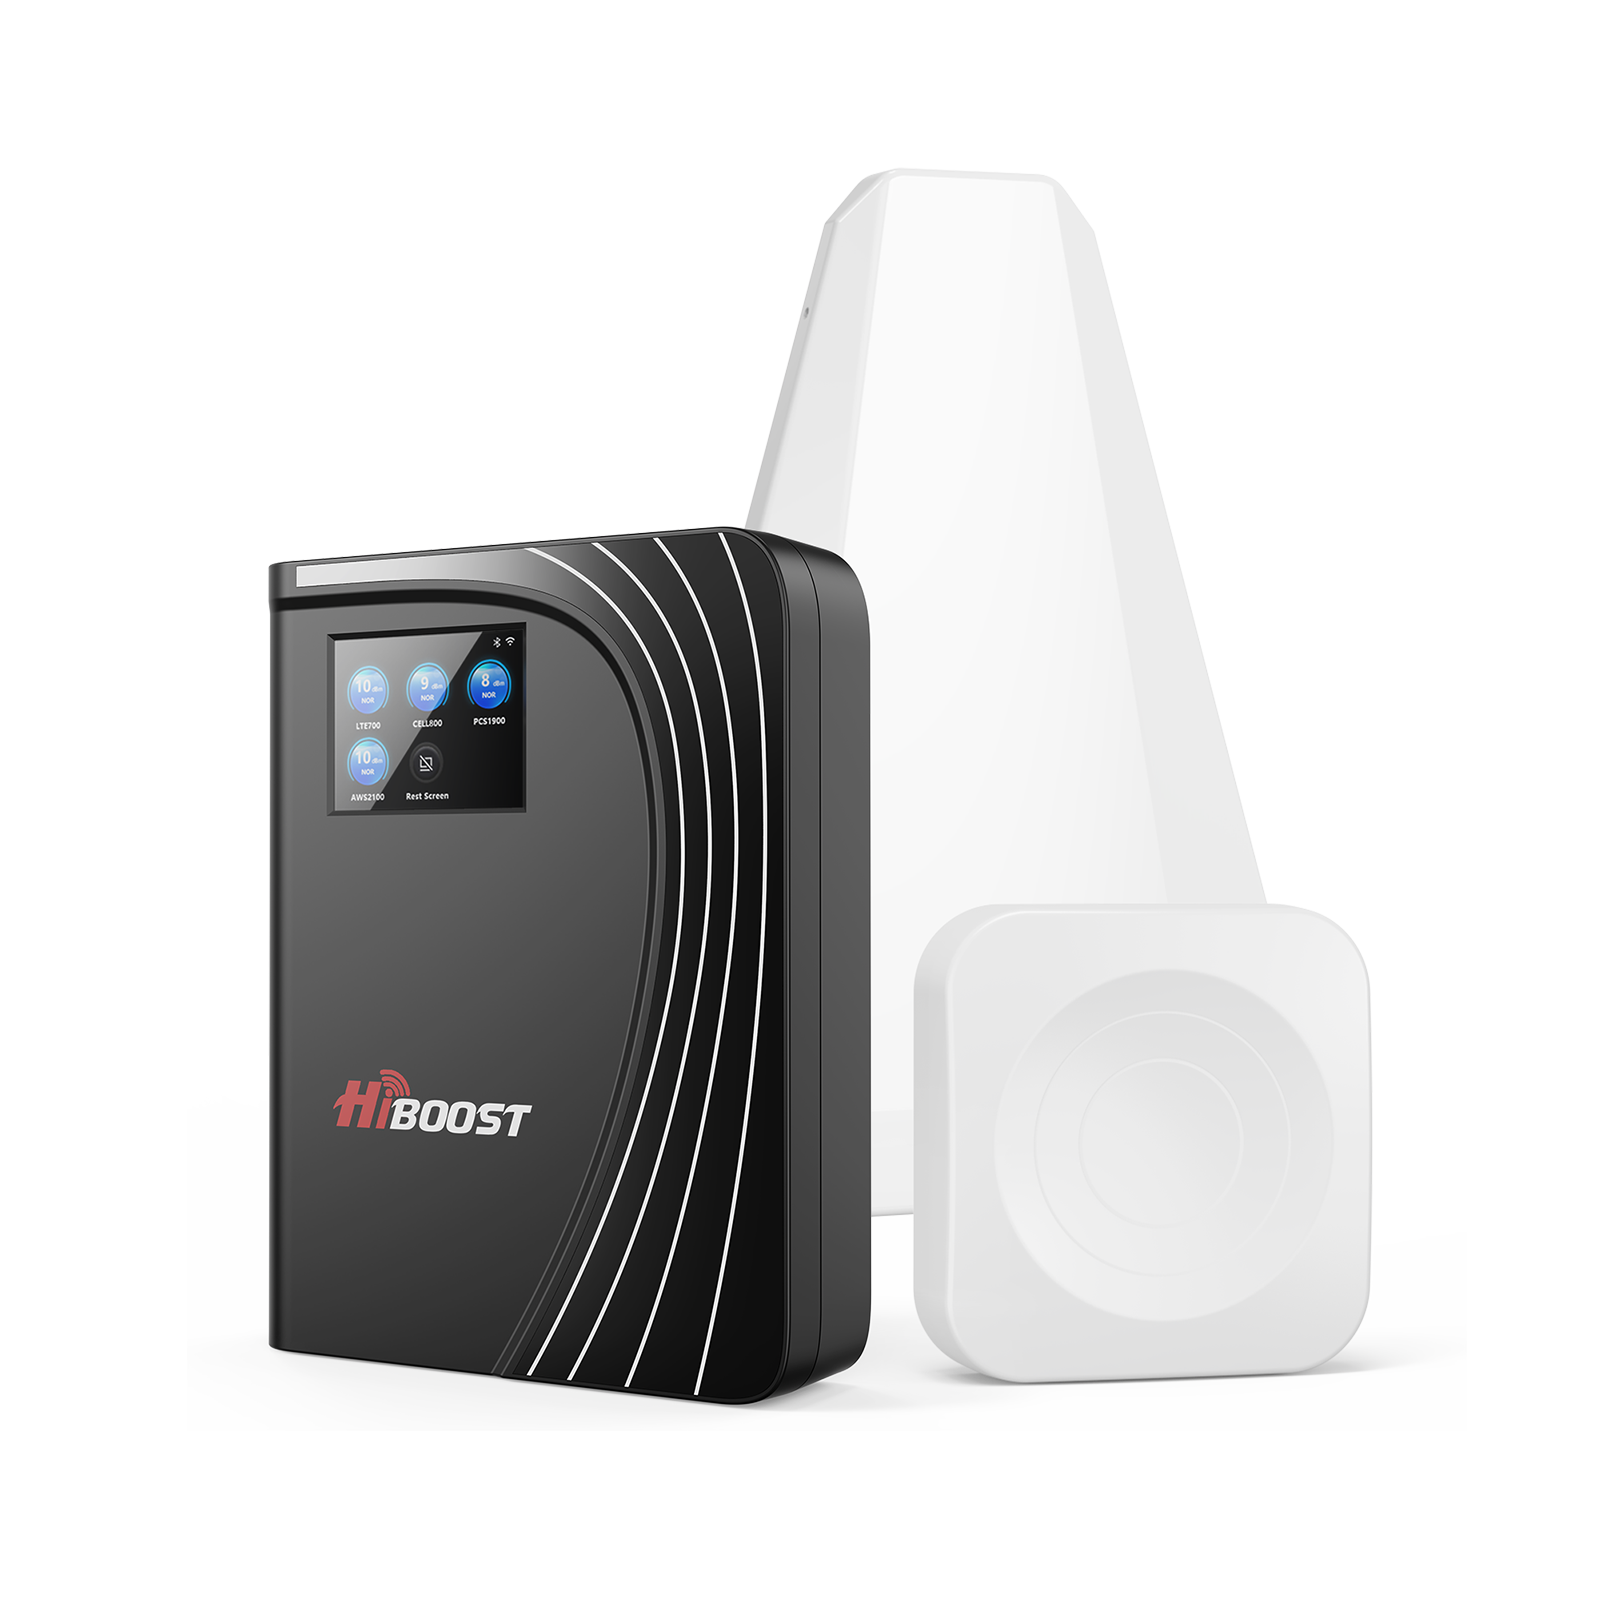
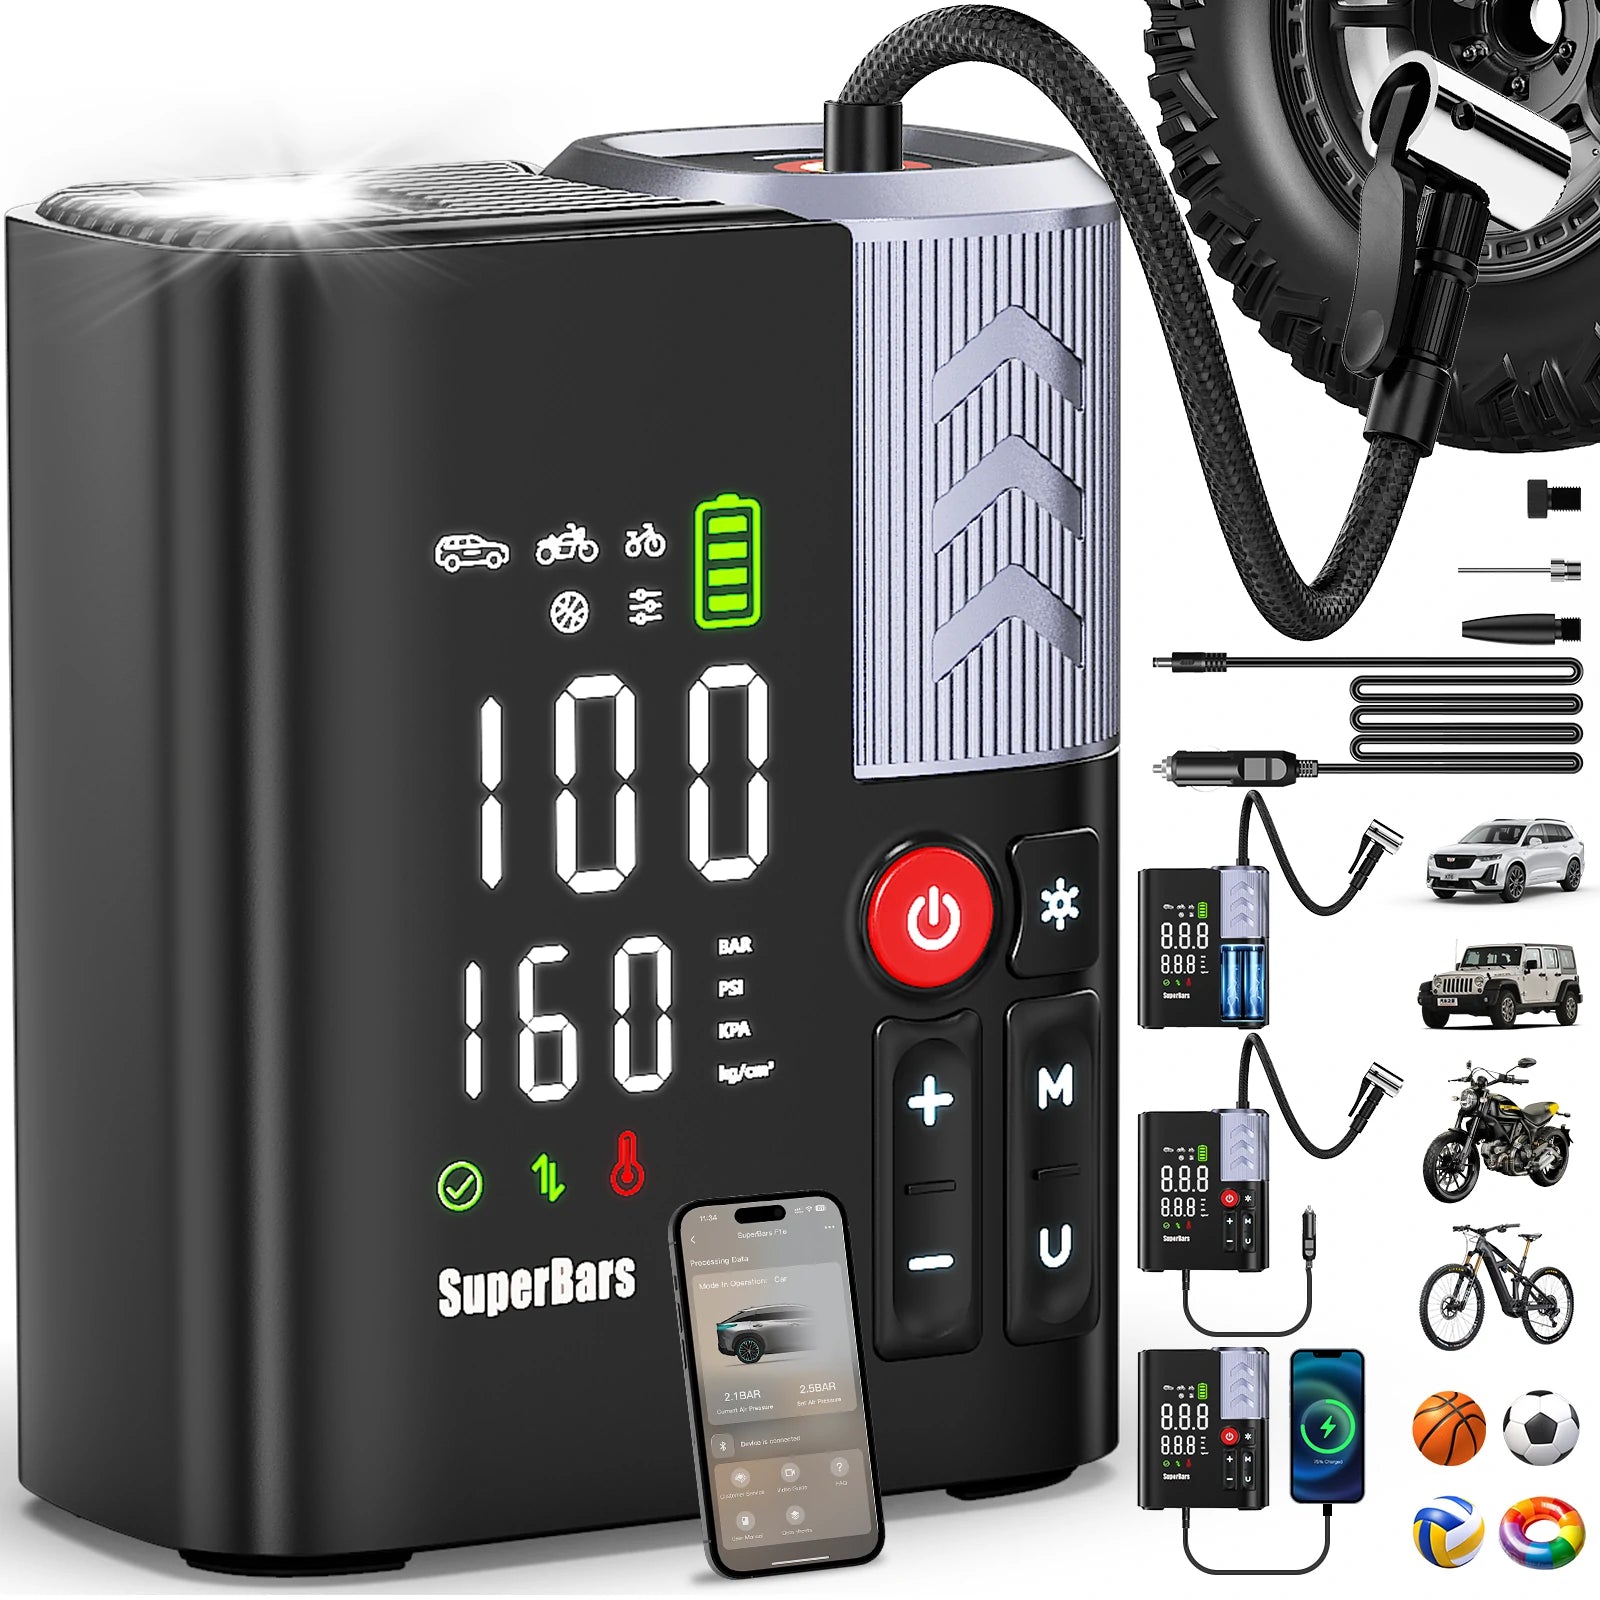
For those who venture off-road or in very rugged conditions, HiBoost’s Travel 3.0 ExplorerX is a popular choice. This model is built with a rugged, foldable 180° antenna and a tough amplifier housing for extreme environments. It’s great for overlanders, off-grid vanlifers, or anyone facing bumpy roads and dust.
The ExplorerX antenna can be folded down when not in use and easily raised when parked to catch a distant signal. It also includes extension poles and a rotatable mount to fine-tune the antenna’s height and direction toward a signal source. In short, it’s a booster built to withstand vibrations, dust, and tough terrain while keeping you connected.
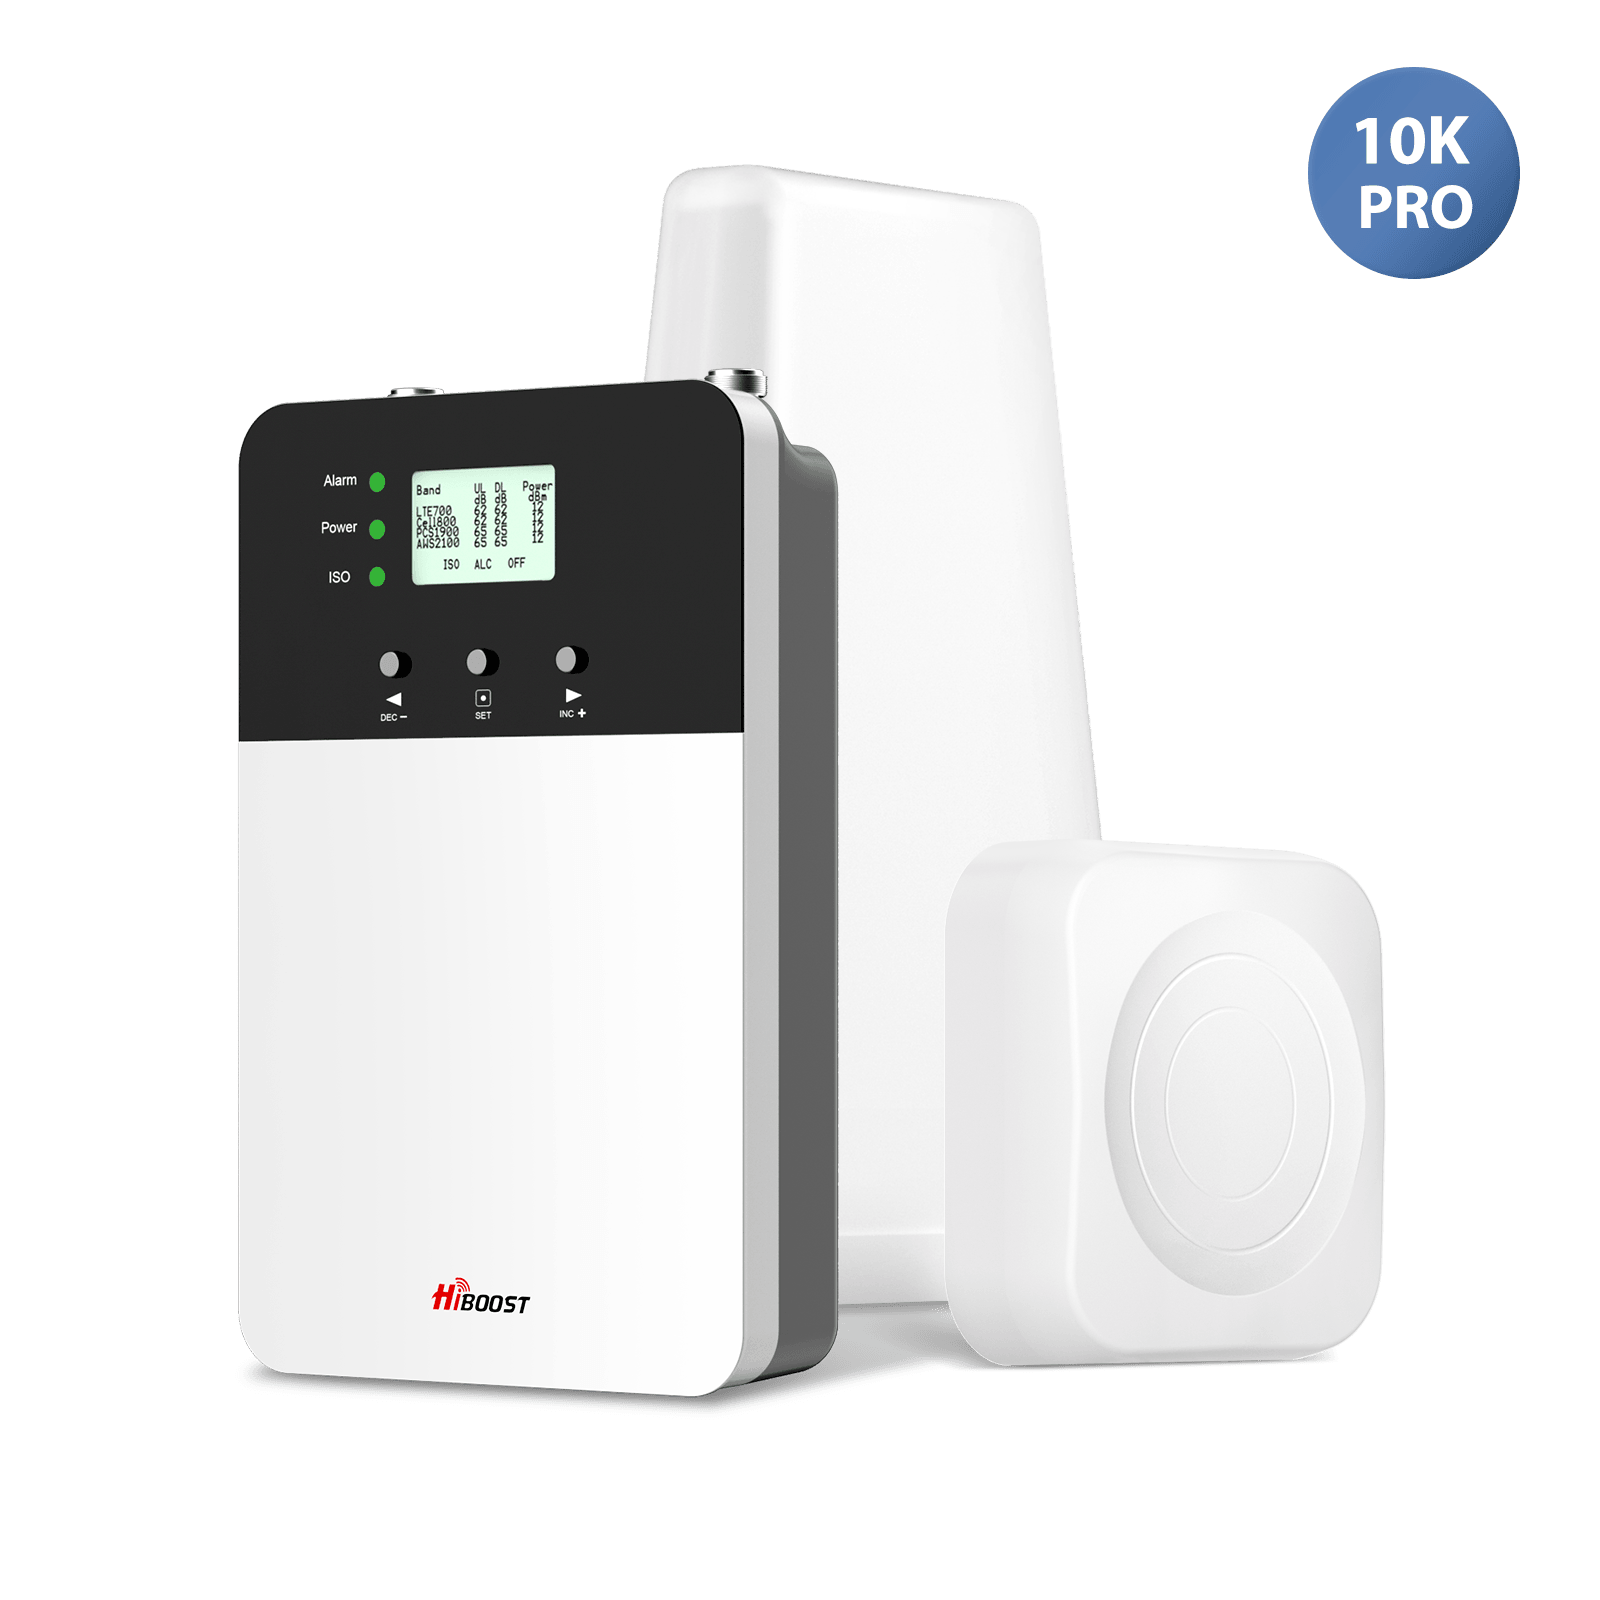
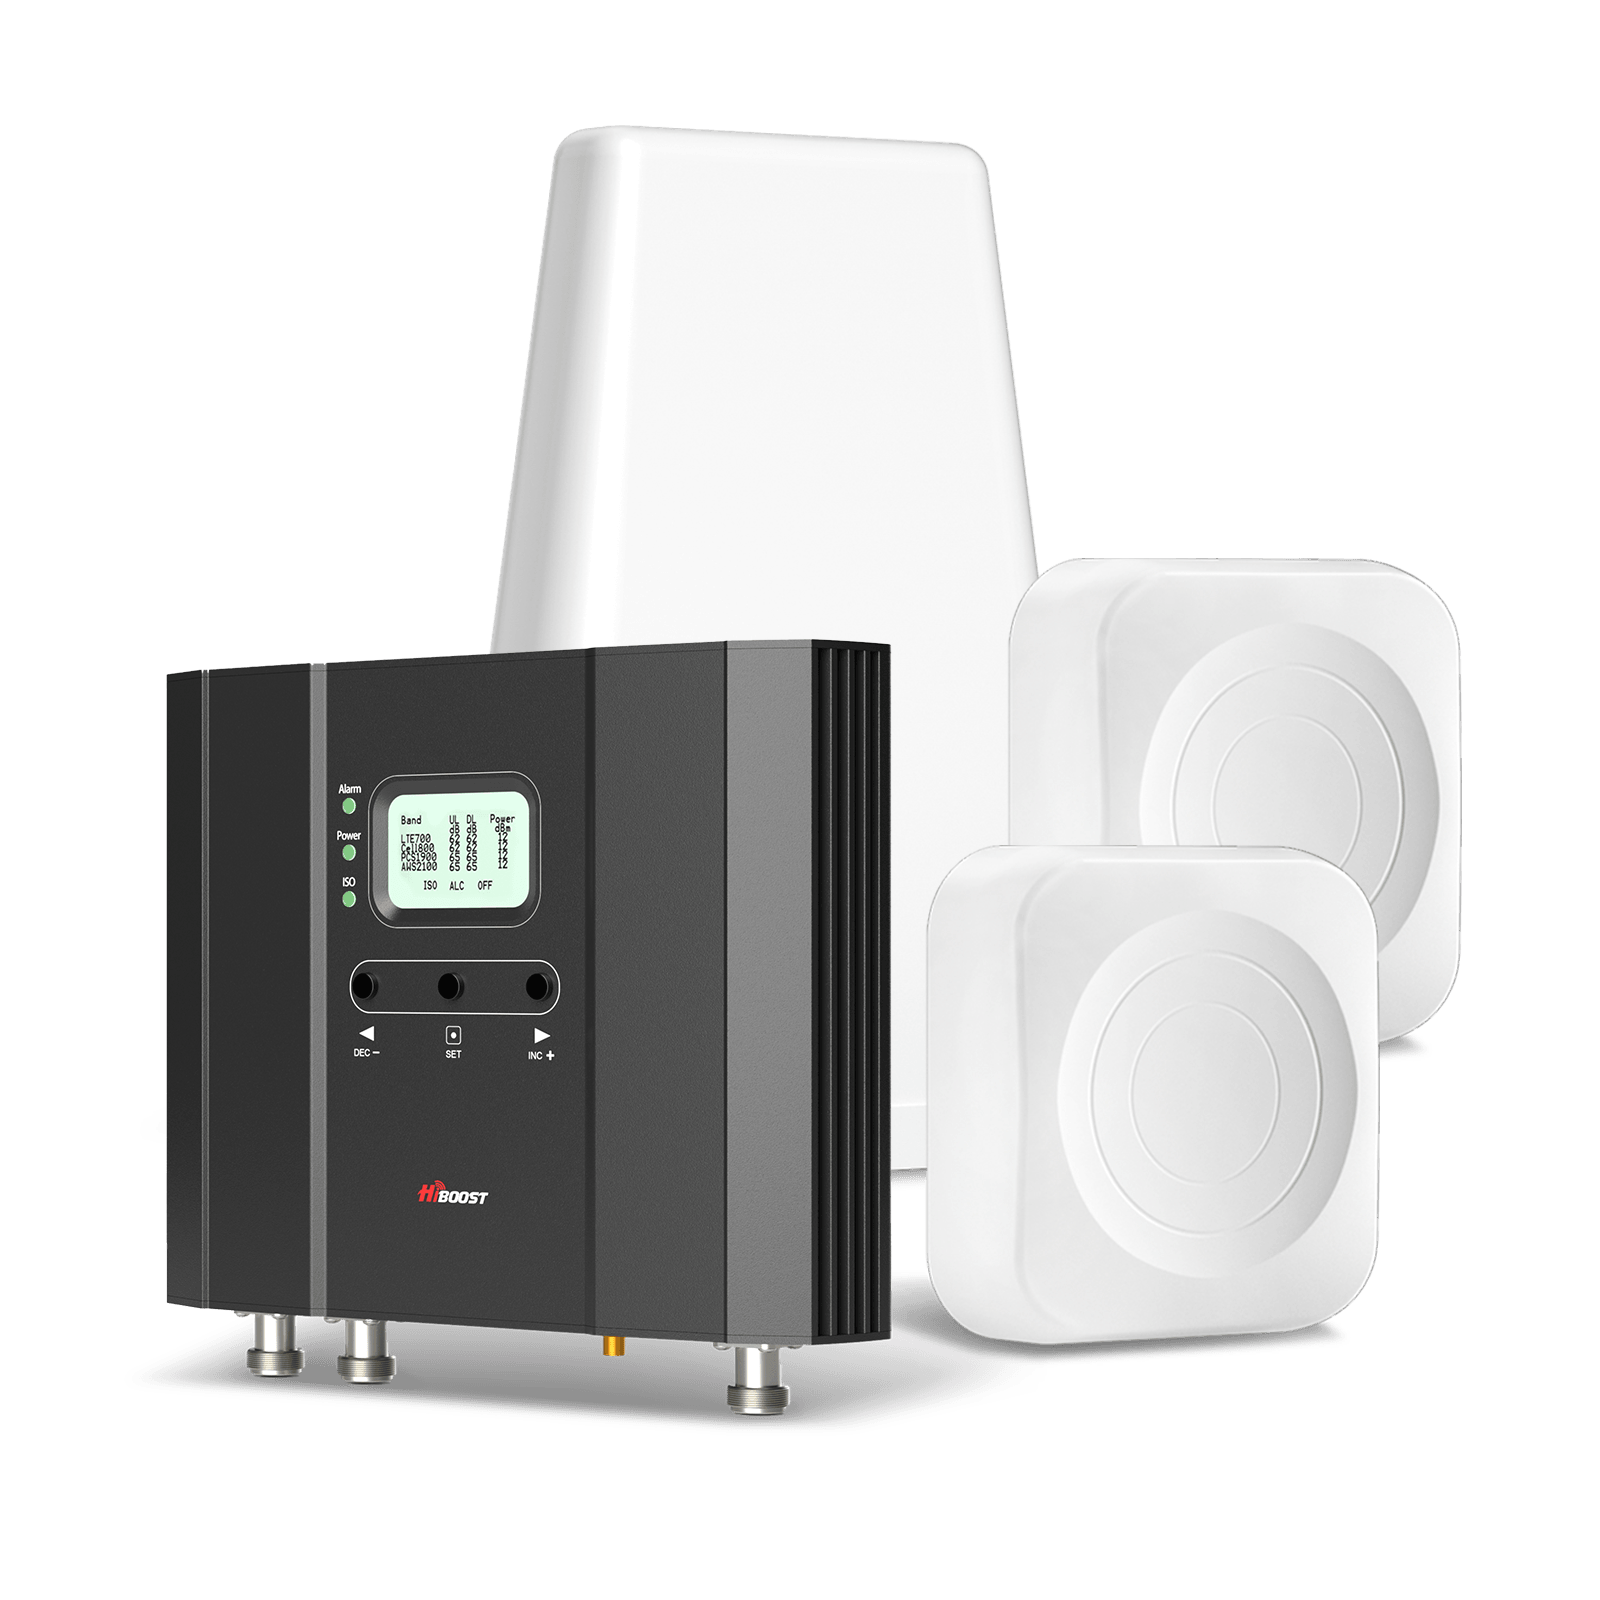
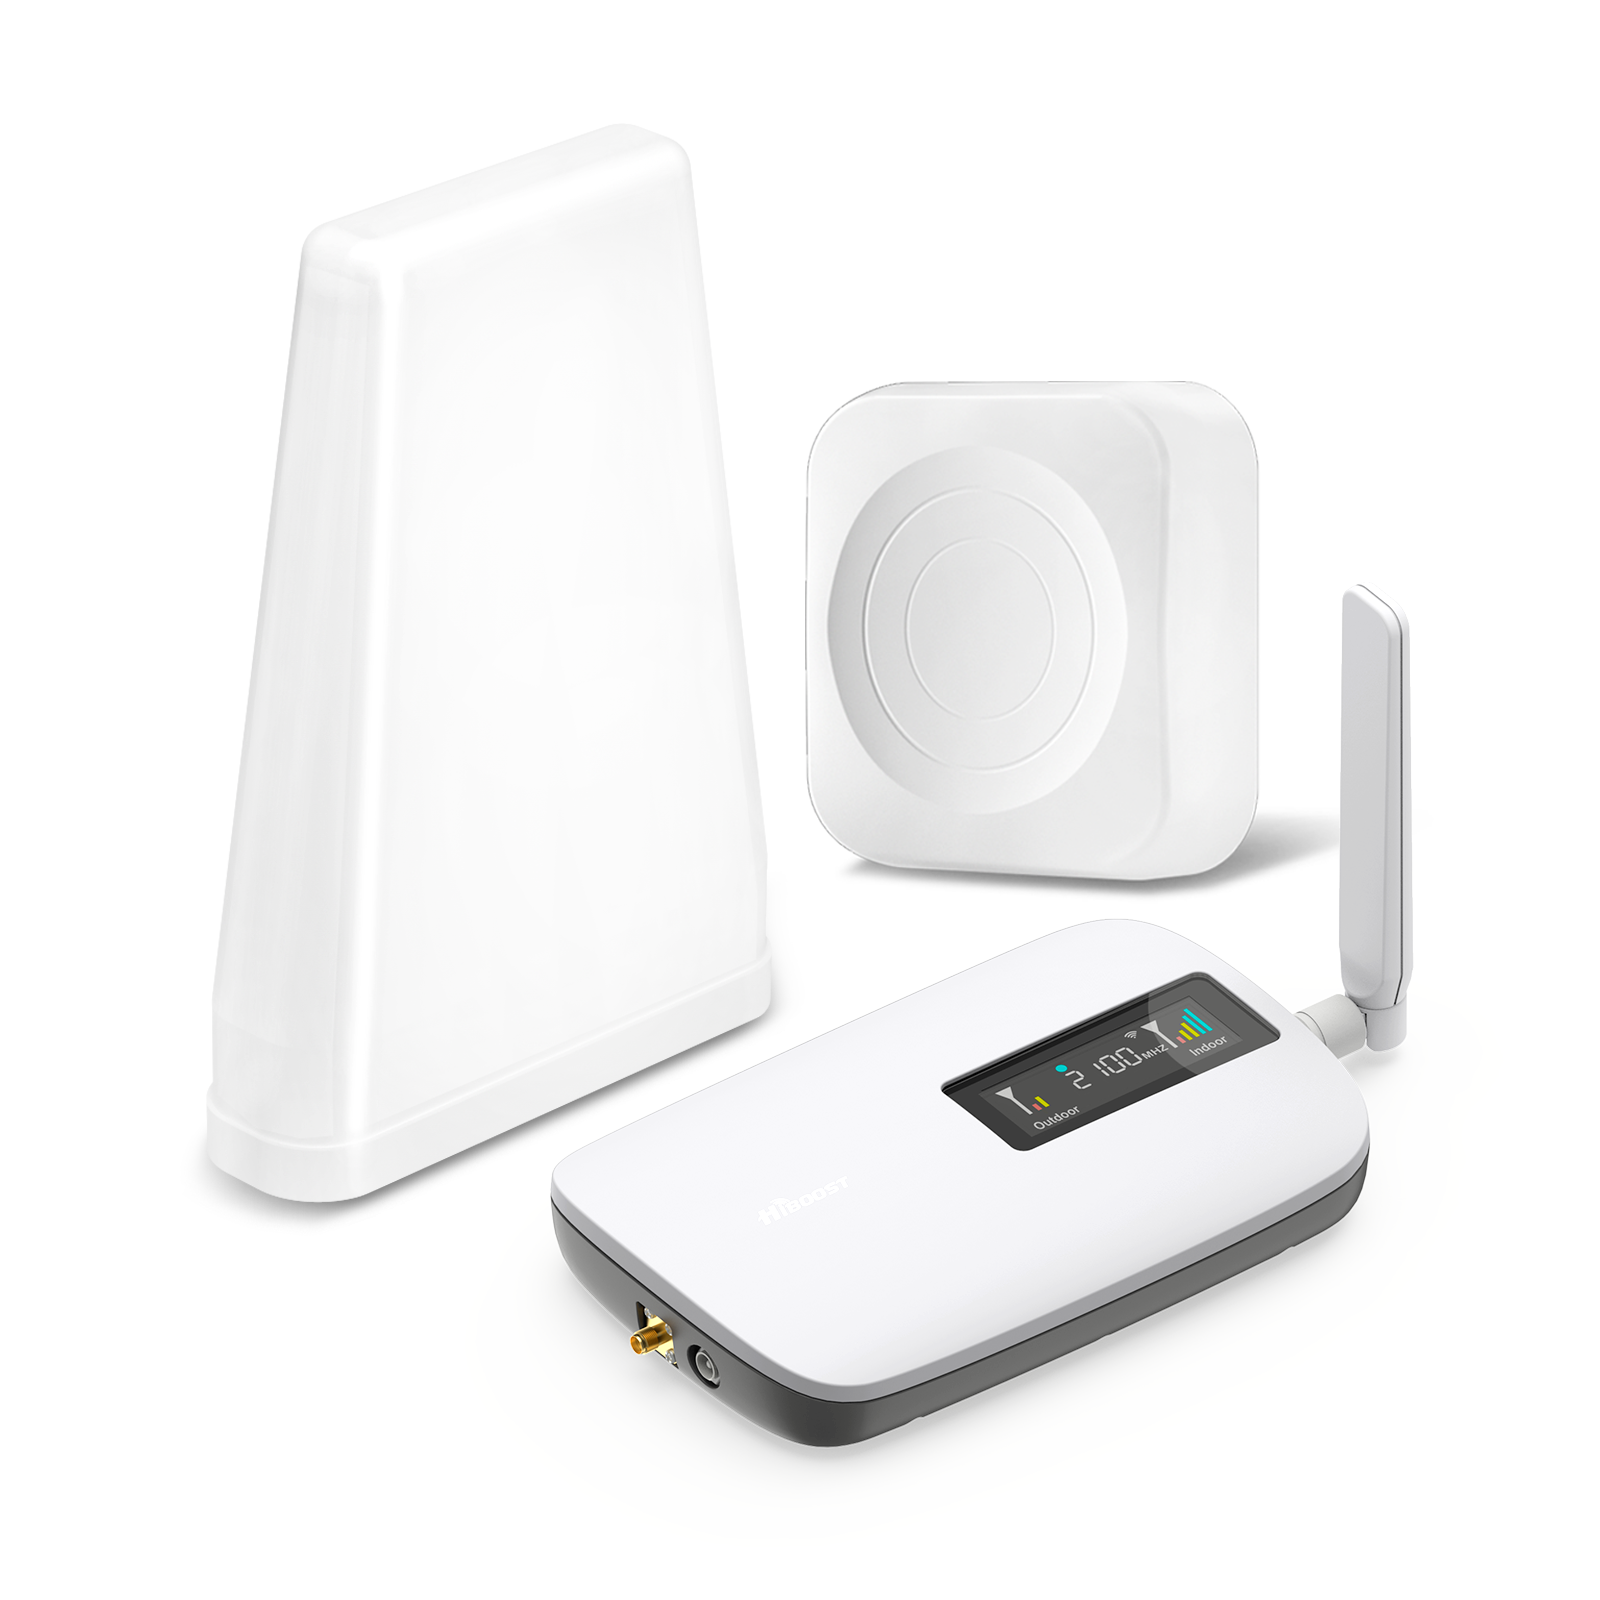
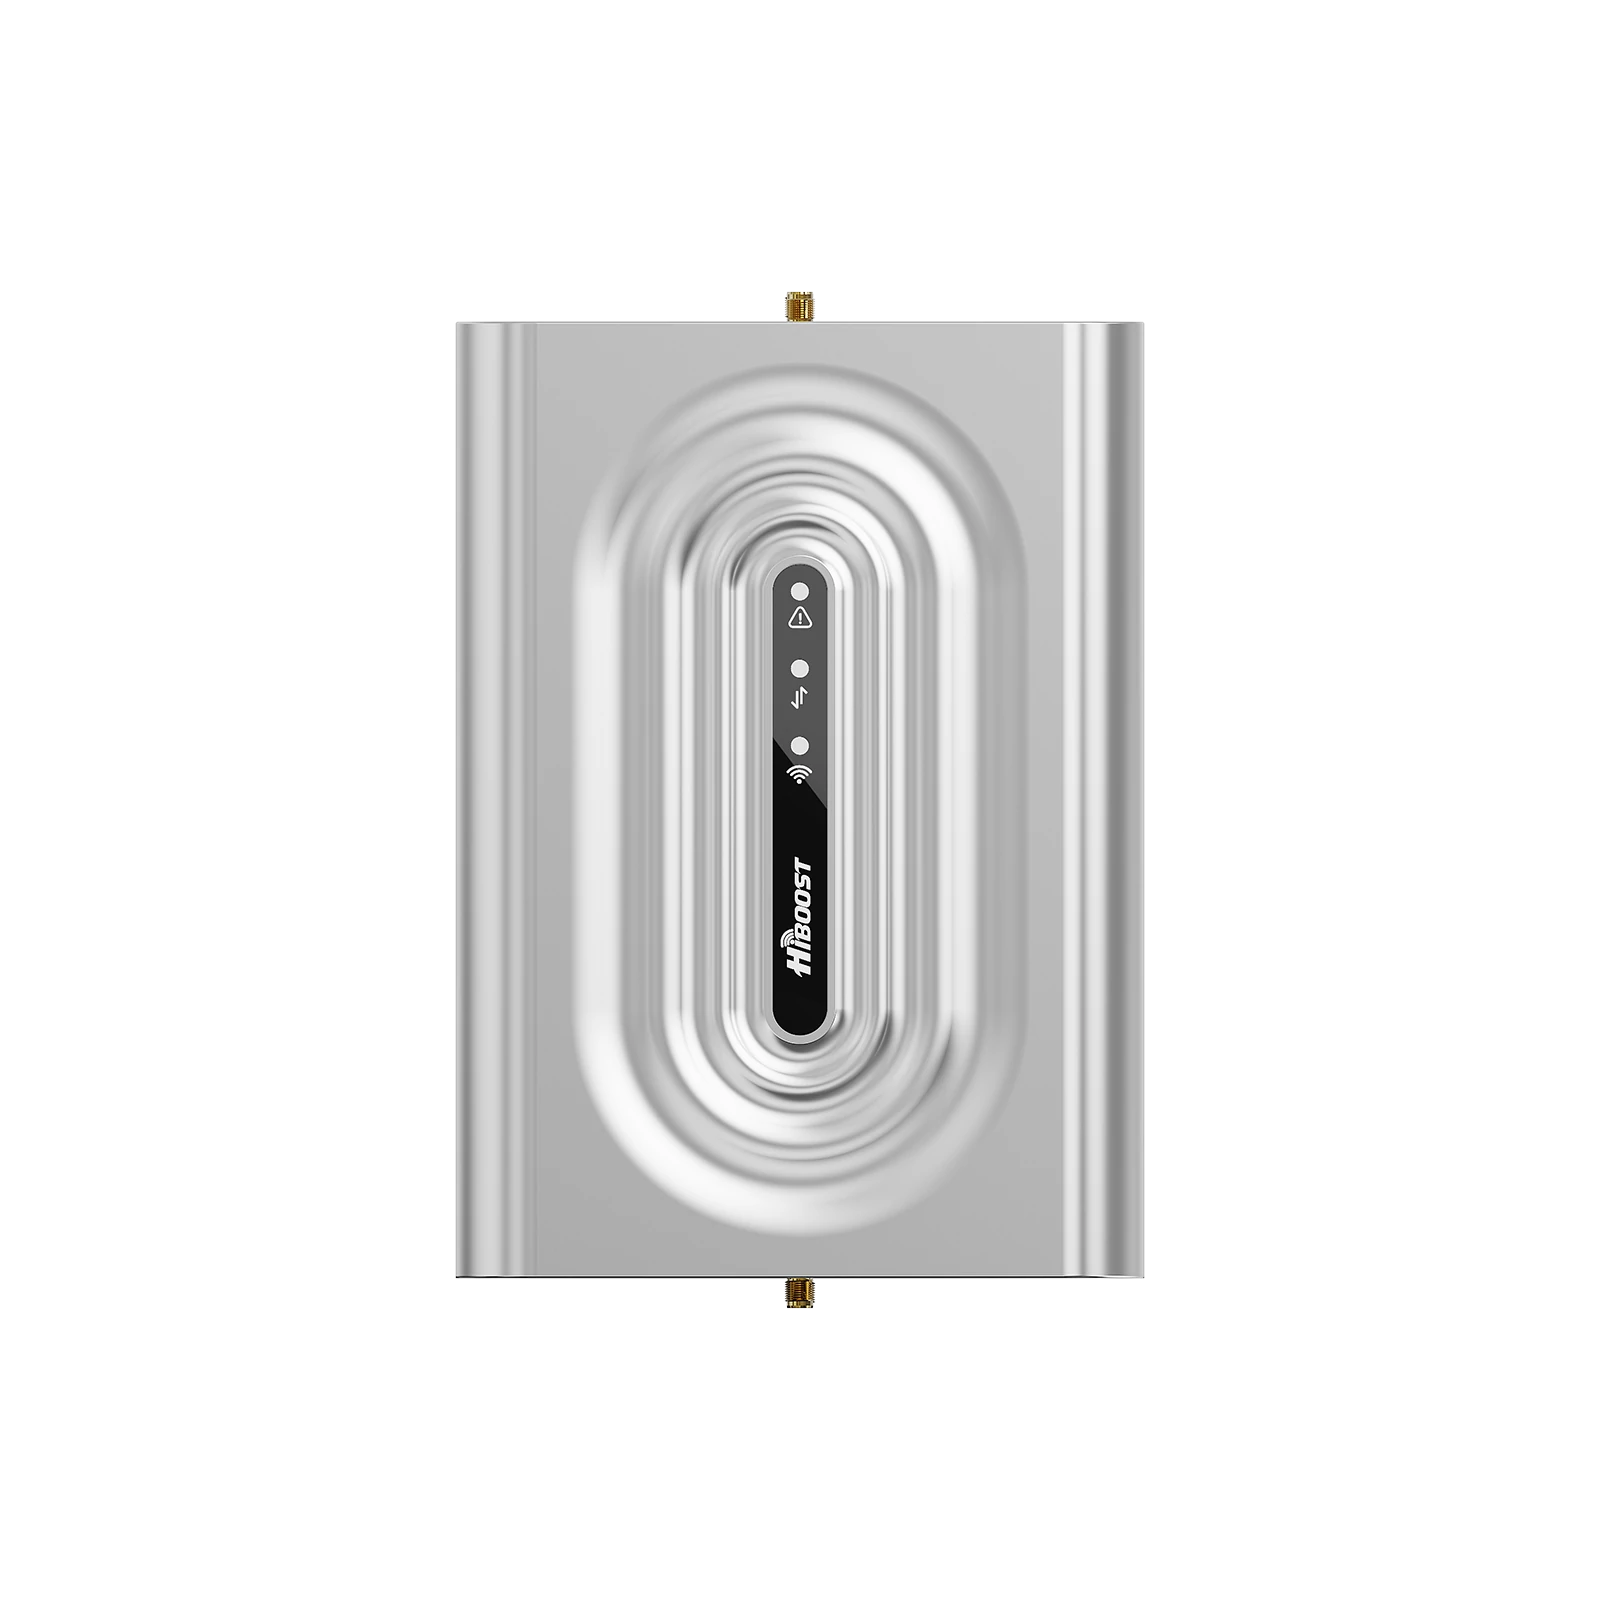
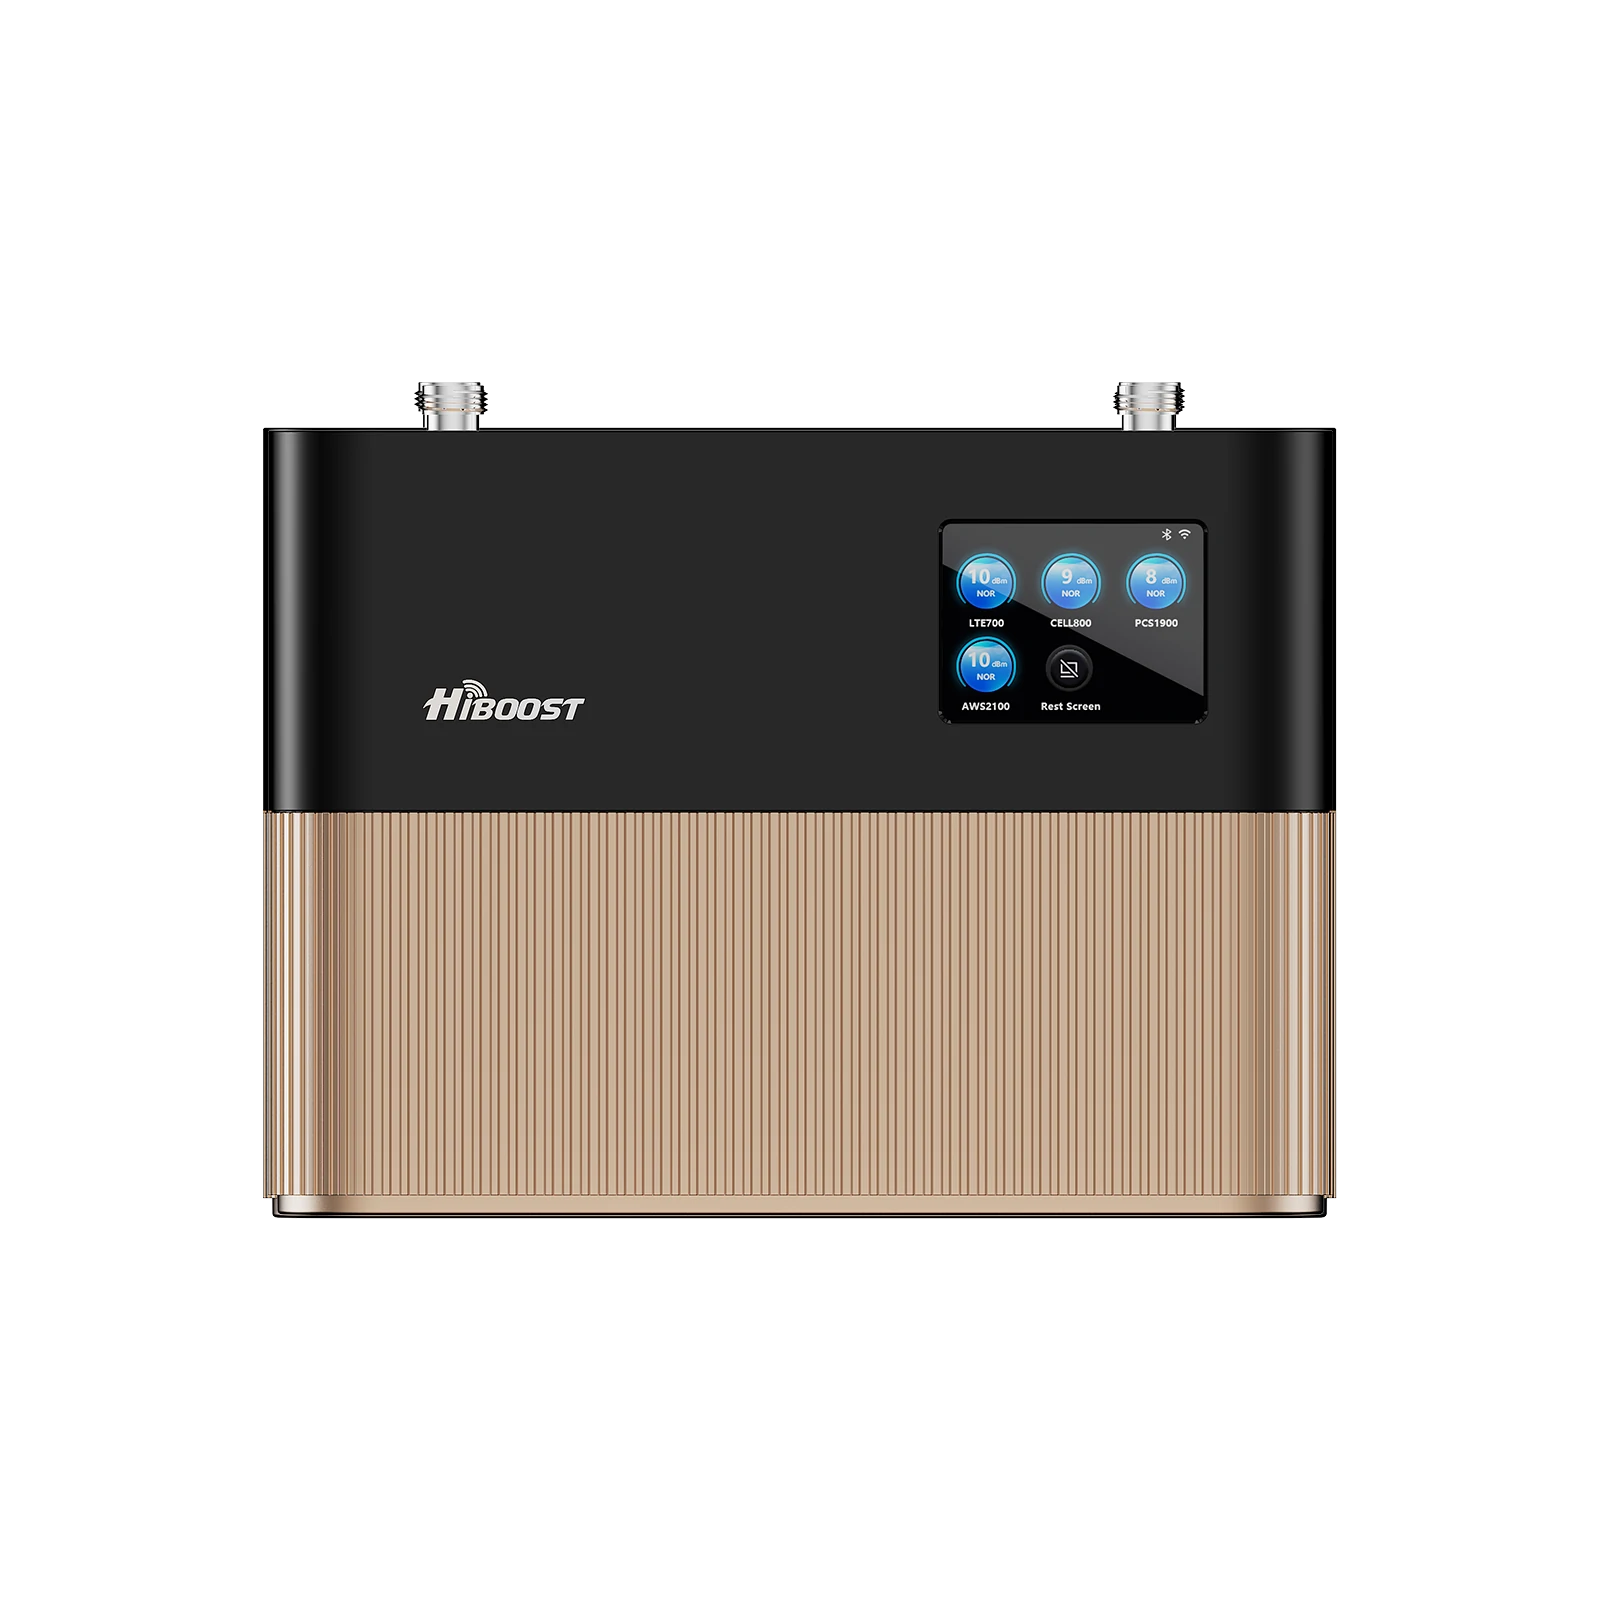
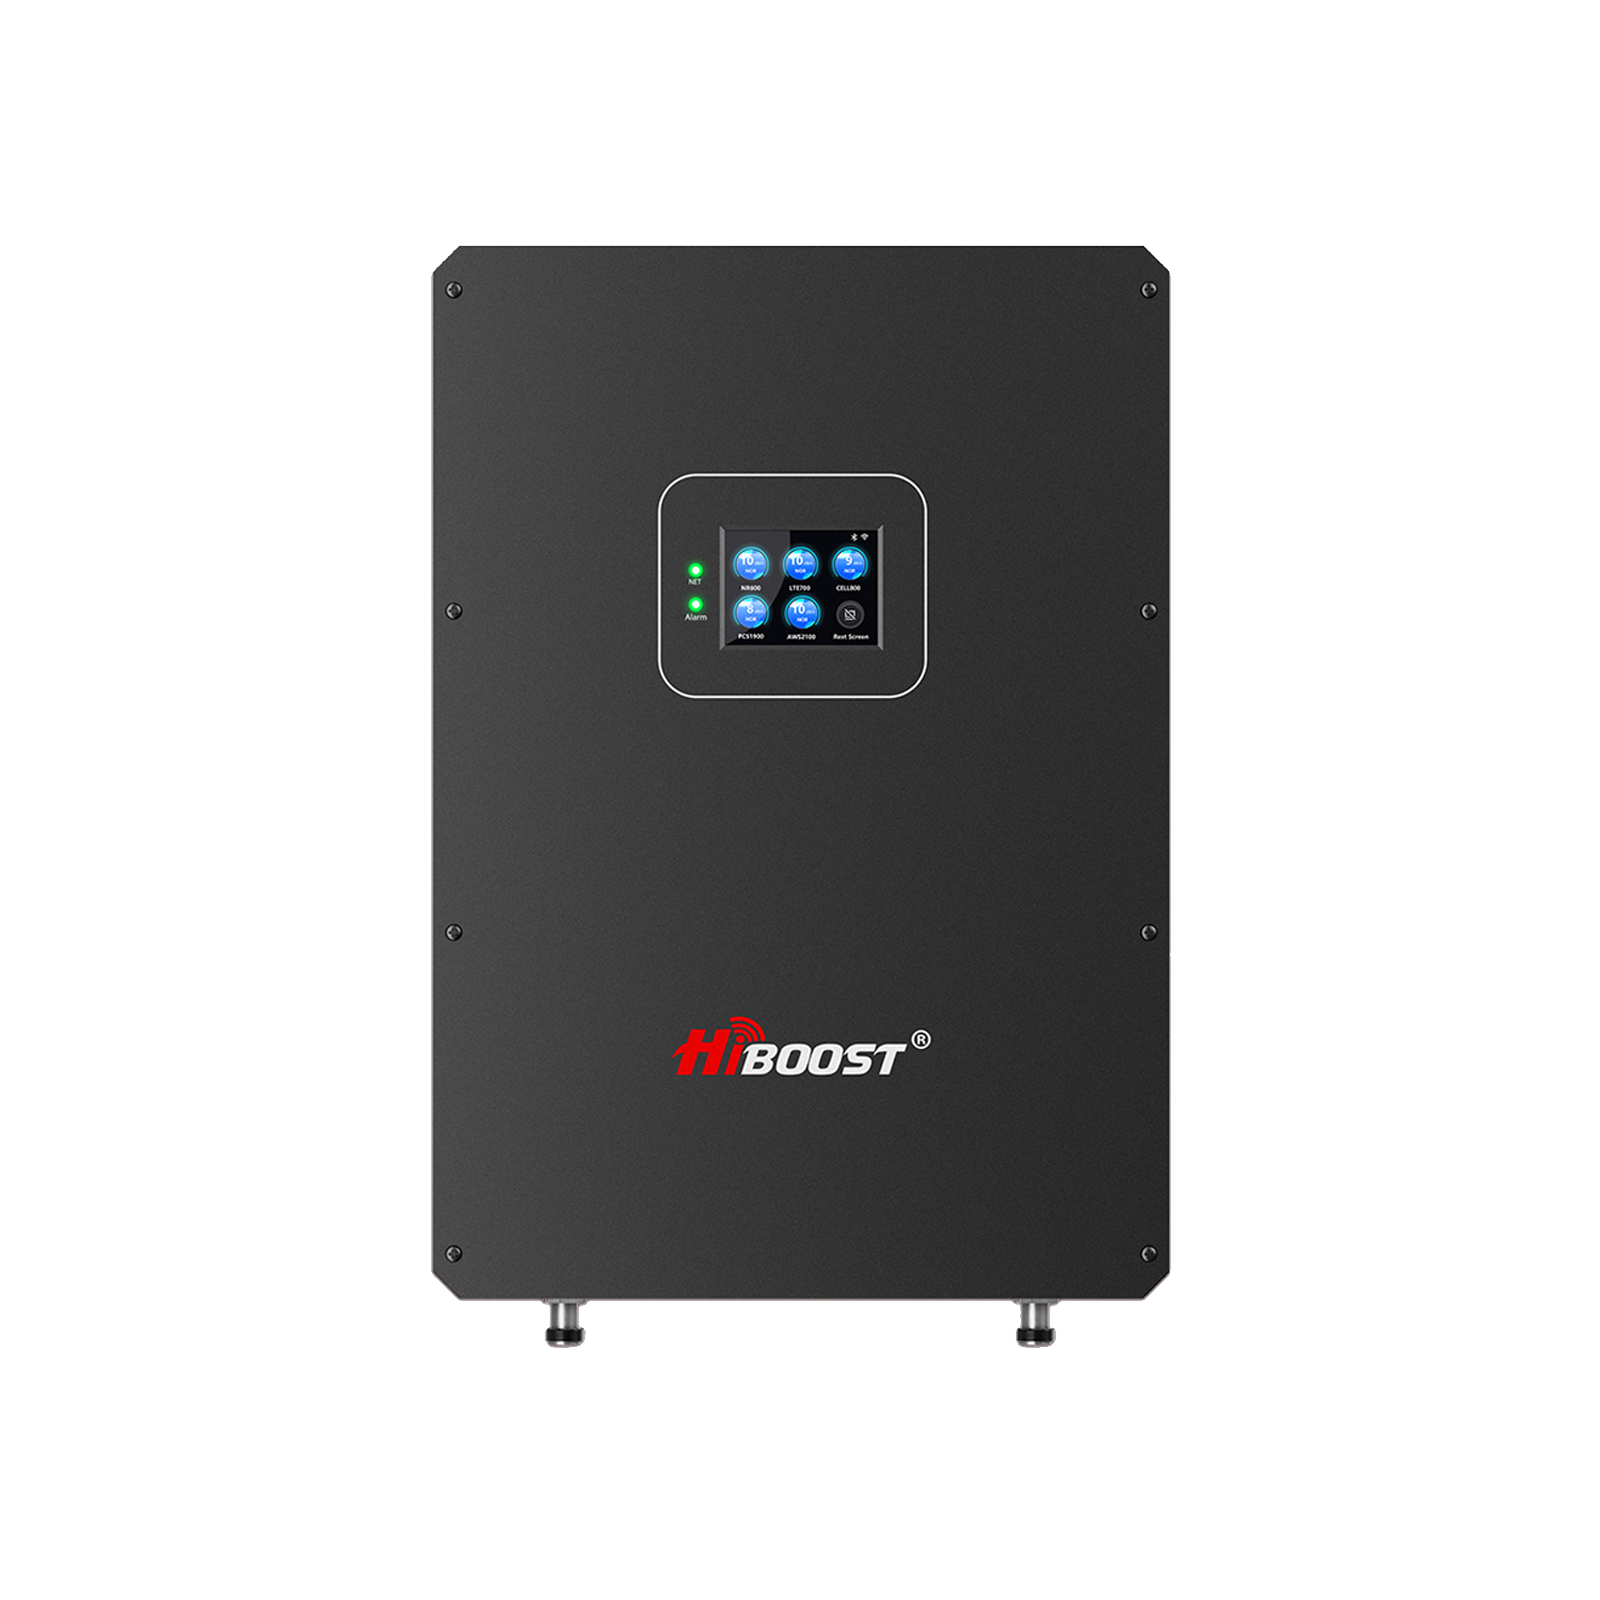
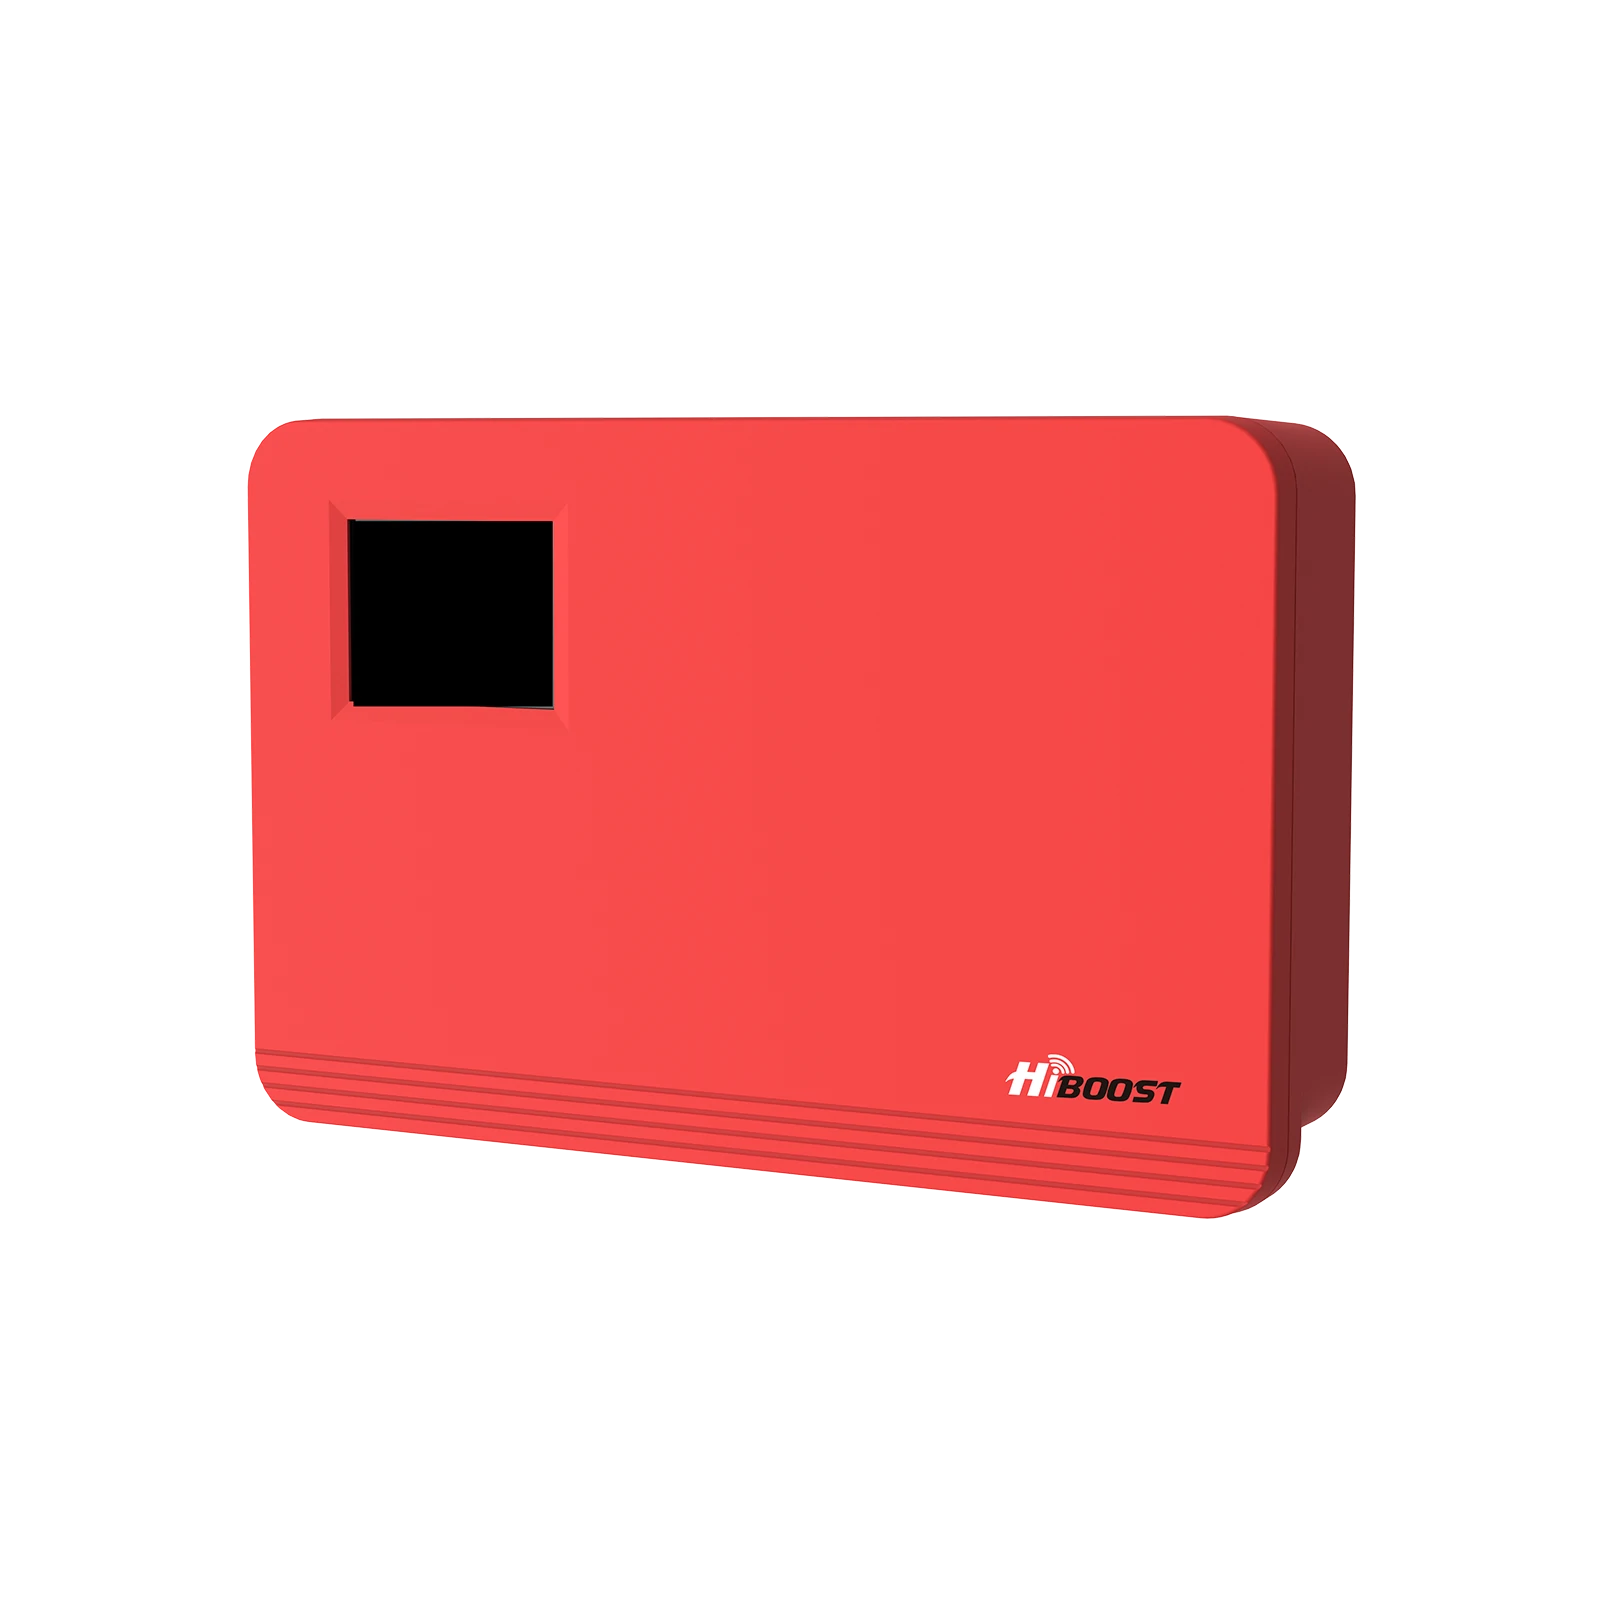
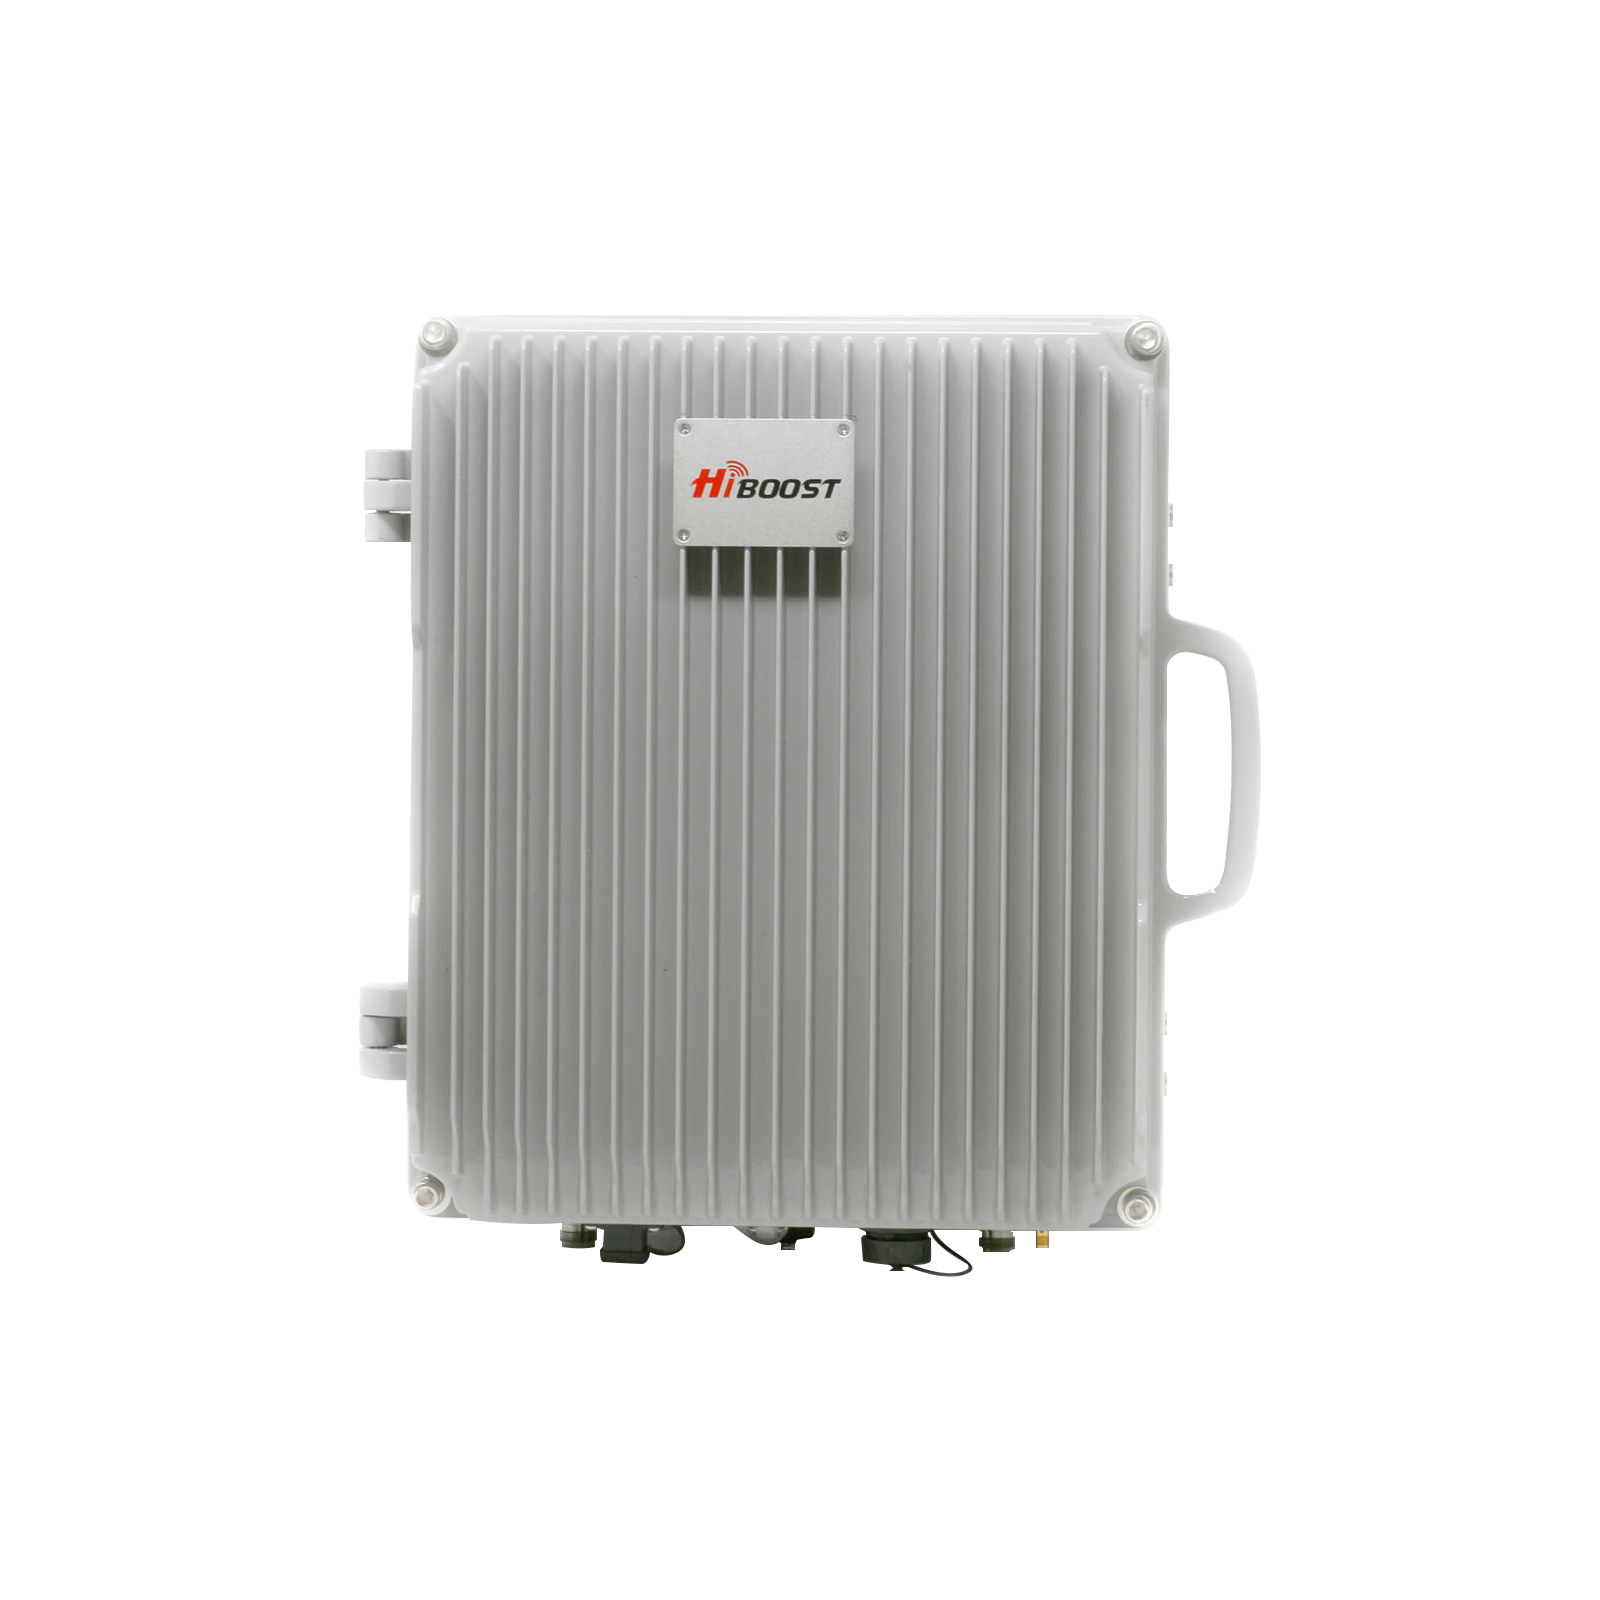
If you have a large RV or need multi-room coverage, you might consider a more powerful booster typically used in homes for example, the HiBoost 10K Plus Pro. This isn’t a mobile booster, but some RV owners use them when parked to get stronger indoor coverage across a big Class A coach or multi-level fifth-wheel.
The HiBoost 10K Plus can cover up to 6,000–12,000 sq ft , far more than any RV needs, which means it can easily blanket even a bus-style RV from the front cockpit to the back bedroom with a strong signal. The trade off is that these larger boosters require AC power and aren’t meant for use while driving. Many RVers treat them as a “destination booster” ; set it up when you’ll be stationary for a while. Always ensure any booster you use is FCC-approved; all the models mentioned above are FCC certified for use in the U.S.
Single-Room vs. Multi-Room Coverage: Most vehicle/RV boosters are effectively “single-room” ; they have one small interior antenna that covers the main living area of the RV. This is usually fine for small and mid-sized RVs. In a larger motorhome with several separate sections or a long trailer, you may find that the booster’s coverage doesn’t quite reach the far end of the rig.
In that case, you have a couple options: (1) centrally locate the indoor antenna and hope to cover most areas, (2) use a high-power booster with a more powerful indoor antenna, or (3) get a booster that supports a second inside antenna so you can run one to the front and one to the back. If connectivity in your bedroom at the back of the RV is as important as the front living area, plan your booster setup accordingly. Often just placing the indoor antenna in a central spot will do the trick. But knowing the limits of coverage will help you choose the right booster model: small RV = simple booster is fine, big RV = consider a “max” booster or multiple antenna solution.
3.3 Install High-Gain External Antennas

Sometimes the antenna that comes with your device isn’t the best for your situation. Upgrading or adding a high-gain external antenna can make a world of difference. High-gain antennas are more powerful at pulling in signals, often because they are directional or larger.
For cellular, you can find directional Yagi antennas or panel antennas that mount on a pole or your RV roof. If you know the direction of the nearest cell tower, pointing a directional antenna that way can dramatically improve the signal captured, compared to a stock omni antenna.
For example, some RV boosters support swapping the omni (all-direction) antenna with a Yagi antenna when parked; you'd then aim it toward the tower indicated by apps like OpenSignal. This can add several dB of gain and help you stay connected in fringe areas.
For Wi-Fi, a high-gain external antenna is often used to pick up campground networks. These might be directional or a powerful omni. Mounting a Wi-Fi extender antenna up high on your rig can let you see the campground’s signal from farther away and with less obstruction. Products like the Alfa WiFi Camp Pro 2 combine a high-gain external antenna with an interior repeater, allowing you to connect your devices to a boosted campground Wi-Fi signal.
When installing any external antenna, try to get it above your RV’s roofline and away from metal obstructions if possible. Many RVers use a flagpole or collapsible mast to raise antennas when needed. Height and clear line-of-sight can significantly improve signal reception. Also, ensure the antenna is securely mounted; you don’t want it wobbling in the wind or while driving. High-gain antennas are a relatively affordable upgrade and can be used in combination with boosters and routers.
3.4 WiFi at Campgrounds and RV Parks
Often, the easiest internet option is the campground or RV park Wi-Fi if it’s available and functional. Unfortunately, campground Wi-Fi is notoriously hit-or-miss. Let’s discuss how to make the most of it:
Challenges with Campground Wi-Fi:
Most campgrounds offer shared, free Wi-Fi which means you and dozens of other campers are all on the same network. This leads to overcrowding of bandwidth if 100 people try to stream Netflix at once on a network meant for 20, nobody gets a good experience. Additionally, the further your RV is from the campground’s router or access point, the weaker the signal you’ll receive.
Trees, other RVs, and building walls can further weaken or block the Wi-Fi signal by the time it reaches your site. Some older campgrounds may have outdated equipment that can’t handle modern data demands. And finally, public Wi-Fi tends to be unencrypted and insecure by nature meaning you should be cautious about your data.
Tips to Improve Campground Wi-Fi:
- Pick a Good Spot: If you have any control when booking, request a site near the Wi-Fi antenna or main office. Even 100 feet closer can make a significant difference in signal strength. Use Wi-Fi analyzer apps to check signal when you arrive and if it’s weak, you might politely ask if any closer sites are open.
- Use a Wi-Fi Repeater/Booster: As mentioned earlier, devices like Wi-Fi repeaters or range extenders can capture a weak Wi-Fi signal and rebroadcast it for you. An RV-specific Wi-Fi booster kit typically includes an external antenna you mount outside and an indoor router that creates your own private Wi-Fi network. This can turn one bar of campground Wi-Fi into a usable signal by amplifying it. Mount the external antenna as high as possible, such as on your roof or a pole, to catch the signal.
- High-Gain Directional Antenna: If the campground Wi-Fi source is in one known direction, a directional antenna aimed that way will outperform a standard omni antenna. Some repeaters allow you to attach a directional antenna. Point it until you get the strongest reading.
- Dual-Band and Newer Equipment: Many campground networks still run on 2.4 GHz only. If you have a dual-band adapter, see if the campground has a 5 GHz network it might be less crowded. Also, using your own modern travel router can help. Some RVers use routers that can connect to Wi-Fi as a client and then share it internally; these often have better radios than a laptop or phone. If you’re tech-savvy, look into devices from Winegard or Pepwave that combine Wi-Fi and cellular in one system.
- Limit Heavy Use & Use Off-Peak: If you know the campground Wi-Fi chokes in the evening when everyone’s on, plan your heavy internet tasks for early morning or mid-day. For example, download your Netflix shows in the afternoon when many people are out hiking, rather than at 8pm when everyone is back at their RV. Also, try to limit the number of devices you connect to the park Wi-Fi, maybe let your laptop use it for email, but keep your streaming on your hotspot or offline. Managing your usage can make the experience less frustrating.
- Security First: Treat any public Wi-Fi as a security risk. Always use VPN services when doing anything sensitive on campground Wi-Fi. A VPN encrypts your data so that even if the network is insecure, your information is safe from snooping. Also, ensure your devices aren’t set to automatically connect to any open Wi-Fi you don’t want to accidentally connect to a malicious network mimicking the campground’s. Use strong passwords on your devices and consider using a firewall on your travel router if you have one.
Despite your best efforts, sometimes campground Wi-Fi just won’t cut it. Think of it as a nice-to-have supplemental option for basic browsing when it works. For serious connectivity, you’ll likely rely more on cellular or satellite options, which we’ll explore next.
3.5 Mobile Hotspots & 5G Devices
If you need reliable internet in your RV, a mobile hotspot is often the go-to solution for many travelers. A mobile hotspot is essentially a portable Wi-Fi router that uses cellular data; it could be a dedicated device or just your smartphone’s hotspot feature. The hotspot connects to 4G LTE or 5G networks and then broadcasts a Wi-Fi network that your laptop, tablet, and other devices can join.
According to HighSpeedOptions, mobile hotspots are among the most popular and reliable ways for RVers to get online when away from home or public Wi-Fi. They let multiple devices share one cellular connection and only require a power source and a data plan.
Pros of Hotspots:
- Portability: Hotspots are typically small; they can fit in your pocket and go anywhere. This is great for day trips away from the RV too.
- Ease of Use: It’s plug-and-play. Turn on the hotspot, and connect your devices to its Wi-Fi. No complex setup required.
- Multiple Devices: Many dedicated hotspots allow 10 or more devices to connect simultaneously, covering the whole family’s gadgets.
- Flexibility in Plans: You can get data plans tailored to your needs from pay-as-you-go to unlimited. Some carriers even offer special plans for RVers or allow pausing service when not needed.
- 5G Speeds (Where Available): New 5G-capable hotspots can deliver impressively fast internet if you’re in an area with strong 5G coverage. This can rival home broadband speeds, allowing HD streaming, video calls, etc., assuming you have a good signal.
Cons of Hotspots:
- Coverage Dependent: A hotspot is only as good as the cellular network around you. In areas with no cell signal, the hotspot can’t connect to anything. So you may still face dead zones where it’s useless.
- Data Caps and Throttling: Many hotspot data plans have limits. Even “Unlimited” plans often have a threshold after which they may throttle your speeds or deprioritize your data on congested towers. High-bandwidth activities like video streaming can chew through data quickly. Truly unlimited, unthrottled plans are pricey or hard to come by.
- Power and Battery Life: A standalone hotspot has a battery that might last 8-10 hours. If you’re using it continuously, you’ll need to recharge it or keep it plugged in. Also note, if you rely on your phone’s hotspot feature, heavy use can drain your phone battery fast and heat up the device.
- Performance with Many Devices: While you can connect many devices, keep in mind they all share the one cellular link. If everyone in the RV is trying to watch separate HD videos off one hotspot, things will slow down. It’s good for a handful of moderate tasks in parallel, but it has its limits.
Tips for Using Hotspots: Choose a reputable carrier that has coverage where you travel most. If you can afford it, some RVers even carry two hotspots on different carriers to maximize chances of coverage. Also, place the hotspot near a window or skylight for best signal, or use an external antenna if your device supports one. And as mentioned, watch your data usage download big updates when on campground Wi-Fi or before you leave home.
5G Devices: The rise of 5G means better performance in many areas, but it’s not a magic bullet for coverage. In fact, much of 5G’s range is similar to 4G on low-bands. However, if you have a 5G hotspot or phone, you might get additional bands and capacity that 4G-only devices can’t use. This can be advantageous in crowded networks.
For example, Verizon’s 5G UW or T-Mobile’s mid-band 5G can give you a big speed boost if you’re within range. The good news is that most cell boosters are 5G-ready, so a booster will help your 5G hotspot just as it would a 4G one. Keep in mind in very rural areas, you might only get 5G in the form of low-band but every year, more 5G towers are popping up, including along highways.
In summary, a mobile hotspot is like having your own personal internet access point wherever you go, as long as there’s cellular signal. It’s often the backbone of an RV connectivity setup, especially when paired with a booster.
3.6 Satellite Internet Options
When cellular networks can’t reach you, satellite internet can step in to keep you connected virtually anywhere under the sky.
In 2026, the satellite option on most RVers’ minds is Starlink SpaceX’s satellite constellation that promises broadband speeds in remote locations. Let’s look at Starlink and other satellite choices for RVers:
Starlink for RVs:
Starlink has been a game-changer for many off-grid travelers. It uses a network of low Earth orbit (LEO) satellites around ~340 miles up. This means Starlink can offer lower latency and higher speeds, often comparable to DSL or cable internet, nearly anywhere on the globe.
For RV use, Starlink introduced a service now called “Roam” which allows monthly service with no fixed address. You purchase a Starlink kit which includes the small dish antenna (“Dishy”), and you can set it up at your campsite to get online in minutes.
- Hardware: There are two main dish options as of 2026 the Standard Dish and the Flat High-Performance dish. The standard one is the round or rectangular Dishy that most are familiar with; it’s about 23 inches across and draws 40-60W of power. The Flat High-Performance is smaller and uses less power.
The smaller dish is attractive for its lower power draw and easier setup for smaller rigs, but the standard one might have slightly better performance in marginal areas. Both need a clear view of the sky to communicate with the moving satellites.
- Power Use: Expect to dedicate a good chunk of power to Starlink if boondocking. The dish uses around 40-75 watts continuously when active, so over 24 hours that’s 1 to 1.8 kWh a significant ask for solar/batteries. Many RVers only power it on when needed, or invest in generator/solar upgrades to support it. The flat high-performance dish tends to mount flat on roofs and is sometimes used in-motion, but most Roam users set up the standard dish on a tripod on the ground or a stand once parked.
- Plans: Starlink Roam offers a few plans. A common one is Roam 50 GB at about $50/month, which gives you 50 GB of priority data. After 50 GB, you’re not cut off, but your traffic may be de-prioritized if the network is congested. This 50 GB is often enough for basic work and some streaming.
Heavy users or full-time workers might opt for the Roam Unlimited plan at $150-165/month which provides unlimited priority data. The nice thing is you can pause service when you’re not traveling; you could turn it on for a month of a big trip, then off again later. Hardware upfront cost is around $599 for the dish kit, which is not trivial.
- Performance: In clear view of the sky, Starlink can often give 50-150 Mbps down and 5-20 Mbps up, with latency ~30-50 ms enough to do Zoom calls, stream HD video, etc. Real-world results vary by location and network load. In very remote areas you might get even higher speeds; near urban areas Starlink can get congested.
Importantly, Starlink does NOT work while in motion for the standard Roam setup. You must be stationary. So you can’t have internet while actually driving down the highway with the standard setup it’s for when you’re parked.
Other Satellite Options:
Before Starlink, RVers turned to geostationary satellite providers like HughesNet or Viasat. These services cover the whole country as well, but they suffer from very high latency (600ms+) and often strict data caps at modest speeds. They require a dish that needs precise aiming at a fixed point in the sky. They can still be an option if you only need basic email and the occasional web browsing in places with zero cell coverage.
However, Starlink’s arrival has made many RVers switch due to the much better speeds and latency. The downside is Starlink’s hardware cost and power needs; whereas HughesNet might use less power and can run off 12V easily. Also, satellite messengers are worth a mention: these are not for the internet, but for emergency texts/SOS when truly off-grid a good safety net.
Pros of Satellite Internet:
- Works (Almost) Anywhere: Under open sky, you can get internet in places absolutely devoid of cell signals deep in national parks, middle of the desert, offshore, etc.. It enables off-grid living with connectivity that was impossible a few years ago.
- High Speed in Remote Areas: LEO satellites like Starlink provide broadband class speeds even in wilderness. You could realistically stream Netflix in a forest or have a video meeting from a lakeside campground.
- Independence from Terrestrial Networks: You’re not relying on cell towers, so if local networks are down, your satellite will likely still work.
Cons of Satellite:
- Cost: Satellite hardware and monthly fees are hefty. It might be overkill for casual campers who only occasionally need the internet. Spending $600 on equipment and $150 a month might not make sense if you RV a couple times a year.
- Power and Equipment: The gear is bulky and power-hungry. You need to store the dish, set it up each time. Weather can impact it, heavy rain or snow can interrupt the signal. You also have to ensure it’s safely secured.
- Requires Clear View: Trees or mountains can block Starlink. If you camp in a dense forest or tight canyon, you might not get enough satellite visibility. Some patience with placement and possibly mounting the dish higher on a pole can help, but it’s not guaranteed.
- In-motion use: Standard satellite setups can’t be used while driving. So you’ll still be offline in transit unless you have cellular.
In summary, satellite internet is an amazing tool for those who truly wander off into the wild and need to stay connected. Many full-time RVers use a hybrid approach: cellular most of the time and Starlink when in dead zones or when they need big bandwidth in remote spots. For weekend campers or those who stick to developed campgrounds, a satellite setup may be overkill; a booster and hotspot might suffice at a fraction of the cost. It all comes down to your needs and travel style.
3.7 Combining Multiple Solutions
The best connectivity setup often uses multiple solutions working together. There’s no rule that you must pick just one in fact, most experienced RVers have a toolkit of options that they use in tandem for the best result. Here are some combination strategies:
- Booster + Mobile Hotspot: This is a bread-and-butter combo for many. The cell booster amplifies the cellular signal, and the hotspot converts it to Wi-Fi for all your devices. By pairing them, you ensure your hotspot is getting the strongest possible signal, which means faster and more reliable data for your laptops, smart TVs, etc.
For example, a family RVing together might run a Verizon hotspot inside a HiBoost Travel 3.0 RV booster’s coverage area; the booster lets the hotspot pull in a signal even at fringe coverage, and the hotspot shares it to everyone’s tablets. This combination keeps streaming and Zoom calls stable where either device alone might struggle.
- Booster + Hotspot + Wi-Fi: If you’re at a campground with Wi-Fi, you can use a load-balancing router or simply switch between sources as needed. Some RV routers can connect to campground Wi-Fi and cell data simultaneously and either failover or even bond them. While that’s a more advanced setup, at a basic level you can use booster+hotspot for critical work and offload less important stuff to campground Wi-Fi to save your data. Having multiple internet sources means you can pick the best one at any moment.
- Booster + Starlink (Hybrid Setup): For those working remotely in very rural areas, a hybrid approach is highly effective. Use a booster to capitalize on any cellular signal when it’s available; this can handle your phone calls, basic emails, and low-bandwidth needs without eating into satellite data. When you need high-speed or if cell is nonexistent, fire up the Starlink for heavy lifting such as large file uploads, streaming, or when parked in a zero-cell zone.
This way, you preserve the metered satellite data and only use it when truly needed, since Starlink’s power usage and cost are higher than casual cellular use. As an example, you might leave Starlink off for most of the day while you have some cell signal, and then turn on Starlink in the evening to stream a movie or if you have to work from a completely disconnected location. This hybrid method gives you the best of both worlds and redundancy if one source goes down, you have a backup.
- Multi-Carrier Setup: Some RVers carry hotspots or SIMs from multiple carriers. For instance, a Verizon hotspot plus a T-Mobile phone as backup. With a dual-SIM router, you could even have two cellular connections and let the router choose the one with better signal. This is more of a power-user move, but it can be useful for those who absolutely need connectivity. It increases cost, but ensures that if one carrier has no service, another might.
- Tech and Apps to Manage Combining: If you do combine sources, there are apps and routers that help manage it. You can manually switch your devices’ Wi-Fi between your hotspot and campground Wi-Fi depending on what’s working better. Or use a device like a Pepwave router, WiFiRanger, etc., which can handle multiple WAN inputs and even do intelligent load balancing or bonding.
The bottom line is, diversity is key. No single solution works 100% everywhere. By having a toolkit at your disposal, you can adapt to whatever situation you roll into. One evening you might be streaming via Starlink under the stars, the next day you’re cruising on 5G, and at another campground you’re fine on their Wi-Fi. Smart RVers mix and match to achieve reliable connectivity and avoid putting all their eggs in one basket.
4. Tools and Apps to Monitor Connectivity
To make informed decisions about connectivity on the road, it helps to have some apps and gadgets that measure signal strength and network info. Here are a few handy tools and apps:
- OpenSignal (App): OpenSignal is a free app that provides maps of carrier coverage and shows nearby tower locations and signal strength. It also includes a speed test. When you arrive somewhere new, you can fire up OpenSignal to see which carrier has the best signal and even get a directional arrow toward the tower. This can help in aiming a directional antenna or simply deciding which hotspot/SIM to use.
- Network Cell Info Lite (App, Android): This app gives very detailed real-time readings of your cellular signal and noise levels, and can display band and tower info. It’s great for debugging weak signal issues and finding the sweet spot of signal on your site. If you walk around your campsite with it, you might find one corner that has 5 dB stronger signal that’s where you could place your hotspot or booster antenna.
- Speedtest (Ookla or FCC Speed Test App): Good old Speedtest.net is useful to check how good your current connection actually is. The FCC Speed Test app is another option that contributes to broadband mapping data. Running speed tests at different times can tell you if, say, the campground Wi-Fi is fine in the morning but unusable at night, or if your hotspot gets deprioritized after using a lot of data.
- Wi-Fi Analyzer / NetSpot: If you’re trying to optimize Wi-Fi usage, apps like WiFi Analyzer or NetSpot are helpful. They scan for Wi-Fi networks around you and show signal strength by channel. This can help you find a better channel for your own router or just identify where the campground signal is strongest. NetSpot even lets you do a rudimentary site survey by walking around to map signal strength.
- Coverage Map Websites: A resource called “Coverage?” lets you overlay Verizon, AT&T, T-Mobile, and UScellular maps helpful for trip planning. The official FCC Mobile Broadband map is also now quite detailed; you can zoom into an area and see reported coverage by each technology. Use these before you head to a remote campground to gauge if at least one carrier should work there.
- Cell Tower Locator Tools: Websites like cellmapper.net or apps like FindTower can show you the locations of nearby towers. This can be useful if you have a directional antenna – you’ll know exactly where to aim. Some booster manufacturers also have their own apps that help you find the strongest signal and even assist in booster installation.
- Signal Supervisor (HiBoost app): If you use a HiBoost booster, their Signal Supervisor app connects to the booster and lets you monitor its gain and performance. It can assist in tuning the antenna placement and ensures your booster is operating correctly. Similarly, other boosters might have indicator lights or apps to help optimize.
- Campground Reports: Not an app, but websites like Campendium or RV park reviews often have user comments on cell coverage. There are also Facebook groups and forums where RVers share connectivity tips for specific locations. Checking those can give you a heads-up on what to expect connectivity-wise at a given destination.
Using these tools, you can quantify your connectivity rather than just guessing. They help you troubleshoot: for example, if you see your signal is -115 dBm, you know why Netflix is buffering. You might then try moving the hotspot or setting up the booster and see it improve to -90 dBm and watch the speed test jump up. Being your own “IT technician” on the road might sound geeky, but a little knowledge goes a long way to ensure you always have a connection when you need it.
5. Tips for RV Travelers
Beyond the tech and gadgets, there are practical habits and tips that can greatly enhance your connectivity experience. Here are some seasoned RV traveler tips for staying connected:
- Plan Ahead for Connectivity: Before you head to a new campground or boondocking spot, do a bit of research on coverage. Use the coverage maps or resources mentioned above to check if any carrier has a signal there. If you absolutely must have internet, consider staying somewhere known to have coverage or Wi-Fi. Many RV trip planning apps and websites include info on cell coverage. Plan your travel day so that you arrive with enough daylight to test connectivity and adjust if needed.
- Test and Scout Your Site: When you arrive at a campsite, walk the site with your phone before setting up camp. You might find one corner has a 4G signal whereas the other is a dead spot. If you have the flexibility, orient your RV so that a window faces the direction of the cell tower or so that your rooftop antenna has a clear shot. Sometimes even small moves can improve line-of-sight to a tower.
- Download for Offline Use: Take advantage of connectivity when you have it to cache what you’ll need when you don’t. Download offline maps for your route in Google Maps or Maps.me. Save entertainment like Netflix shows or Spotify playlists offline when you’re on a good network. That way, if you hit a stretch of no signal, you’re not without navigation or bored kids. Similarly, if you use apps for hiking trails or area info, download those details in advance.
- Use Multiple Carriers or SIMs: If you rely on the internet for income or crucial tasks, it’s wise not to rely on a single carrier. Many full-time RVers carry at least two data plans. There are also services that offer SIMs which switch between carriers or routers that hold multiple SIMs. It adds cost, but it’s like having a backup generator for your internet. You hope you won’t need it, but it’s there if one fails.
- Mind Your Data Usage: On the road, unlimited data is rarely truly unlimited at full speed. Keep an eye on high-data activities. For example, set video streaming to SD quality instead of HD or 4K when on cellular to conserve data. Turn off auto-play for videos on social media. On Windows laptops, set your network connection as “metered” to prevent big updates from downloading automatically. Little adjustments can stretch your data allotment much further.
- Optimize Power for Connectivity: If you’ll be boondocking, ensure you have the power to run your connectivity gear. Turn off your booster or Starlink when not actively using them to save battery. If solar or generator isn’t available, plan to charge devices while driving. Many boosters draw only ~5-10 watts, which is fine, but Starlink’s 50+ watts needs planning. Some RVers have added dedicated power inverters or 12V adapters for their routers and boosters to avoid inefficient inverting from DC to AC and back to DC.
- Stay Safe and Legal: If you venture into areas with no signal, have a communication backup plan even if it’s just telling someone your itinerary or carrying a satellite messenger for emergencies. Also, note that booster use is legal in the U.S. as long as it’s FCC certified. Avoid any “no-name” boosters that aren’t approved; they can interfere with networks and get you in trouble. Stick to known brands and follow installation guidelines.
- Leverage Campground Amenities: Some RV parks might not advertise it heavily, but they could have Ethernet ports in cabins or a business center you can use, or better Wi-Fi in certain areas. If you really need a solid connection, it might be worth asking the office if you can work from a spot near their router for an hour, or if they have an employee Wi-Fi that might be open for you. Smaller, family-run campgrounds sometimes accommodate special requests if you explain your situation.
- Join the Community: There are many forums, Facebook groups, and YouTube channels where RVers share their connectivity setups and report on coverage in various places. Communities like the r/RVDigitalNomads subreddit or the Mobile Internet Resource Center can provide up-to-date tips and even alerts on carrier plan changes that benefit RVers. Staying plugged into these communities can keep you ahead of the curve.
By following these tips, you’ll reduce unpleasant surprises. Preparation, smart usage, and a bit of tech savvy go a long way in ensuring smooth connectivity throughout your RV travels.
6. Case Studies / Real-World Scenarios
Sometimes it helps to see how all these pieces come together in real life. Here are a few hypothetical (but typical) RV traveler scenarios and how they solved their connectivity challenges:
1. The Remote Work Family: Meet the Johnsons, a family of four traveling full-time in a 35-foot motorhome. Both parents work remotely, and the two kids do online homeschooling and stream videos. They often stay at state parks or boondocking sites. Their solution is a multi-pronged setup: They installed a HiBoost Travel 3.0 RV booster with an outdoor antenna on a telescoping flagpole.

Inside, they use a Verizon 5G hotspot as their primary internet and a T-Mobile smartphone hotspot as backup. On a typical day, the booster takes a weak 4G signal outside and boosts it so their Verizon hotspot gets a solid connection enough for video classes and Zoom meetings simultaneously.
In one instance, they camped near Yellowstone where there was absolutely no Verizon signal. Anticipating this, they paused work and planned that week as vacation, but still checked emails via a Starlink Roam dish they activated just for the month.
By combining a booster + dual hotspots + Starlink, this family was able to work and learn from national parks, forests, and beaches. They also use a Wi-Fi repeater at RV parks to offload data. The key for the Johnsons has been redundancy when one connection fails, they have another. They report that with this setup, they’ve had at least some internet access 95% of the time on their journey.
2. The Off-Grid Adventurer: Alex is a solo van-lifer and avid YouTuber/photographer who seeks out the most remote BLM lands and backroads. He often camps far beyond cell range to capture breathtaking night sky timelapses. Alex’s priority is the internet in completely off-grid locations, so he invested in Starlink.
He uses the Starlink flat high-performance dish mounted on his van’s roof rack, which he can deploy at camp. Knowing that power is a concern, he has 400W of solar and a large lithium battery bank to handle Starlink’s draw. For uploading his weekly YouTube videos, Starlink has been a savior he can upload from a desert with no cell service in sight.
However, while driving and for general navigation, he still needs basic connectivity. For that, he uses a rugged HiBoost Travel 3.0 ExplorerX booster and a AT&T phone. While he drives, the booster keeps him connected enough to get map updates and the occasional call, even through mountain passes. At camp, if he’s within a hint of cell range, he’ll use the booster to grab texts and emails without turning Starlink on. But if there’s truly zero cell signal, he fires up Dishy and gets online.
In his case, he doesn’t bother with campground Wi-Fi at all; he's rarely in campgrounds. His setup demonstrates how an extreme off-grid traveler can use a combination of booster and satellite to stay as connected as necessary, while still enjoying solitude. Alex notes that one challenge was making sure Starlink could see enough sky in heavy tree cover. It struggled, so he’s learned to seek out campsites with a bit of clearing or do some slight tree pruning when appropriate. He’s excited for future direct-to-cell satellite tech so that someday he might not need the big dish for basic connectivity.
3. The Weekend Camper Couple: Sara and Tom are casual RVers who take their travel trailer out on weekends and vacations. They’re not working on the road, so their needs are simpler navigation, some music streaming, and maybe a movie at night. They mostly visit established campgrounds, occasionally venturing to national parks. Their approach is minimalist: they rely on their existing cell phones and have a modest hotspot device they activate monthly when going on trips.
They added a small magnet-mount antenna on their trailer’s roof that can connect to their hotspot to give it a little signal boost. In practice, they drive with just phones, and at camp, if the phones have at least 1-2 bars, that’s enough to stream Spotify or download offline maps. At a Maine campground deep in the woods, they had no service on any phone but the campground had Wi-Fi at the office. So they strolled to the lodge to check emails once a day.
On another trip, the campground Wi-Fi was weak at their site, so they used a Wi-Fi repeater in their trailer to catch the signal, which let them have a Skype call with their grandkids. Sara and Tom represent many RVers who don’t need elaborate setups; they gauge each trip’s needs and use a couple of small aids. They did consider a cell booster, but so far a combination of good carrier choice and occasional use of campground Wi-Fi has met their needs. The main lesson from them is knowing your needs: since they’re not working remotely, they’re okay being offline sometimes and just planning around it. They’re a good reminder that not everyone needs to spend big, sometimes a basic plan and a bit of flexibility works fine.
These scenarios show a spectrum of RV connectivity strategies. Your own situation might be a mix of these. The key is to identify what’s critical for you and tailor your setup accordingly. Real-world experiences from fellow RVers can spark ideas for your own rig’s connectivity game plan.
7. Future of RV Connectivity
What does the future hold for staying connected on the road? If we look at the trends, the outlook is exciting for RVers:
- 5G Expansion Continues: By 2026, 5G networks cover most cities and major highways, and they’re continually filling in rural areas. Carriers are deploying more low-band 5G to extend coverage and mid-band 5G for capacity.
This means the gaps in the map are getting smaller. Verizon and AT&T’s rollout of C-band 5G will bring faster speeds to many small towns and along interstate corridors, not just big cities. T-Mobile is aiming to cover 300 million people with 5G, which includes a lot of ground. For RVers, this means areas that were 3G or 4G only before might now have a decent 5G signal.
- Direct-to-Cell Satellite Service: Perhaps the most revolutionary change on the horizon is the idea that your existing phone could connect to satellites for basic service. In 2022, T-Mobile and SpaceX announced a plan for “Coverage Above and Beyond,” aiming to use Starlink satellites as cell towers in the sky for T-Mobile customers. By 2026, early beta tests have begun for texting via satellite on regular phones. Apple also introduced Emergency SOS via satellite on iPhones.
Other carriers and companies are testing satellite phone calls. In the near future, this could mean that true dead zones might vanish and your phone could fall back to a satellite connection for a text or call in places with no terrestrial signal. Initially, it’s likely to be just SMS and emergency use, but it’s a huge step.
For RVers, this means better safety and maybe basic connectivity for check-ins even in remote wilds. It won’t replace high-bandwidth needs, but it augments the network nicely. The FCC has been greenlighting more satellite-to-phone deployments, so by late 2025 or 2026, we might see consumer-accessible services rolled out.
- Next-Gen Satellites: Starlink isn’t slowing down, more satellites are launching, and Starlink v2 satellites are expected to increase capacity. Also, Amazon’s Project Kuiper is on the horizon as another LEO satellite internet constellation, with prototypes launched and plans for customer service perhaps by 2026. More competition could mean better pricing or different service plans tailored to occasional users. We might also see smaller, more power-efficient receiver hardware as technology matures.
- Better Tech in Campgrounds: With so many campers demanding internet, campground owners are taking note. We’re likely to see more investment in campground Wi-Fi upgrades, perhaps fiber connections feeding parks, more access points, and maybe even partnerships where campgrounds offer 5G micro-cells or repeaters on site.
Some forward-thinking parks are already advertising “Gigabit Wi-Fi” or guaranteed bandwidth. By 2026 and beyond, providing connectivity might become as standard as providing electricity at sites. The RV Industry Association noted that campers want to connect even when they disconnect, so we can expect industry responses to that demand. In truly remote campgrounds, some may start offering Starlink for guests or installing shared satellite links.
- Integrated RV Connectivity: RV manufacturers have started to include “tech packages” in new models for instance, pre-wiring for cellular boosters or built-in Wi-Fi routers and antennas. The future RV might come with a combined antenna unit on the roof that handles 4G/5G, Wi-Fi, GPS, and TV signals all in one, with a central router inside that you just slot a SIM card into.
Some luxury motorhomes already have pretty advanced setups as options. As this tech gets cheaper, expect even mid-range travel trailers to offer connectivity kits as an add-on. This means new RVers can have an easier start no more figuring out mounting antennas or running cables, if it’s built-in.
- Improved Devices & Boosters: We’ll likely see boosters continue to evolve to handle new frequencies. The fundamental tech of boosters might remain similar, but we could get more intelligent features, maybe boosters that automatically rotate directional antennas, or smartly adjust gain per frequency band.
Also, Wi-Fi technology is advancing future campground routers and your own gear will support these, which handle crowded networks better and provide more range and speed. This could ease congestion issues when lots of devices are connected.
- 6G and Beyond: Looking further out, talk of 6G is mostly academic for now. But one concept is even more integration of satellite and terrestrial networks, and more adaptive networks that follow users. For an RVer, that might one day mean your RV has a network node that other vehicles mesh with or something sci-fi like that. While exciting, those are far off. In the meantime, the incremental improvements in 5G and satellite tech will be what to watch.
In essence, the trend is toward eliminating dead zones and increasing speeds. The convergence of satellite and cellular is particularly promising: imagine not caring if you’re in cell range or not your devices just work, switching seamlessly to satellite when needed. We’re not fully there yet, but it’s coming. For now, RVers can look forward to fewer gaps in coverage, better campground internet, and more choices for gear to keep them online. The future looks bright!
8. FAQs
Let’s address some frequent questions RVers have about connectivity and equipment:
1. Can I use a booster in any RV type?
Yes. Signal boosters can be installed in all types of RVs, travel trailers, fifth-wheels, Class B vans, Class A motorhomes, you name it. The key is choosing the right model and installing the antennas correctly. Some boosters are designed to be versatile for all RV sizes. Others like “Truck” boosters have specific mounting hardware for semis, but they’ll work in an RV too.
Regardless of RV type, you’ll mount the outdoor antenna as high as practical, run the cable inside to the amplifier, then place the indoor antenna in the area you want coverage. Just ensure you have a 12V outlet to power it. Boosters are compact, so even in a small camper van you can make it work. So any RV can benefit from better signal; it's often a top upgrade for frequent travelers.
2. Will 5G boosters work in rural areas?
They can, but only if there’s some signal to amplify. The term “5G booster” usually means the booster supports the frequencies used by 5G. If you’re in a rural area that has 5G service, the booster will amplify it just as it does 4G. This can give you a bit more speed or range on that 5G signal.
However, rural areas often have spotty signals to begin with. A booster cannot create a signal where there is none. If you’re beyond the reach of the network, a 5G-capable booster won’t magically get 5G it’ll have nothing to amplify. In many rural spots, carriers might have only 4G LTE; a booster will amplify that and your 5G device will happily use LTE. In sum, a “5G booster” works fine in rural areas by boosting whatever is there. Just don’t expect it to pull in a signal from 50 miles away. For truly no-signal zones, satellite is the only option.
3. Do I need a separate booster for multiple devices?
No. One properly installed booster will improve signal for all cellular devices inside your RV. Boosters create a zone of enhanced signal so your phone, your spouse’s phone, your tablet, your hotspot, etc., all benefit at the same time. You don’t “pair” devices to a booster; it’s not like a Wi-Fi router. It just amplifies whatever signals are in the air.
The only consideration is that boosters do have a finite coverage area, usually a single room or vehicle cabin. In a big RV, if someone is in the far end out of the inside antenna’s range, they might not get the boosted signal. But typically in an RV everyone is within 10-20 feet, so one booster is sufficient. There’s no need for each person to have their own.
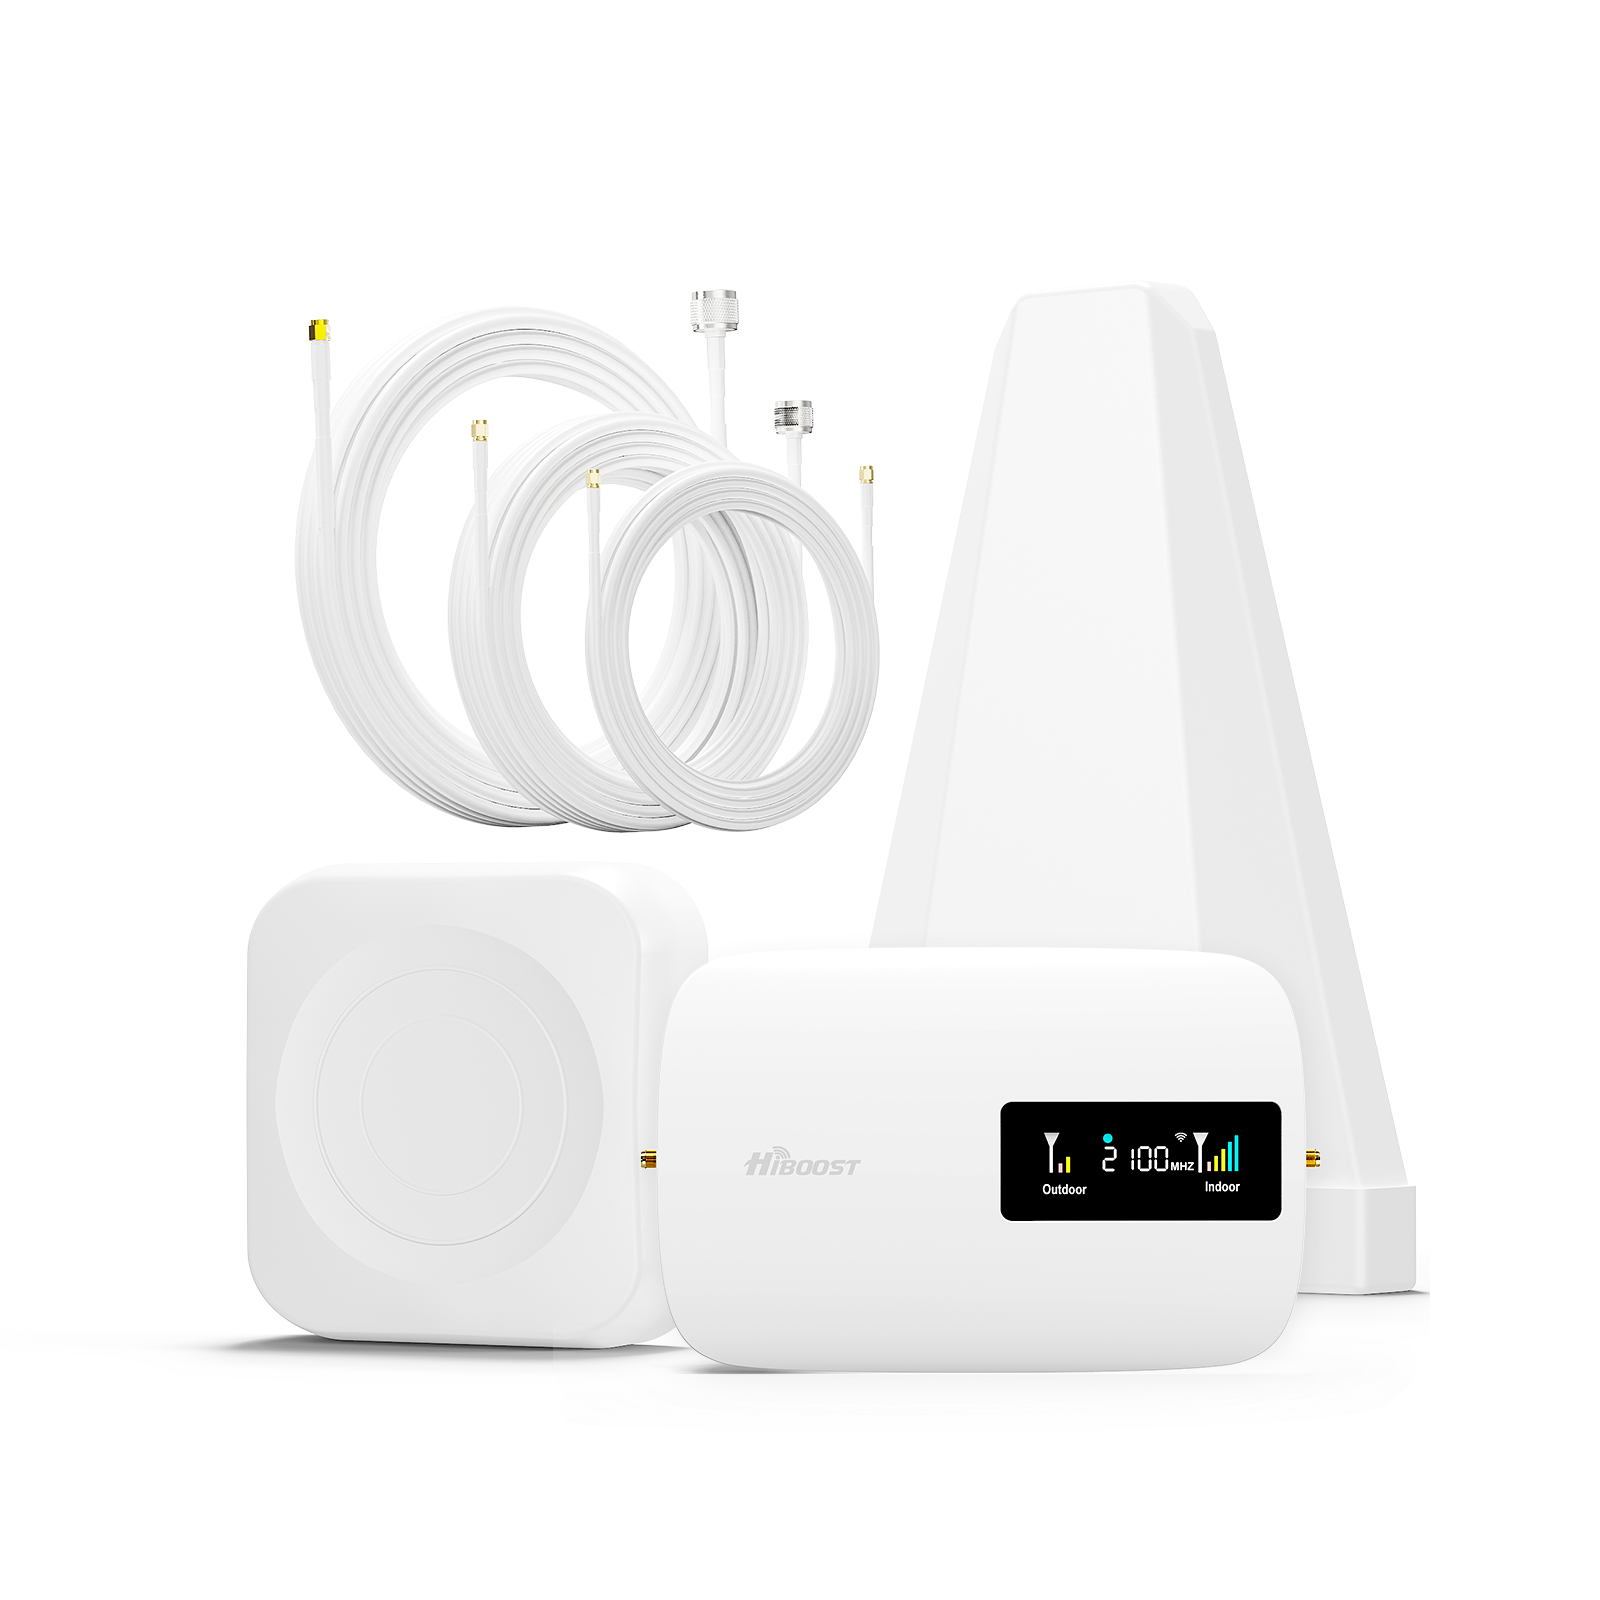
4. What’s the difference between RV and regular “RV Max” boosters?
It refers to different booster models/kits designed for RV use. For example, HiBoost offers a Travel 3.0 RV and a Travel 3.0 RV Max both are for RVs but the “Max” version typically includes an upgraded antenna or extra features. In this case, the RV Max has a folding, higher-gain external antenna and is optimized for larger RVs and challenging signal areas. The standard RV model might have a more compact antenna for smaller rigs. Performance-wise, both have similar boosting power.
The differences come in installation and coverage: the RV Max’s antenna can be extended higher and folded down for travel, potentially grabbing a better signal, and its kit might come with a stronger interior antenna for a bit more inside range. Think of it like trim levels on a car “Max” is the deluxe kit. Regular RV boosters (not Max) work great for most, but if you have a huge RV or want the most rugged setup, an “RV Max” variant could be worth it. Always check the product details: sometimes “Max” might also imply it supports an app or has extra bands.
5. How do I combine mobile, Wi-Fi, and satellite for best performance?
By using each for what it’s best at and setting up a failover system. In practice, many RVers use a cellular connection as primary, Wi-Fi as a bonus when available, and satellite as a backup in truly no-service areas. For example, you might primarily use your hotspot for day-to-day internet because it’s convenient and has low latency. When you’re at a campground with solid Wi-Fi, connect to it and save your data maybe do big downloads or updates over that. Keep your devices “known” to both your hotspot and the RV park Wi-Fi, so you can switch easily. If you have a router in your RV, you can set it to prefer Wi-Fi when it’s good, but switch to your hotspot when Wi-Fi drops.
Now add satellite to the mix: you wouldn’t want to use satellite for everything due to latency and power draw, but you might, for instance, turn on Starlink when you need to do a heavy task or when both cell and campground Wi-Fi are failing. Some advanced setups use a router that can have all these connections and automatically balance or failover. For most, a manual approach works: try Wi-Fi first, if it’s bad, kick on the hotspot. No cell signal? Boot up Starlink.
You can also use satellite and cellular simultaneously in a load-balanced way if you have the equipment for instance, some business-grade routers can send some traffic over cell and some over Starlink to increase reliability or speed. But that’s advanced and can be costly.
So the answer: utilize each technology where it shines: cell for mobility and general use, Wi-Fi when it’s free/good, satellite when nothing else works or for specific needs. With experience, you’ll get a feel for which to use when. The ultimate best performance is often achieved by simply having all three available that way you’re covered in virtually any scenario, as evidenced by many tech-savvy RVers who travel with a full arsenal.
Traveling in an RV no longer means dropping off the digital map. In 2026, with the right approach, you truly can stay connected almost anywhere while exploring the country. We’ve seen that the key is to combine solutions: a quality outdoor antenna and cell booster to maximize signal, a reliable mobile hotspot for everyday internet, and supplemental options like campground Wi-Fi or satellite internet for special situations. By addressing the unique connectivity challenges of RVing distance from towers, obstruction by terrain and vehicle walls, network congestion you can vastly improve your on-road internet experience.
Remember, preparation is everything. Before your next journey, consider investing in a good RV signal booster, and set up your devices and plans to give you flexibility. Test your gear on short trips so you’re comfortable with it when it’s truly needed. And don’t forget the simple tricks: park with a clear view of the sky, download content ahead of time, and use apps to find the best signal.
With these strategies, you can work remotely from a mountain vista, stream a movie on a rainy night in the woods, or call family from a desert plain all from the comfort of your home on wheels. RV travel doesn’t have to mean sacrificing connectivity or peace of mind. By staying proactive and using the technology available, you really can have the best of both worlds: the freedom of the open road and a reliable link back to the world.
Here’s to great adventures with strong bars wherever you roam! Safe travels and happy connectivity.
Need a signal boost? As you gear up for your next trip, consider equipping your rig with a proven RV signal booster like the HiBoost Travel 3.0 series. With models tailored for RVs and off-road explorers, HiBoost can help you enjoy uninterrupted calls, faster uploads, and steady internet on every mile. Don’t let dead zones hold you back, stay confidently connected with the right gear and hit the road with HiBoost by your side.
Recommended Reading
RV Signal Boosters: How to Improve Cellular Coverage Anywhere
5G vs 4G LTE for RV Travelers: What You Need to Know
How to Boost Cell Phone Signal in RV
RV Connectivity Guide 2026: Stay Connected Anywhere in the US
Why RV Owners Are Choosing HiBoost Travel 3.0 for Better Signal
Car/Suv,RV,Truck,Vehicle
Our Home Signal Booster

Popular Articles


Leave a comment
All comments are moderated before being published.
This site is protected by hCaptcha and the hCaptcha Privacy Policy and Terms of Service apply.