1. Why Rural Midwest Signal Problems Are So Common
Rural communities across the Midwest from Iowa and Kansas to the Dakotas face unique cell signal challenges. Surveys show about 40% of rural Americans report frequent mobile signal issues, largely due to sparse cell tower coverage. In fact, many Midwest states have some of the lowest tower densities in the country, meaning cell sites are spread far apart over large areas. The result is weaker signals by the time they reach remote farms and small towns.

Several factors compound the problem. Farmland terrain and distance play a big role; a single tower might be trying to cover dozens of miles of flat fields. Metal buildings like barns and sheds can act like signal blockers, reflecting or absorbing cellular waves so they never reach your phone. Even the construction of rural homes can weaken a good outdoor signal by 30–50 dB, turning 3 bars outside into a dead zone indoors. And while fewer people live in these areas, network congestion can still occur for example, if one tower has to serve an entire county, it may slow down or drop connections during peak usage.
Expectation: The good news is you don’t have to live with bad signals forever. This guide offers proven, user-friendly steps to diagnose what’s causing your weak signal and fix it. We’ll start with free tricks anyone can try, then explore the most effective solution for cell phone signal boosters in depth, along with other advanced fixes for extremely weak rural signals. By the end, you’ll have a step-by-step game plan to get reliable bars in your Midwest home, no matter how remote. Let’s get started!

2. Understand What’s Causing Your Weak Signal
Before investing time or money into a solution, it helps to pinpoint why your signal is weak. Rural Midwest homes often face multiple compounding factors:
2.1 Distance from Cell Towers
In sparsely populated areas, cell towers are few and far between. Carriers prioritize building towers where there are enough users to justify the cost. In a rural Midwest county, you might be miles from the nearest tower. Every mile of distance weakens the signal, radio waves disperse and attenuate over distance, and the Earth’s curvature even starts to limit line-of-sight beyond ~5 miles. The farther you are, the lower those signal bars drop, especially for mid/high frequency bands that don’t travel as far.
If you’re 10+ miles from a tower, you’ll likely see 0–1 bars outdoors. Distance is the number one cause of weak rural signals and unfortunately you can’t magically move closer to a tower. But understanding this helps us choose solutions that effectively “bridge” that distance.
2.2 Terrain Barriers
Even in the “flat” Midwest, terrain and vegetation can interfere with signals. Hills, ridges, and dense forests create obstacles that block or scatter cell signals. For example, the Driftless Area in Wisconsin has rolling hills that can put a farm in a valley “shadow” with no reception. Thick groves of trees (or miles of cornfields in summer) can absorb signal energy. This is called signal shadowing; areas behind an obstruction get much weaker signals.
Water bodies can be an issue too. If you live near a large lake or river bottom, signals may not carry well over water due to lack of towers and signal reflection off the water. The key is to recognize if there’s a physical barrier between you and the likely tower location. Terrain issues often mean you get one bar outside on one side of your house, but maybe two bars on the other side or second floor where you peek over the obstacle. We’ll use this knowledge later when placing antennas.
2.3 Building Materials of Rural Homes
The structure of your home or barn could be killing the signal before it reaches your phone. Many rural homes and farm buildings use metal and dense materials that are notorious for blocking radio waves. For instance, a steel metal roof or aluminum siding can weaken incoming signal by 30–50 dB, turning a decent outdoor -80 dBm signal into an unusable -130 dBm indoors. Essentially, metal acts like a mirror to cellular signals; it reflects them away or absorbs them.
Common culprits include: corrugated metal roofs and walls, brick or cinder block walls, and even low-emissivity (Low-E) glass windows that have metal oxide coatings. Rural properties often have large metal sheds or barns if you’re inside them, cell service probably drops out completely. Even inside your home, being in a basement or behind multiple walls will weaken the already weak signal.
How to identify: If you get 3-4 bars when standing outside your front door, but only 1 bar or “No Service” in the living room, your building is likely the issue. As a test, go near a window or step outside if the signal jumps up, your walls/roof are the problem. Building materials don’t cause dropped signals alone; they exacerbate the distance and terrain issues above. But the fix for this might be as simple as an indoor booster antenna or using Wi-Fi calling inside, which we’ll cover.
2.4 Carrier Coverage Variations in the Midwest
Not all carriers are equal in rural areas. Historically, Verizon has the strongest rural coverage and is known to hold signals in remote Midwest regions better than others. AT&T is a close second, while T-Mobile has improved with low-band 5G but still has gaps in some rural pockets. For example, you might get a decent AT&T signal at a farm in Kansas, but a T-Mobile phone shows “No Service” simply because T-Mobile lacks a tower anywhere nearby.
Coverage maps from the FCC confirm these differences: Verizon and AT&T provide a signal in most rural Midwest counties, whereas T-Mobile’s coverage can be spotty in the same areas. Additionally, regional carriers like U.S. Cellular operate in states like Iowa and Wisconsin. If you use one of the “big 3” carriers, your signal might also depend on whether they have roaming agreements with regional towers.
The takeaway: part of your problem may simply be your carrier’s network. It’s worth checking coverage maps or asking neighbors which carrier they use. A different provider could have a closer tower. However, switching carriers is a hassle and not always desirable. This guide will mostly focus on boosting the signal for whatever carrier you’re on. Just keep in mind that a booster can’t amplify a signal that isn’t there at all. We will address solutions for multi-carrier households so everyone gets service, regardless of their carrier.
2.5 Network Congestion
We often associate network congestion with cities, but it can happen in rural areas too typically because there are so few towers that everyone shares the same one. If you notice your signal or data speed is okay in the morning but tanks in the evening, congestion could be the issue. A cell tower has limited capacity: if hundreds of devices connect simultaneously, speeds drop and calls might fail to connect.
Unfortunately, a booster cannot fix tower congestion; it doesn't add any new capacity to the network. Think of it like this: if the highway is jammed, a booster is not an extra lane, it’s just a better on-ramp for your phone. You might get a more reliable hold on a signal because your phone’s link is stronger, but data may still be slow at busy times. Heavy traffic, carrier throttling, or outages will still affect you even with the best equipment.
How do you know if congestion is a factor? Clues include: decent signal bar reading but very slow internet, or specific times of day when service quality plunges. In the Midwest, congestion might occur during county fairs, football games, or simply when everyone gets home and starts streaming. While you can’t directly fix congestion, a booster can ensure you’re getting the strongest possible connection to the tower. In extreme cases, switching to a less-loaded carrier or using internet/Wi-Fi for data might be the workaround. We’ll cover Wi-Fi and satellite options later.
In summary, identify your primary culprit: Is it extreme distance? Terrain? A metal-sided home? Or some mix of these? Knowing this will help you choose the right fix whether it’s simply relocating your phone or investing in a proper signal booster setup. Next, we’ll cover some free or low-cost tricks that often yield surprising improvements with minimal effort.
3. Start With Free or Low-Cost Fixes
Before drilling holes or spending a dime, try these simple steps that have helped many rural users eke out a better signal. These are “quick wins” you can attempt in a few minutes. They won’t solve long-distance issues or create magic signals, but they might bump you up from 1 bar to 2 or 2 bars to 3 sometimes enough to make a call or send a text in a pinch.
3.1 Find the Strongest Corner of Your Property
Signal strength can vary significantly across your property. It’s common in the Midwest for one side of a house to get better reception, usually the side facing the nearest tower or highway. Walk around outside with your phone. Note where you get the best reading. Even a difference of 5-10 dB between one corner and another could mean a couple of bars. For example, maybe upstairs by a south-facing window you get -95 dBm whereas the north side of your house is -110 dBm.
Once you find that sweet spot, you can strategize: perhaps that’s where you set up a home office, or where you go to place important calls. At minimum, you’ll know the best spot to mount an outdoor antenna later. Pro tip: Most phones have a hidden Field Test Mode showing exact dBm. On iPhones, dial *3001#12345#* and check “RSRP” for LTE. On Android, you can go to Settings → About Phone →
Status or use an app. This gives a precise number so you’re not just counting bars. Use this to map out your property’s signal like a mini site survey.

3.2 Move the Phone Near a Window Facing the Nearest Tower
If you’re indoors, simply moving closer to a window can help. Walls attenuate signals. A plain glass window lets more signal through than a wall you might gain ~3-8 dB just by having one less wall in the way. So, identify which side of your house faces the direction of the nearest town or tower. Then, use a window on that side. For instance, if the closest cell tower is west of you, go to a west facing window.
You can even open the window or go outside onto a porch to see if it improves. Users often find that an upstairs window is the “calling spot.” If you have to make an important call, going upstairs or even up a hill on your property could mean the difference between a dropped call and a clear one. Yes, it’s inconvenient to stand by a window, but this is about quick fixes.
One thing to watch out for: Low-E glass windows. These are energy-efficient windows common in modern homes. They have a metallic coating that reflects heat and unfortunately reflects cell signals too. If you know your windows are Low-E, the benefit might be smaller. In that case, even opening the window for the duration of a call could help weather permitting!
3.3 Disable Band Locking / Force LTE or 5G
Modern phones and networks will auto-switch between 5G, 4G LTE, and sometimes 3G depending on signal conditions. In rural areas, newer isn’t always better. A weak 5G signal might perform worse than a strong 4G signal. If your phone is clinging to a faint 5G connection, you might try switching off 5G temporarily. This forces the phone to use LTE, which could be stronger or more stable. Conversely, in some cases you might want to force 5G if the phone for some reason isn’t picking it up but you know 5G coverage exists.
Most phones allow selecting a preferred network: e.g. “LTE Only” or “5G Auto”. Try toggling that setting. Users on Reddit and forums have noted that in areas with overloaded 4G but new 5G, forcing 5G improved speeds and vice versa, turning off 5G in areas where 5G coverage is spotty stops the phone from wasting time on a weak signal.
“Band locking” is a more advanced trick usually done with specialized apps or hardware. It means locking the device to a specific frequency band that you know works best. If you’re tech-savvy and have a cellular router or Android phone with service mode, you can experiment with band locking.
For instance, maybe Band 12 (700 MHz) gives you better range but your phone keeps trying Band 41 (2500 MHz) which barely reaches you. Locking to Band 12 would help. This is not necessary for most people, but know that choosing the right network mode can squeeze a bit more reliability out of a weak signal.
3.4 Wi-Fi Calling Setup Checklist
If you have any form of internet at your house, leveraging Wi-Fi Calling is a no-brainer. Wi-Fi Calling allows your phone to route calls and texts over the internet instead of the cellular network. It essentially turns your internet connection into a mini cell tower for your phone number. The benefit: Even if you have 0 bars, as long as your Wi-Fi is up, you can make/receive calls and messages.
Here’s how to set it up:
- Enable Wi-Fi Calling in your phone settings. On iPhone, go to Settings → Cellular → Wi-Fi Calling and toggle it on. On Android, it’s usually under Settings → Network & Internet → Mobile Network → Advanced → Wi-Fi Calling. You may be prompted to enter an emergency address, since calls will go over the internet.
- Connect to a strong Wi-Fi network. Obviously, this only works if your home internet is functional. Test an internet-based app bto ensure your Wi-Fi is providing connectivity.
- Once enabled, your phone should automatically prefer Wi-Fi for calls when the cellular signal is weak. Many phones will show “Wi-Fi” or an icon next to the carrier name when Wi-Fi calling is active. You can also force it by putting the phone in airplane mode and then turning on just Wi-Fi.
Wi-Fi calling can be a lifesaver no more standing in the yard to talk. The call clarity is usually great if your internet is stable. The only downsides: If your internet is slow or high-latency, you might notice slight voice delay. And if the power or internet goes out, you lose calling ability.
Checklist: Make sure each phone in the household has Wi-Fi calling turned on and test a call. Also, some carriers allow texting over Wi-Fi test that too by sending a text with cellular off. With Starlink now common in rural Midwest, many families rely on Starlink + Wi-Fi calling to stay connected, essentially bypassing the poor cell coverage entirely. It’s a valid solution if you can’t get a cell signal to save your life.
3.5 Restart or Reinsert SIM
It sounds cliché, but have you tried turning it off and on again? Sometimes your phone might get “stuck” on a distant tower or a bad connection. Restarting the phone or toggling Airplane Mode on/off forces it to rescan and connect to the best available signal. In rural areas, phones can be stubborn – they might hold onto one bar of 4G from a tower 15 miles away, even if a closer 3G tower is available that would give better call quality. A refresh can help the phone find that better option.
Also, reseating your SIM card can help in some cases. By re-initializing the SIM, you refresh the phone’s registration on the network. This can resolve issues where your phone shows signal but isn’t connecting calls. It’s rare, but worth a shot if you’ve been off the grid for a while like coming back from a no-service zone, sometimes the phone doesn’t properly re-register.
Finally, check your phone’s settings and software updates. Ensure carrier settings are up to date. If you use an older device, note that carriers have shut down 3G networks recently; if your phone is 3G-only, no booster will fix that; you’d need a device upgrade or a special solution. But assuming your phone is modern, a quick reboot can work wonders. Many times, a rural user has spent an hour with one bar, only to reboot and suddenly see 3 bars. It's worth 60 seconds of patience!
If none of the above quick fixes give you a usable signal, fear not. The next sections dive into the most effective long-term solution for rural homes: installing a cell phone signal booster system. This requires some investment, but it is the proven way to consistently get strong signals in areas where nature and distance conspire against you.
4. The Most Effective Solution for Rural Midwest Homes: Cell Phone Signal Boosters
When free tricks aren’t enough, cellular signal boosters are the go-to solution for weak rural signals. In fact, for most rural Midwest homeowners, a properly installed booster can turn a sketchy one-bar situation into a solid 3-4 bars throughout the house. This section will cover everything you need to know about boosters: why they work so well out in the country, the different types and performance you can expect, what issues they can solve and what they cannot, and how to get one set up in your farmhouse or rural property.
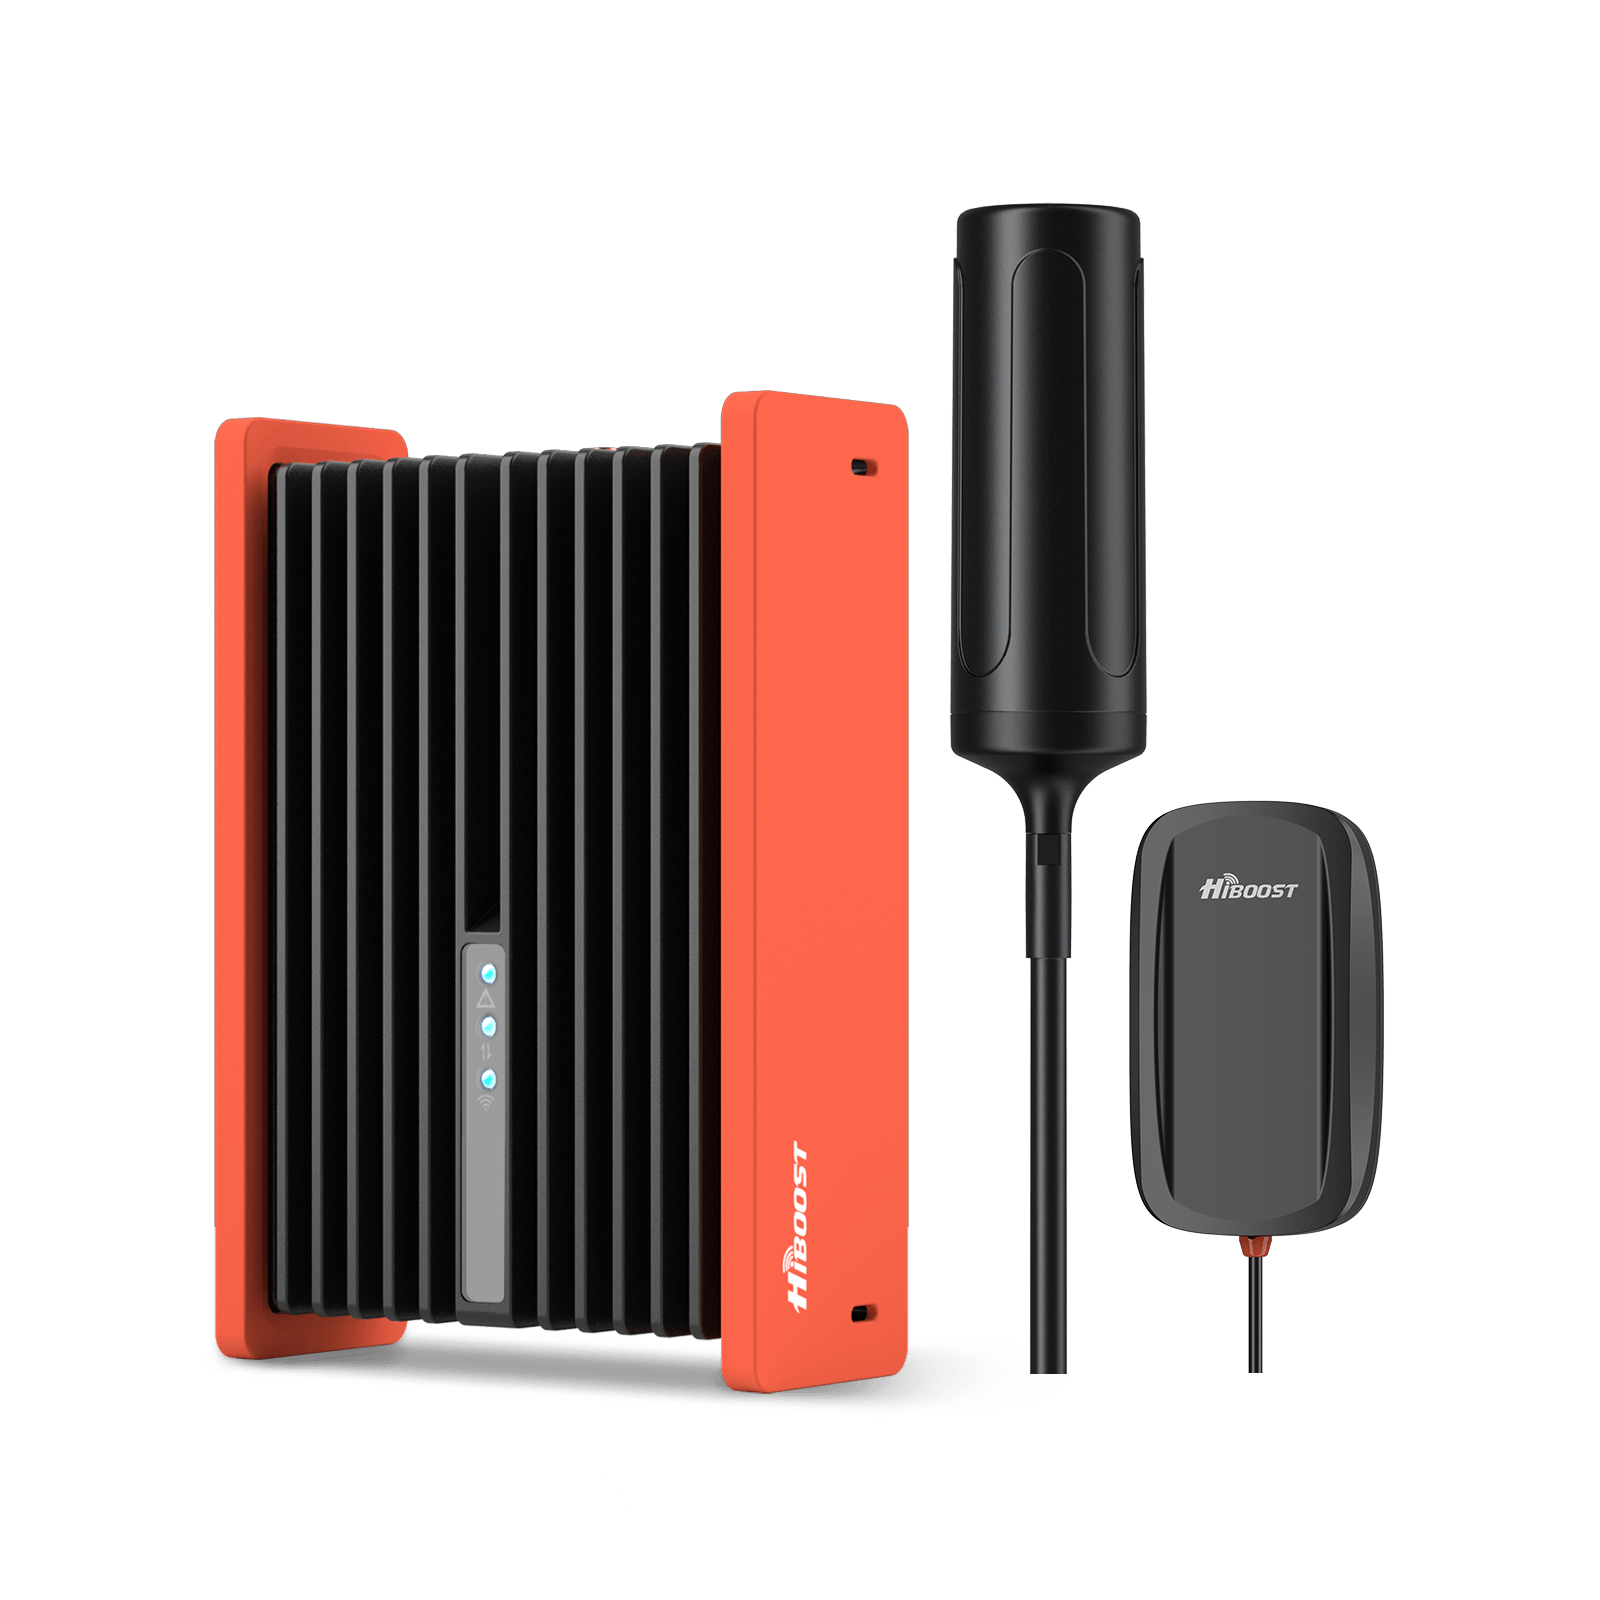
A quick primer: A cell phone signal booster is a bidirectional amplifier system. It typically has an outdoor antenna you mount on your roof to capture the faint cell signal, an amplifier unit that boosts that signal, and an indoor antenna that rebroadcasts the improved signal inside your home. It also works in reverse: your phone’s outbound signal gets amplified back toward the tower. Boosters are legal devices that do not need any internet connection; they simply amplify the existing radio waves. Think of it as a megaphone for your cell signal, or like a relay station that brings the distant tower “closer” to you.

Let’s break down the key subtopics on boosters:
4.1 Why Boosters Work So Well in Rural Areas
In rural areas, the primary limitation is often signal distance and building penetration exactly what boosters are designed to overcome. A booster’s outdoor antenna, especially if it’s a directional Yagi antenna, can reach out and grab signals that your phone’s tiny antenna cannot.
High-gain outdoor antennas included with boosters can add 8–10 dB or more gain just by focusing on the tower. Some powerful Yagis even provide up to 20 dB gain on their own, which is like effectively being 1/10th the distance from the tower. This makes a huge difference in rural settings it’s why boosters routinely allow folks 10 or 20 miles from a tower to get usable service.
Additionally, rural boosters typically have higher allowed gain. They literally amplify that weak outside signal dozens of times. So a -110 dBm faint signal captured outside might be rebroadcast indoors at, say, -80 dBm a level your phone sees as 3-4 bars. This overcomes building material losses too; the booster does the heavy lifting of punching through your walls. Unlike in urban areas where interference between many cell sites is a concern, in rural areas you can maximize gain without worry, because there’s usually only one tower in range anyway.
Put simply, a booster in a rural home can take the place of a nearby cell tower. It doesn’t create a new signal from nothing, but it makes the most of every scrap of signal available and pumps it throughout your home. This is why thousands of farmers, ranchers, and rural residents use boosters; they consistently report that what used to be a one-bar or no-service home becomes a functional service area after installing a booster. In the next sections, we’ll ensure you pick the right type and set realistic expectations.

4.2 Booster Coverage Types
Signal boosters for homes come in different sizes/power levels, often marketed by coverage area. It’s important to pick one suited to your home’s size and your outside signal strength. Here are the common types:
- Single-Room or Desktop Boosters: These are lower-power units that cover a small area. They often have the indoor antenna integrated into the amplifier unit. These are best for someone who just needs a boost in one spot, say your home office or living room. They are also more affordable. But they won’t blanket a whole large house.
-
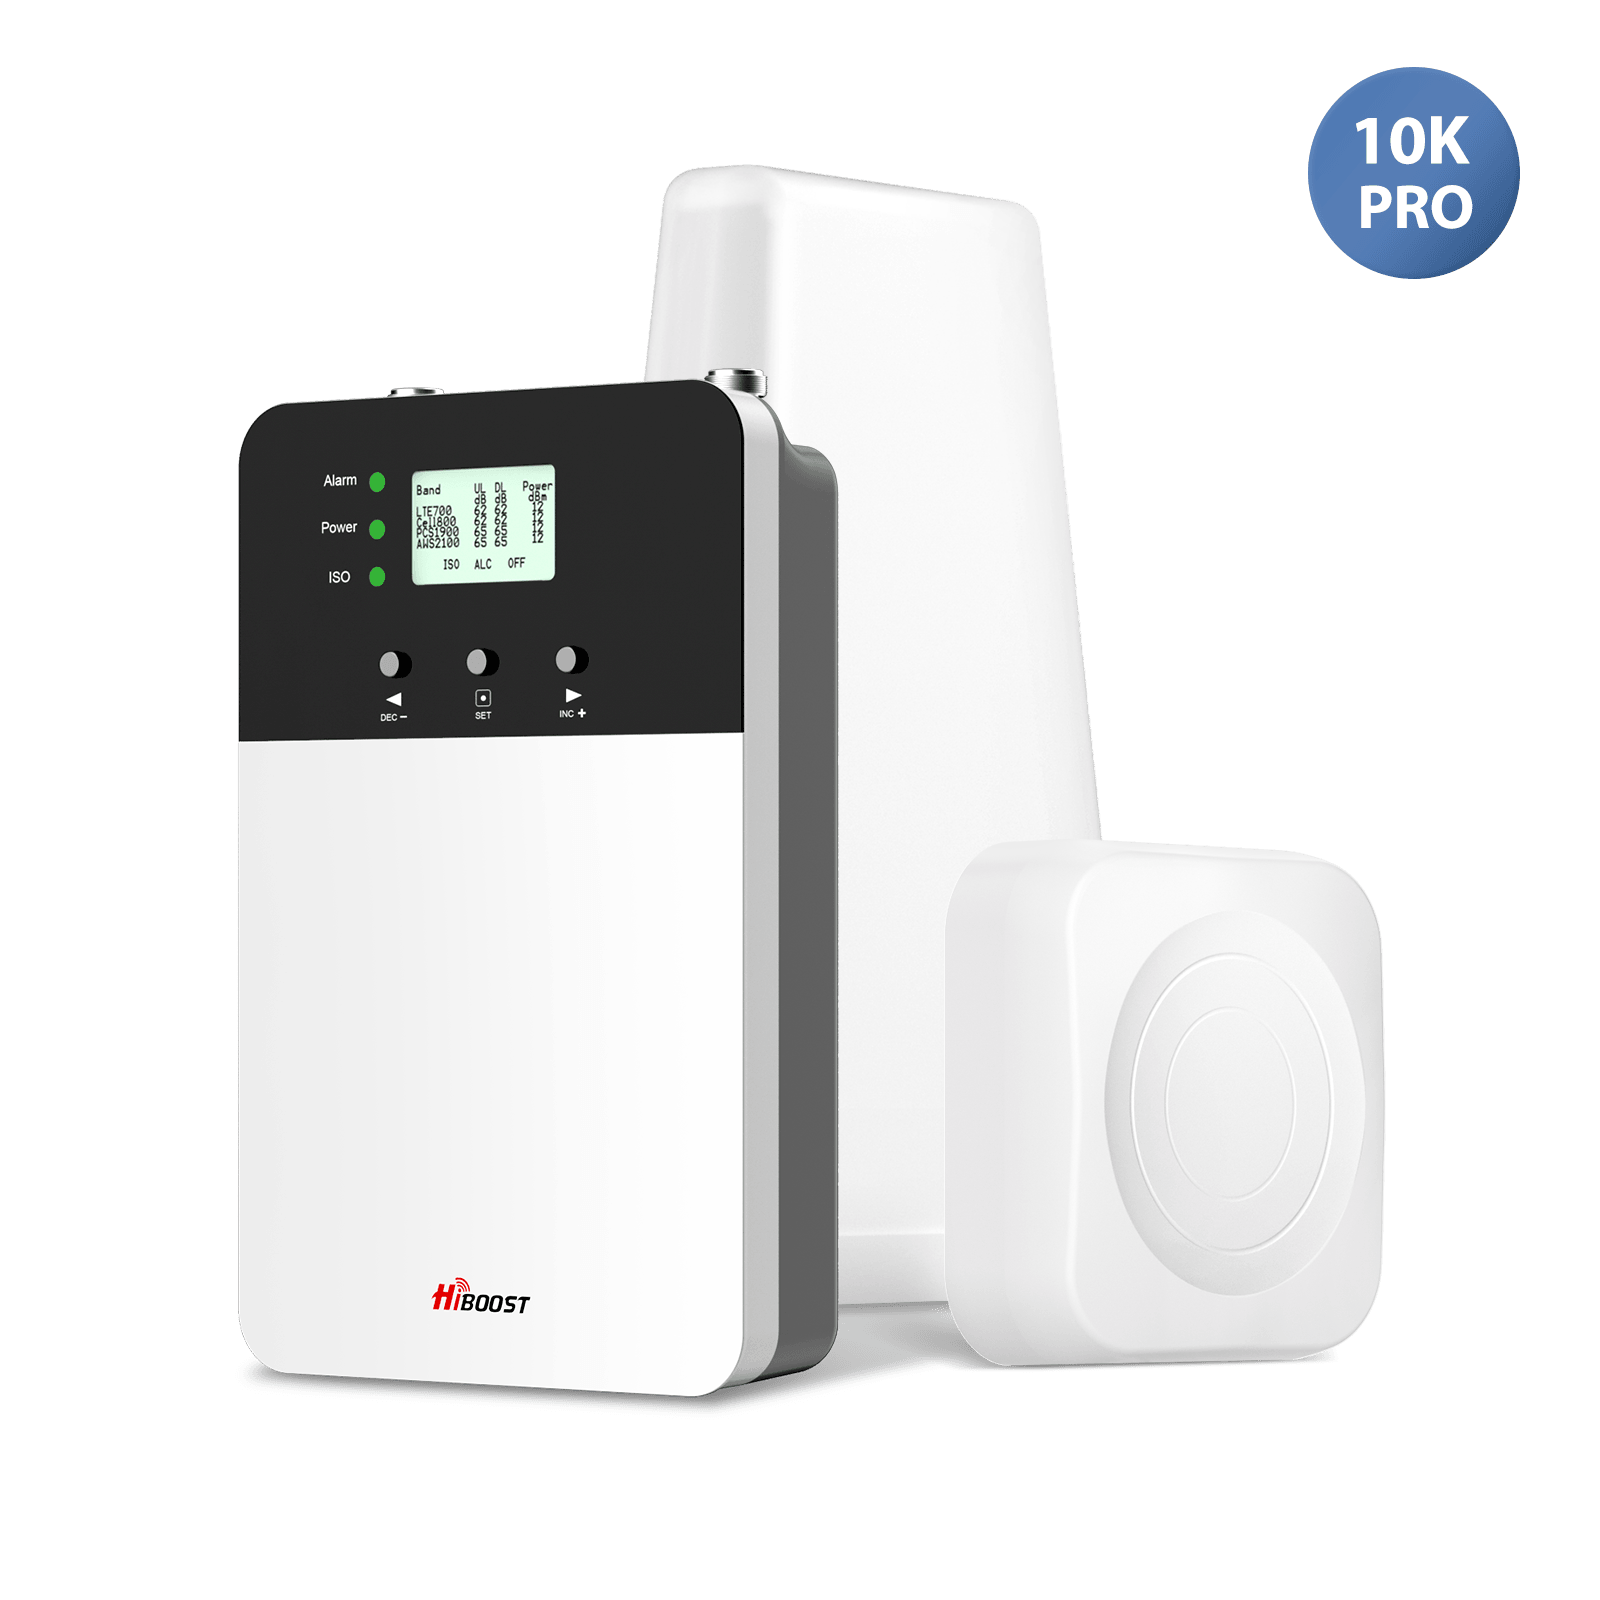
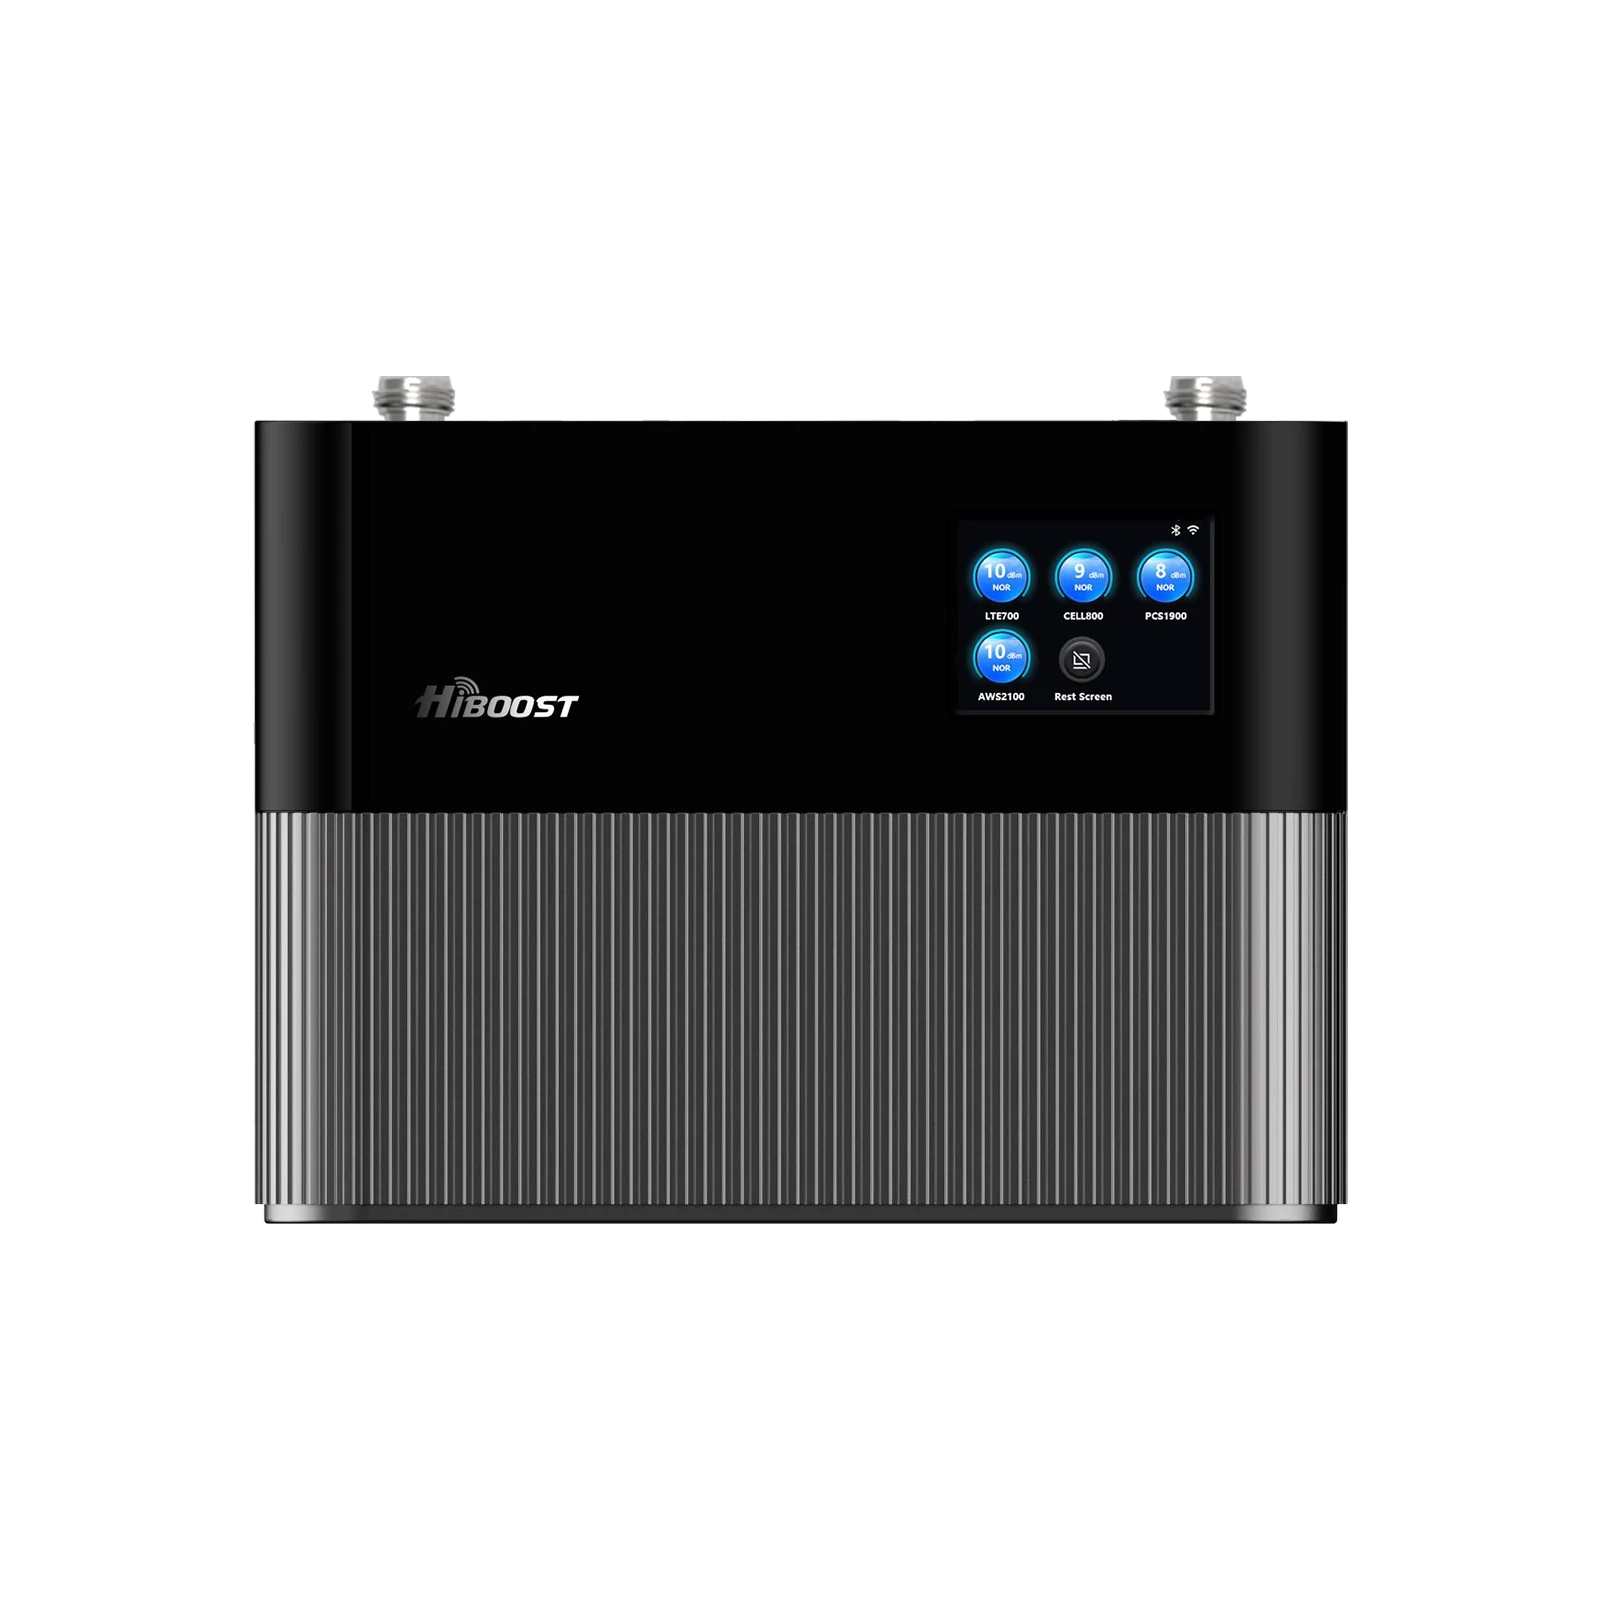
Multi-Room/Whole-Home Boosters: These are the popular mid-range systems that claim to cover up to 3,000-5,000 sq ft. Realistically, in a weak-signal rural scenario, expect maybe a few rooms or one floor reliably covered. These kits often include a directional outdoor antenna and one indoor panel or dome antenna. They’re great for average homes or where you need multi-room coverage. For example, HiBoost’s 10K Smart Link is rated for up to ~10,000 sq ft in ideal conditions, which might translate to a few thousand sq ft if the outside signal is very weak.
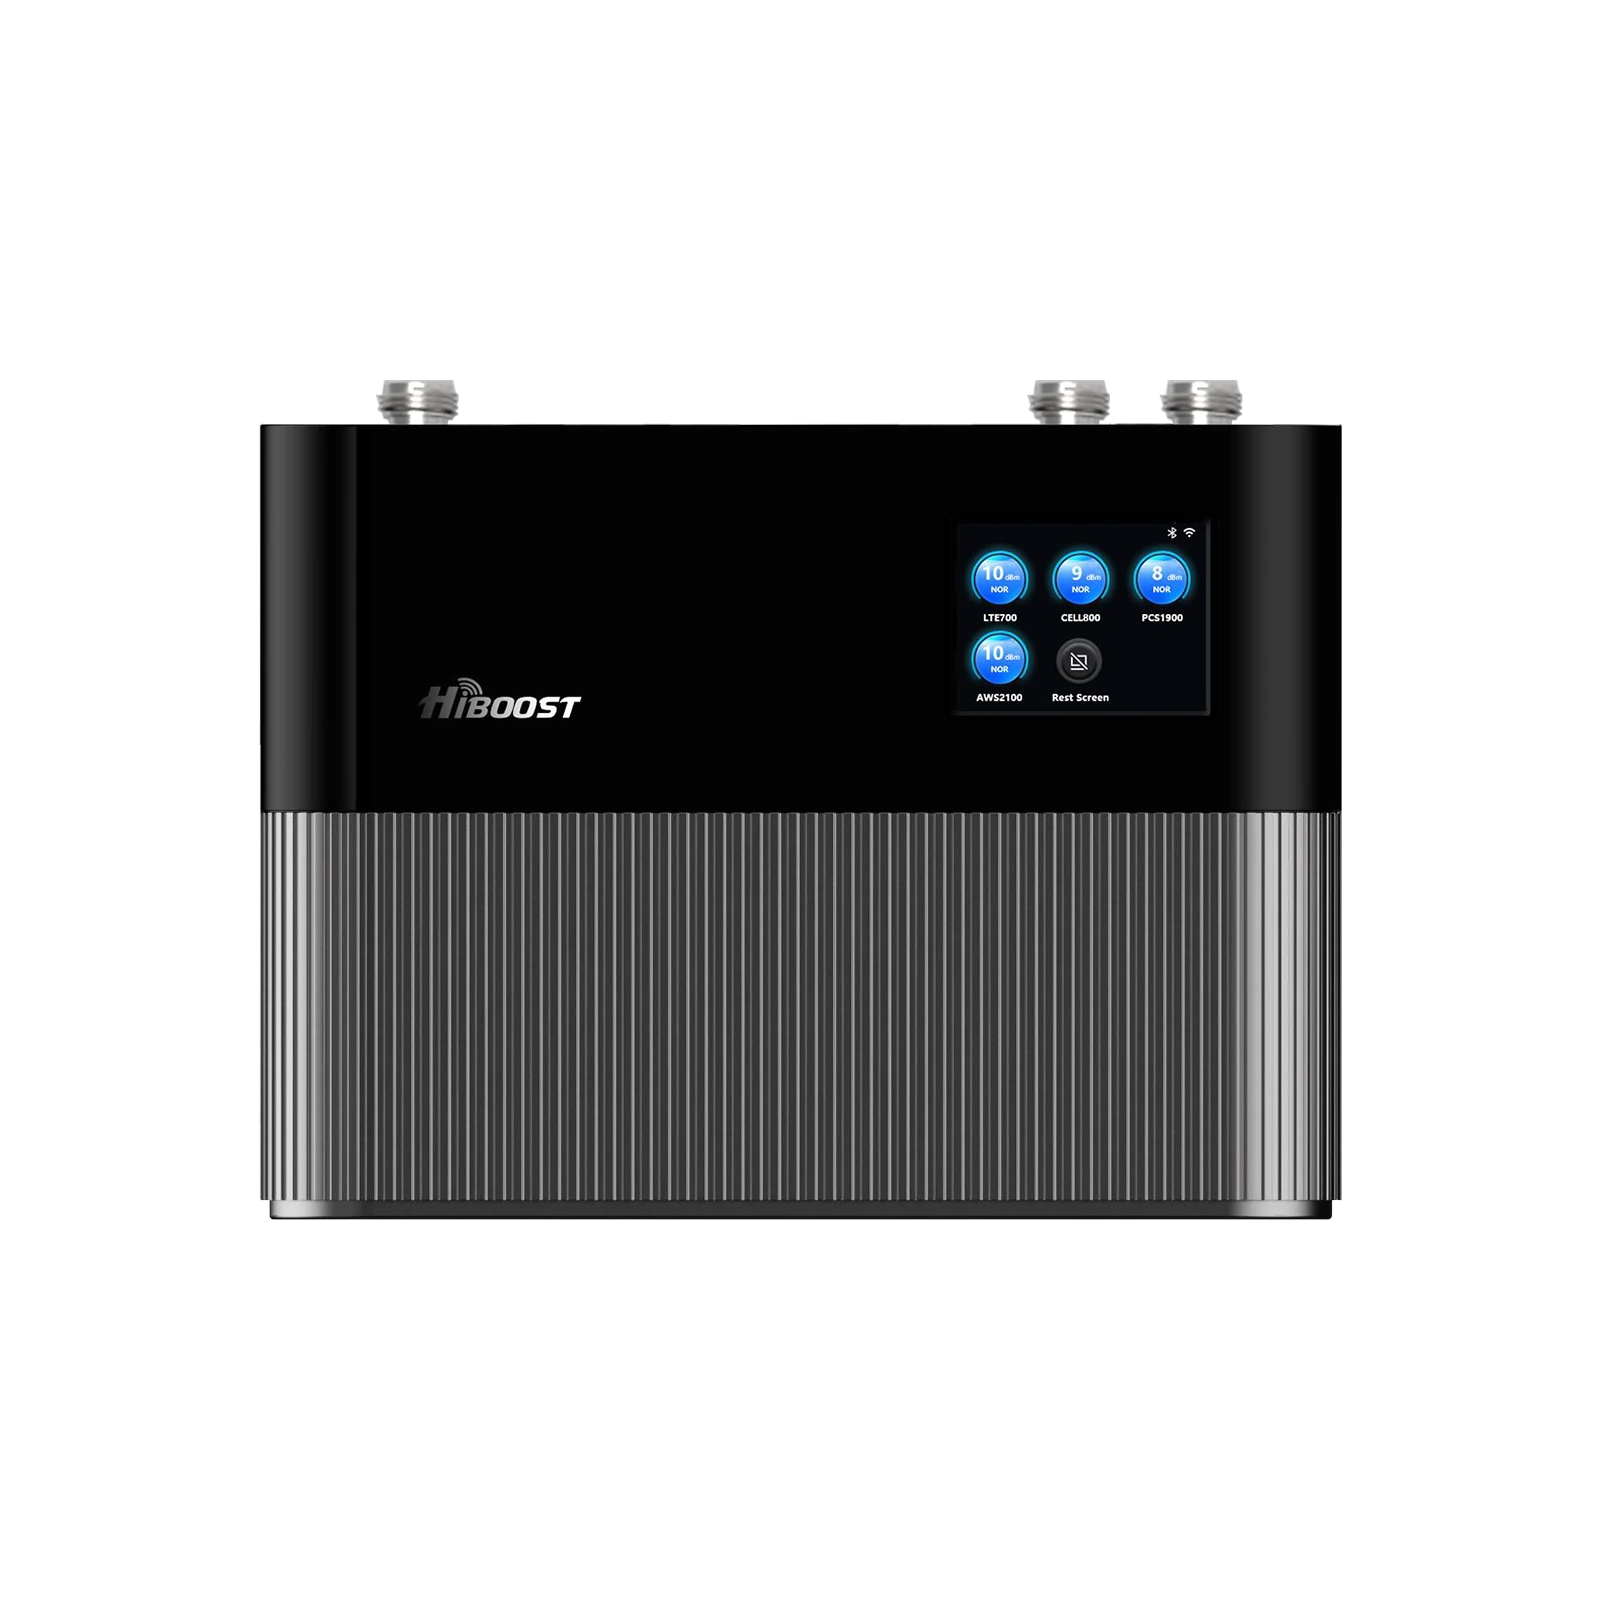
- Whole-Home High-Power or Commercial-Grade Boosters: These are the big boys. They can cover 5,000–10,000+ sq ft, or a large multi-story home, or even multiple buildings. If you have a spacious farmhouse or a metal building, this class of booster will ensure coverage everywhere. They cost more, but they might be necessary if you want whole-house coverage in a near-dead-zone. For instance, a remote farmhouse with near-zero outside signal likely needs a high-end 72 dB system to get reliable service in every room.
In summary, match the booster to your needs: small area = small booster; whole large home or very weak outside = bigger booster. It’s often better to err on the higher-power side for rural installs, because you can always dial down gain if not needed, but you can’t magically add gain to an underpowered unit. We’ll discuss in Section 11 cost what each level typically runs price-wise.
4.3 What Boosters Can and Cannot Fix
While boosters are powerful tools, let’s set realistic expectations by outlining their capabilities and limits:
What boosters CAN do:
- Amplify Weak Existing Signal: If you have at least a faint signal, a booster can amplify that up to 32x (15 dB) or more, bringing it into usable range. This results in fewer dropped calls, the ability to send texts, and often decent data speeds where previously unusable.
- Provide Coverage Through Buildings: A booster essentially bypasses building material issues. The outside antenna pulls signal in, then the indoor antenna fills your home. So you can get 3-4 bars inside a metal building or farmhouse with thick walls, even if you had no reception indoors before. It overcomes that 30 dB metal roof loss by brute force amplification.
- Support Multiple Users/Carriers: Most consumer boosters are “wideband” ; they boost all major carrier frequencies at once. This means one booster system can support all the phones in your home, regardless of carrier, simultaneously. There’s no pairing or limit to the number of devices if they’re in coverage range, they get boosted. As an example, HiBoost boosters support Verizon, AT&T, T-Mobile, UScellular, etc. all at once with no extra steps.
- Improve Data Speeds: By giving your phone a stronger signal, boosters often greatly improve LTE/5G data throughput. Your phone isn’t straining to maintain a connection, so it can use higher data rates. Don’t expect miracles, you'll be limited by the backhaul of that tower and your plan but going from no data to even a few Mbps LTE is life-changing in rural areas.
- Work Without Internet: Boosters are completely independent of broadband. They’re ideal for those who don’t have any internet but still need connectivity for calls or basic data. No monthly fees, nothing to hook into your network.
What boosters CANNOT do:
- Create Signal Out of Thin Air: Crucial point: if you have truly zero signal outside, a booster won’t help. It can only amplify what it can receive. Many boosters specify a minimum incoming signal. If you’re worse than that across all bands, you might need to try a different approach. Usually, though, even “no bars” might still be -115 dBm which is boostable using Field Test to check. But if it’s a total dead zone, boosters are not magic.
- Add Network Capacity or Speed Beyond the Tower’s Capability: As mentioned, boosters don’t alleviate tower congestion or slow speeds caused by the network. If you only get 5 Mbps outside due to a slow tower, you’ll get about 5 Mbps inside. Boosters won’t turn 4G into 5G or give you urban speeds. They simply ensure you can make use of whatever the tower can deliver to your location.
- Work During Power Outages: Boosters require power for the amplifier. If the power goes out, the booster stops working. Consider battery backup if you need it for emergencies, or have a cell battery backup.
- Move to a Different Location Easily: Home boosters are meant for fixed installation. They use antennas tuned for stationary use. You can’t typically take a home booster and just put it in your car (mobile boosters exist separately). Also, boosters are FCC-authorized for a specific location you’re supposed to re-register if you move it, though practically many people move their boosters when relocating homes. Just note, a booster is best thought of as part of your home infrastructure, not a portable gadget.
In summary, boosters solve coverage gaps inside your home and bring weak outdoor signals up to usable levels. They don’t solve a complete lack of any signal or fundamental network issues. As long as you have a glimmer of reception outside, a booster can usually amplify it enough to make a big difference. And importantly, today’s boosters are FCC-certified and carrier-approved carriers permit their use as long as they are certified. So you don’t have to worry about legality or carrier permission; just follow the instructions to avoid interference.
4.4 Booster Performance Data
Let’s talk numbers and performance. How much improvement can you actually expect? Here’s some data and typical scenarios:
Signal Gain (dB): Consumer home boosters typically offer up to +65 dB gain and up to +72 dB for high-power units. +65 dB means the signal is amplified about ~3,162 times in power. In practice, this can take a fringe signal of say -120 dBm and boost it to around -60 dBm in ideal cases. More commonly, if you have -105 dBm outside, you might see -75 dBm inside near the booster’s antenna. In a real test, one user saw their inside signal go from -115 dBm to around -85 dBm after installing a home booster improving call quality from choppy to crystal clear.
Coverage Area: The coverage you get inside depends on your booster power and your home layout. In an open-concept single-story home, one indoor antenna might spread a boosted signal over a wide area. In a multilevel or walled house, the signal might be strong in the room with the antenna but weaker in a far bedroom.
You can expect the strongest performance within ~25 feet of the internal antenna, line-of-sight. But even rooms further away should get a usable signal if the booster is sized right. Many multi-room boosters advertise ~3,000–5,000 sq ft coverage; just remember that’s under optimal conditions . If your outside signal is very weak, the effective coverage shrinks.
Data Speed Improvement: If you went from barely connected to solid signal, your data speed can improve dramatically. For example, a farmer with ~1 bar might only get 0.5 Mbps or timeouts; after boosting to -85 dBm, they might get 5-10 Mbps on LTE enough for streaming and Zoom calls. It won’t rival urban fiber, but it’s the difference between no internet and functional internet. Another scenario: a booster took a rural clinic from no indoor data to about 10 Mbps downloads, allowing them to use cloud apps and receive text alerts reliably.
Real World Example: Mr. Hal, a rural homeowner with a metal roof, reported he had “practically no use of calls and data” with only a single bar of 4G outside. After installing a HiBoost 4,000 sq ft home booster, his signal inside jumped to 5 bars and everything started working. Another case study from the UK showed a farmhouse 22 miles from the tower going from 0–1 bars to 3–4 bars after aiming a directional antenna precisely making phone service viable for the first time. The improvements can truly be night and day, as many users describe.

Latency: One often overlooked benefit of a stronger signal means lower latency and less battery drain. Your phone isn’t struggling to communicate, so pings are quicker. This can make browsing and even online gaming more responsive. And your phone’s battery will last longer because it’s not constantly boosting its own radio to search for signal.
In short, performance data consistently shows boosters take rural signals from marginal to comfortable. It’s not hype, it's backed by physics and thousands of success stories. That said, proper installation is key to achieving these results, which we’ll cover in 4.6 and Section 6.
4.5 Carrier Compatibility
Modern multi-band boosters are typically compatible with all major US carriers. This includes Verizon, AT&T, T-Mobile, and regional carriers like US cellular. They work by amplifying the common frequency bands which are used for 4G LTE and often 5G low-band. So whether you’re on Verizon or your spouse is on AT&T or your kids use T-Mobile, one booster will help all of you don’t need separate units.
For the Midwest specifically, here are some notes:
- Verizon: Uses 4G LTE bands 13 heavily in rural areas, plus some 850 MHz and AWS . Most boosters amplify all those, so Verizon coverage is improved. Verizon’s new 5G in rural areas is mostly DSS on those same low bands, which boosters also handle. Verizon does have mid-band 5G rolling out, but in very rural parts of the Midwest, that’s not common yet. Regardless, a booster helps Verizon’s core coverage which is already fairly strong in the Midwest reach indoors and farther.
- AT&T: Uses band 12/17, band 5, and band 2/4 for LTE, and FirstNet band 14 for first responders. Boosters support these as well. AT&T’s 5G is often on 850 MHz in rural areas. Again, low-band 5G and LTE are covered by boosters. AT&T’s coverage in the Midwest is generally second to Verizon but quite extensive; a booster will level the playing field where AT&T signal is just a bit weak outside.
- T-Mobile: Historically had weaker rural coverage, but since absorbing Sprint and deploying Band 71 and Band 12 (700 MHz), they cover more ground. Many newer boosters now include support for 600 MHz. HiBoost’s latest models, for example, support T-Mobile’s low-band 5G frequencies. T-Mobile’s 5G “Ultra Capacity” mid-band probably won’t reach your rural home if you’re far out, but if it does, boosters typically don’t cover that very high frequency yet. Still, you’ll get T-Mobile’s extended range coverage boosted.
- U.S. Cellular and Others: US cellular operates in parts of Iowa, Wisconsin, Illinois and more, using many of the same bands. Most boosters will boost US cellular as if it were any other carrier. Smaller regional carriers or LTE-based WISPs also often use standard bands that boosters can handle but always check if you have a very specialized network. For the most part, if your phone can pick up a signal from a carrier, the booster will amplify it since it’s on a standard licensed band.
One thing to note: 5G is evolving. Booster and 5G: As of 2025, boosters amplify 5G signals on low and mid bands. They do not amplify millimeter-wave 5G. The FCC is likely to approve boosters for the new 3.45 GHz and C-band frequencies in the near future but if you’re reading this, it means current boosters might not cover those yet.
That’s okay for now since rural 5G is mostly low band. It’s something to keep an eye on for future proofing, but not a deal-breaker in Midwest rural use.
In summary, you can be confident that a quality booster will be compatible with all carriers your family or guests might have. HiBoost, WeBoost, SureCall, etc. all meet these criteria. Just double-check if you rely on T-Mobile’s 600 MHz that the booster specs mention Band 71 support. Most do, as the industry updated after 2020 to include it in “5G ready” boosters.
4.6 How to Install a Booster in a Rural Home
Installing a booster is definitely a DIY-friendly project for most homeowners, though it involves climbing and cabling. Here’s a step-by-step overview:
Step 1: Find the Best Outdoor Signal Location. As we discussed in section 3.1, identify where on your property the cell signal is strongest. This is often on the roof peak facing the nearest tower, or an upper-story exterior wall. Use Field Test mode to get dB readings if possible. This spot is where you’ll mount the outdoor antenna.
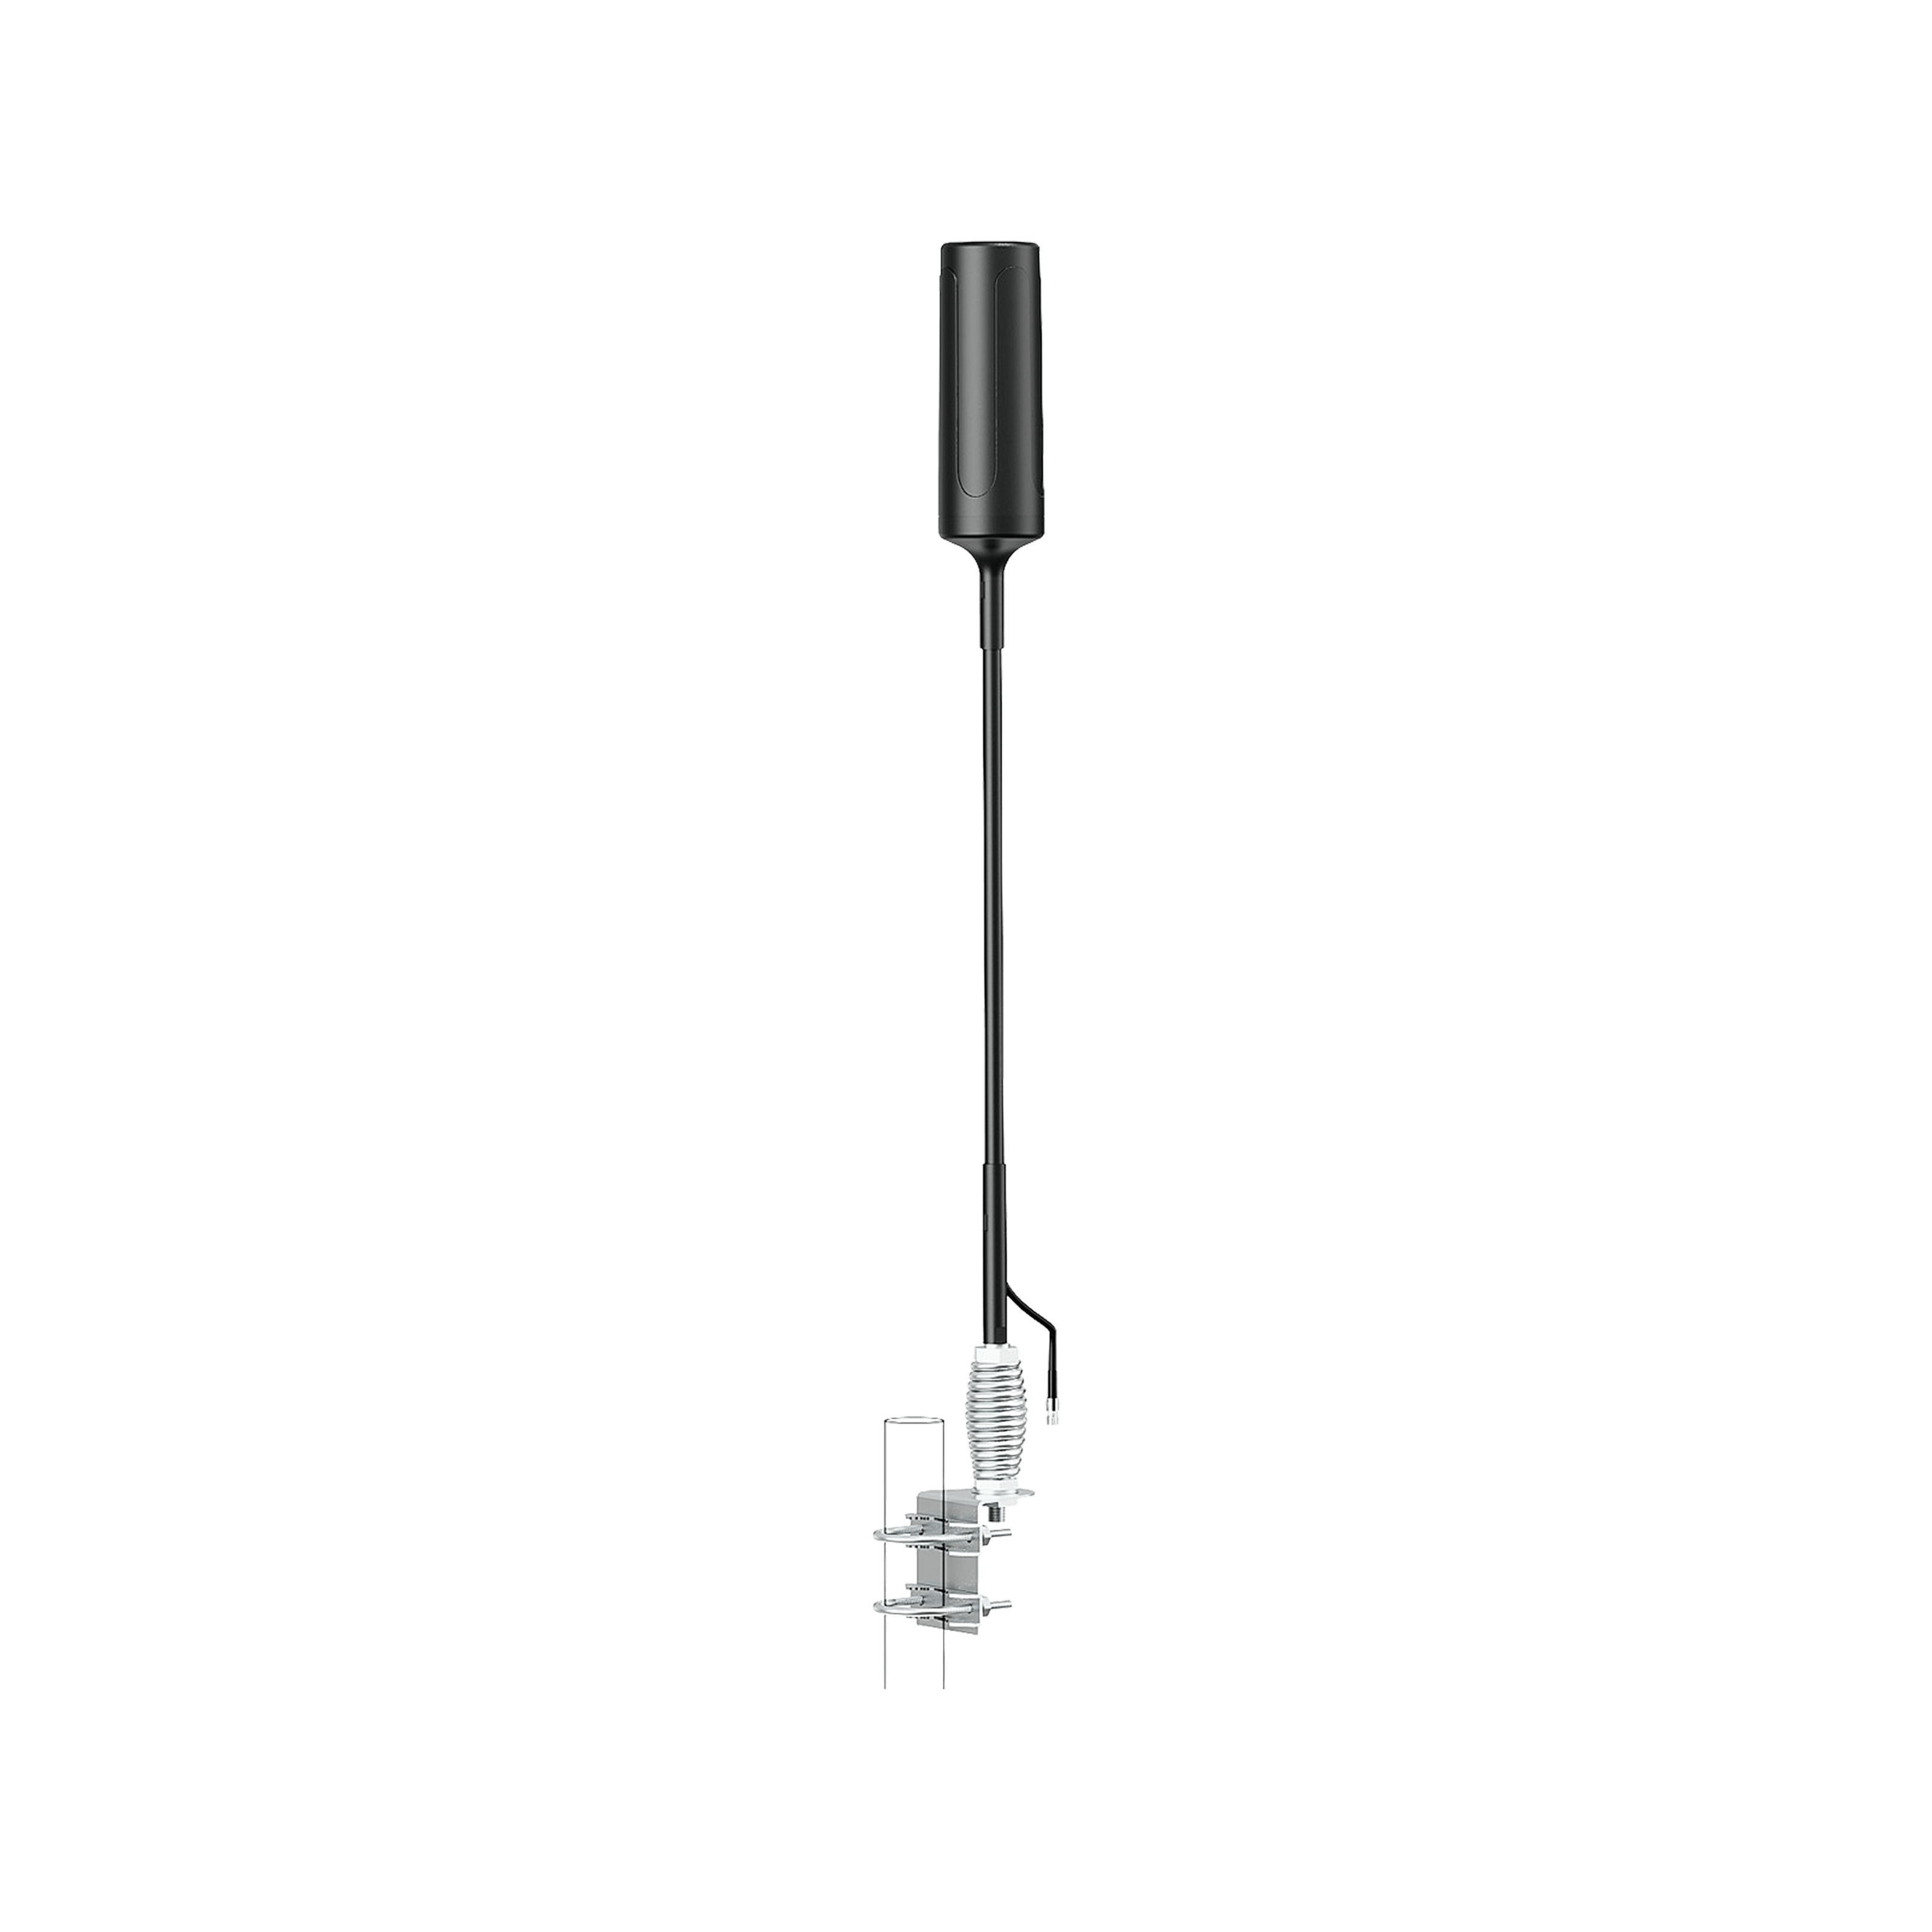
Step 2: Mount the Outdoor Antenna. For rural setups, this is usually a Yagi antenna for best gain. Mount it as high as feasible on a mast above your roofline or on an existing tower/pole. Higher = better line of sight. Every 10 feet of extra height can add a few dB of signal capture, which can be significant in marginal areas.
Aim the Yagi toward your nearest cell tower. You might use online maps or a compass and the knowledge of the nearest town. After mounting, you can fine-tune the aim by trial: rotate a few degrees, check signal, etc., until you peak the readings. Pro tip: have a partner monitor the booster’s indicator or a phone in Field Test while you adjust. Secure the antenna once the best direction is found.
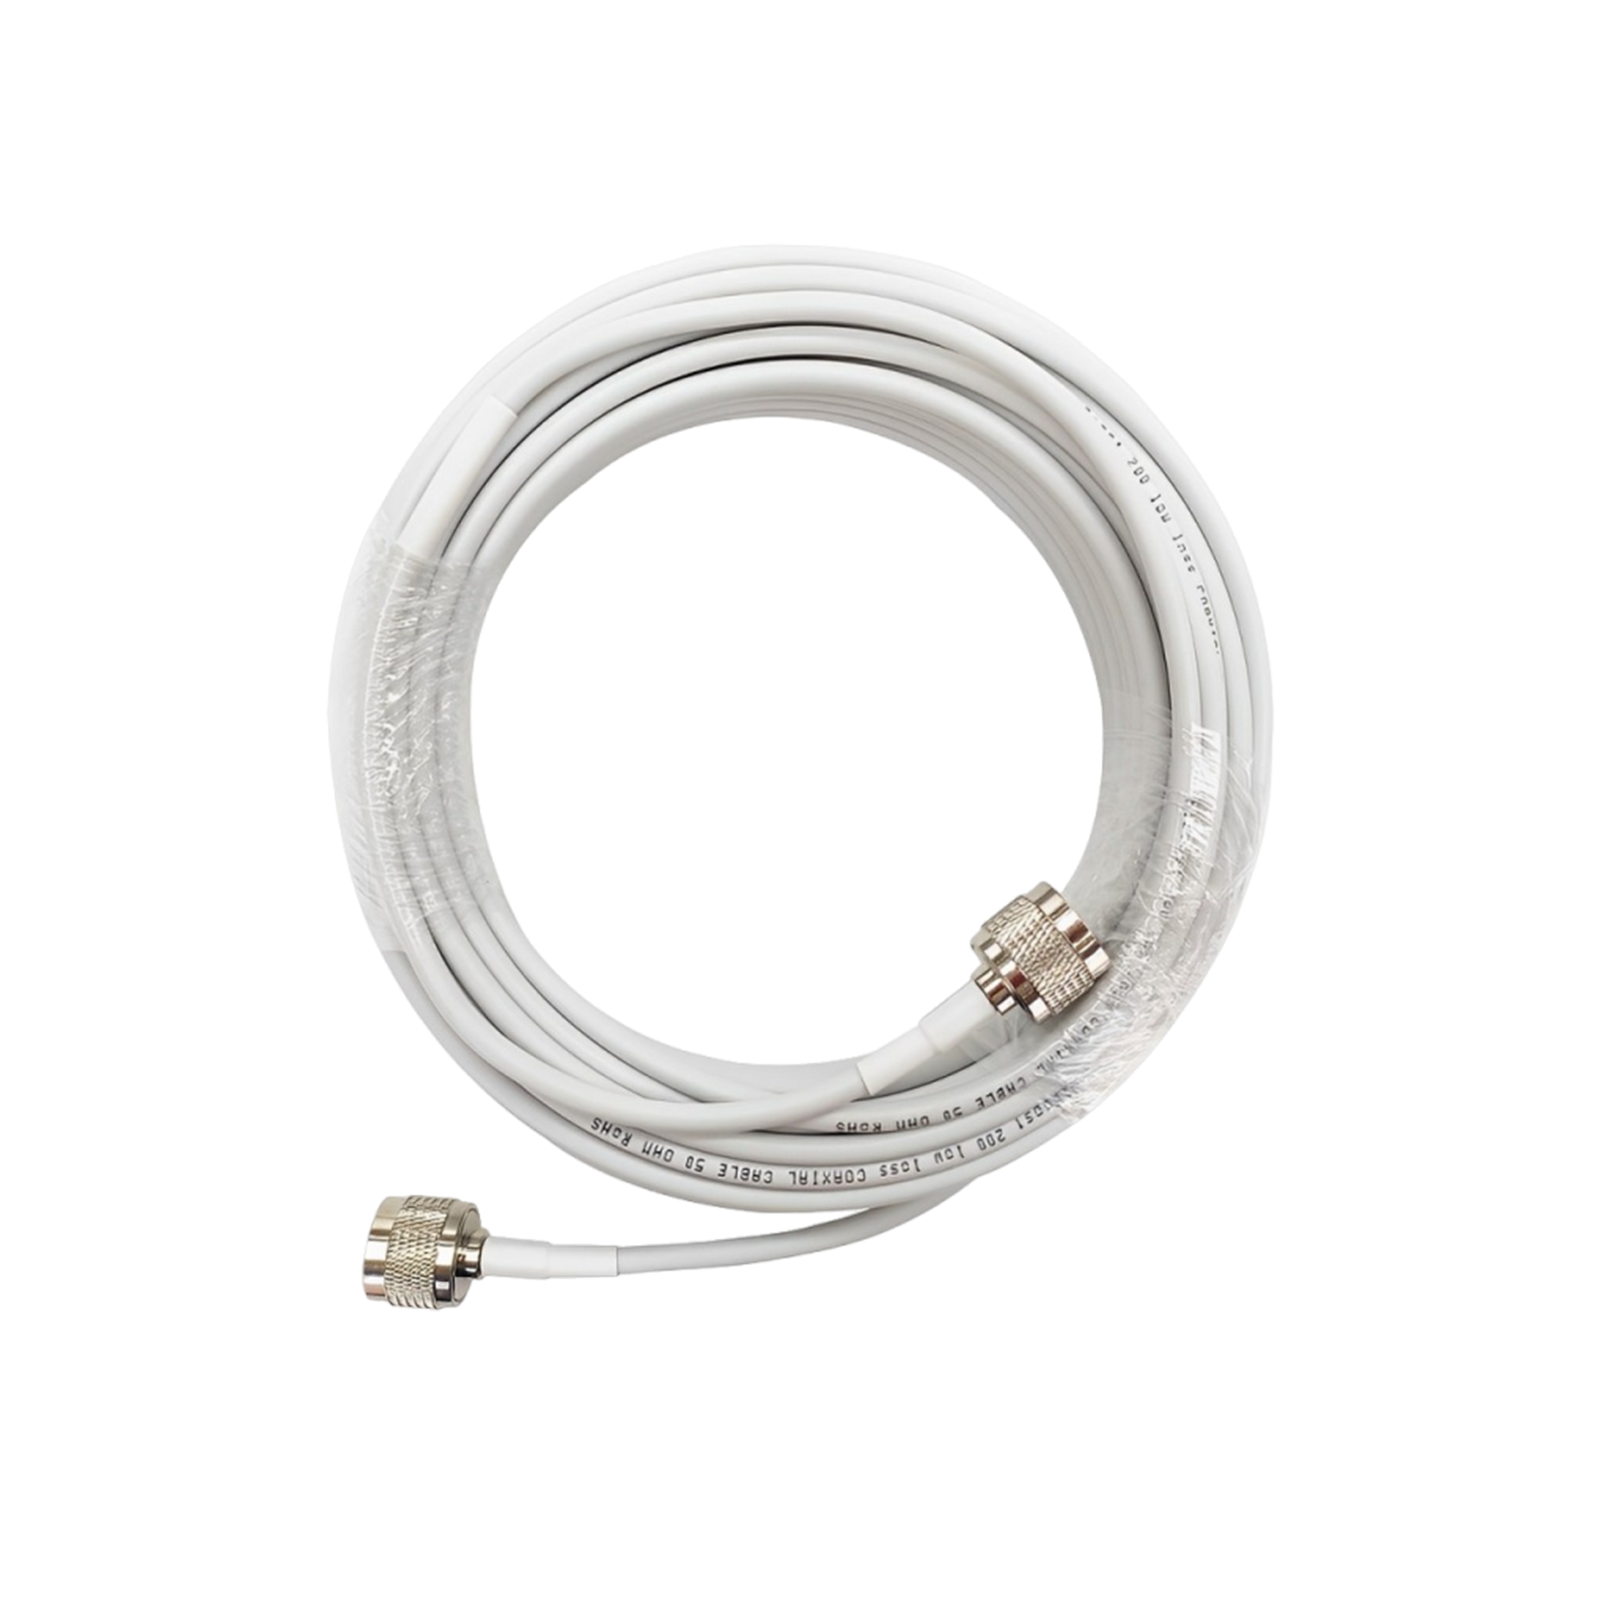
Step 3: Run the Coax Cable Inside. Connect the supplied coaxial cable to the outdoor antenna and carefully route it into your house. Typically, you’ll drill a small hole through the eave, loft, or wall. Keep cable runs as short as practical to minimize signal loss but also pick a path that hides the cable or at least keeps it safe.
For long runs over 50 ft, consider using the thicker low-loss coax rather than thin RG6, to preserve signal. For instance, RG6 can lose ~1 dB per 10 feet, whereas LMR400 loses only ~0.5 dB per 10 feet. In weak signal areas, every dB counts, so upgrade the cable if needed.
Step 4: Place the Indoor Amplifier and Antenna. Inside, decide where you need the improved signal the most. Commonly it’s a central location in the home. The amplifier unit will reside there. Many kits have a separate indoor antenna. Mount the indoor antenna in the area you want coverage e.g., on a wall in your living area or on the ceiling for more 360° coverage. If it’s a panel, aim it into the area.
Maintain sufficient separation between indoor and outdoor antennas. The manual will specify a distance. This is to avoid feedback/oscillation Basically, the outdoor antenna should not “hear” the indoor antenna. In a multi-story house, put the indoor antenna on the ground floor and outdoor on roof separation solved. In a single-story, maximize distance and perhaps put them at opposite ends of the house. Most modern boosters have oscillation detection and will reduce gain if they sense feedback, but it’s better to prevent it with placement.
Step 5: Connect and Power Up. Hook the coax from the outdoor antenna to the “Outdoor” or “Donor” port on the amplifier. Connect the indoor antenna cable to the “Indoor” port. Then plug in the power supply to the amplifier. Lights should come on. Many units have indicator LEDs or an LCD display. Green lights usually mean all good. If you see a red or orange light, check the manual; it could indicate oscillation, or overload. Adjust antenna positions accordingly until the booster shows normal operation.
Step 6: Test the System. Walk around with your phone and see what kind of signal you get. You should notice a substantial improvement near the indoor antenna – often full bars. Check previously dead zones in the house they should now have service. Run a speed test or make a call from different rooms. If some far areas are still weak, you might consider adding a second indoor antenna with a splitter. If everything looks good, tidy up: secure cables, weatherproof the external connections, and tie down the antenna mast so it withstands wind.
That’s the basic installation. Time required is usually a few hours for a DIYer. Many booster kits targeted at consumers include easy instructions and even hotline support. Some like HiBoost have a smartphone app to help aim the antenna by reading signal levels from the amplifier. Use those tools if available they can simplify the process.
One more thing: register your booster with your carrier. This is an FCC rule. It’s usually as simple as going to a website for your carrier and entering your booster’s ID and location. It’s free and just in case of any network issues they know a booster is operating. All major carriers have online booster registration pages.
By following these steps, you’ll likely be looking at a much more comfortable signal situation in your rural home. And once installed, boosters require little maintenance just enjoy making calls from your couch instead of the yard!
5. Compare Three Solutions: Signal Booster vs Femtocell vs Carrier Extender
In addition to traditional signal boosters, you might have heard of devices like femtocells or carrier “network extenders.” These are alternative solutions that also aim to improve your cell service, but they work very differently. Let’s compare the three side by side to help you decide what’s best for you. Below is a helpful comparison table summarizing key differences:
|
Aspect |
Signal Booster (Passive Repeater) | Carrier Femtocell (Microcell) | Carrier Network Extender |
| Requires Internet? | ❌ No. Works by amplifying over-the-air cell signals; no broadband needed. | ✅ Yes. Plugs into your home internet to create a mini cell signal. | ✅ Yes. (This is essentially the same as a femtocell – uses your internet backhaul.) |
| Needs Existing Cell Signal? | ✅ Yes. Must have at least some signal outside to amplify | ❌ No. Creates its own 3G/4G signal even if there’s zero outside coverage. | ❌ No. (It’s providing coverage via the internet, so no external signal is required.) |
| Coverage Range | Various models cover one room up to whole-home (2000–5000+ sq ft). Multi-antenna setups can cover large homes/barns. | Typically covers a small house or portion (~1000–3000 sq ft). Limited range (you must be near the device). | Similar to femtocell – around 1–2 rooms coverage. Some high-end extenders might cover a bit more, but generally meant for small areas. |
| Multi-User/Carrier? | ✅ Yes. Boosts all carriers and devices simultaneously. No registration per device needed. | ⚠️ One Carrier, Limited Users. Only works for the carrier it’s from. Often supports ~4-10 users max, sometimes requires you to add authorized numbers. | ⚠️ One Carrier. (e.g. Verizon’s extender only helps Verizon phones). Might allow any of that carrier’s phones in range, but still only that network. |
| Initial Cost | $$ One-time cost for equipment ($300–$800 typical for home units; more for high-end). No monthly fees. | $ Often free or low cost from the carrier (AT&T gave MicroCells free to some, or ~$150). No monthly fee, but uses your internet data. | $ Often requires purchase (~$250) unless the carrier provides it. Use your internet. |
| Ongoing Cost | ❌ None. (Small electricity usage). No subscription. | ❌ None (aside from your existing internet service). But use a portion of your internet bandwidth for calls/data. | ❌ None (aside from internet service). Also use your bandwidth. |
| Setup Complexity | 🛠️ Moderate DIY. I need to mount an outdoor antenna on the roof, run cable, and position the indoor antenna. Once installed, just plug in and go. | 🛠️ Easy. Plug into the router, place the unit near a window (for GPS lock), and register with the carrier. It creates cell signals via your internet. | 🛠️ Easy. (Effectively the same installation as a femtocell: connect to router, etc.) Possibly need to configure if there are any firewall issues. |
| Performance | 📶 Boosts real cellular signal – so performance is as good as the outside network (often excellent for calls and decent LTE data). Latency is low (direct to tower). If the tower is up, you have service. | 🌐 Creates a 3G/4G cell that routes through your internet. Call quality can be great if your internet is good. Data speeds depend on your internet speed. Latency added. If the internet or power is out, no service. | 🌐 Same as femtocell. Essentially a mini-tower using your internet. Good for calls if the internet is stable; it depends entirely on your broadband quality. |
| Pros |
• Multi-carrier – everyone’s device benefits. • No internet required – works off-grid or with limited broadband. • Covers multiple rooms/devices with one system. • One-time purchase – long-term solution. |
• Works with zero outside signal ideal if you’re in a complete dead zone but have internet. • Fairly simple setup. • Provides full signal bars for that carrier in its range. |
• Similar to femtocell: can give you 5 bars for carrier in dead zone. • Verizon and others offer these to customers who complain – can be a quick fix if you qualify. |
| Cons |
• I need some outside signal. If you truly have none, this isn’t viable. • Installation involves work on the roof. • Cost can be higher upfront than other options (though no recurring cost). • Cannot improve issues like tower overload. |
• Carrier-specific: Won’t help if you switch carriers or guests on other networks. • Requires decent internet: basically trading cell dead zones for using your data plan. If your internet is slow or capped, this is limited. • Some older models only did 3G voice (newer ones do LTE). • Carrier may no longer actively support (AT&T phased out old MicroCell in favor of Wi-Fi Calling). |
• Carrier-specific: Only that one carrier’s phones benefit. • Must have broadband: essentially it’s just using your internet for calls. • Usually a good GPS signal for E911 – must be near window. • Not portable (meant for your address). • Still a relatively small coverage bubble (one house). |
- A signal booster is best if you have at least a smidge of reception outside and want a comprehensive, carrier-agnostic solution for your whole home. It’s a one-time investment and doesn’t rely on internet or carrier permission. This is the main focus of our guide because it’s generally the most robust solution for rural Midwest homes.
- A femtocell/microcell is useful if you have absolutely zero cell signal but do have a solid internet connection. It creates service where there was none, but only for one carrier and limited range. Essentially, it’s like adding a tiny cell tower in your house that runs over your internet. Keep in mind many carriers now prefer you use Wi-Fi Calling rather than providing femtocells, but Verizon still offers a 4G LTE Network Extender device for purchase, and T-Mobile had a CellSpot. If you desperately need coverage on one carrier and can’t get a signal at all outside, ask your carrier they might provide one.
- The term “carrier extender” usually refers to those same femtocell devices provided by the carrier. There’s no functional difference. I've listed it separately since some carriers/people use that term.
For most readers of this guide, a signal booster will be the ideal choice, because it’s generally more future-proof and it doesn’t depend on another service. But it’s good to know the alternatives. In a pinch, if you have terrible cell service and already pay for good satellite internet, you could start with Wi-Fi calling or inquire about a femtocell from your carrier as a quick fix while you plan a booster installation.
Next, we’ll discuss one of the key components of a booster system that dictates its performance in rural environments: the outdoor antenna. Specifically, the choice between a directional Yagi antenna and an omnidirectional antenna for your rural Midwest home.
6. Outdoor Antennas for Rural Midwest Homes
The outdoor antenna is the first point of contact for pulling in cell signals, so choosing the right type is crucial. There are two main categories: Yagi antennas and omnidirectional antennas. Each has its uses, but for rural homes, you’ll likely lean toward a high-gain directional antenna. Let’s break down each type and how to use them:
6.1 Yagi Antenna
A Yagi antenna is a directional antenna that looks like a long rod with multiple short elements. It was invented in Japan in 1926, hence the name. Yagis are powerful because they focus the antenna’s energy in one direction. A well-designed Yagi can add a lot of gain to your booster system, often 10 dB or more over an omni. In fact, some of the most powerful Yagis can provide up to ~20 dB gain by concentrating on a narrow beam.
Advantages in rural areas:
Longer range: By focusing towards your tower, a Yagi can reach towers that an omni never could. If you’re miles from a site, this is critical. It effectively “pulls in” a far-away signal like a telescope for radio waves.
Better signal quality: Directional focus can also reduce noise and interference from other directions. In the rural Midwest, there might not be many other towers, but if there are, a Yagi pointed at Tower A will ignore Tower B.
Required for very weak signals: If you have only 1-bar or nearly zero outside, a Yagi is generally recommended. It’s the only way to get enough gain to make boosting viable.
Considerations:
- You need to aim for it. This requires a bit of effort. If you don’t know where the tower is, you might have to figure that out or do trial-and-error.
- Yagis have a narrower beamwidth. So if you have multiple towers in different directions, the Yagi will primarily capture one direction.
- Installation is a bit more involved due to aiming and usually needing to mount it high and securely.
For Midwest farms which typically rely on one tower in the nearest town, a Yagi is almost always the best choice. Many rural booster kits bundle a Yagi. The bottom line: if your outdoor signal is weak, go with a directional antenna for your booster.
6.2 Omni Antenna
An omnidirectional antenna receives in all directions. These usually look like a vertical rod or a fibreglass “whip” antenna. They have a 360° horizontal coverage, which means they can pull in signals from any direction around them.
Advantages:
- Easy install: No aiming required. You just mount it upright on a pole and you’re done.
- Multiple towers: If you happen to be in an area where signals from several directions are present maybe three carriers all with some coverage around you), an omni can collect all of them at once. This is good if, say, you want to boost whichever carrier is available as you or others use different networks.
- Use in decent signal areas: If you already get 3 bars outside in most spots, an omni might be sufficient to feed your booster without the need for directional gain. It’s simpler and covers broad directions.
Disadvantages in rural use:
- Lower gain: Omnis typically have much lower gain than Yagis often on the order of 3–5 dBi gain. This is far less than a Yagi. So they don’t reach as far.
- Pulls in noise from everywhere: In some cases, an omni might pick up undesired signals. In the rural Midwest this is usually not a huge issue because it's a pretty quiet spectrum out there, but it’s a consideration.
- If you’re on the edge of coverage, an omni might not cut it. It could result in a booster that barely helps because the input signal was too low.
For most rural homeowners with poor signal, omnis are only recommended if you know you have at least a moderate signal outside or you truly have towers in multiple directions that you want to capture without using multiple antennas. One scenario: you live in a town outskirts where Verizon’s tower is west and AT&T’s is east, both signals moderate. An omni could grab both. But if you’re 10 miles out with 1 bar Verizon from west and 0 bars AT&T from east, a Yagi west is likely the better call.
The good news is many booster kits let you swap antennas. Some even come with an omni by default because it’s easy, but offer an optional upgrade to a Yagi for fringe areas. Since this guide assumes rural Midwest, we learn Yagi.
6.3 How to Aim a Yagi
Aiming a Yagi antenna is not hard, but it’s the step that can make or break your booster installation. Here’s a simple process to get it right:
1. Find Your Tower Direction: Use resources to determine roughly where your nearest cell tower is. Tools include carrier coverage maps, apps like OpenSignal or CellMapper, or even asking neighbors. If those fail, use logic: towers are often near towns, along highways, or on high elevations. Also, your phone’s field test mode can help some will show the serving cell tower ID and even direction. Let’s say you deduce the tower is northeast of you, 8 miles away near the highway.
2. Pre-Aim the Antenna: Climb up to where you’ll mount it. Before tightening it down, point the Yagi in the approximate direction of the tower. Keep the elements oriented vertically.
3. Connect to Booster and Phone: Ideally, have the booster and a phone or signal meter connected while you aim. If you have a helper, this is easier – one person watches the signal reading, the other adjusts the antenna. Many boosters have LEDs that might blink or change color with a signal, but a more precise method is using the booster’s app or a phone in field test mode inside the house.
4. Fine-Tune by Small Increments: Rotate the Yagi slowly ~10-15° at a time and pause for a few seconds. Check the signal reading (RSRP for LTE). It should peak (highest signal) when you are on target. If it starts dropping as you pass the best point, rotate back.
Sometimes you might find two peaks, one could be a false reading. Usually, the strongest will be your target tower. For example, you might start at -110 dBm, as you turn it improves to -100, -95, then back to -100 if you went too far. So -95 dBm direction is where to lock it down.
5. Check All Bands/Carriers: If you have phones on multiple carriers, you might do an aiming pass for each by checking with that phone. Ideally, you aim for the carrier you use most or whichever has the weakest signal margin.
In many rural areas, all carriers might be co-located on the same tower, so one aim covers all. If not, prioritize. Alternatively, aim if two towers are relatively close in direction, a Yagi has some beam width, so if Verizon tower is north and AT&T tower is 10° east of north, aim between them to catch both.
6. Secure the Antenna: Once you find the best orientation, tighten all the mounting hardware firmly. Double-check it hasn’t shifted as you tightened. You don’t want a wind gust turning it away later. If possible, note a landmark in line with the antenna direction useful if you ever remount or someone accidentally moves it.
7. Test Indoors: Now check your phone indoors after aiming. If done right, you should see a big improvement. If not, re-evaluate maybe you pointed at the wrong tower or a closer but weaker one. Sometimes the best signal might come from a different direction than expected. Be willing to adjust if needed. But generally, one good aim does it.
8. Final Tip: Ensure the antenna has a clear line of sight if possible, no trees or metal in the immediate path. If there’s a tree line, mounting higher might help peek over it. Also, avoid pointing it through your own roof or house structure and mount it where it has an unobstructed view toward the tower.
By following these steps, even a first-timer can aim a Yagi effectively. And remember, you can always re-aim later if you find out a different tower or direction works better. Once locked in, you’ll rarely need to touch it again unless you suspect the carrier changed something or you change carriers.
With a Yagi antenna properly aimed and a booster installed, most rural homeowners see dramatic improvements. But what if you’re extremely far out or in a really poor signal area? That’s where some advanced fixes come in, which we’ll cover next.
7. Advanced Fixes for Extremely Weak Rural Signal
If you’re in an ultra-remote location or a particularly challenging scenario, you might need to go beyond the basic booster setup. This section covers deeper engineering-level suggestions to maximize every decibel of signal. These are still doable as DIY in many cases, but they’re a bit more involved.
7.1 Raise the Outdoor Antenna (Every 10 ft Adds ~3–5 dB)
Height is mighty when it comes to line-of-sight radio signals. The higher you can get your antenna, the better chance it has of clearing obstacles and reducing distance. In flat areas, height helps get above ground clutter. In hilly areas, it might be the difference between being blocked by a hill vs. seeing over it. As a rule of thumb, raising an antenna by one wavelength might not do much, but raising by tens of feet can yield noticeable gains.
Practical terms: If your antenna is currently at roof level but still only picking up -110 dBm, try mounting it on a taller mast say 10 extra feet. That could take you from barely scraping signals to just enough to stay connected. One anecdote: a user raised their antenna from 15 ft to 30 ft on a pole and saw their RSRP improve by ~5 dB. Another found that going above the treeline cut their dropout issues significantly.
In installation 4.6 we discussed height; but advanced scenarios might involve installing a 30-50 ft tower or mast. For instance, some rural folks repurpose old TV antenna towers or install a telescoping mast attached to the side of a barn. Every additional 10 feet could potentially improve signal a couple dB, which can be the difference between unusable and usable.
If you pursue this:
- Use proper guy wires or brackets to secure tall masts.
- Check local regulations, very tall towers might need permits.
- Watch out for lightning higher antennas more attractive to strikes. Install a lightning surge protector in line on the coax and ground the antenna/mast according to electrical code for safety.
- Balance the height with cable length: super long cable more loss. If you go high, maybe use ultra-low-loss coax to counteract added length.
In summary, if your signal is still weak, raising the antenna is often the cheapest way to grab a few more dB.
7.2 Use a Pole Mount or Tower Mount for Extra Height
This is related to 7.1 but worth emphasizing as its own fix: sometimes the roof of your house isn’t the best spot, maybe it’s low or shadowed by taller trees. Using a dedicated antenna pole or tower can be a game-changer. Many rural users mount Yagi antennas on:
- Grain silos or windmill frames are tall structures already on farms.
- Existing utility poles with permission, or old disused poles.
- Purpose-built masts like a 20 ft galvanized steel pole, either wall-mounted or ground-mounted with a tilting base for service.
The key is to get above whatever is blocking your signal. For example, if you’re in a wooded area, getting the antenna above the treeline can turn a dead zone into a workable one. One case had a cabin surrounded by dense forest; the owner erected a 40 ft push-up mast and got a consistent 2 bars where ground-level was zero.
Pole mounting also lets you clear your own roof. Sometimes metal roofs cause a “shadow” behind them. Mounting a Yagi on a pole a few feet above the roofline can capture signals that a wall-mounted antenna might miss.
Tower mounts: If you really need extreme height, small radio towers can be installed. There are companies that sell 30–50 ft freestanding or bracketed towers. This is a bigger project, but it’s an option if you’re determined. Realistically, most folks try to use something like an existing grain bin or tall barn as a mounting point.
One creative solution: mount the antenna on a tall tree. This can work if you can safely get it up there and run coax down. Just ensure it’s secure because a swaying branch could change aim.
With great height comes great responsibility as mentioned, ground everything. A lightning strike on your booster system can fry equipment or worse, so use proper grounding rods and lightning arrestors.
7.3 Add More Indoor Antennas for Larger Homes
If you have a sprawling ranch-style house or a multi-story farmhouse, one indoor antenna might not cover it all. The solution is to use additional indoor antennas with your booster. Many high-end boosters have ports or allow splitters to distribute signal to multiple antennas.
For example, you could have one panel antenna on the first floor and another in the basement, each covering their area. Or one on the east wing and one on the west wing of the house. This ensures even coverage, so you don’t have dead zones in far rooms.
How to do it:
- Use a 2-way splitter. This splits the amplified signal into two feeds. Note that a splitter will incur a loss.
- Run coax from the splitter to each additional indoor antenna. Try to keep cable lengths similar or use attenuators to balance if needed.
- Place the antennas in strategic spots: perhaps one upstairs ceiling, one downstairs opposite side. Or one in the main house and one run out to a nearby outbuilding.
- Ensuring the separation between indoor and outdoor antennas is still adequate adding antennas on different floors can actually help with that.
By adding antennas, you trade some raw power for coverage breadth. But in large homes, it’s the only way to cover everywhere. High-power boosters can handle 2-4 indoor antennas if properly split, especially if your outside signal is decent. If the outside signal is very weak, you have to be careful splitting too much because you only have so much gain budget.
A practical example: a 2-story, 5,000 sq ft home might use one panel antenna on the first floor in one corner and another on the second floor opposite the corner. With a 72 dB booster, each antenna might effectively get ~68-69 dB after splitting. The homeowner gets 2-3 bars in every room instead of 4 bars in one area and 0 in distant rooms.
7.4 Ensure Low-Loss Cables
As mentioned earlier, the coaxial cables connecting your booster system can quietly steal away signals if you’re not careful. Long runs and thin or poor-quality cables equal high signal loss. In extreme rural setups, you want to squeeze out every bit of signal, so investing in low-loss coax is wise.
Common cable types and their approximate loss:
- RG-6 (75Ω coax): ~0.8 to 1.35 dB loss per 10 feet. So a 50 ft run could lose ~4–6 dB. Many consumer kits include RG-6 because it’s cheap and easy, but it’s not the lowest loss.
- RG-11 (75Ω heavy coax): ~0.4 to 0.7 dB loss per 10 feet. Much better. A 50 ft run loses maybe 2–3 dB. RG-11 is thicker but often worth it for runs over 50 ft.
- LMR400 (50Ω coax, similar to Wilson400): ~0.4 to 0.7 dB per 10 ft, similar to RG-11. This is a common ultra-low-loss cable used in cell booster and Wi-Fi installations. It’s quite thick and a bit stiff, but very good electrically. For 50-100 ft runs, LMR400 is highly recommended. It uses N or SMA connectors.
- LMR240 or RG-8X (intermediate): If you can’t handle LMR400 thickness, LMR240 loses more but is thinner. Only used for shorter runs or secondary runs indoors.
The goal is to get the strong signal from the antenna to the amplifier with minimal weakening. If your booster kit came with RG-6 and you have a long run, consider upgrading to RG-11 or LMR400. Yes, it’s an extra expense, but consider: if you lose 5 dB in a cable, that’s like throwing away nearly 70% of the signal power. That 5 dB could have been an extra bar of service.
Additionally, check all your connectors and minimize adapters. Each connector can add a tiny bit of loss. Use high-quality connectors and make sure they are properly tightened. Water-proof any outdoor connectors.
For really long distances, there are special solutions like using 50Ω boosters with separate amplifier units at antenna or even fiber-fed systems. But those are beyond typical consumer scope. Generally, try to keep runs under ~100 ft. If you need more, go with the thickest coax you can manage, or reposition the booster.
By using low-loss cables, you ensure the booster is getting the strongest possible input and delivering the strongest output. It’s like widening the pipes in a plumbing system with more flow, less friction.
When every dB counts, cabling is not the place to skimp.
Those are the advanced technical tweaks that can push a marginal scenario into a successful one. At this point, we’ve covered how to fix signal issues generically. But it’s useful to know how each major carrier’s coverage in the Midwest looks in 2025, to set expectations of what signal you’re trying to boost. Let’s look at that next.
8. Carrier-by-Carrier Coverage Insights for the Midwest
Not all networks are equal in the rural Midwest. This section provides a brief overview of Verizon, AT&T, and T-Mobile’s coverage status in Midwest states as of 2025, along with any special considerations for boosting each.
These are general trends coverage can vary by exact location. But broadly:
Verizon
Verizon is often considered the coverage king in rural America, and the Midwest is no exception. Verizon’s 4G LTE network covers vast swathes of the Midwest, often over 95% of the population in many states and a huge portion of the geography. In states like Kansas, Nebraska, the Dakotas, Verizon has towers in many small towns and along interstates and highways.
-
Rural Strength: Verizon leads in sheer land area covered. It’s frequently rated #1 for rural coverage and reliability. For example, drive across Iowa or Kansas, and you’re likely to have Verizon signal most of the way except perhaps in the most remote corners.
- Frequency Bands: Verizon in rural areas uses primarily Band 13, which carries far, plus some Band 5 (850 MHz) and occasionally Band 2/66 (1900/AWS) in larger towns. Band 13 is great for distance and penetrates buildings, which is decently good news for boosters.
- 5G: Verizon’s nationwide 5G runs over those LTE bands, so if you boost LTE, you’re effectively boosting 5G too for them. Verizon’s high-speed 5G. Boosters currently don’t amplify C-band 3.7 GHz, but since C-band doesn’t reach super far, in rural outskirts you’re likely dealing with 4G anyway.
- Booster Compatibility: Virtually all boosters support Verizon’s bands. You should have no issue. Just note Verizon no longer has 3G, so ensure your booster covers 4G LTE bands.
- Performance: When boosting Verizon, many customers report going from maybe -115 to -90 dBm and being able to make crystal clear VoLTE calls and use data. Verizon also has a lot of spectrum, so if you get a strong signal, you might see quite good speeds.
If you’re in a remote farm and only Verizon works at all, boosting Verizon can truly bring you reliable phone and internet where none existed. Many farm operations that require connectivity choose Verizon for this reason.
AT&T
AT&T has made big strides in rural coverage over the past decade. In many Midwest states, AT&T’s coverage is nearly on par with Verizon’s in terms of population reach. AT&T tends to have towers in slightly fewer remote spots, but thanks to programs like FirstNet they have expanded in rural areas.
- Coverage Footprint: AT&T often claims ~68-70% geographic coverage nationwide. In Midwest states, AT&T usually covers highways and towns, but might have a few more gaps in between compared to Verizon. Still, states like Illinois, Indiana, Ohio AT & T are very strong even rurally. In Plains states, AT&T covers many areas but might roam on partners in the most rural sections.
- Bands: AT&T uses Band 12/17 (700 MHz) and Band 14 (700 MHz FirstNet) a lot in rural areas, plus 850 MHz. These low bands go far and are booster-friendly. They also use AWS and some 1900 (Band 2) around towns. If you have FirstNet, Band 14 is great but not all boosters list Band 14 explicitly; however, many amplify it because it’s adjacent to Band 13 range.
- 5G: AT&T’s “5G” in a lot of rural areas is just rebranded 4G or low-band DSS on 850 MHz. True 5G mid-band is mostly in the city for now. So, similar to Verizon, boosting AT&T LTE = boosting your AT&T 5G experience in rural areas.
- Booster Notes: Make sure the booster covers Band 12/17. AT&T also has some rural areas served by partner networks a booster might still help if your phone connects.
- Performance: AT&T often has slightly less congestion in rural
- spots compared to Verizon (fewer users), so if you get a strong AT&T signal, you might enjoy solid data speeds. Boosters can enable AT&T phones to use features like HD Voice (VoLTE) where they previously dropped to no service. Anecdotally, rural AT&T customers using boosters have been able to work from home with reasonable LTE internet, etc.
One interesting thing: AT&T’s acquisition of 3.45 GHz spectrum they might deploy some fixed wireless or 5G in rural areas in the future. But again, that’s future tech not currently boostable. As of 2025, AT&T’s value in the rural Midwest is in their coverage breadth which a booster can exploit.
T-Mobile
T-Mobile is the carrier that has historically struggled in rural coverage, but after merging with Sprint and deploying low-band 5G, they have improved. In some Midwest areas, T-Mobile has gone from virtually no service to at least some signal in town and along main roads. That said, if you’re extremely remote, T-Mobile might still be weak or non-existent without help.
- Coverage Gains: T-Mobile’s Extended Range 5G and their existing 700 MHz (Band 12) have expanded their footprint. For example, they cover a lot more rural Iowa and Kansas than 5 years ago. However, their coverage is still often behind AT&T/Verizon outside of populated areas. They focus on highways and population centers.
- Roaming: In some Midwest regions, T-Mobile roams on other networks. A booster won’t help if your phone is roaming on a network that the booster doesn’t support but usually roaming still uses standard bands so it might. It’s more about availability.
- Bands: Key bands for T-Mo rural: Band 71 make sure your booster supports it if you need it! Many do, but double-check. Also Band 12, Band 2 and Band 66 in some areas. Sprint’s old Band 41 is now used for mid-band 5G, but that’s mainly in cities or towns.
- 5G: T-Mobile touts that they cover over 300 million people with 5G, largely thanks to 600 MHz. That 5G is essentially a similar range to 4G. If your phone is on 5G and you boost, it likely will be boosting that low-band 5G as well because it’s in Band 71/12 etc. T-Mo’s real fast 5G might not reach you unless you’re near a town and boosters currently might not amplify that.
- Experience: If you have T-Mobile in a rural area and it’s weak, a booster can make it usable, but manage expectations. It’s possible T-Mobile simply doesn’t have a tower within a reasonable distance. For instance, many rural Midwest folks find T-Mobile goes to “No Service” where Verizon/AT&T still have a bar. A booster might take that “No Service” to 1-2 bars if there was a sniff of signal. But if truly zero, you might need to rely on the other carriers or a different solution.
- Unique Perks: One option T-Mobile has is Wi-Fi CellSpot Router, basically a specialized router for Wi-Fi calling. But that’s aside from boosting. If you’re determined to use T-Mo, a booster with a good Yagi might pull in a distant signal. For instance, after the Sprint merger, T-Mo might let you connect to a former Sprint cell that’s far but on 800 MHz unfortunately most boosters don’t cover band 26, so that’s tricky. But now T-Mo is refarming that anyway.
Overall, Verizon and AT&T remain the safer bets for rural coverage. T-Mobile can work in many places (and is improving), but be aware of its limitations. If you have a choice and just want reliable coverage to boost, Verizon or AT&T are likely to provide that underlying signal.
One more carrier to mention: U.S. Cellular they have a strong presence in some Midwest states. If you use USCC, boosters will help similarly since USCC uses standard bands. Many USCC phones roam on Verizon as backup, which boosters also help with.
Now, beyond cellular networks, some rural homeowners leverage satellite internet to fill the gaps. This pairs with cell service improvements in an interesting way. In the next section we discuss that.
9. Satellite Internet Integration
So far we’ve focused on boosting cell signals. But what if, despite all efforts, your area just has no usable cell coverage? Or maybe you can get calls but need better data speeds? Enter satellite internet, specifically SpaceX’s Starlink, which has been a game changer for rural connectivity in the last couple of years.
Starlink offers high-speed broadband via a constellation of low-earth-orbit satellites. Many rural Midwest homeowners have adopted Starlink to get internet service of 50–200 Mbps where previously maybe only dial-up or slow DSL was available. While Starlink doesn’t directly improve cell signal, you can combine it with Wi-Fi calling on your phone to effectively bypass the need for cell signal at home.
How this combo works:
- Install Starlink at your home for the internet. It’s available across most of North America now. Setup involves a dish (pizza-sized) that needs a clear view of the sky. It’s relatively easy to set up and costs around $90–120/month with a one-time hardware fee.
- Once Starlink is providing a solid Wi-Fi internet connection, you then enable Wi-Fi Calling on your smartphone.
- Your phone, when at home, will automatically route all calls and texts over the Starlink internet link. Essentially, you now have phone service via satellite internet. People can call your regular number, and it rings when your phone uses Wi-Fi/Internet to carry the call to the carrier’s network.
- Data-wise, you can use your home Wi-Fi for all apps, so you’re not reliant on cellular data at home at all.
With this setup, some rural users report they don’t care that they have 0 bars of Verizon or AT&T at their farm as long as Starlink is up, they can make/receive calls and Zoom meetings just fine. It essentially sidesteps the cell tower issue.
Benefits:
- You get fast internet for all purposes, not just phone. And your phone service piggybacks on it.
- No need to install tall antennas or boosters, if your cell coverage is truly nonexistent. Starlink covers you from the sky.
- Works for any carrier’s phones via Wi-Fi calling, so it’s carrier-agnostic once you have internet.
Considerations:
- Cost: Starlink isn’t cheap initially, and it’s an ongoing monthly cost. But if you need the internet anyway, it can kill two birds with one stone.
- Power Dependency: Starlink requires power and a clear sky view. If power goes out, you lose Wi-Fi calling ability unless you have backup power.
- Latency/Quality: Starlink’s low latency is actually great for calls. Most people won’t notice any delay on calls over Starlink. It’s like a normal call.
- Mobility: Obviously, Wi-Fi calling only helps when you’re at home. The moment you step off property, you’d need a cell signal again for your phone. So this is a home solution, not solving coverage on your tractor in the back 40.
- Carrier support: Nearly all US carriers fully support Wi-Fi calling now on modern phones. Just ensure your device is one that has it enabled.
Some advanced users use a hybrid approach: They rely on Starlink + Wi-Fi calling at home, and also have a cell booster to capture whatever cell signal is available outside, giving them connectivity on the property or as they approach home.
There’s also emerging tech like Starlink direct-to-cell but that’s not here yet in 2025 beyond tests, so for now, Starlink is used as a broadband pipe for Wi-Fi.
In summary, if you’re extremely rural with no tower for 20 miles, a Starlink + Wi-Fi calling setup might be your best “signal booster.” It’s not boosting a cellular signal per se, but it ensures you have phone service and internet via satellite. Many rural folks do exactly this and are very happy to have reliable connectivity at last.
Next, we’ll discuss when it might make sense to get professional help for your signal issues versus DIY.
10. When to Call a Professional Installer
You’ve tried the DIY route, maybe even implemented many tips in this guide but perhaps you’re still not satisfied or you find the technical side daunting. When should you consider bringing in a professional for your rural signal woes?
Scenarios to call a pro:
- omplex Installations: If you have a large property with multiple buildings that all need coverage, a pro can design a distributed antenna system or multi-boost setup. They’ll know how to split signals, run cables underground if needed, and cover large areas seamlessly.
- Extreme Weak Signal: In ultra-weak areas, aiming and optimizing the system is critical. Professionals have tools like spectrum analyzers and signal meters to align antennas to the best degree. They can also test multiple mounting locations efficiently. If you’re struggling to get even 1 bar outside, a pro might be able to find that one spot on a hill or use special equipment to pull in a signal.
- Lack of Time or Comfort: Not everyone wants to climb on a roof or fuss with cables. If you prefer a turnkey solution, hiring a pro who has done many booster installs is worth it. Many booster companies (including HiBoost and others) have certified installers or partner contractors. They often bundle installation for an added fee.
- Lightning/Surge Protection Setup: If you’re in an area prone to lightning and you want a very robust grounding solution for tall antennas, a professional can ensure everything is properly grounded to code, protecting your equipment and home.
- Femtocell/Extender Setup Issues: If you got a carrier’s network extender and it’s not working well, sometimes installers can assist. This is less common to need on-site help, but worth noting if you’re not tech-savvy with networking.
- Commercial or Public Use Cases: If your rural property is also a business and you absolutely need reliable coverage for operations or guests, investing in a pro install may pay off to get a higher end system perfectly configured.
What to expect from a professional installer:
- They should do a site survey first measuring existing signals at various points outside and inside.
- They’ll recommend the right booster and antennas for your situation.
- They will handle all mounting, cabling, and equipment setup, and then fine tune it. A good installer will demonstrate the before/after readings and ensure you’re getting the expected coverage.
- Cost can vary, sometimes installation is a flat fee. Some high-end boosters come with installation included. If not, budget perhaps $300-$500 for a typical home booster installed by a professional, depending on complexity and travel distance.
- They often warranty their work, meaning if something isn’t right they’ll come back and fix it.
If your situation is relatively straightforward, you can save money doing it yourself. This guide plus manufacturer instructions are usually enough. But when in doubt, there’s no shame in getting help.
Finally, if you do hire someone, ensure they are familiar with FCC certified boosters and not trying to sell you illegal “super-boosters” or something. Stick to reputable vendors/brands professional installers will know and use these. And verify their work doesn’t cause interference.
Next, let’s summarize the costs of various solutions so you can plan your budget.
11. Cost Overview: What Midwest Homeowners Can Expect
Let’s talk dollars. Improving cell signals can range from free tweaks to significant investments. Here’s a realistic breakdown of costs for the various solutions discussed:
Free & Low-Cost Fixes: $0 – $20. Things like repositioning in the house, turning on Wi-Fi calling, or buying a small gadget like a better phone antenna sticker. Basically, these steps cost nothing or maybe a few bucks.
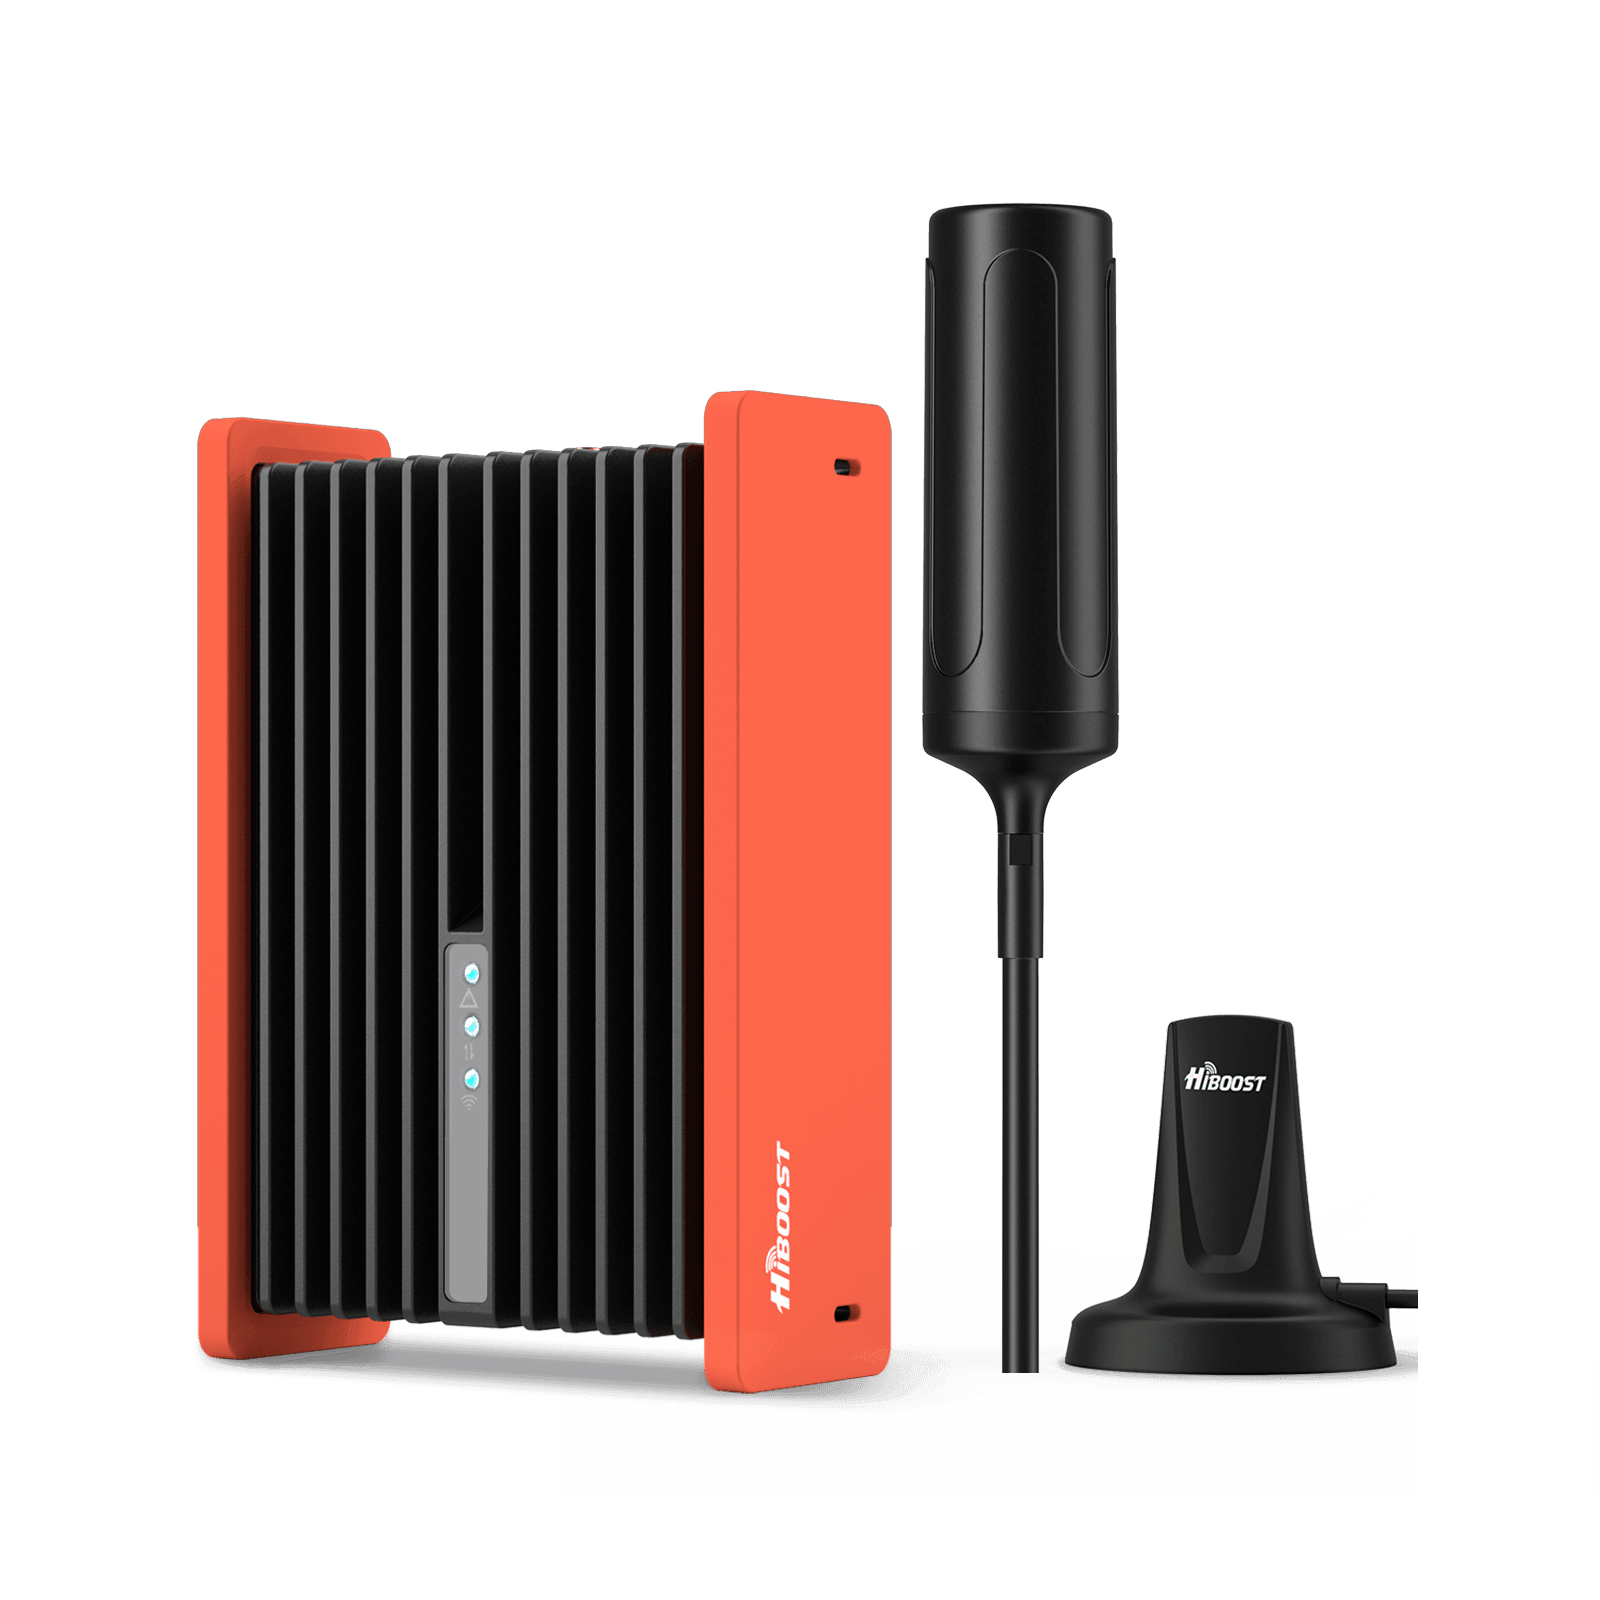
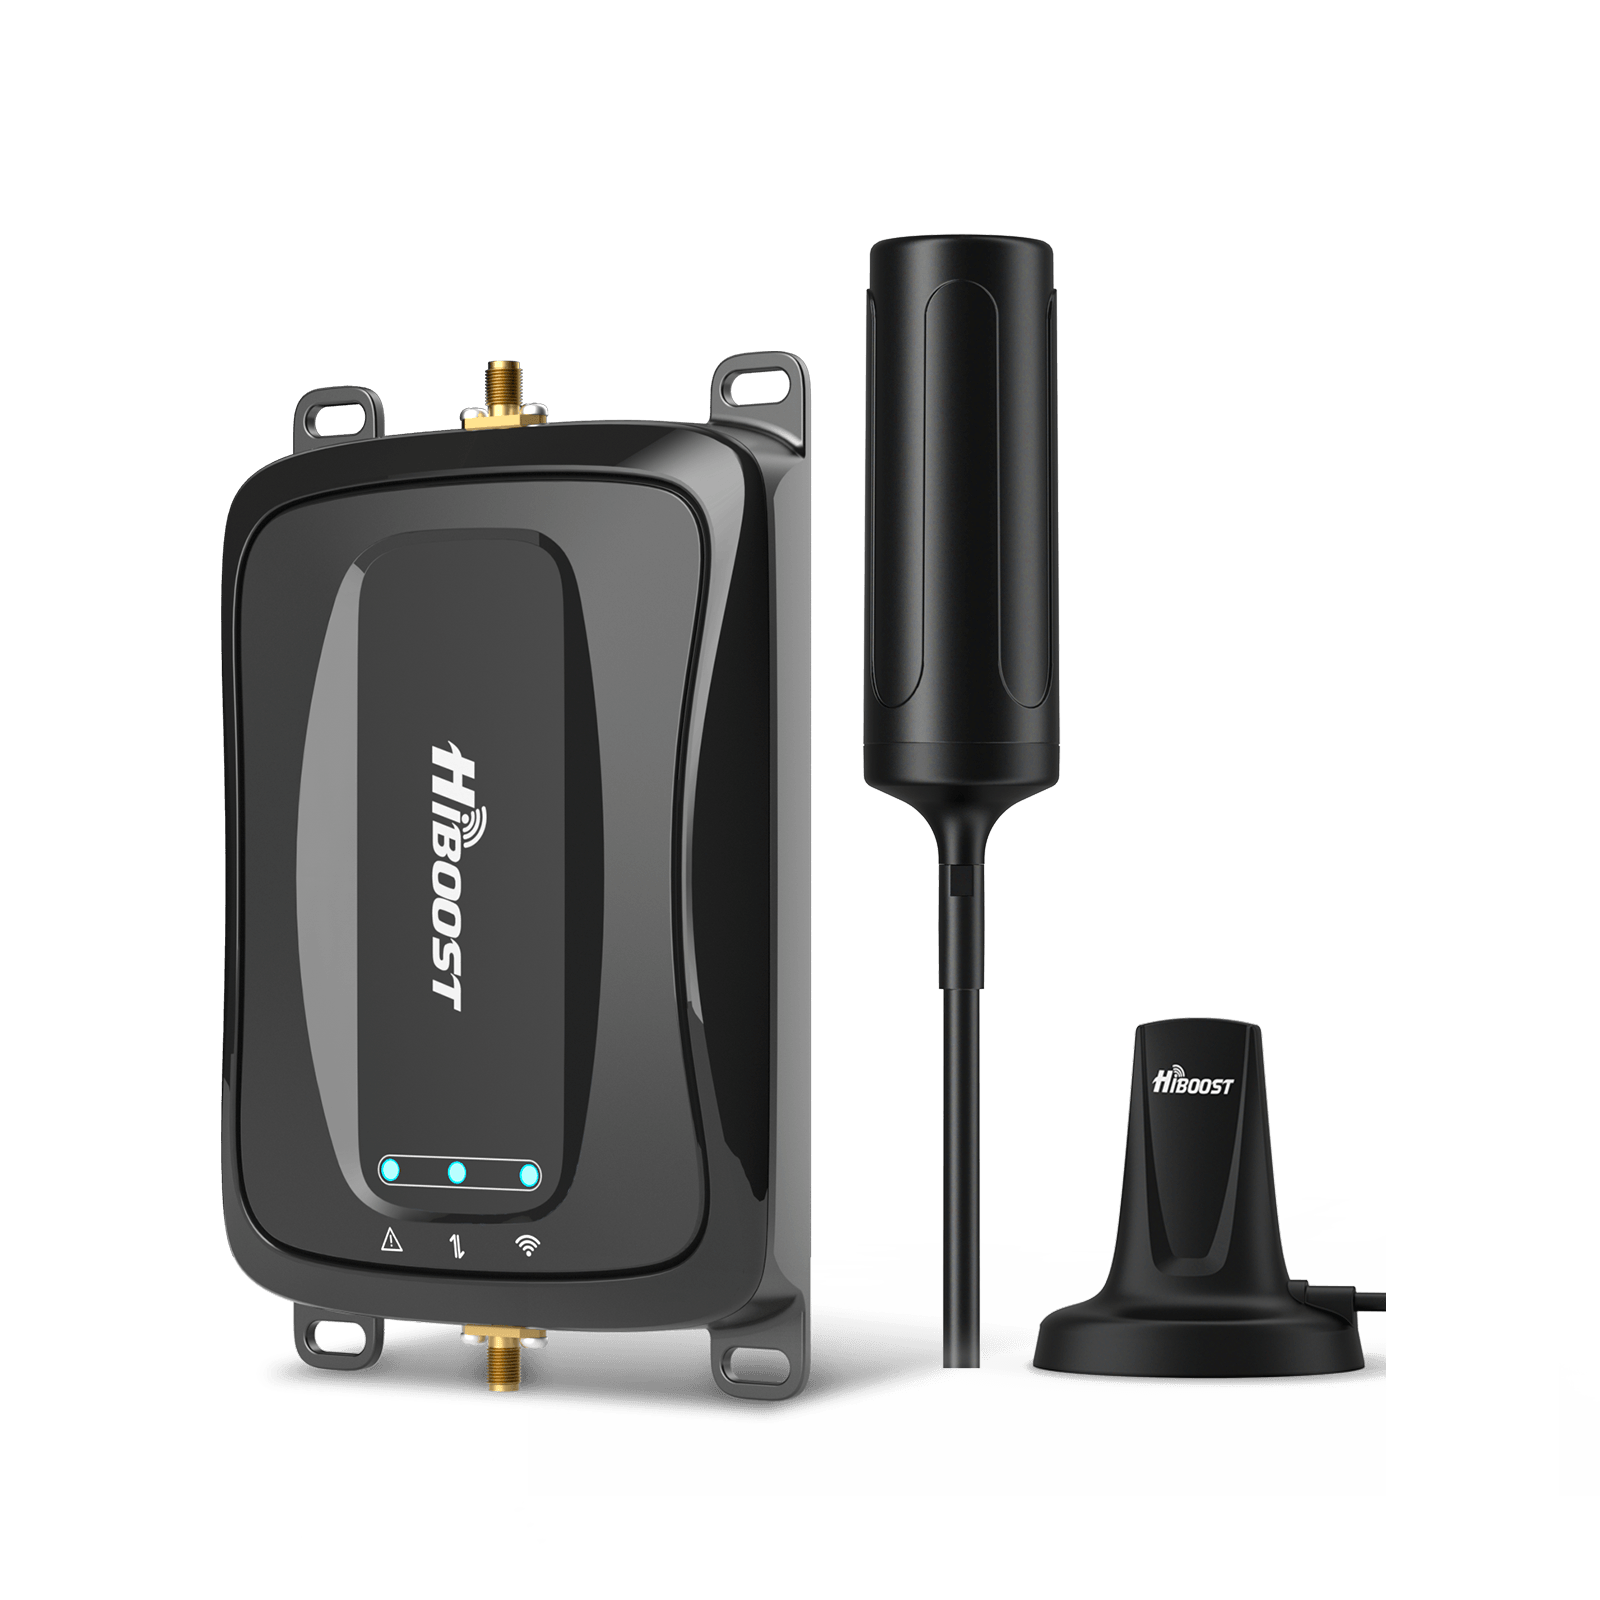
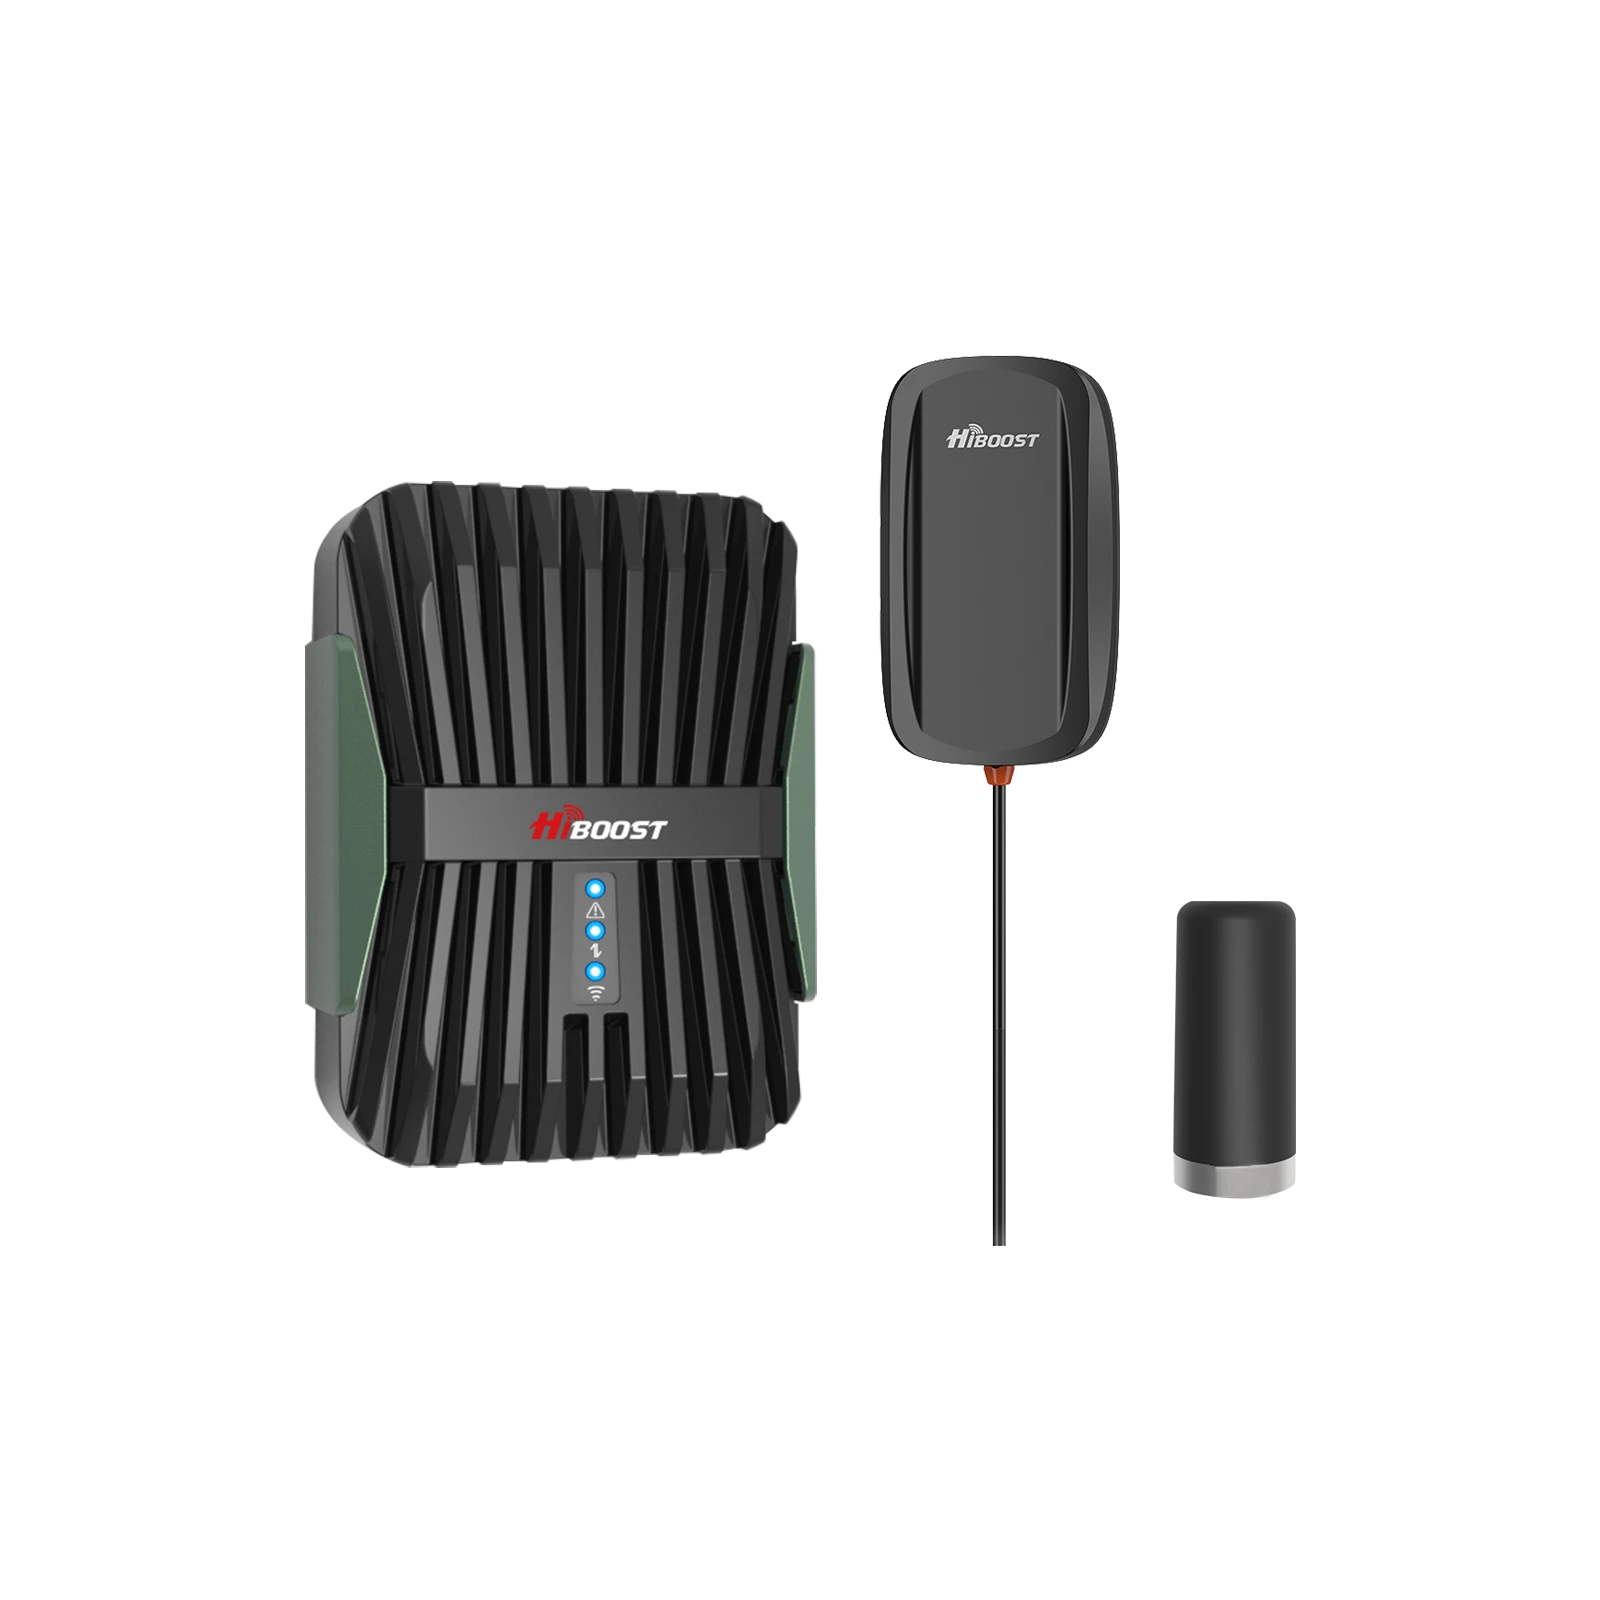
Basic Entry-Level Signal Booster: around $200 – $400. These might cover a single room or small area. For example, a desktop booster that covers up to ~1,500 sq ft can be in this range. This is often sufficient for a small cabin or an apartment in a rural area. Installation you’d do yourself. At $200, don’t expect miracles but it should improve one spot significantly.
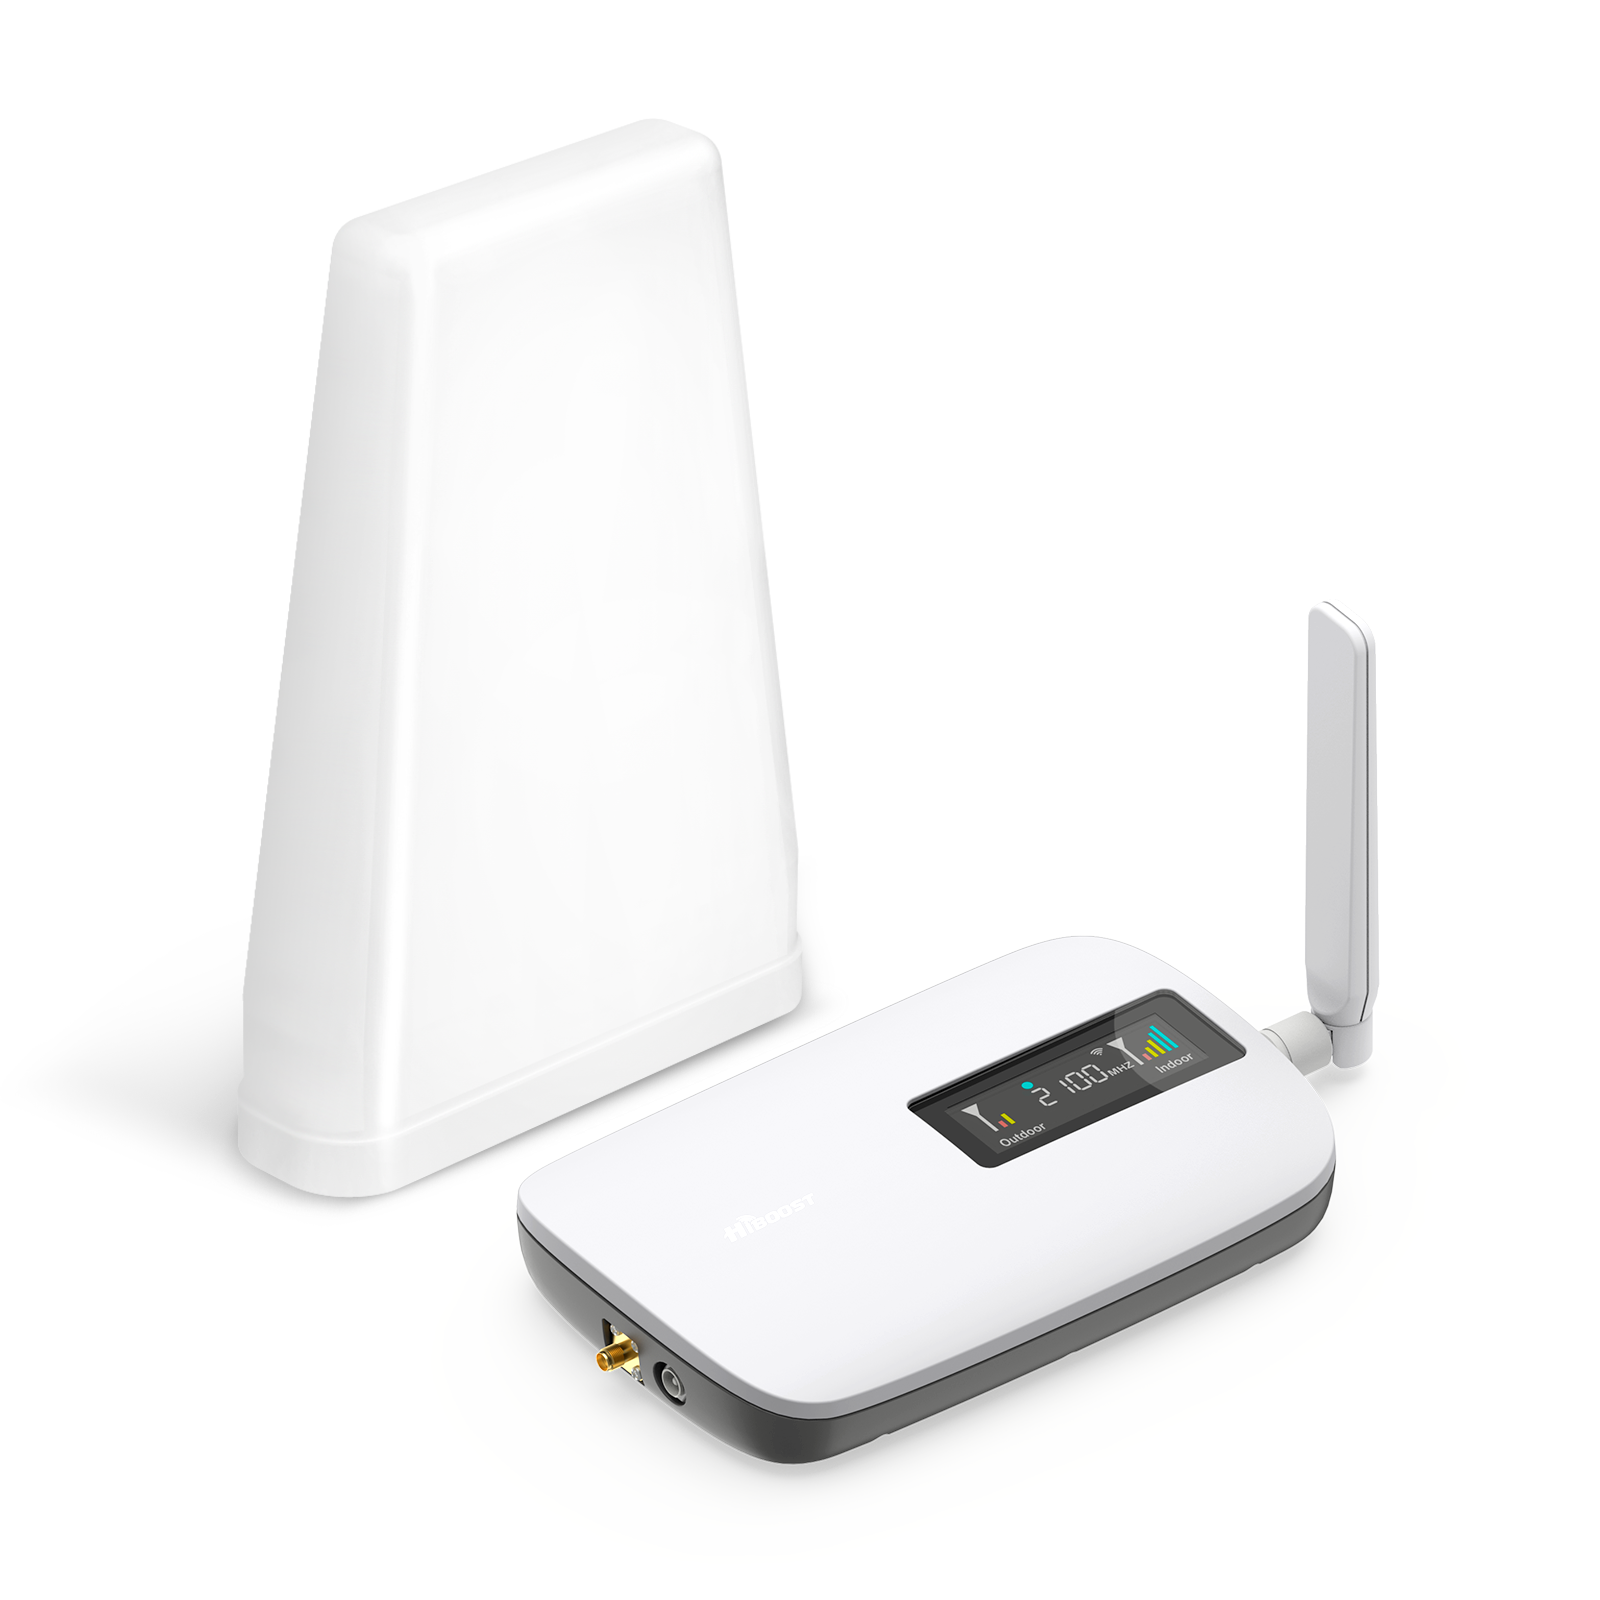
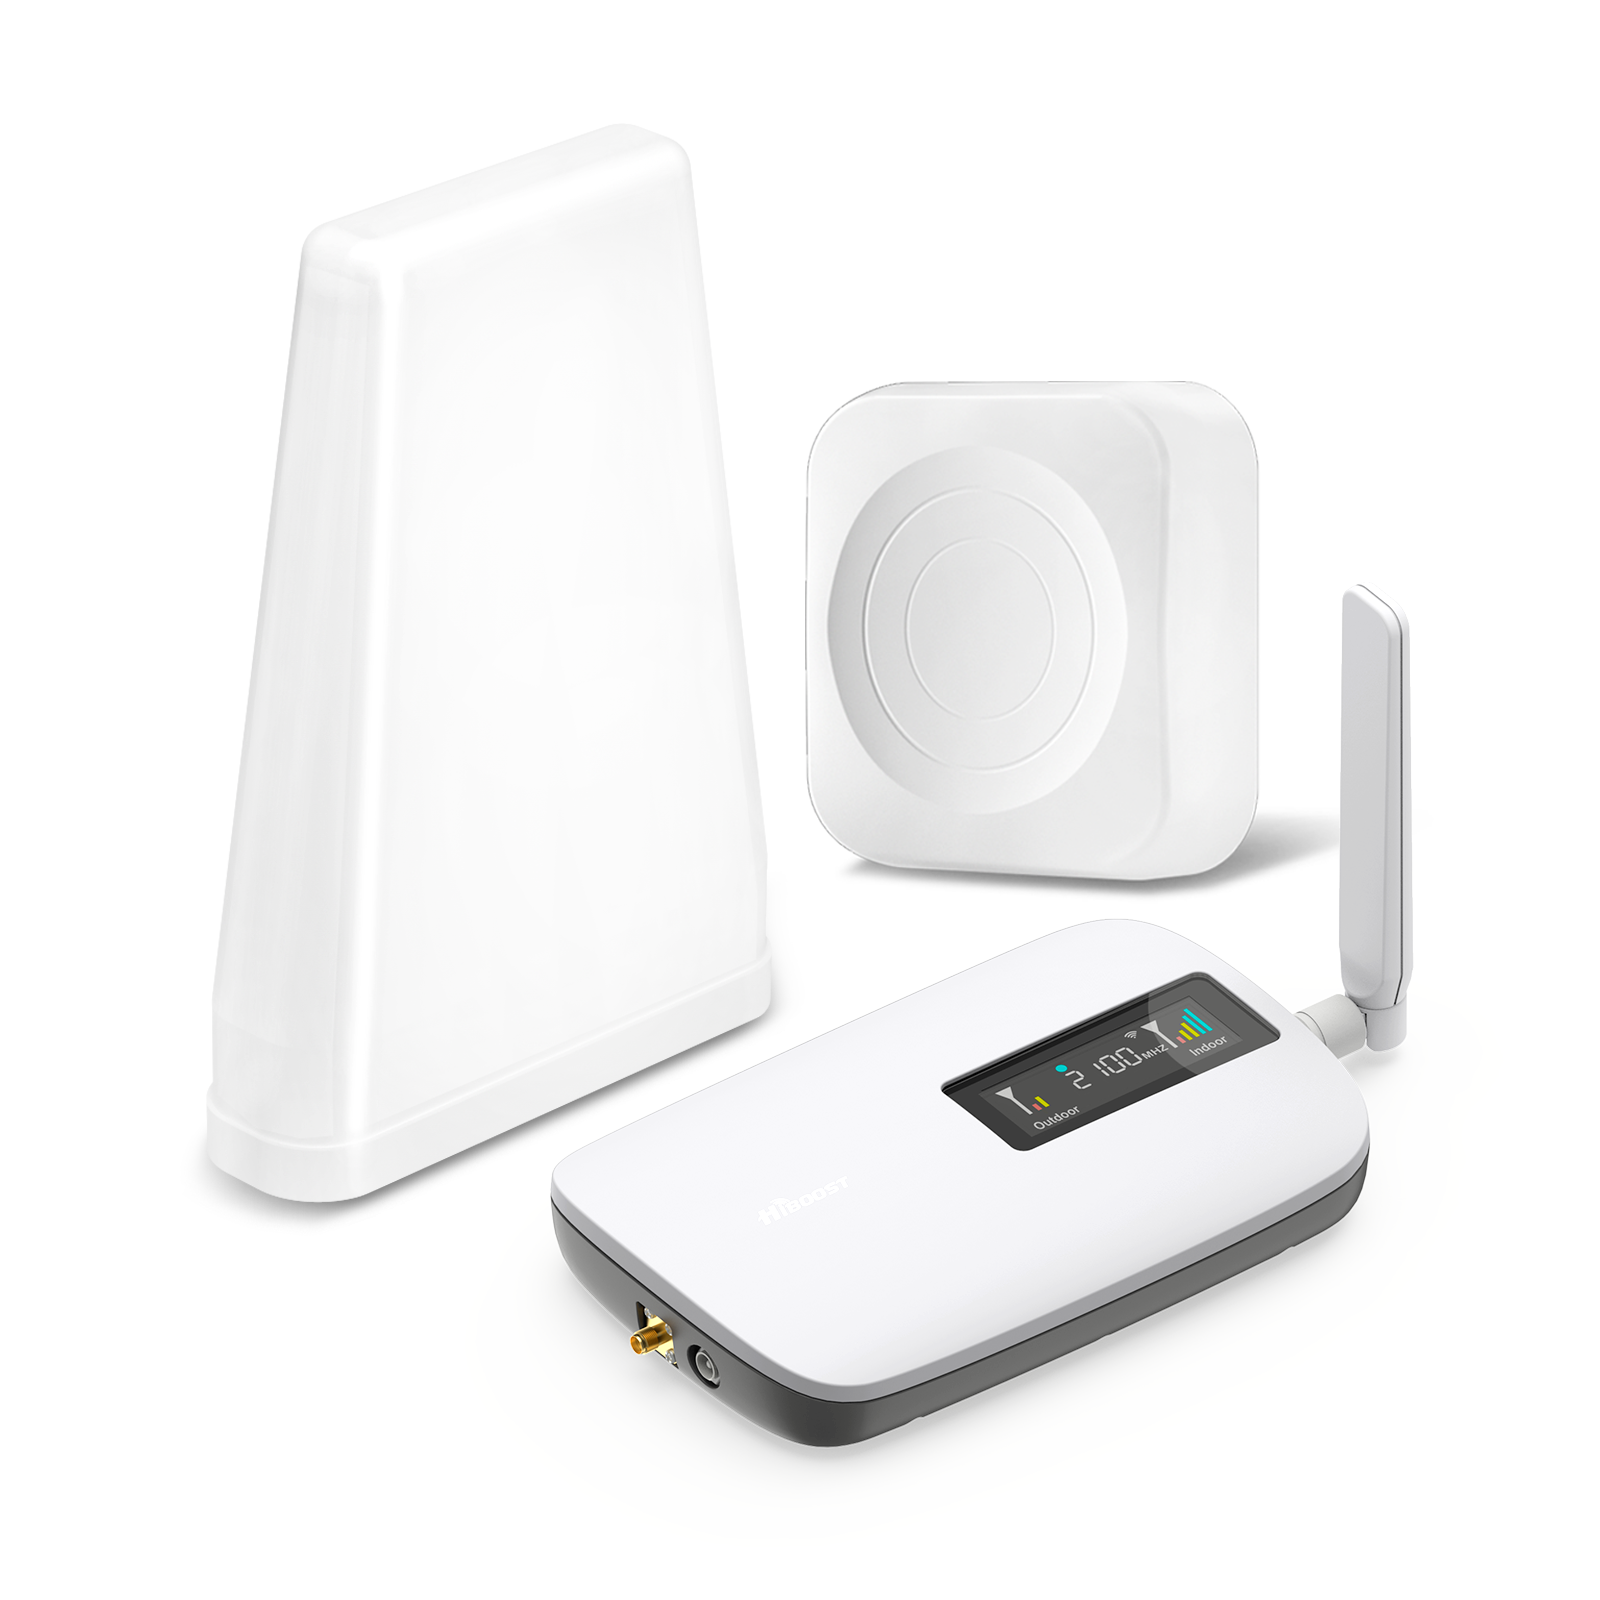
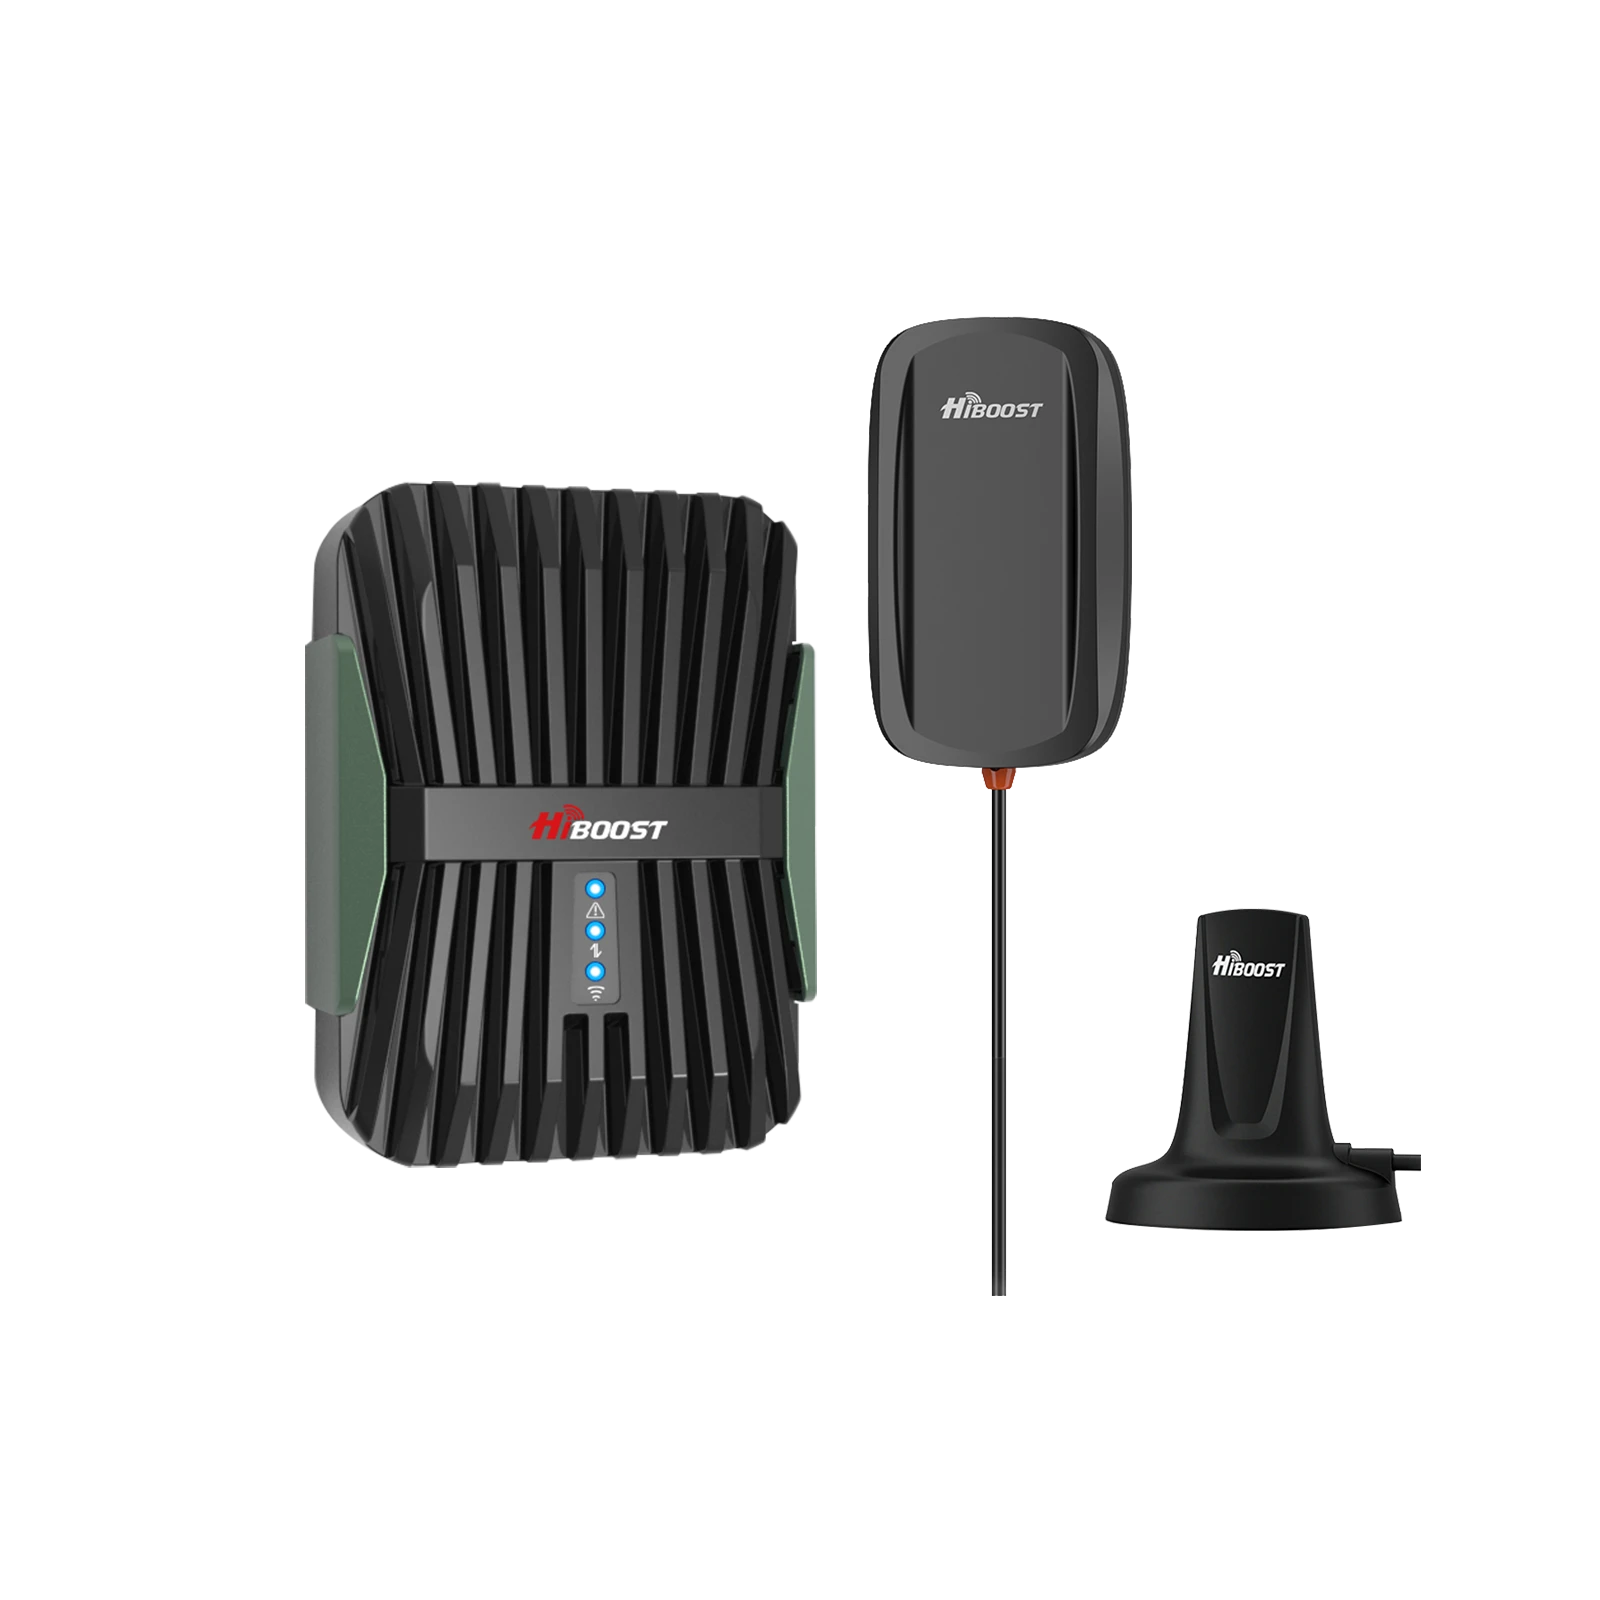
HiBoost Sidekick Cell Signal Booster for Home
Covers 500 - 2,000 sq. ft.
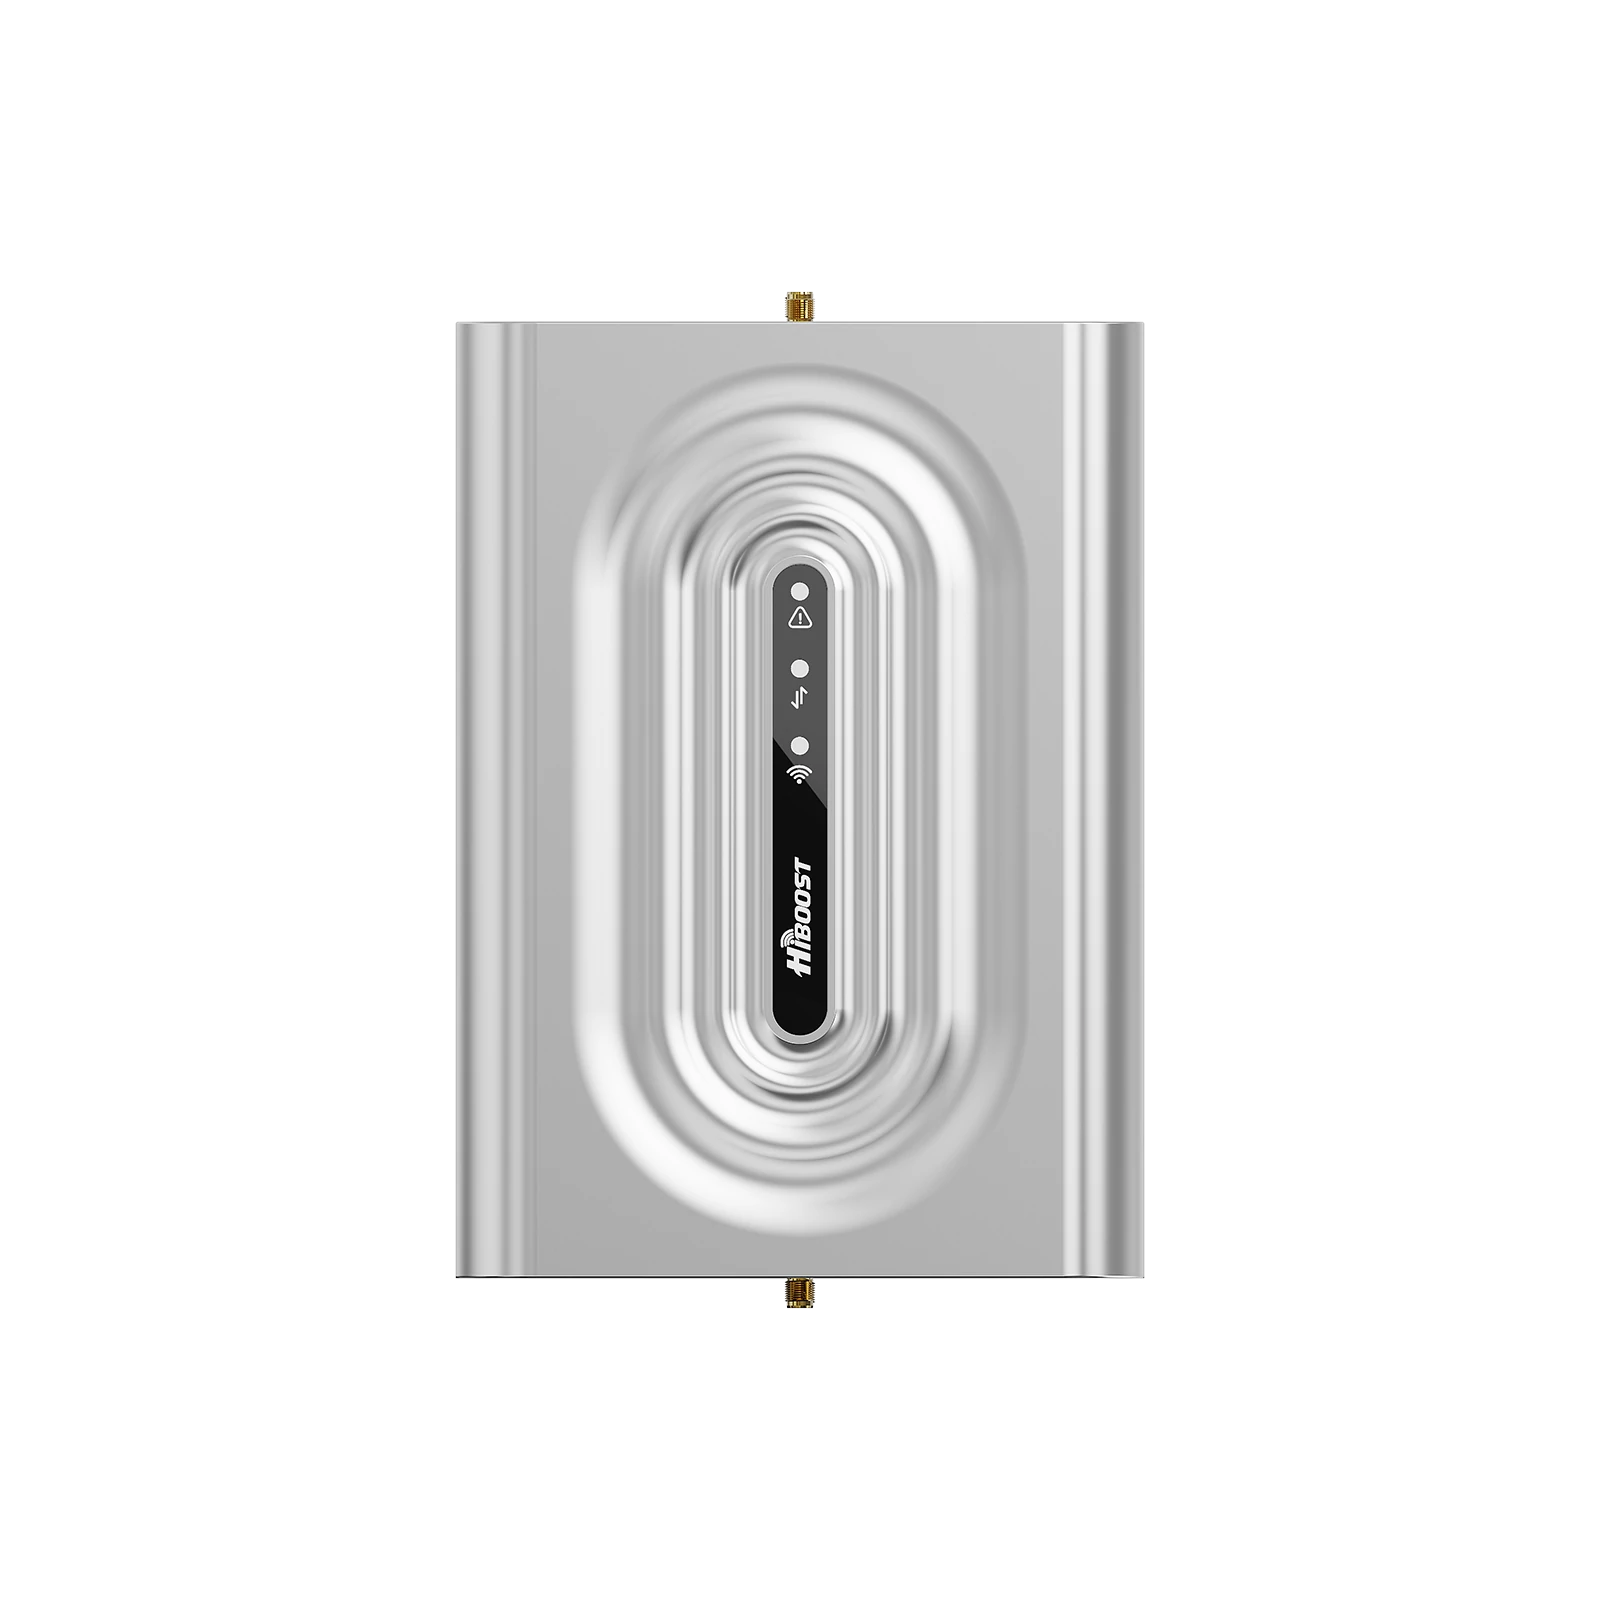
Mid-Range Multi-Room Booster: around $400 – $800. This includes most popular home systems that claim “whole home”. E.g., HiBoost 10K or weBoost Home MultiRoom usually in the $500-$700 range. These are the sweet spot for many; they come with outdoor Yagi, indoor panels, etc. and can handle moderate to weak outside signals decently. With these, many folks get 2-3 bars across a 2,000 sq ft home.
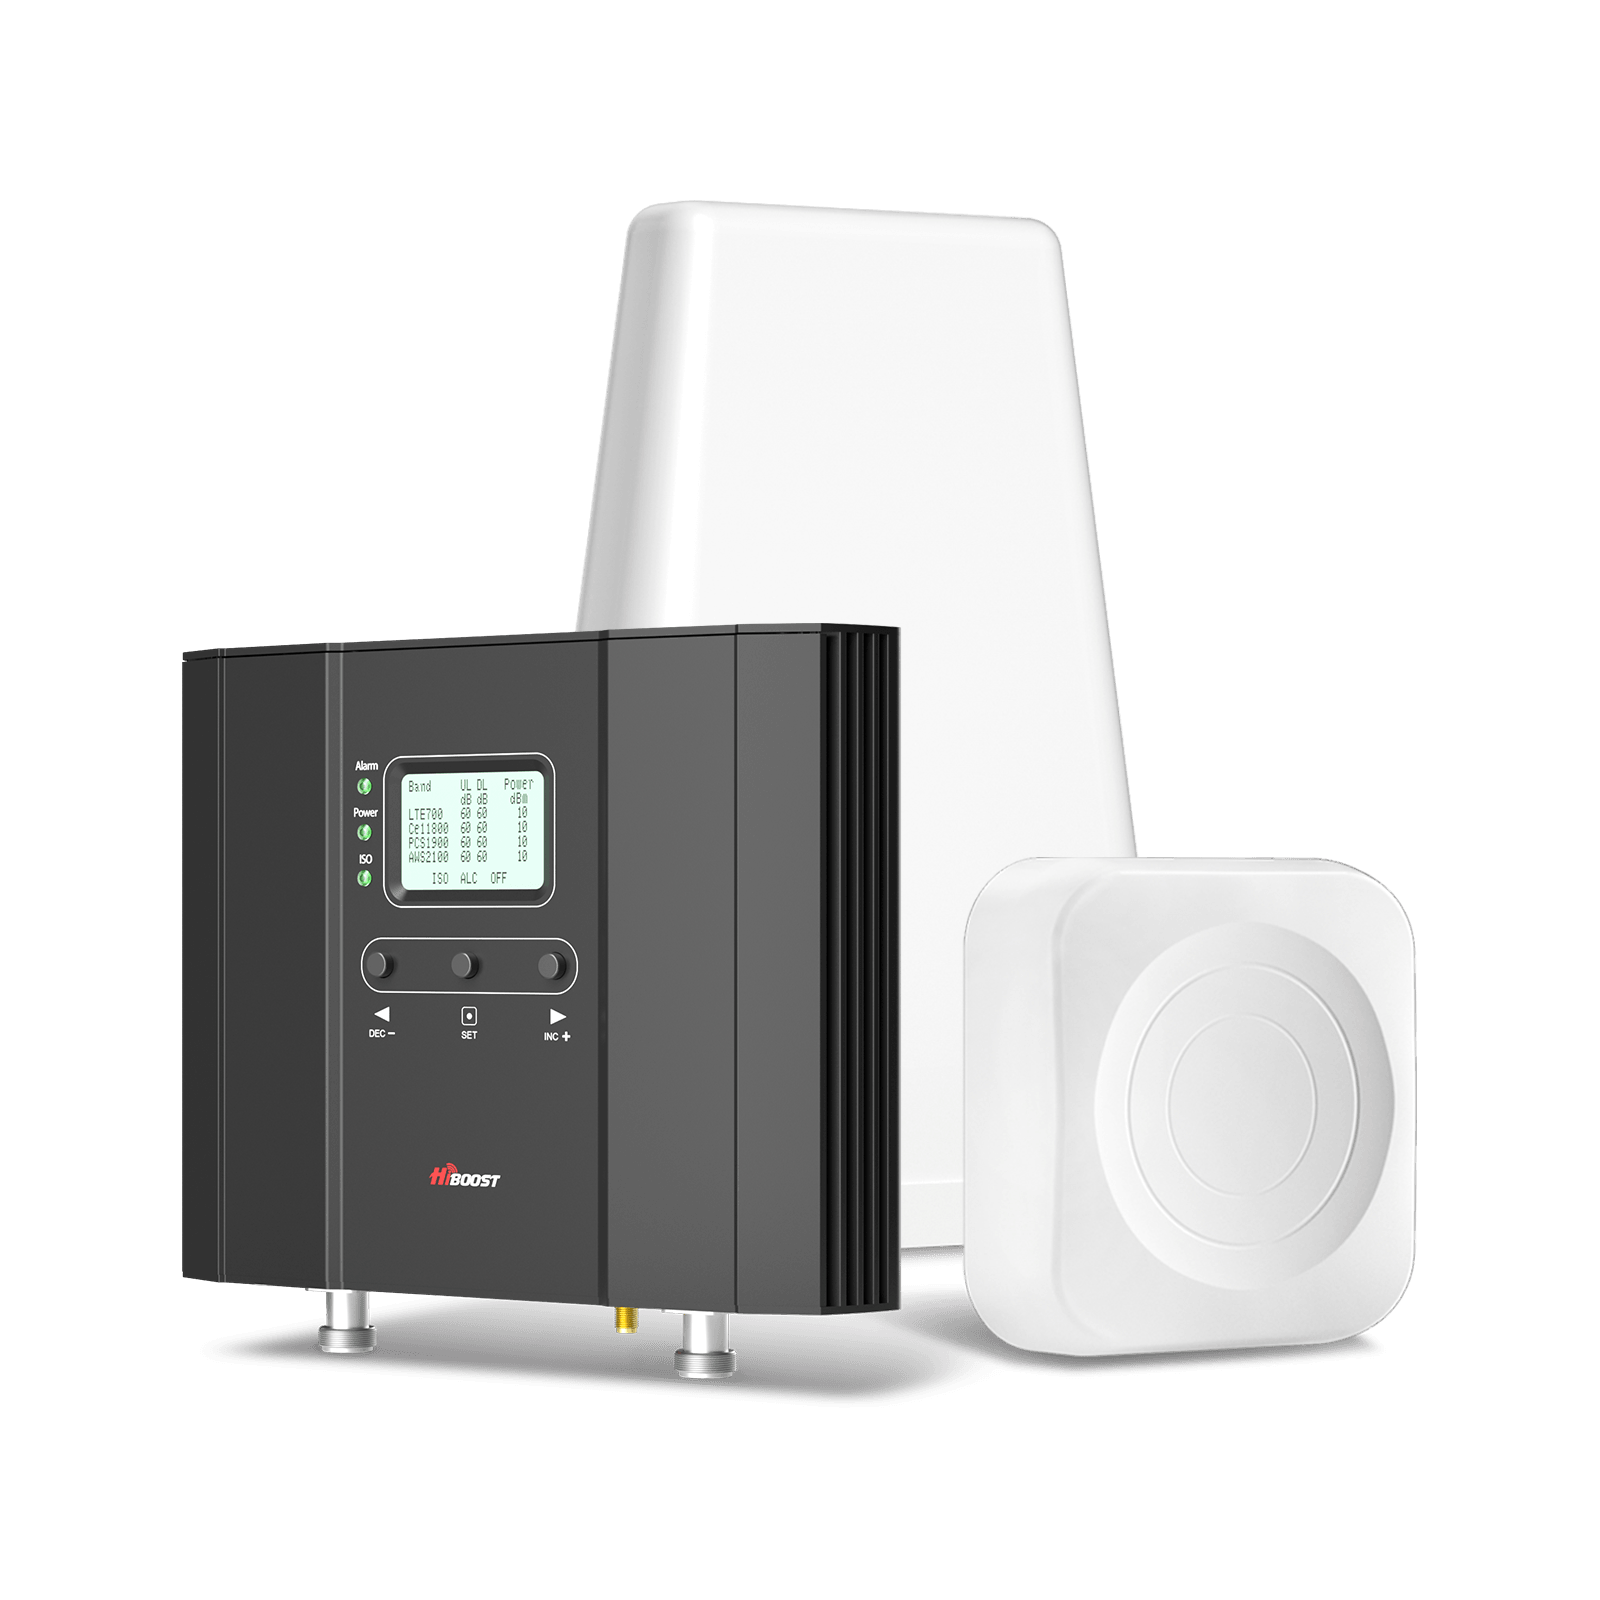
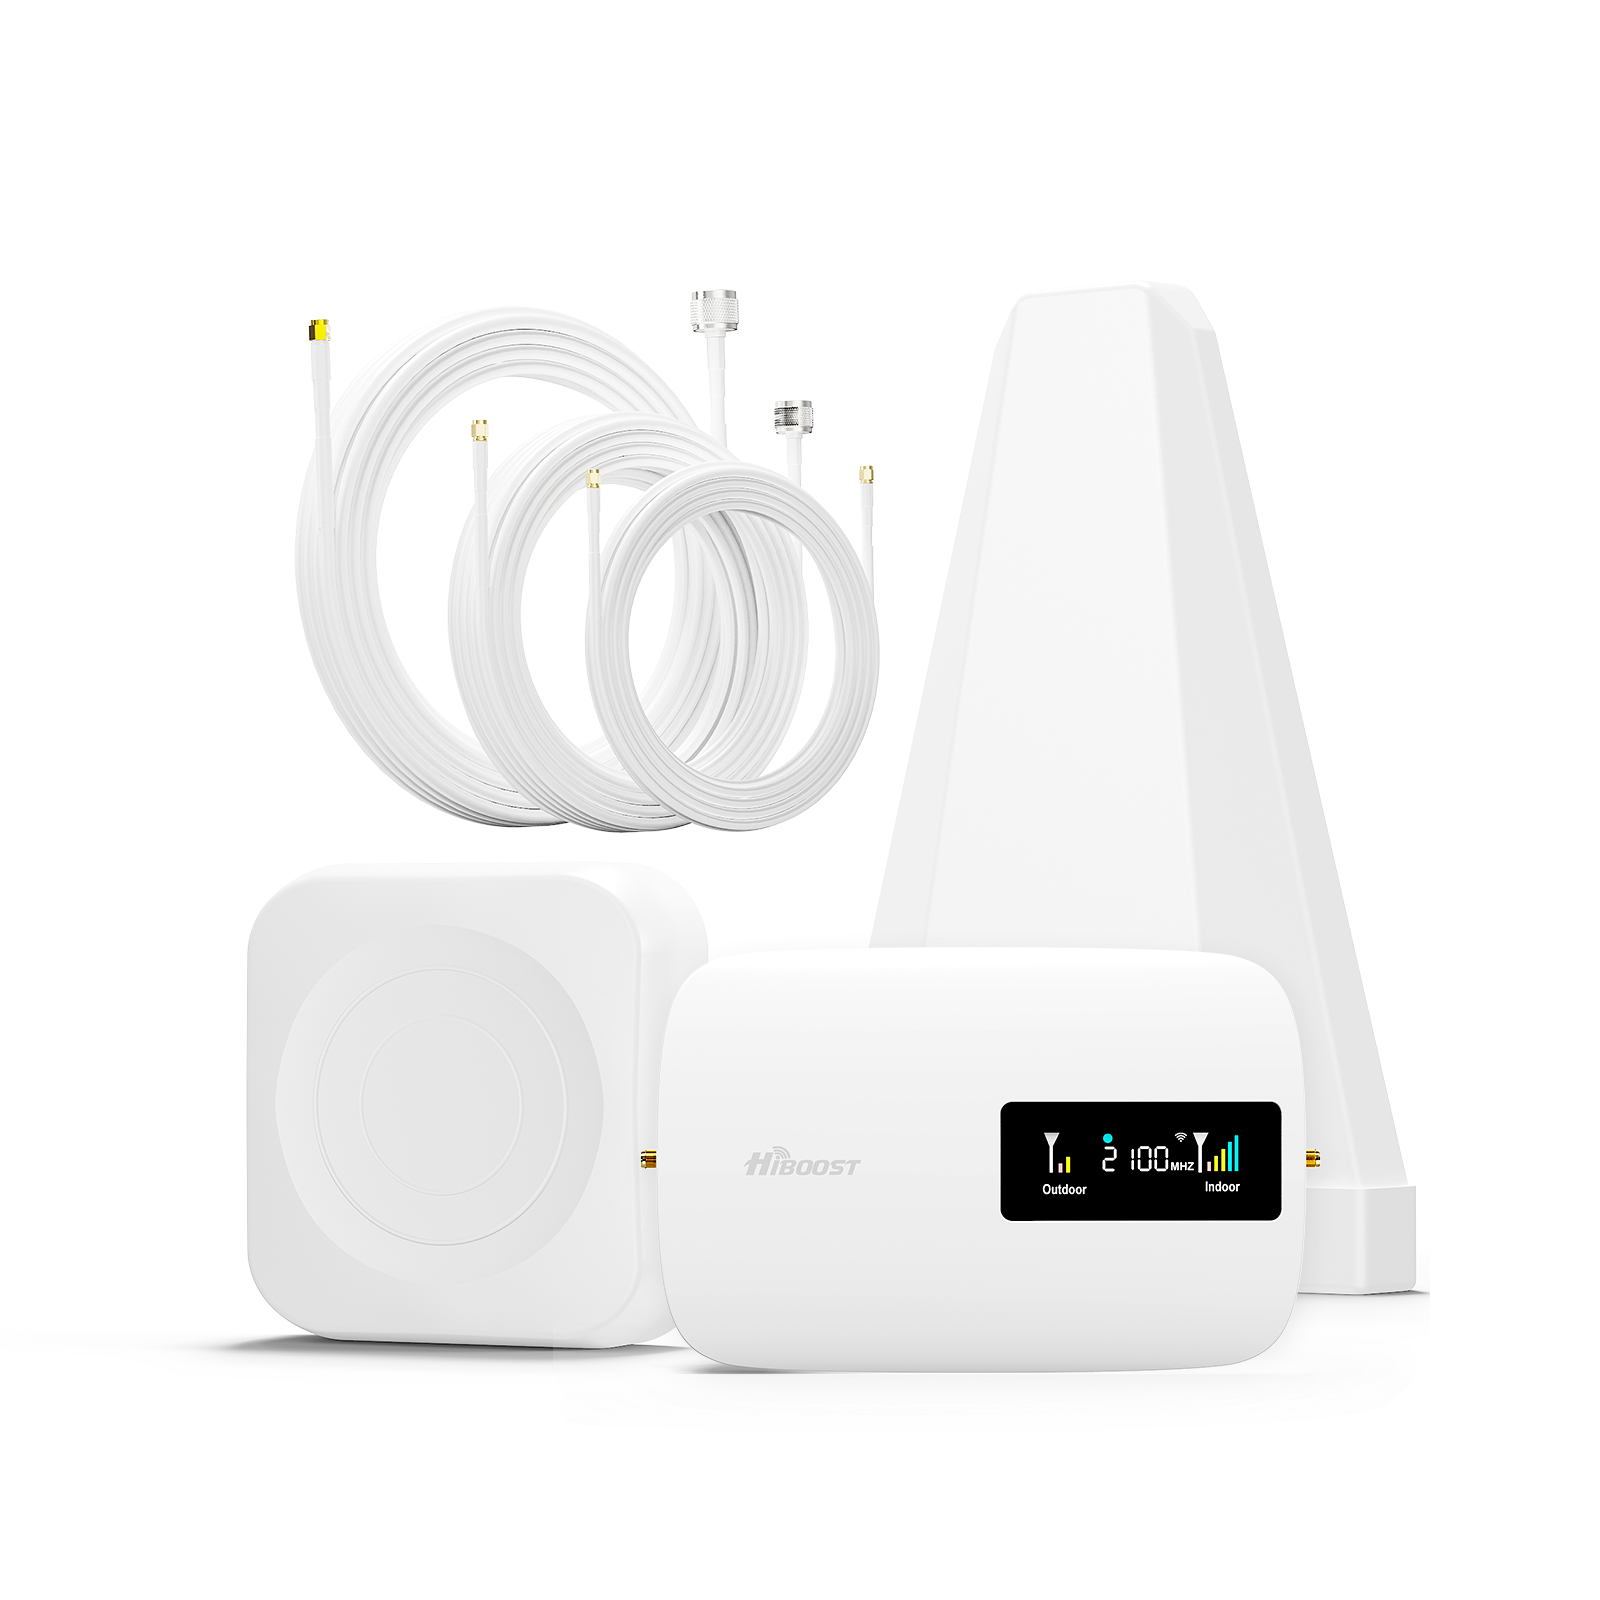
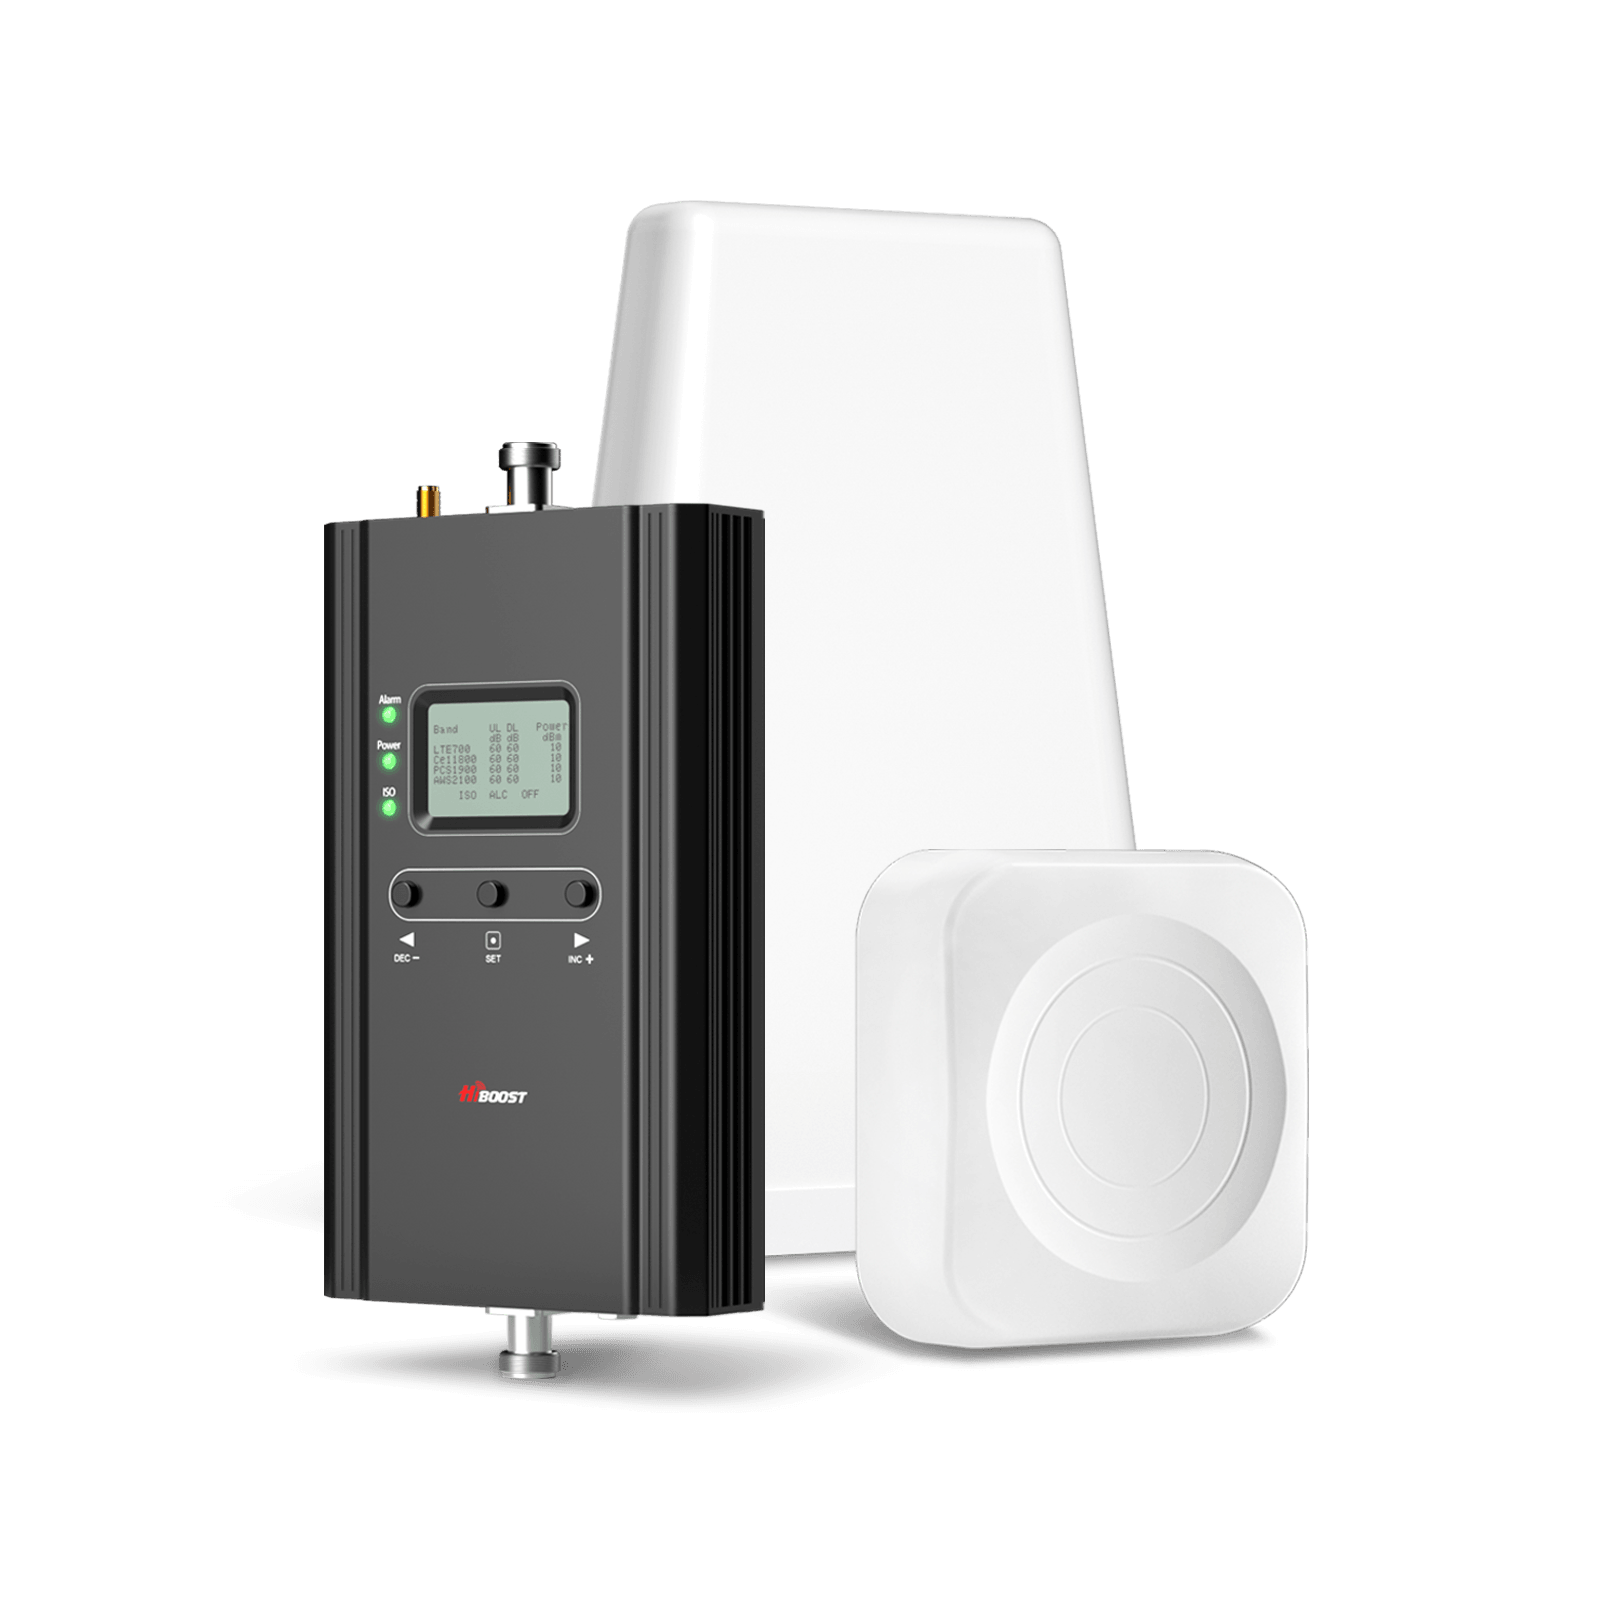
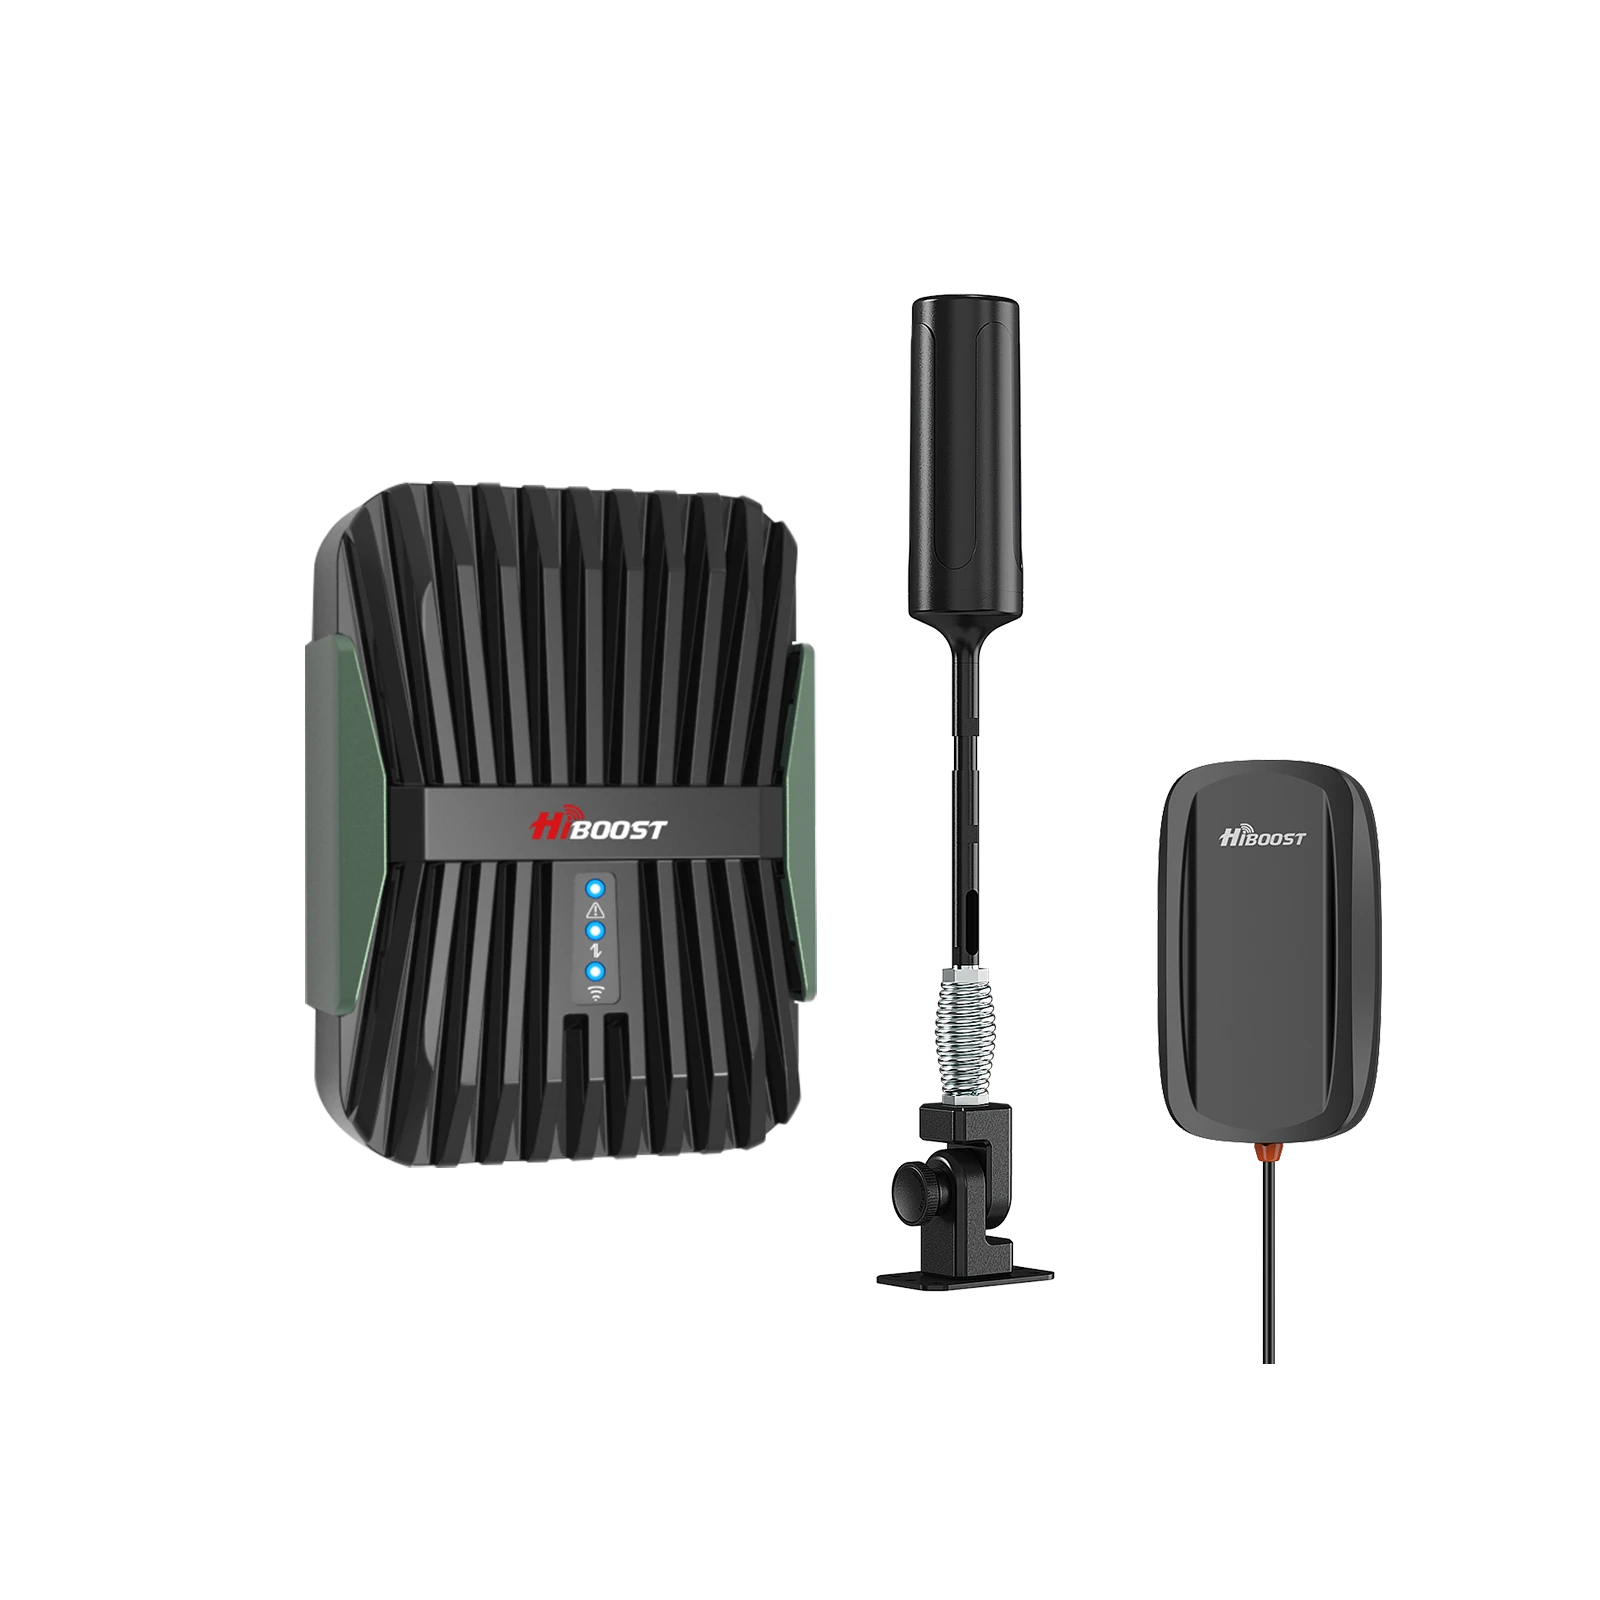
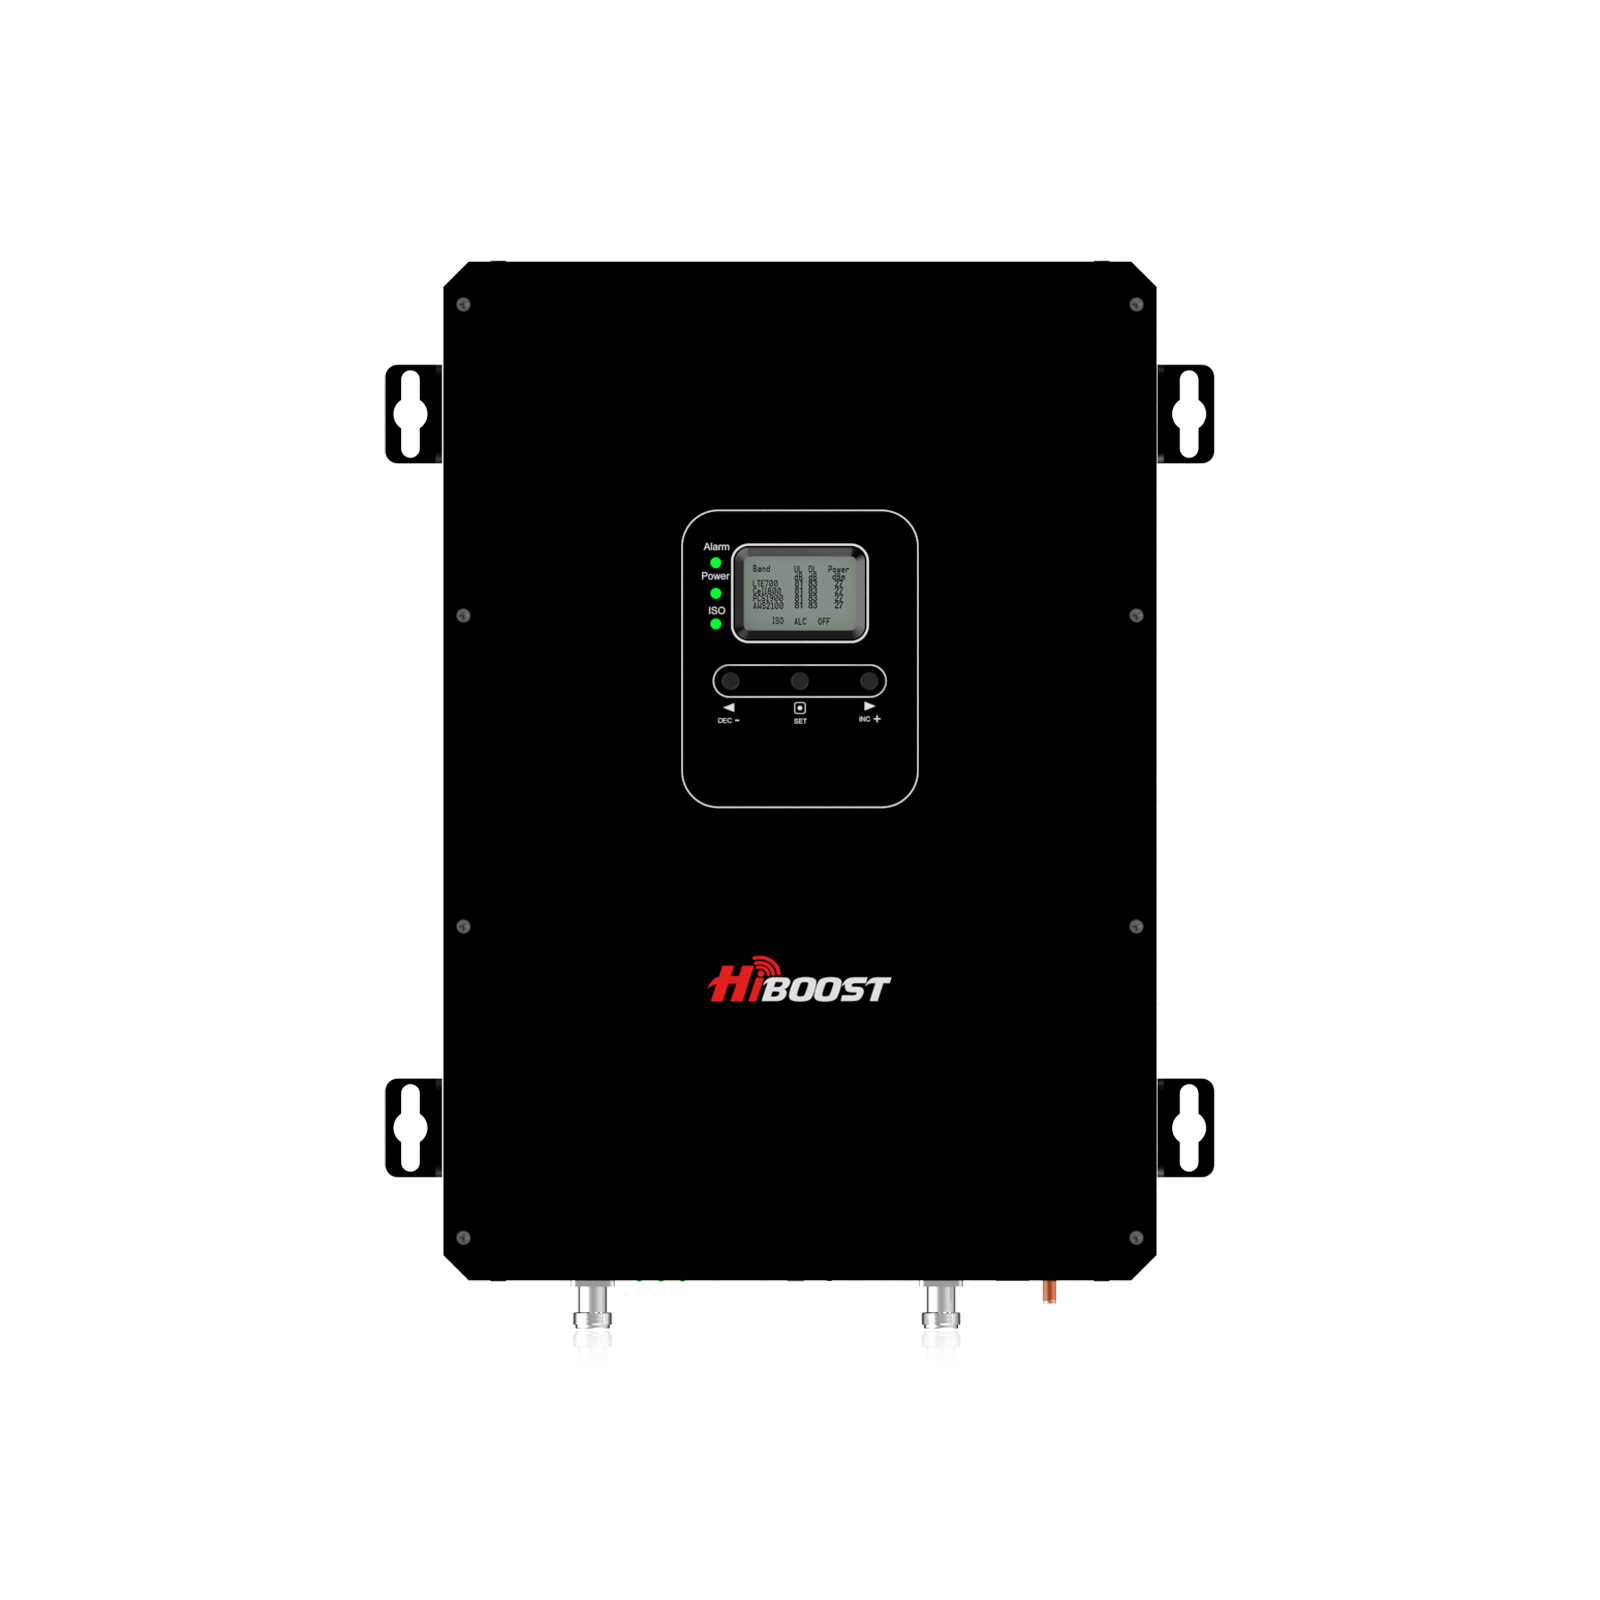
HiBoost 10K Smart Link Cellular Booster
Covers 4,000 - 10,000 sq. ft.
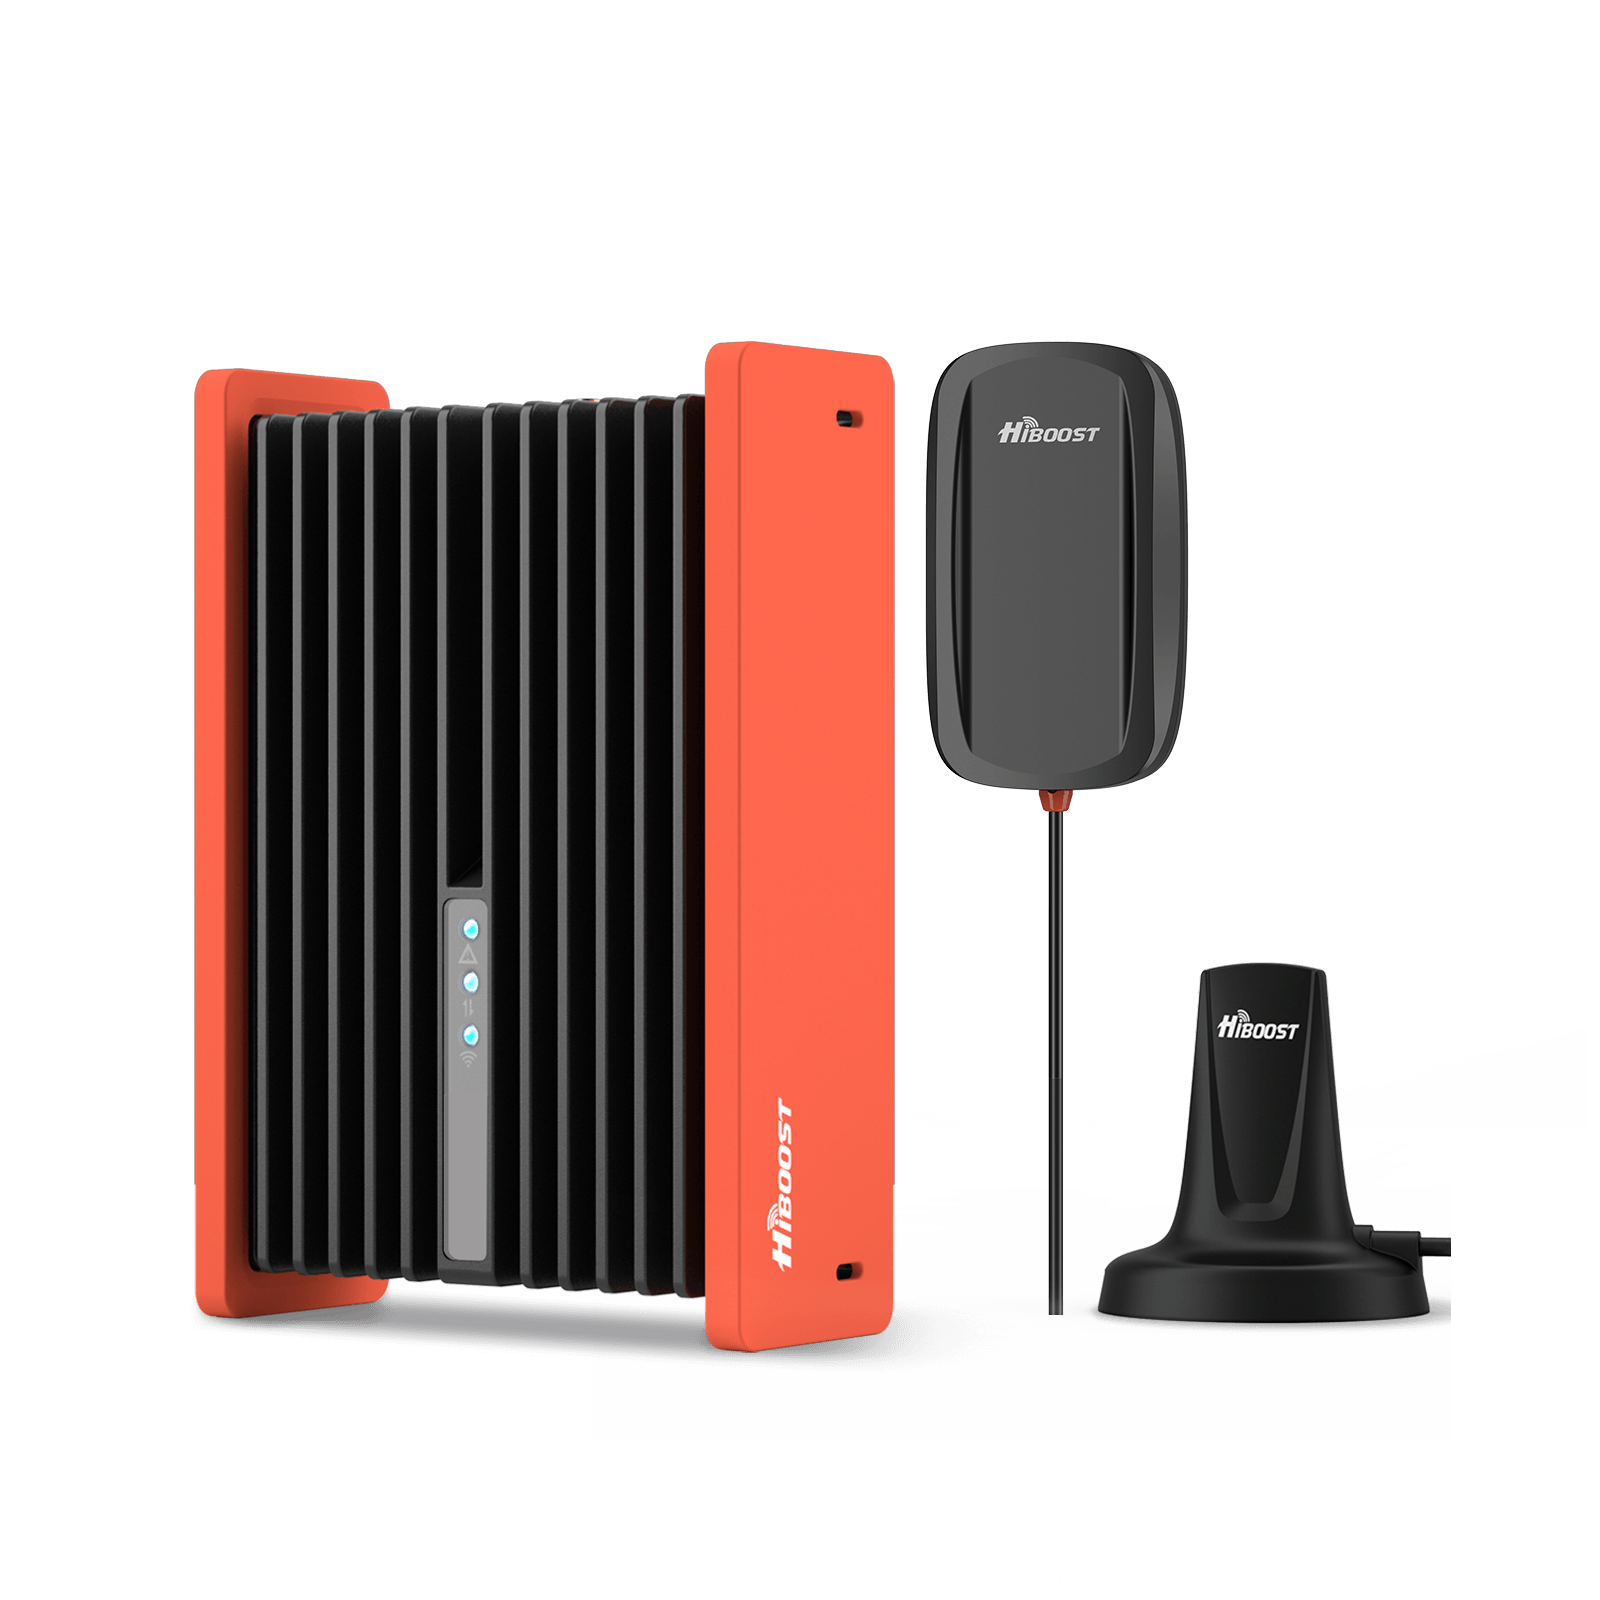
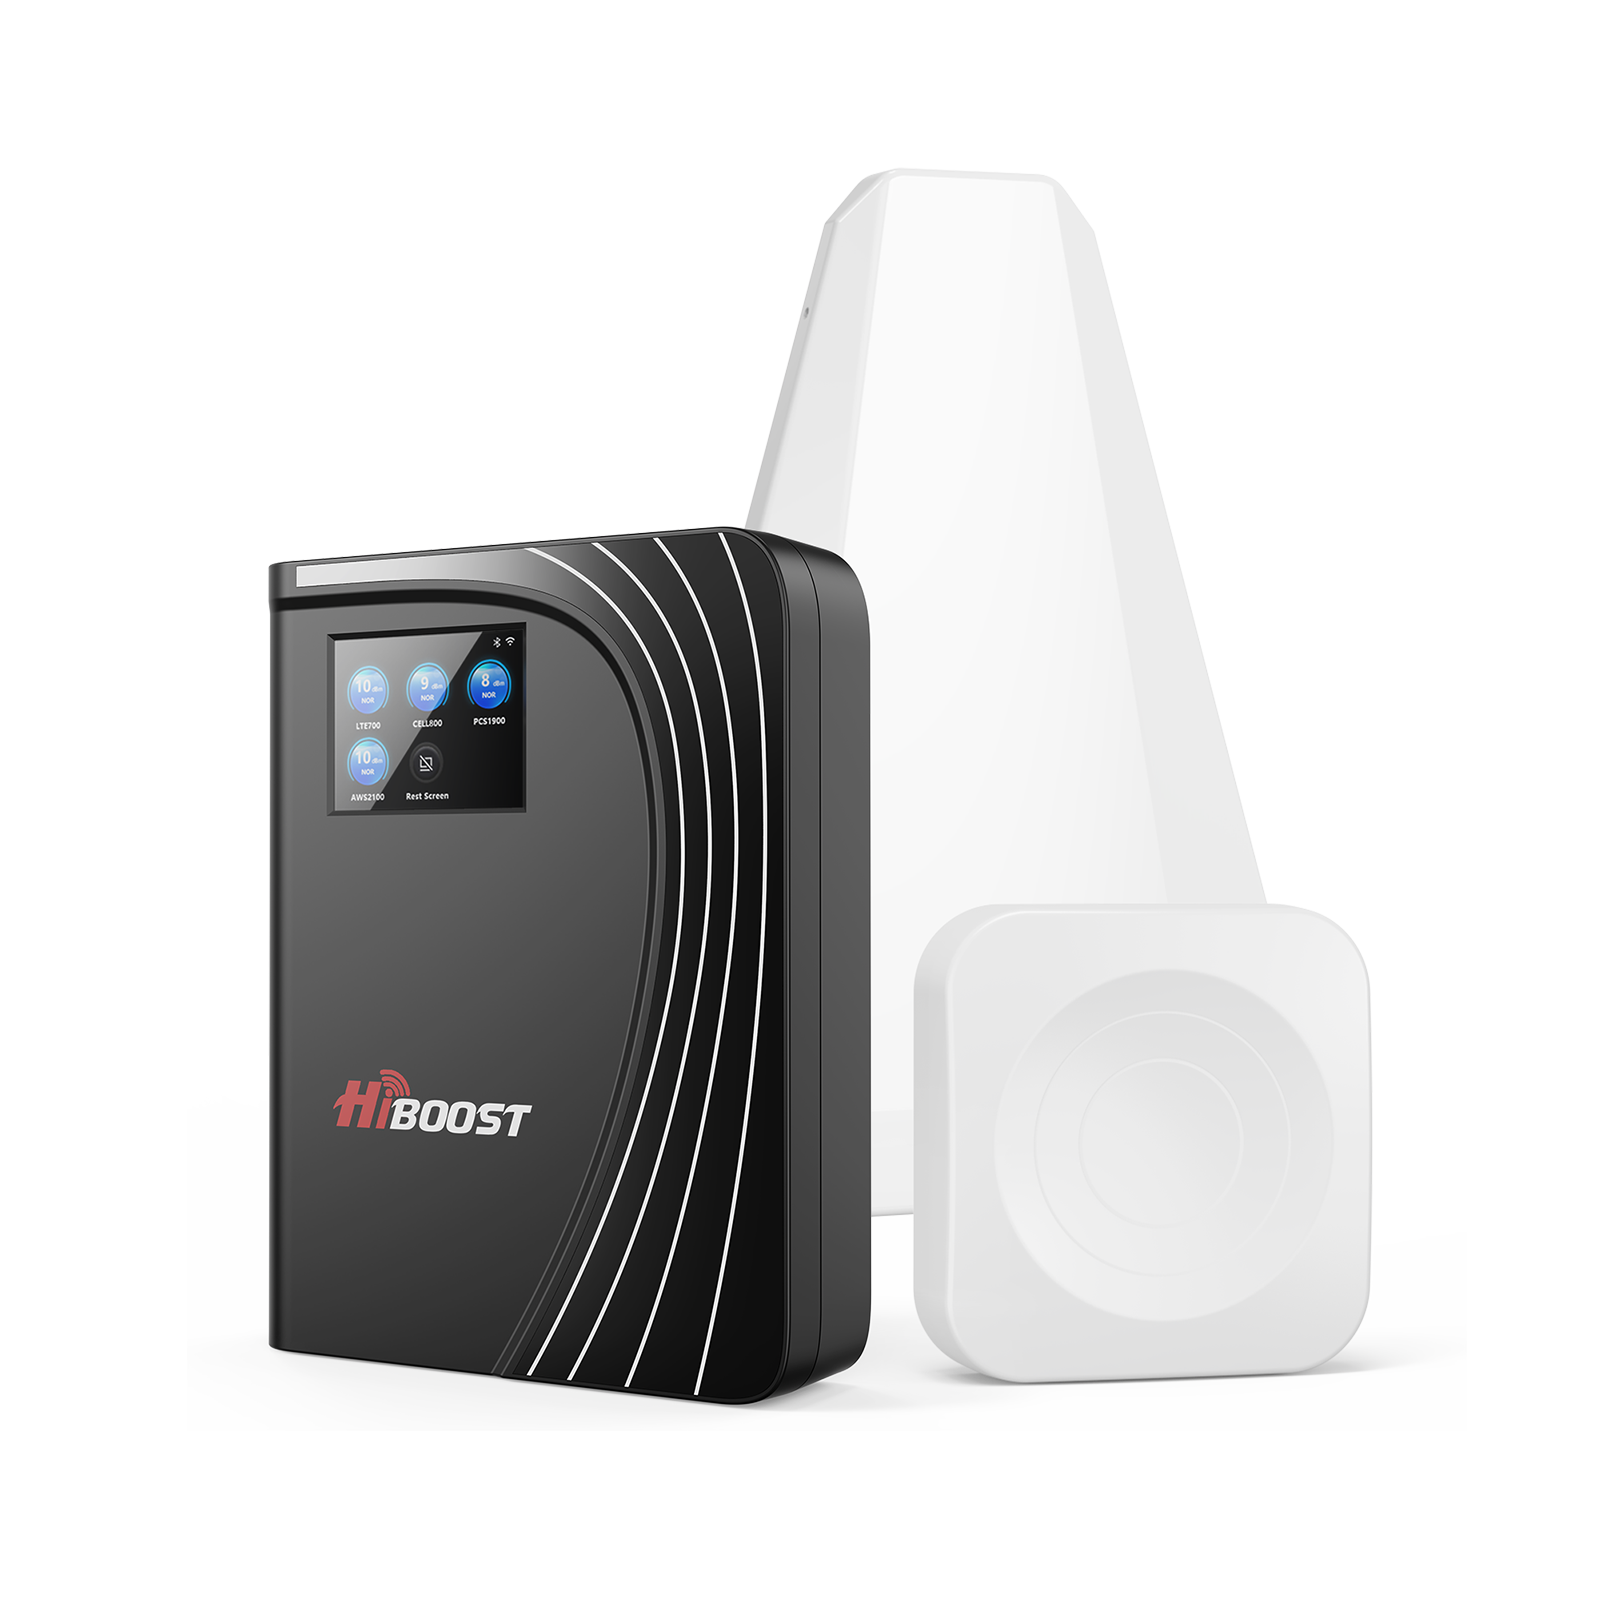
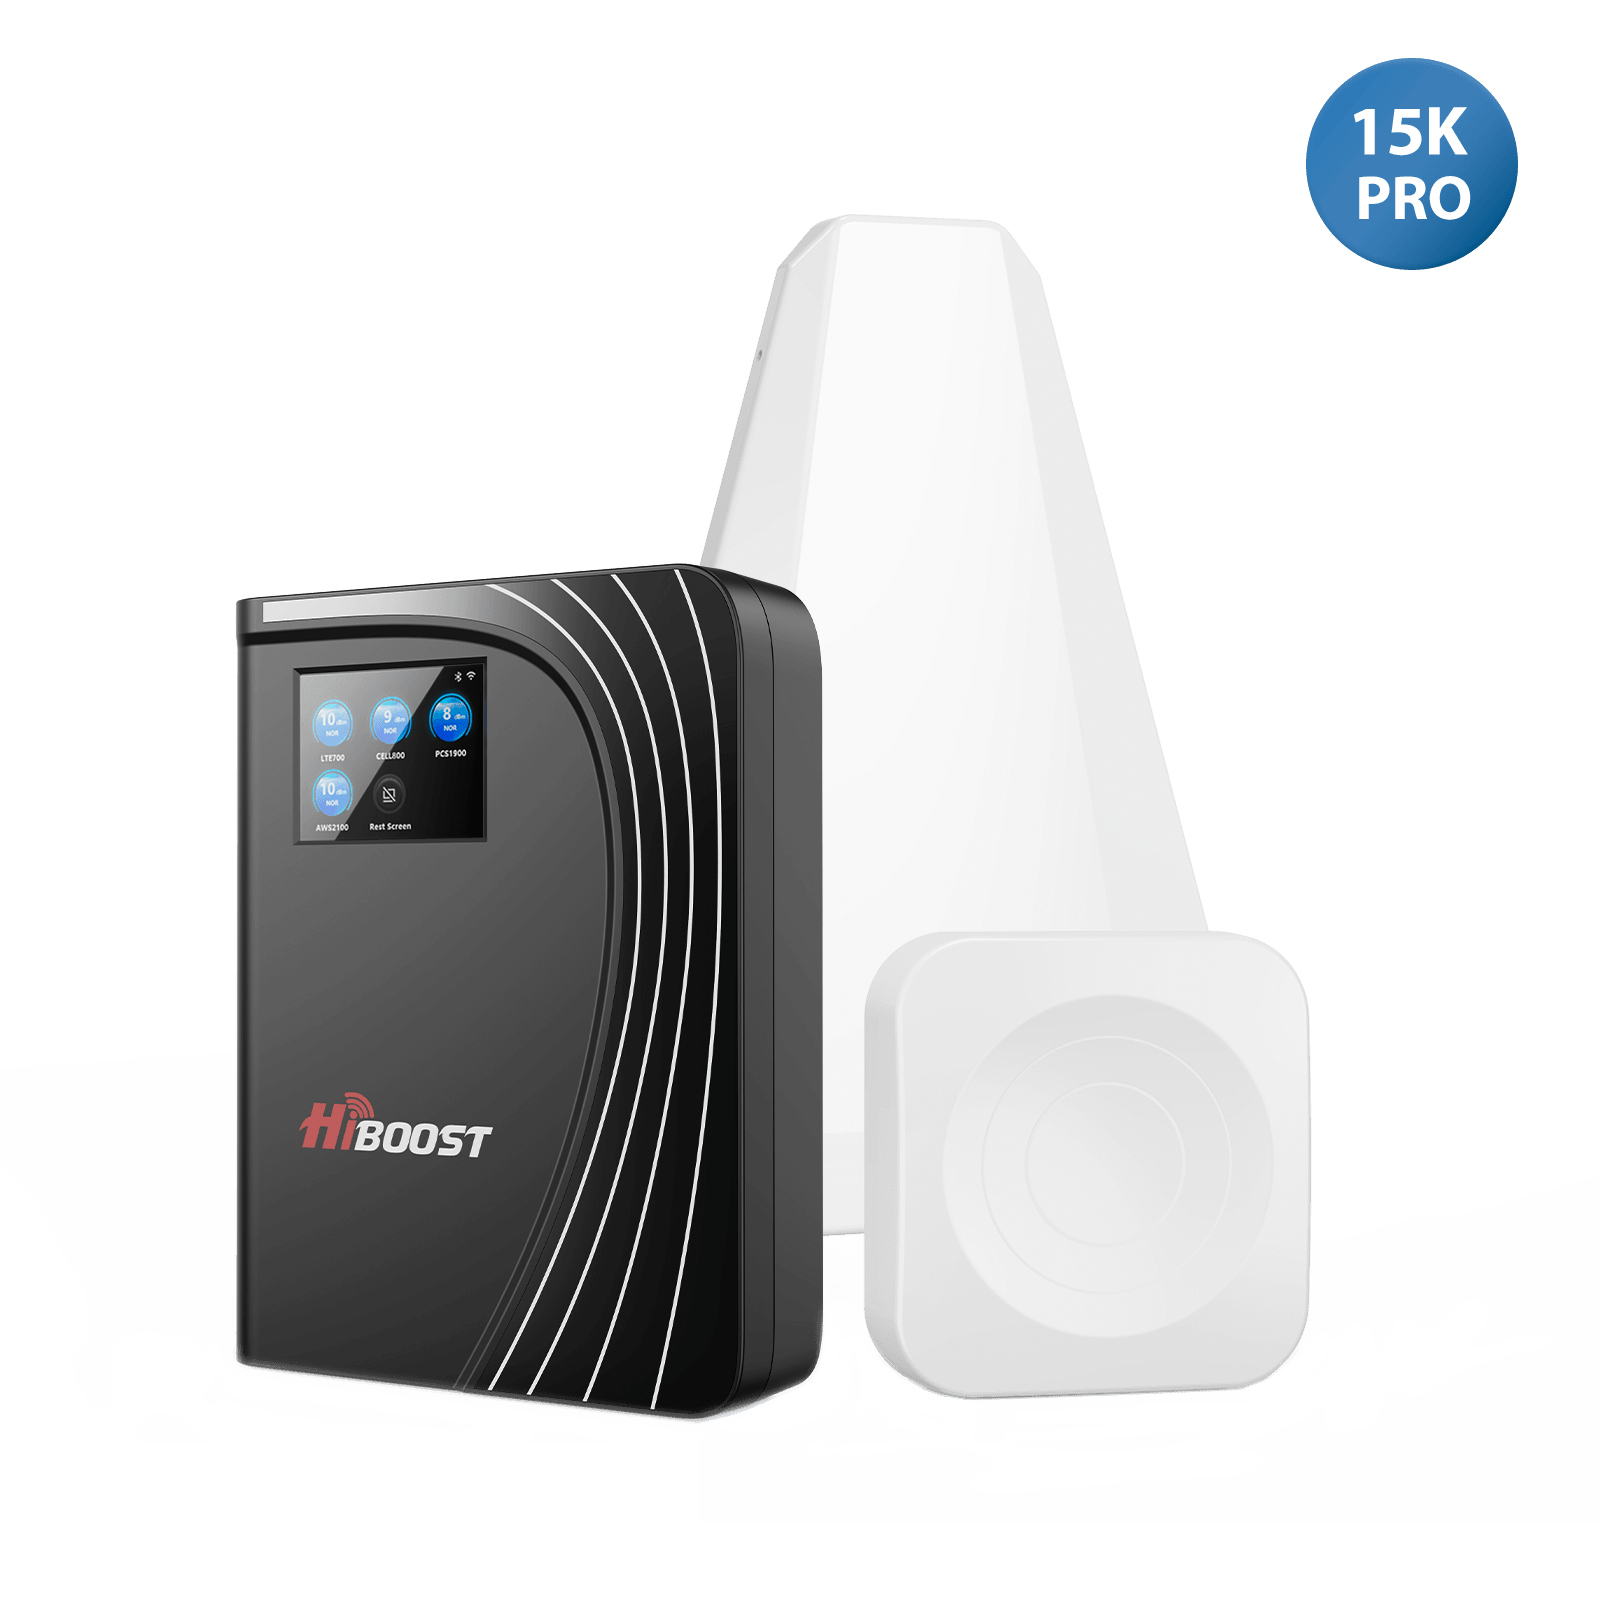
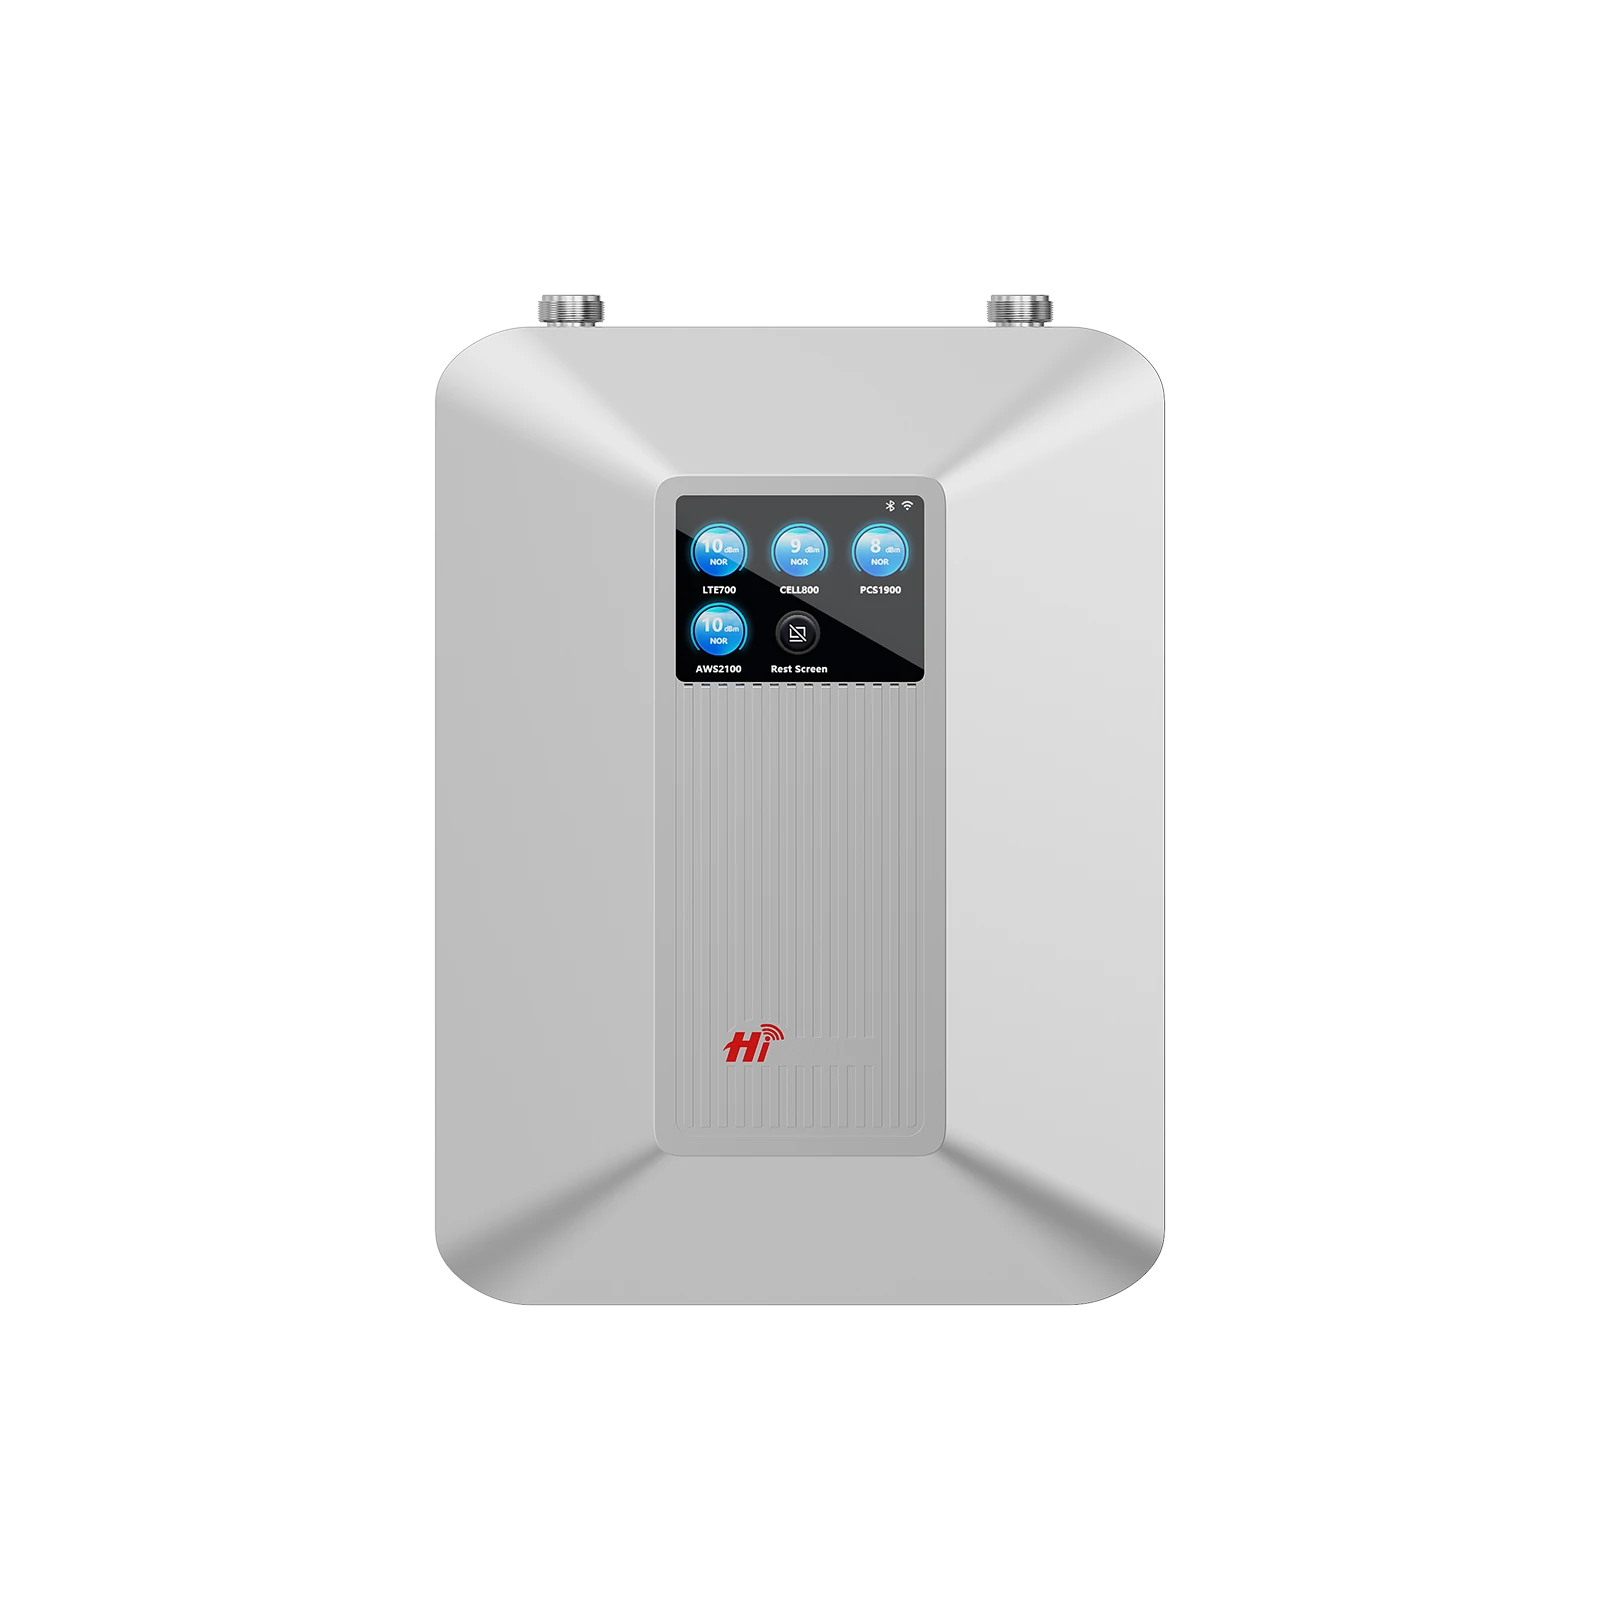
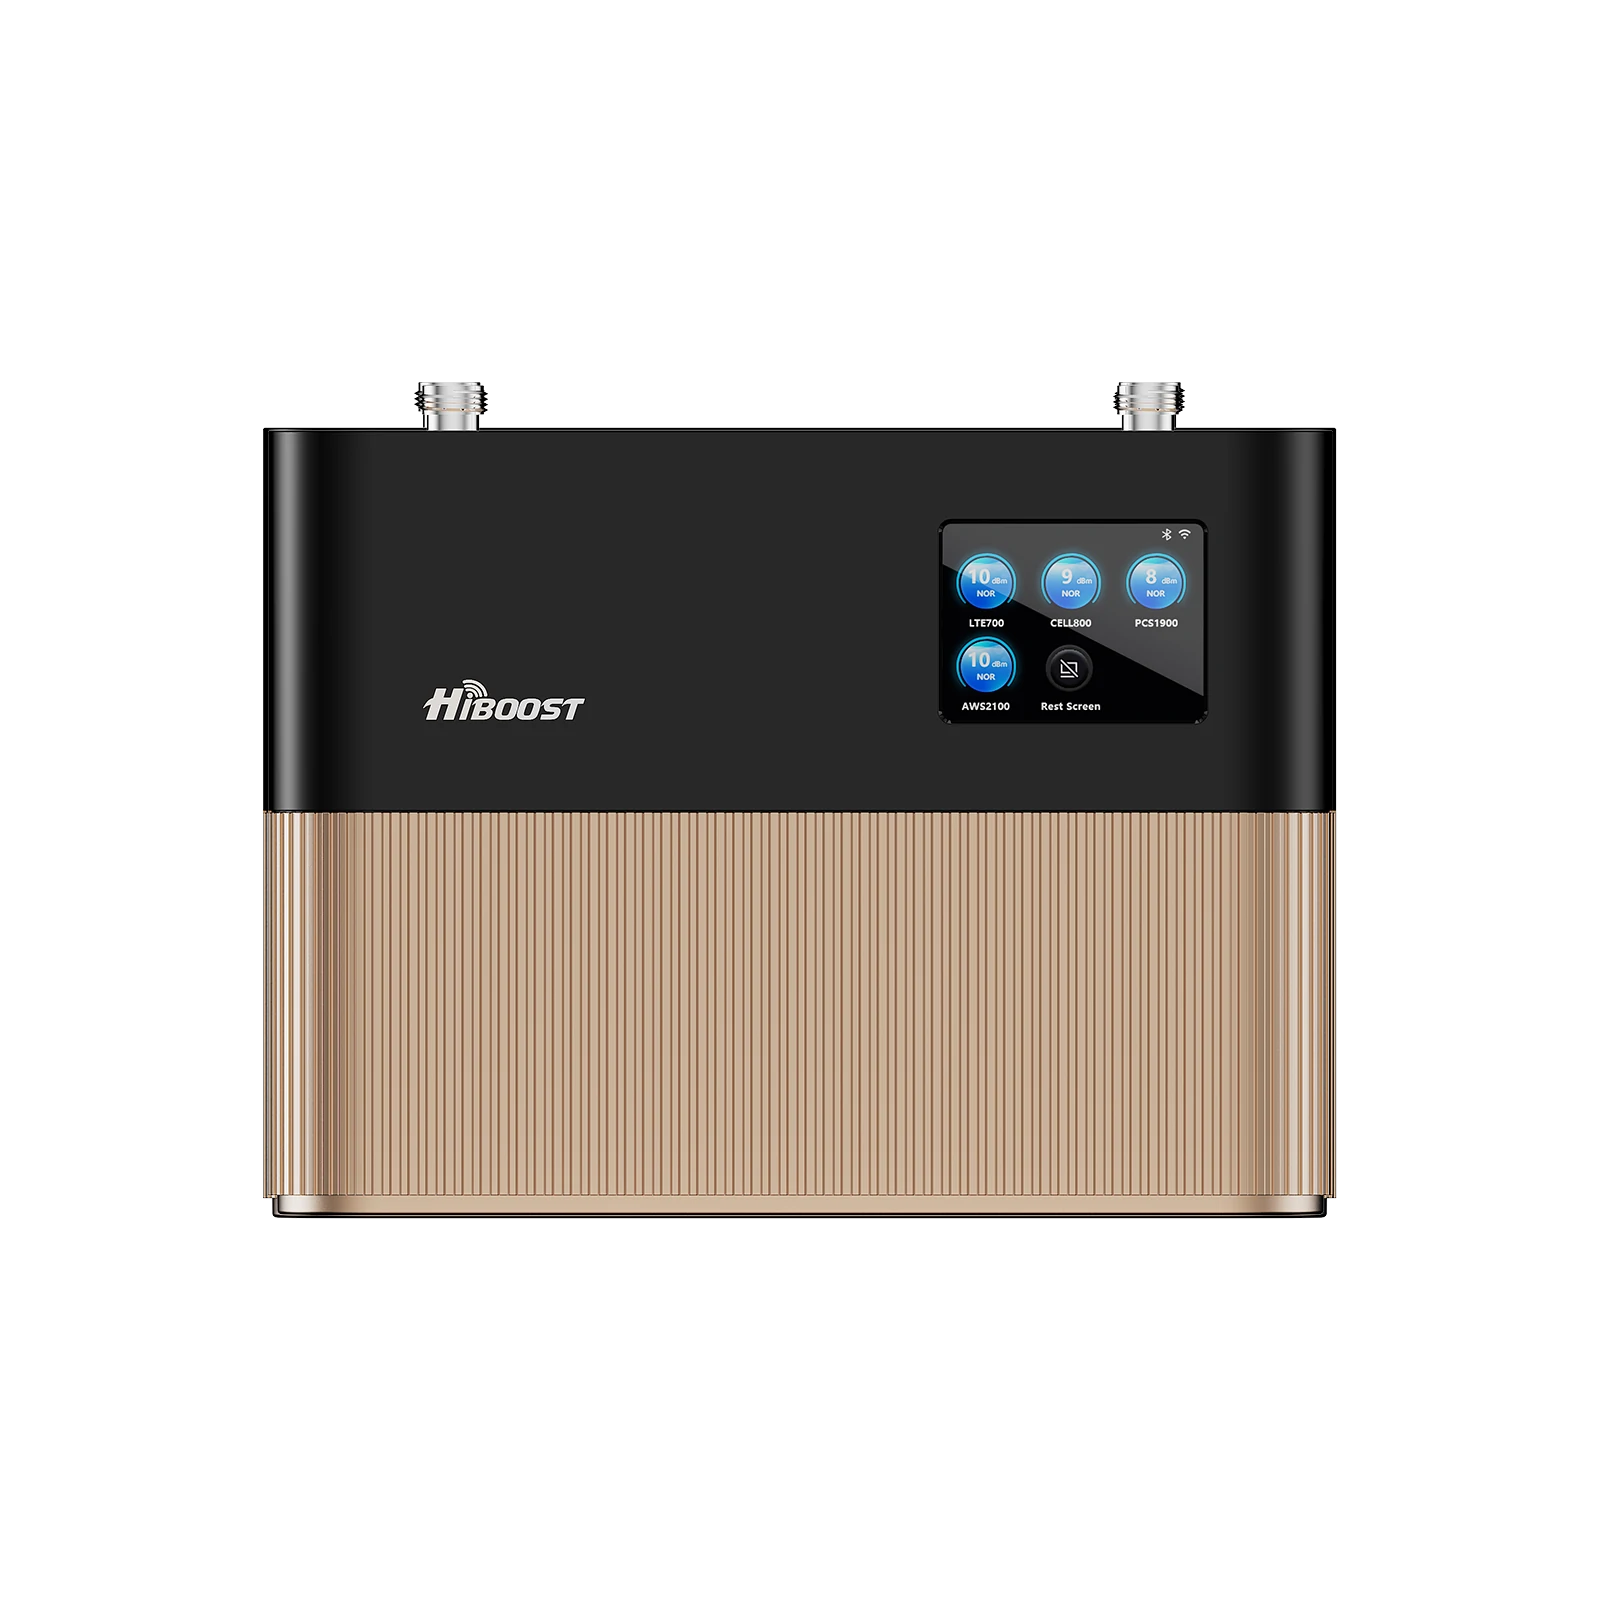
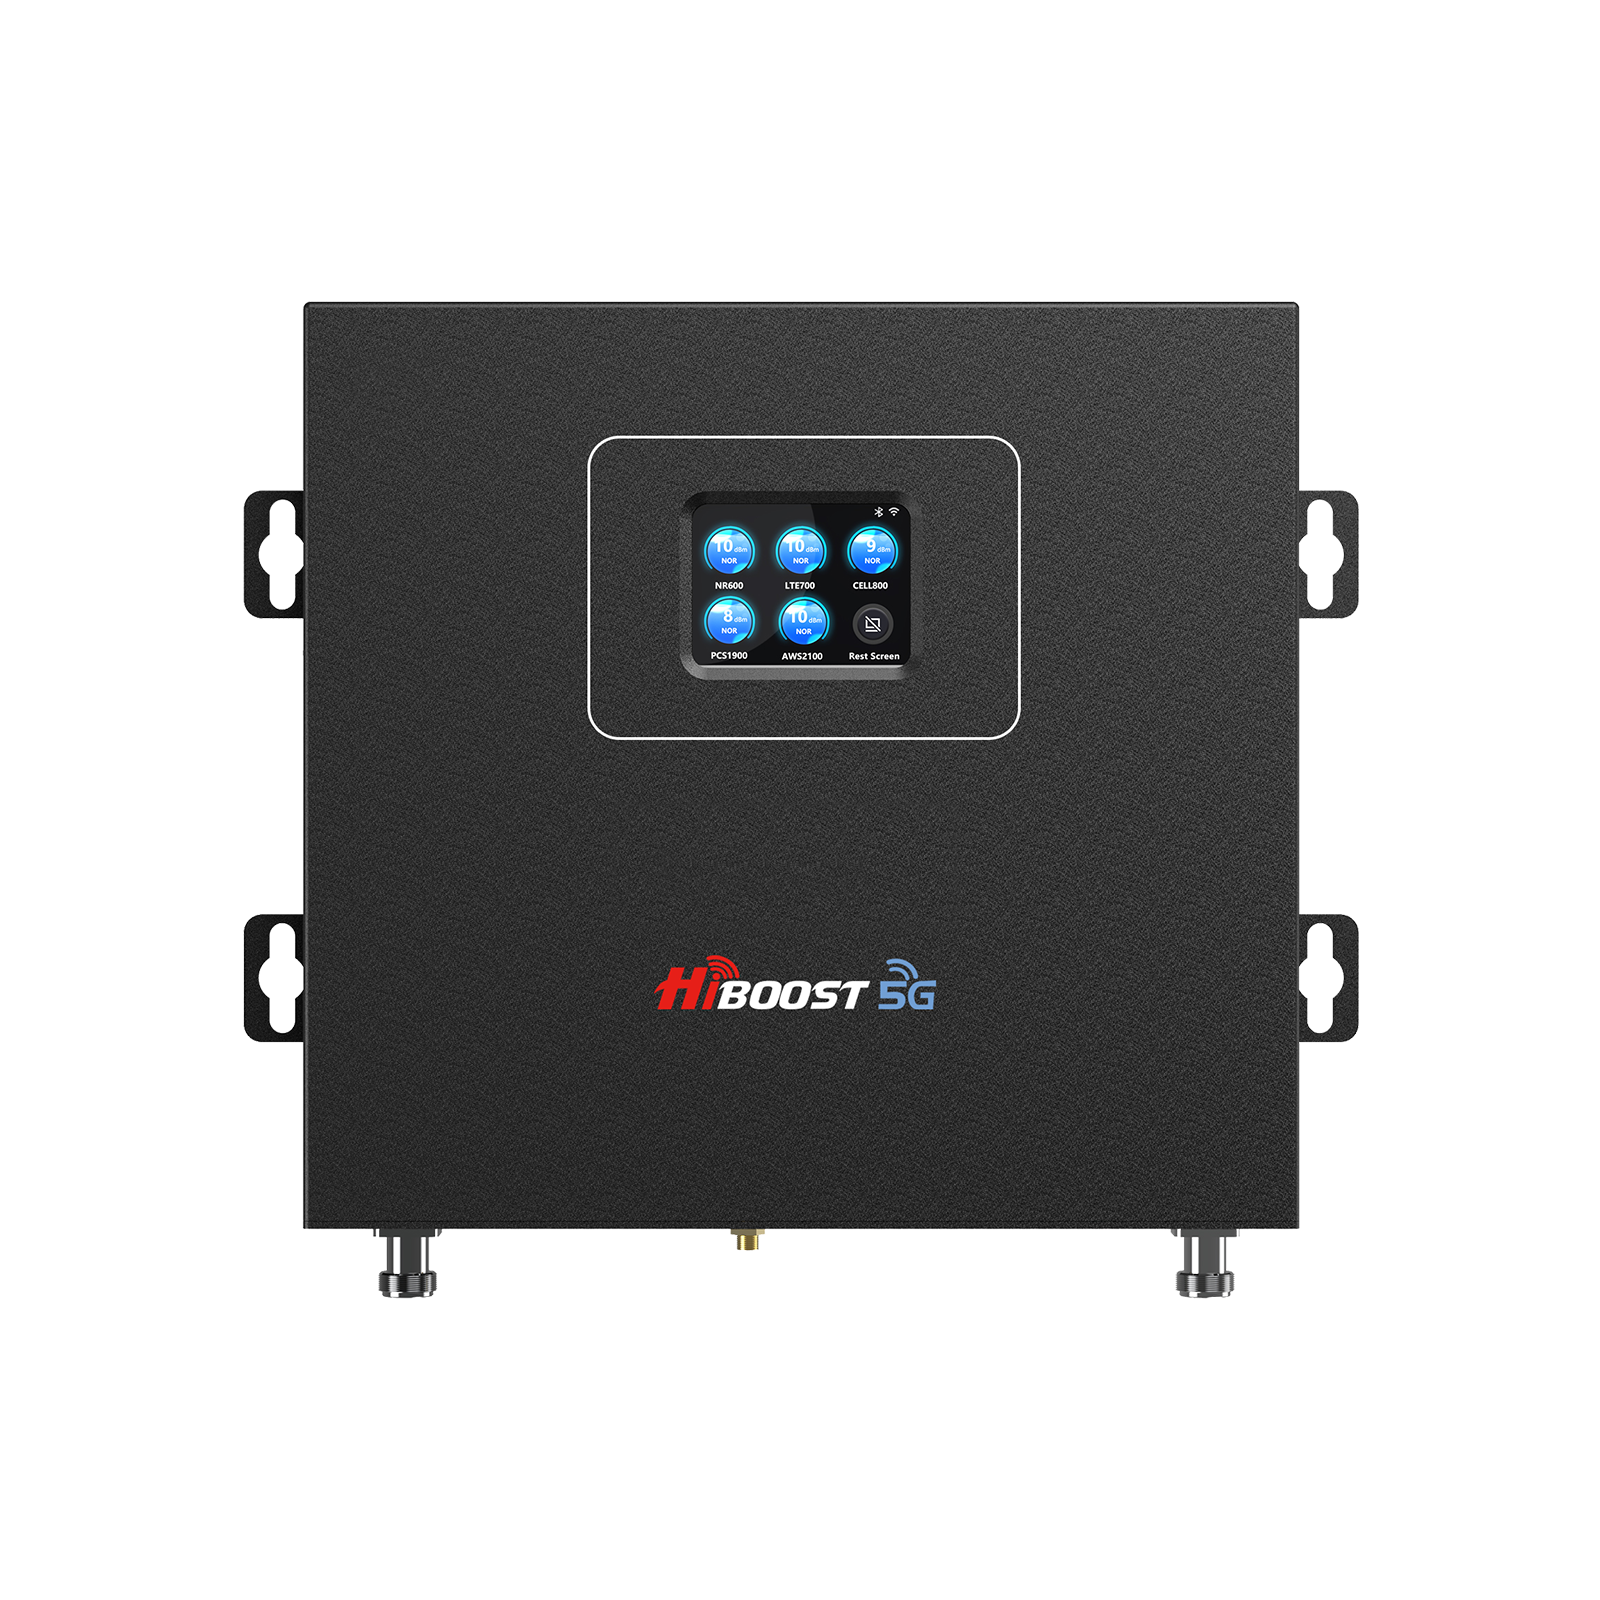
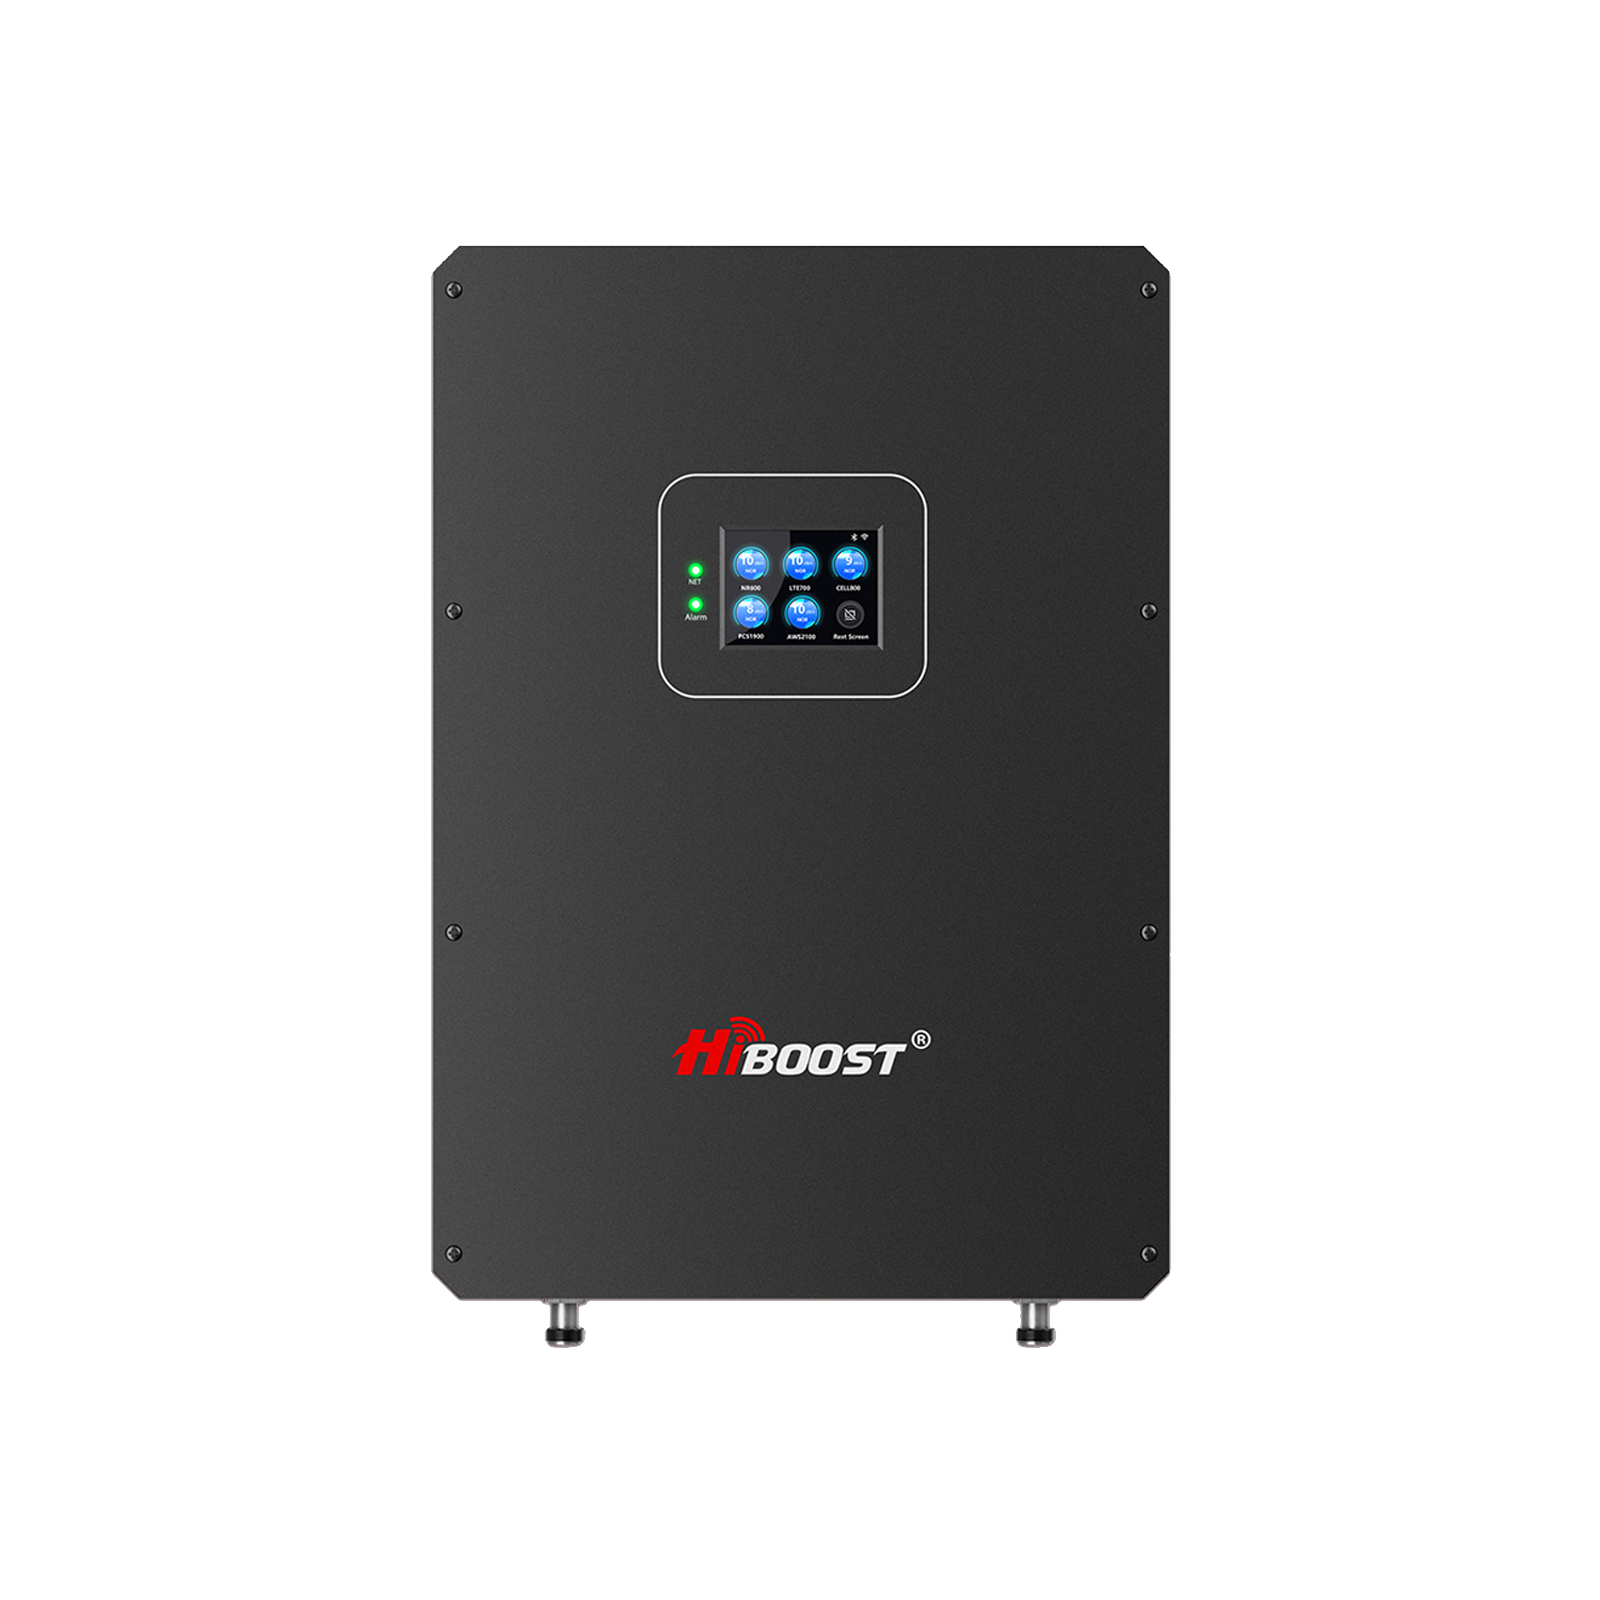
High-Power Whole-Home/Commercial Booster: $800 – $1,200 (or more). This includes the top models with 70+ dB gain, often with extra antennas or commercial grade amps. For example, a HiBoost 15K Smart Link or weBoost Home Complete is around $1,000.
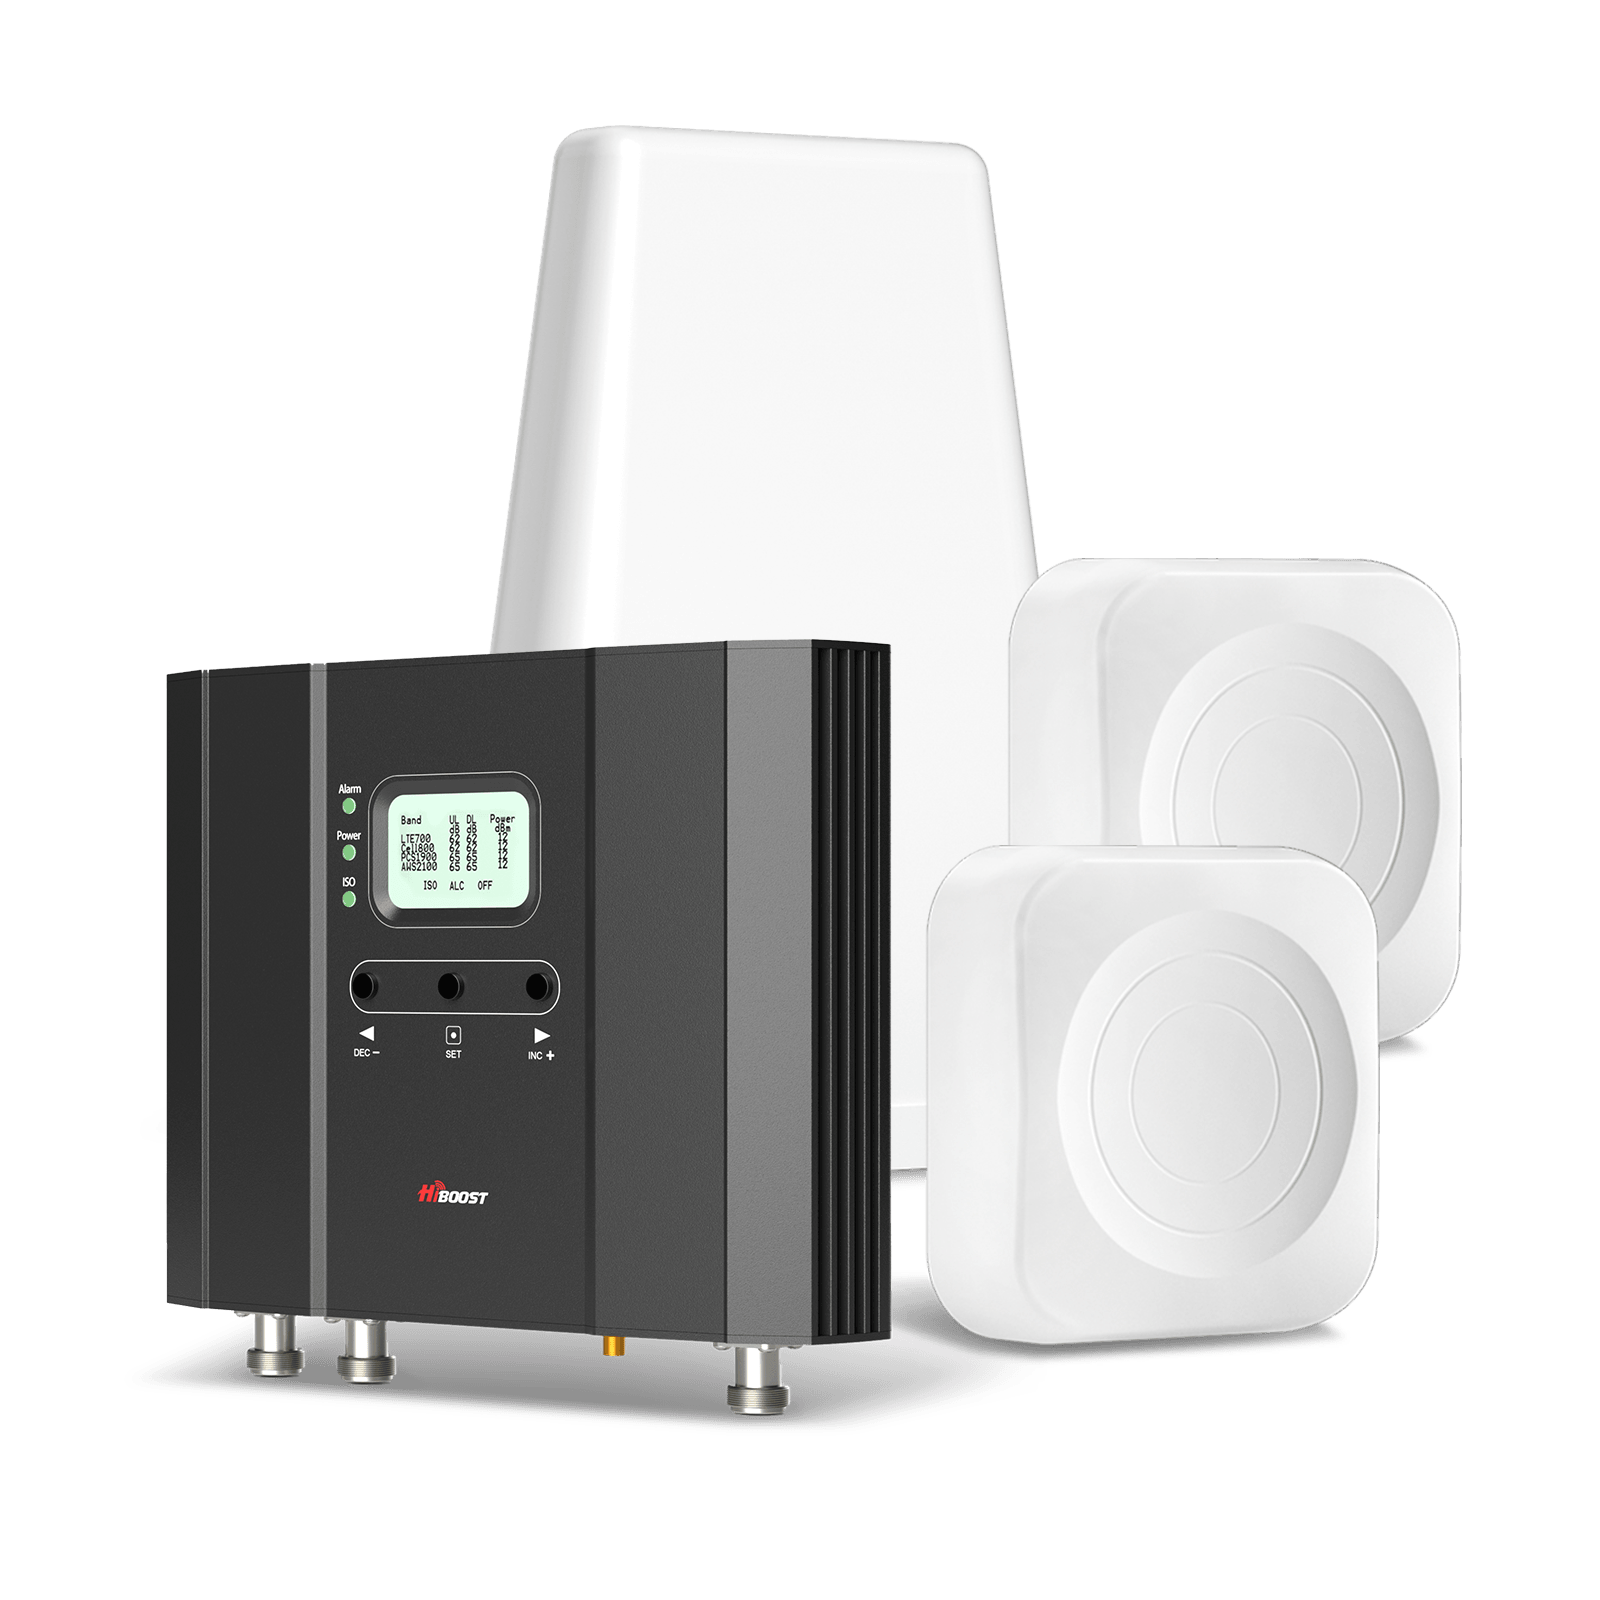
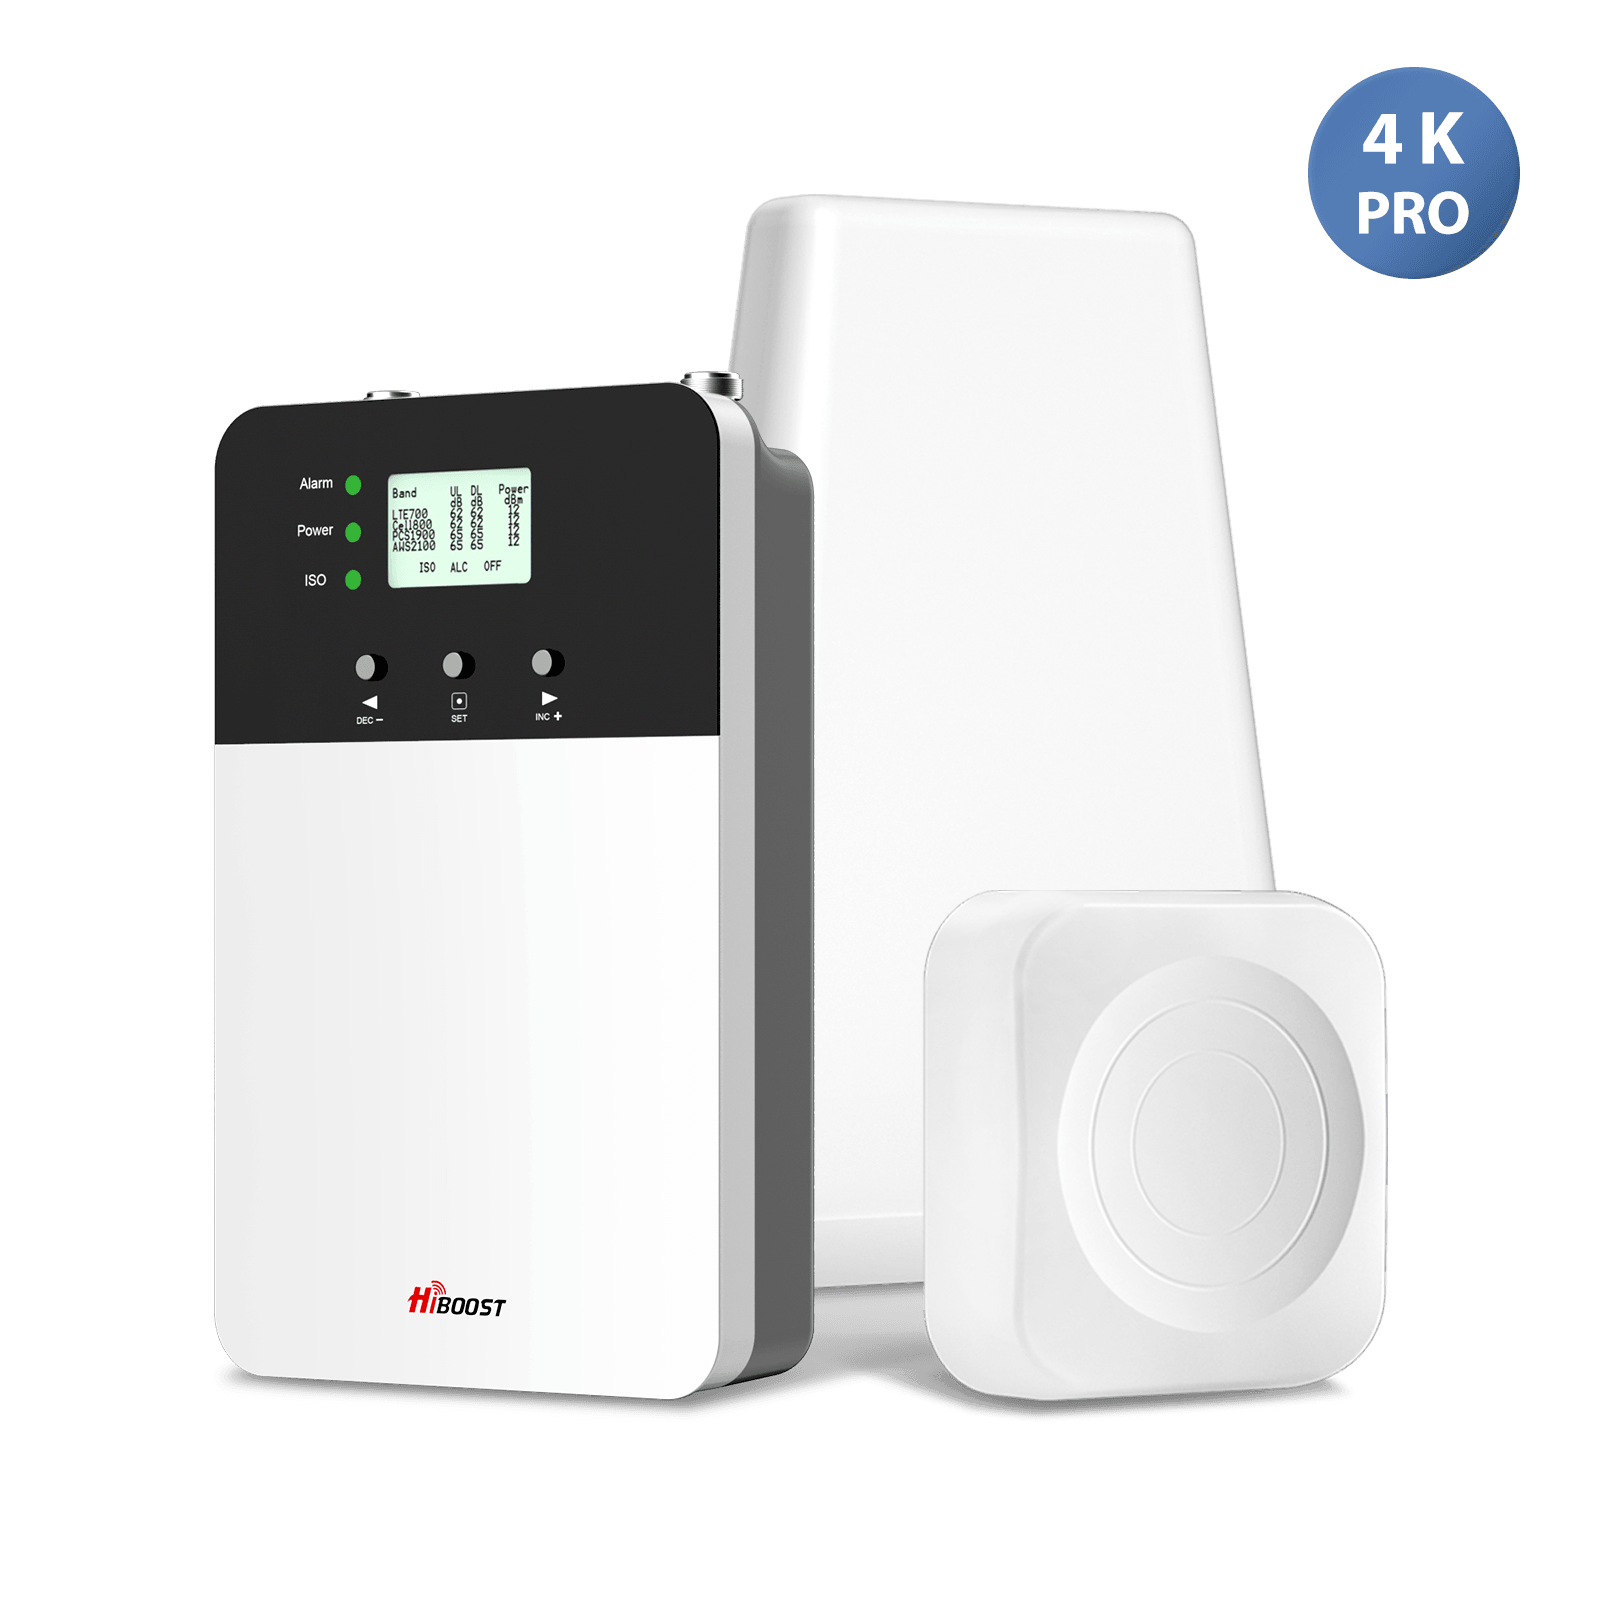
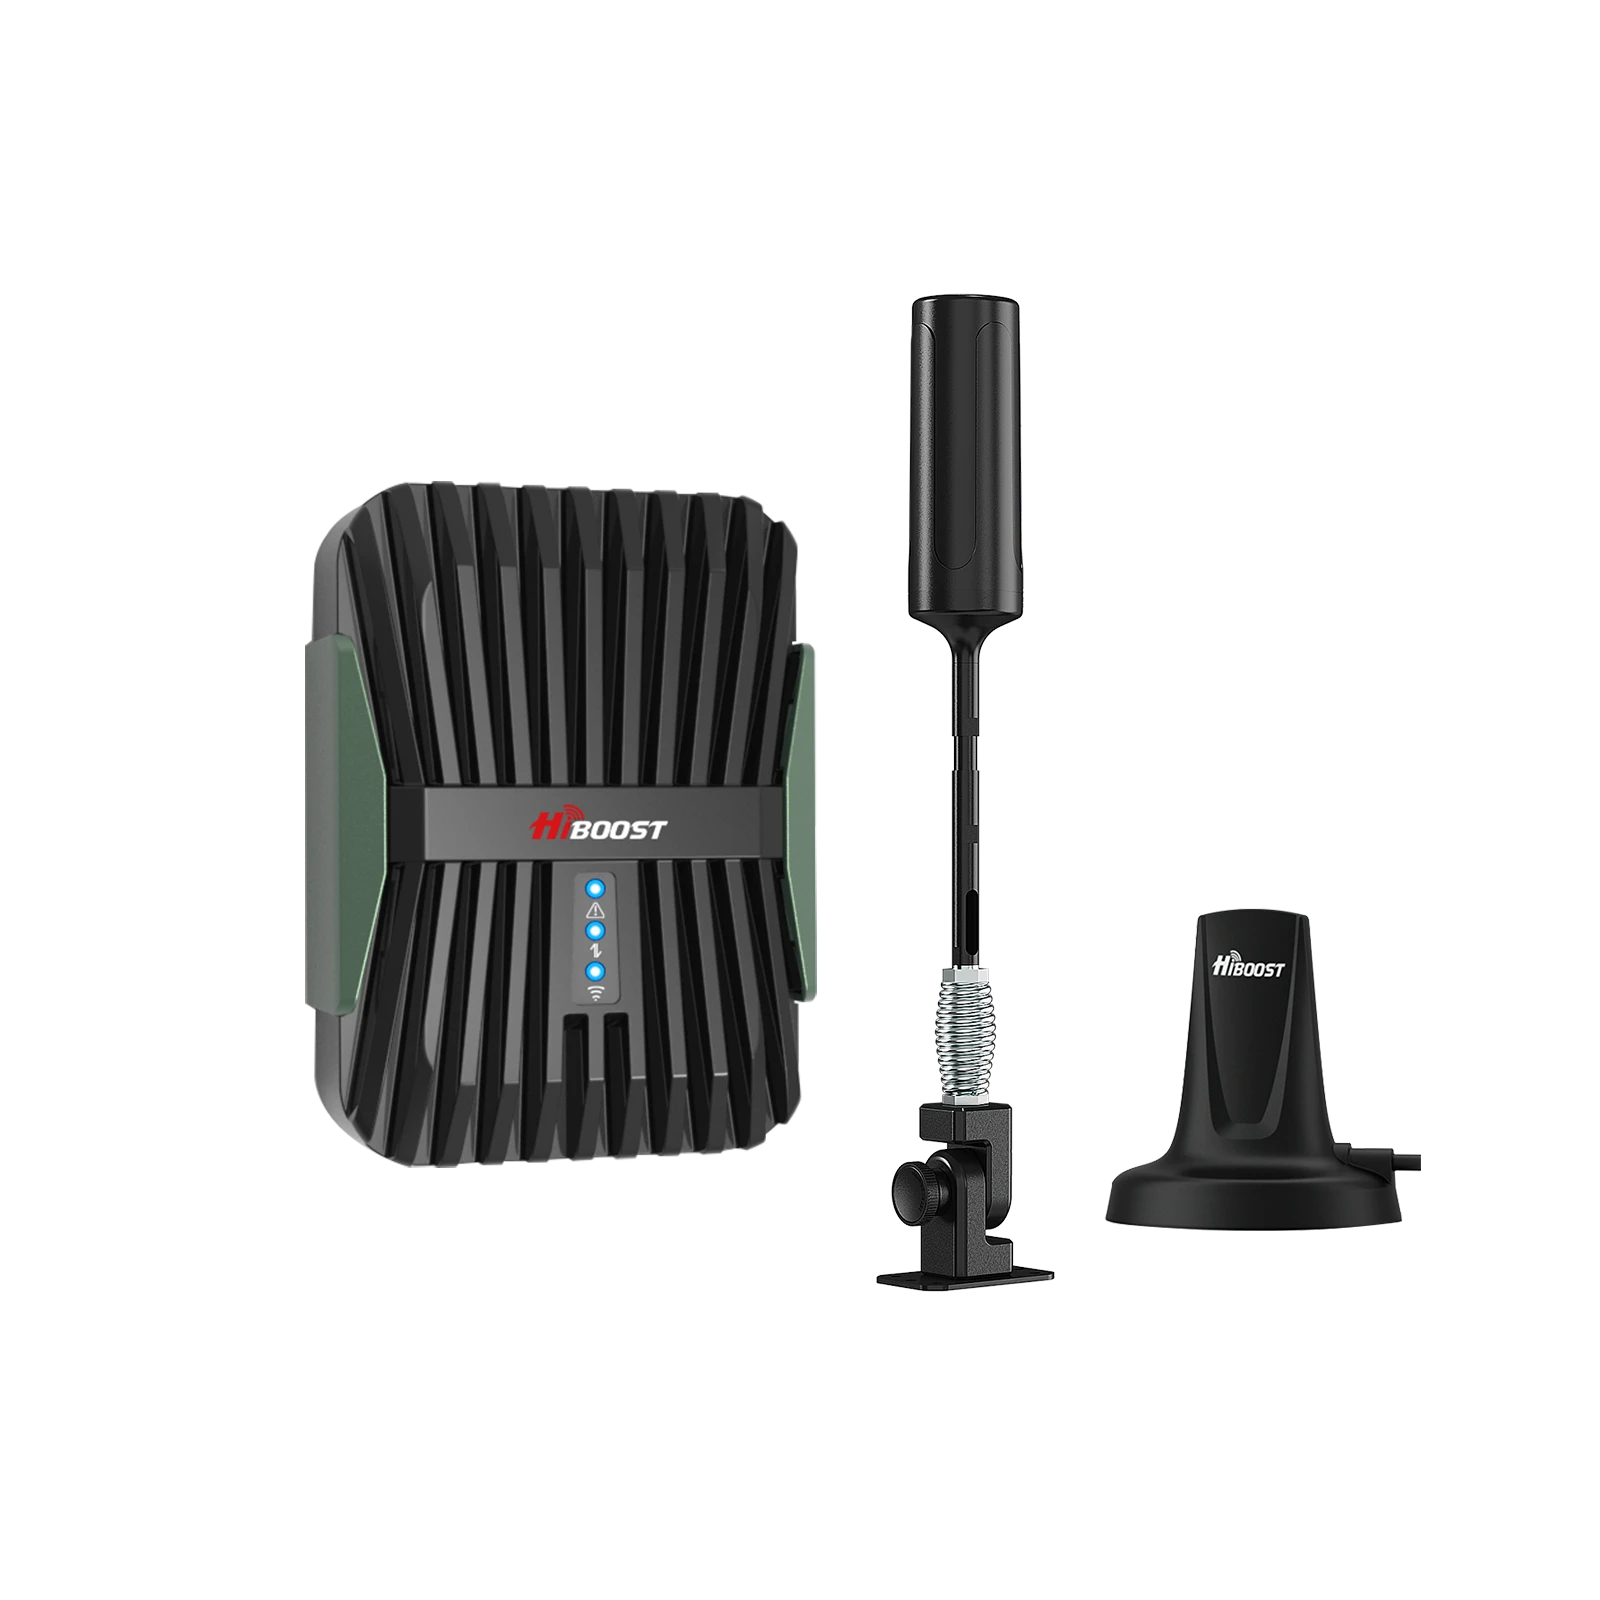
HiBoost 15K Smart Link Deluxe Cell Booster
Covers 7,000-15,000 sq. ft.
These are recommended for large homes, very weak outside signals, or if you just want the best shot at full coverage. They often have additional features. The cost can go up if you add more antennas or special cabling, maybe another $100-$200 for extra antennas/splitters.
Outdoor Antenna Upgrades: If you swap an omni for a Yagi or go for a specialty antenna, budget $50 – $150 for that antenna. Parabolic grids that reach 20+ miles might be on the higher end of that. Most booster kits include an antenna, so this is if you decide to upgrade beyond what’s in the box.
Cables and Accessories: Additional coax cable, lightning surge protectors, splitters, etc. can add up. Perhaps allocate $50 – $200 depending on what you need. For instance, 50 ft of LMR400 cable might be $80, a lightning protector $30, a 2-way splitter $20. These aren’t huge but worth noting.
Installation (Professional): If hiring a pro installer, expect something like $300 on the low end to $600 on the high end for a residential job. Some companies include it “free” with a pricey booster purchase. If multiple buildings or a very tall tower mount are involved, it could be more. Always get a quote.
Carrier Femtocell/Extender: Often $0 – $250 for the device. Many times carriers will provide them free if you have poor coverage and complain. If not, Verizon’s 4G Network Extender retails around $250. No monthly cost, but remember it uses your internet which you pay for. And installation you can do. If you need a tech to help configure (not common), might be a service charge, but usually not needed.
Internet Solutions (like Starlink): Starlink is $599 hardware + $90-120/month subscription at the time of writing. That’s a continuous cost. If you factor it as a solution for cell coverage via Wi-Fi calling, it’s steep if you only need it for calls. But if you need the internet anyway, it’s an overlapping expense.
Misc. costs: If you raise a tall pole, maybe you buy a mast for $100 and some guy-wire kit $50. If you need a UPS for your booster to maintain service during outages, that might be $100.
Typical scenarios and cost range:
- “I just want to improve a bit, cheaply”: Try free fixes, maybe get a $300 small booster. Total: ~$300.
- “I want a solid signal in my whole house”: Mid-range booster $600 + maybe $100 in extras. Total: ~$700. DIY install.
- “I have a large property, want it done right”: High-power booster $1000 + pro install $500 + extras $200 (perhaps extra antenna). Total: ~$1,700.
- “No cell service, going with Starlink”: Starlink $600 + maybe a good Wi-Fi router $100. Monthly $110. Total first year ~$2,000 including service fees, but solves internet and calling.
Comparatively, these costs can be similar to other improvements for instance, a booster might cost as much as installing a satellite dish or a new appliance. For many, the ability to have connectivity is well worth it.
One thing to remember: Don’t go for ultra-cheap uncertified boosters you might find on shady websites. If it’s too cheap it’s likely junk or illegal. Stick to known brands and FCC certified gear worth every penny. And since these devices last many years, it’s a long-term investment in peace of mind.
Now, let’s highlight a few real-world examples of how these solutions have helped Midwest rural homeowners, to wrap up all this theory with some actual cases.
12. Real Cases From Rural Midwest Homeowners
Sometimes the best way to understand the impact is through real stories. Here are a few examples inspired by actual rural users who improved their signal:
Case 1: Remote Farmhouse in East Texas. A family living on a farm had almost no indoor cell service roughly -115 dBm inside. They often missed calls unless they went outside. They installed a high-power booster with a roof Yagi and indoor panel antenna.
Result: The home went from nearly 0 bars to a solid 3-4 bars of 4G throughout the house. They can now make calls anywhere inside and even use a mobile hotspot for the internet. This was life-changing, as they no longer rely solely on a landline or have to drive toward town for a signal. Essentially, the booster turned a dead farmhouse into a connected home.
Case 2: “Ben’s” Rural Farm & Irrigation System. Ben manages irrigation on a remote farm property. He had trouble because the control systems needed cell signals to send data/alerts, and his phone had no reception out in the fields. He installed a HiBoost unit with a Yagi on a grain silo.
“Within minutes” of powering on, he saw dramatic improvements: his phone could make clear calls and even send the irrigation data reliably where it was impossible before. Now, even as he moves between the farmhouse and barn, he stays connected. This has been a game changer for safety and efficiency on his ranch, no more driving to a hill to get a signal, and the automated farm equipment stays online.
Case 3: Off-Grid Cabin in Minnesota Woods. A couple has a solar-powered cabin deep in the woods. They enjoy being off-grid but wanted a basic connection for safety. They got a mid-range booster that included a 24-foot telescoping pole for the antenna. By mounting above the trees, they took a barely-there signal and turned it into a usable 1-2 bars inside the cabin.
Now they can send texts and make calls if needed, and even do light internet browsing “Installed in about 1 hour… now we have texts, calls, and enough speed at the cabin,” one user reported. It provides peace of mind without ruining the off-grid feel. The booster keeps them “just connected enough to avoid isolation, while soaking in nature,” as they described.
Case 4: Rural Clinic in Iowa. A small healthcare clinic on the edge of a rural town had spotty indoor signal staff, sometimes missed emergency text alerts and had to go outside to make calls. They installed a commercial-grade booster with two indoor antennas.
After installation, doctors and nurses could make calls from anywhere in the building without stepping outside, and they reliably receive critical text alerts that were previously missed. This improved not just convenience but potentially patient safety. They also set up a guest Wi-Fi since their booster gave them good data, benefiting visitors.
Case 5: Bed-and-Breakfast in Wisconsin. A B&B lodge in a rural scenic area had very poor cell service, which guests complained about. The owner added a booster system covering the lodge. Now guests get a couple of bars of coverage, enough for calls and social media. This made the B&B reviews improve.
These cases show that, whether it’s a farmhouse, a workplace, or a vacation cabin, there are solutions to turn dead zones into usable zones. People often describe the outcome as a “night and day difference”, saying things like “It literally changed my life. I can finally make calls and browse without interruptions”.
Your situation might not be exactly the same, but chances are one or more of the strategies in this guide can similarly transform your daily connectivity.
As we close, let’s compile a final checklist to help you decide the right fix for your particular scenario and ensure you’ve covered all bases.
13. Final Checklist: Choose the Right Fix for Your Situation
Every rural home is a bit different. Use this checklist as a decision flow to figure out what you should do:
Step 1: Diagnose the Cause
✅ Check Outside Signal Level: Go outside and note your phone’s signal.
- If you have at least 1-2 bars outside, you have something to work with. A booster is likely going to help a lot.
- If you have 0 bars or “No Service” outside, but you have home internet, plan to use Wi-Fi calling or a femtocell as an immediate solution.
- If outside is good (3-4 bars) but inside is bad, the main issue is your building. A simple indoor antenna or booster will fix that easily.
✅ Identify Obvious Obstacles: Is there a hill, thick forest, or metal building blocking you? If yes, you’ll want a directional antenna mounted high as part of your fix. If it’s purely distance (flat open miles), you’ll need the highest gain setup you can get.
✅ Carrier Check: Find out which carrier has the best tower nearest you.
- If you’re on a carrier that has essentially no coverage in your area, consider switching carriers as a “fix” or at least know you’re aiming at a very distant tower. Sometimes using a different provider is the simplest fix if you’re willing.
- If switching isn’t an option, a booster can often make your current carrier usable as long as some signal exists.
Step 2: Try Quick Wins First
- ✅ Move Around: Find that sweet spot where calls work. This is your baseline. You now know what part of the house/property gets the best signal.
- ✅ Enable Wi-Fi Calling: Do this now if you have internet. It might solve calling immediately indoors. Doesn’t hurt to have it on even if you proceed with other fixes, as a backup.
- ✅ Phone Settings: Toggle 5G/LTE as needed to see if one is better. Sometimes locking to LTE can stabilize things.
- ✅ Reboot Phone: Do this after other changes to ensure it latches optimally.
If after these steps you still have poor signal where you need it, move on to infrastructure fixes.
Step 3: Choose Your Core Solution
📶 Signal Booster Route: If you have decent outside signal (even if only in one spot on roof), this is the best long-term solution for multi-room coverage and multi-user support.
- Pick booster size: Single room vs Multi-room vs Whole-home. Use your house size and outside signal as a guide.
- A small cabin or only care about one room -> a desktop or single-room booster might suffice.
- Typical 1-2 story home, moderate outside signal -> mid-range multi-room booster kit.
- Large farmhouse or very weak outside -> go for the highest power booster.
- Plan antenna type: Omni vs Yagi.
- Ensure you get a quality, certified booster and avoid cheap uncertified ones that can cause issues.
- Plan your install or schedule a pro if needed.
🌐 Femtocell/Wi-Fi Calling Route: If you have zero signal or only care about one carrier and have good internet:
- Contact your carrier to see if they offer a network extender/femtocell. Often for Verizon or AT&T, they can send one or recommend one. This could quickly give you full bars in the house for that carrier.
- Use Wi-Fi calling on all phones for now that might actually cover your needs without any additional hardware.
- This route is best if you only need to cover one carrier’s devices and you don’t mind relying on the internet.
🛰️ Starlink or Internet-Based Solution: If you lack any decent terrestrial internet or cell, consider Starlink for a holistic fix (internet + Wi-Fi calling).
- This is a bigger decision but yields high connectivity if you’re in a communications desert.
- Alternatively, check if any fixed wireless provider covers you if you get a broadband connection, that indirectly fixes your phone service via Wi-Fi.
Step 4: Implement and Iterate
✅ Install the chosen solution:
- If booster: mount antenna, run cables, power it up.
- If femtocell: plug in, register it, test calls.
- If relying on Wi-Fi: set up a dedicated Wi-Fi calling profile on your phone if needed.
✅ Test thoroughly: After setup, walk around with your phone. Use field test to see signal levels at various spots. Do calls from your basement, upstairs, outside, etc., to ensure the coverage is as needed.
✅ Fine-tune: For boosters, maybe you need to re-aim the antenna or relocate the indoor unit for better coverage in a specific room. For a femtocell, you might need to move it closer to a window for GPS.
✅ Secure and finalize: Once happy, tidy up the installation. Register the booster with a carrier which is an FCC requirement.
Step 5: Ongoing
- Monitor performance over the first days/weeks. Make sure there’s no odd behavior. If calls are crystal clear and data is flowing, you’re set.
- Have a fallback: Keep that Wi-Fi calling on or a landline for emergencies just in case. Technology can hiccup, and it’s good to have redundancy in rural areas.
Using this checklist, you can tailor the solution: it might be one thing or a combination. The goal is that after all this, you don’t have to live with frustrating signal problems anymore.
In conclusion, we’ll wrap up the key message: you have options and you no longer need to just accept poor coverage as a fact of rural life.
14. You Don’t Need to Live With Bad Rural Signal
Living in the beautiful rural Midwest does not mean you must suffer with dropped calls and no bars. As we’ve detailed in this guide, there are numerous solutions from quick free tricks to powerful boosters that can bring modern connectivity to your farmhouse or cabin.
The key takeaways:
- Understand the problem: Know if it’s distance, terrain, or your building causing the issue. This guides your fix.
- Try simple fixes first: Sometimes a better spot in the house or enabling Wi-Fi calling can immediately help.
- Invest in the right tech: For most, a cellular signal booster is the best long-term solution to blanket your home in coverage. It leverages any bit of outside signal and amplifies it for your use. As we saw, boosters have transformed many rural dead zones into fully functional service areas.
- Combine solutions if needed: Maybe you use Starlink for data and a booster for phone calls on another carrier that’s okay! Redundancy can be great in rural setups.
- Don’t hesitate to get help: Whether from a professional installer or just consulting with your carrier’s tech support, use the resources available. The goal is a reliable phone and data connection for you and your family’s safety, work, and convenience.
In 2025, being rural no longer means being isolated. You can tend your fields during the day and video chat the grandkids at night. You can run a business from your barn office or call for help in an emergency, all thanks to these signal improvement strategies.
So, take action. Go through the checklist, pick the fixes that suit your situation, and reclaim your connectivity. The Midwest’s wide-open spaces are wonderful and now you can enjoy them without feeling cut off from the world. You truly don’t have to live with bad signals anymore.
Stay safe, stay connected, and thank you for reading this comprehensive guide. We hope it empowers you to boost your bars and get the communication quality you deserve, even in the most rural corners of the heartland.
15. FAQ
Finally, here are some frequently asked questions to recap and drill down on specific points:
Q1: How do I know whether my weak mobile signal is caused by distance, building materials, or carrier coverage?
A1: Start by testing your phone outside vs. inside. If you get, say, 3 bars outside but lose signal inside, your building is the culprit common in rural homes with metal construction. If you have weak signals both outside and inside, it’s likely a distance/coverage issue. You can also compare carriers if a visitor’s Verizon phone works but your T-Mobile doesn’t, then carrier coverage is a factor. In summary: good outside + bad inside = building problem; bad everywhere = tower distance or lack of coverage; one carrier working over another = carrier network difference.
Q2: What simple, no-cost steps can improve signal right away?
A2: Try these first:
- Moving to an open window or second floor reducing obstacles can add a bar.
- Find the side of your house that faces the nearest town/tower and use your phone there.
- Enable Wi-Fi Calling on your phone so you can make calls if you have home internet.
- Toggle your phone’s network settings to reset the connection.
- And of course, a classic reboot of the phone often helps refresh the signal. These don’t cost anything and often yield an immediate, if modest, improvement.
Q3: Will a cell phone signal booster work at my rural home?
A3: If you have at least a faint signal outside, then yes, a booster will almost certainly work and greatly improve your signal indoors. Boosters amplify whatever signal is there taking you from maybe 1 bar to 3-4 bars inside. We saw in real cases that even with -115 dBm outside, boosters made it usable inside. However, if you truly have zero signal and you can’t even detect a distant tower with a high antenna, then a booster alone can’t help because there’s nothing to amplify.
In that scenario, you’d need to use an internet-based solution or find any spot on your land that gets a signal and maybe put the donor antenna there. But 99% of the time, there’s at least some trickle of signal a booster can grab. So boosters do work in rural homes; it's what they’re designed for, and they excel at pulling in weak signals from far-off towers.
Q4: How do I read dBm numbers and what level is “good”?
A4: Cell signal strength is measured in dBm. It’s a negative number on phones. Key ranges: around -50 dBm is excellent. Around -80 to -90 dBm is a decent/good signal. -100 dBm or worse is getting into poor territory. By -110 dBm, your phone is struggling, that's basically the edge of service. And beyond -120 dBm is usually no service/dead. So, higher is better.
Think of it like a golf score; in reverse you want a “less negative” number. For example, improving from -110 to -90 dBm is a big jump and you’ll notice the difference. Many phones show this if you dial a field test or use an app. A rule: every ~3 dB improvement roughly doubles the signal power, and every 10 dB is ten times power, so small dB changes matter. In summary: aim for anywhere above -100 dBm for stable usage; -80 dBm or better is great.
Q5: Which booster type should I choose for a farmhouse? Single-room, multi-room, or whole-home?
A5: It depends on your coverage needs and house size:
- If you often use your phone in just one area and don’t mind weaker signals elsewhere, a single room booster might suffice and save money. It will create a strong “zone” of signal in that area.
- If you have a medium-sized house and want coverage throughout most of it, go for a multi-room booster. It usually comes with one indoor antenna that can cover a partial house, say, a few rooms or one floor with strong signal, and maybe the rest of the house gets a weaker but usable signal.
- For a large farmhouse or if you want seamless coverage in every corner, opt for a whole-home booster. These have more gain and often support multiple indoor antennas to cover upstairs/downstairs or opposite ends. For example, a 4,000+ sq ft house or one with a basement might benefit from the biggest model with two interior antennas. In general, rural homes with very weak outside signals should lean to the higher-power boosters because you’ll need all the gain you can get.
Q6: Directional (Yagi) vs. omnidirectional antennas which is better for Midwest farms?
A6: For most Midwest rural situations, a directional Yagi antenna is better. Why: typically there’s one cell tower that you need to reach, and distance is significant. A Yagi focuses toward that tower and gives you higher gain crucial for long distances. It can make the difference between pulling in a usable signal or not. An omni antenna grabs 360° but with much lower gain; it’s easier to install but only really advisable if you already get a moderate signal or if you have multiple towers around in different directions.
Omni might be fine if you’re on a hill with decent signal or have carriers in different directions you want to capture. But if you’re in a fringe area, a Yagi pointed at the nearest tower will yield far better results. The trade-off is you must aim for it, but as we covered in the guide, that’s manageable. So in short: Yagi for weak-signal rural farms for maximum range; Omni only if you’re relatively close to towers or need multi-direction.
Q7: Do I need an internet connection for a booster to work?
A7: No. A traditional cell signal booster does not require any internet or Wi-Fi. It directly amplifies the cellular signals from the tower. It’s an independent system, just plug it into power. This is a big advantage if you either don’t have the internet or don’t want to use data. It’s different from devices like femtocells.
So you can be completely off-grid as long as you can power the booster and still improve cell reception. The booster is basically a bridge between the cell tower and your phone, all via RF. So no monthly fee or network needed. In fact, many choose boosters precisely because they don’t want to rely on satellite internet or don’t have any other connectivity.
Q8: Is installing a booster legal and carrier-approved?
A8: Yes as long as you use an FCC-certified booster. Since 2013, the FCC allows consumers to use boosters that meet network protection standards, and carriers have given blanket consent to these devices. All the boosters you’d buy from reputable companies like HiBoost, weBoost, SureCall, etc., are certified and legal to use. Carriers are fine with them because they won’t interfere with networks if used properly.
There’s typically a requirement to register your booster with your carrier. It's free and just for coordination, but even if you don’t, the booster will still work. What’s not legal is using an old or home-made booster that oscillates or one that doesn’t have auto-gain control that can cause interference. But if you stick to approved models, you’re good. So, yes, boosters are both legal and effectively “carrier-approved”. Always buy from legit sources to ensure you get a certified device.
Q9: How much does a good whole-home booster installation cost?
A9: For a quality whole-home setup, you’re looking at roughly $500 to $1200 total. Breaking it down: a top-rated whole home booster unit itself runs about $800. Add maybe $100-$200 for extra antennas, cables, or mounting hardware if needed. If you hire a professional installation, that could be another few hundred dollars. So if DIY, maybe $800 all-in for equipment; if using an installer, perhaps $1000-$1200 including labor.
There are kits that include pro install around $1200. You can scale down cost by doing self-install and only buying what you need. A mid-range booster might cover your whole home if the outside signal is not super weak, which lowers cost. But I’d budget around a thousand for a solid solution to be safe. Keep in mind, this is a one-time cost after that, no fees, and you get connectivity for years. Compare that to, say, paying $100/month for some service it can pay for itself over time.
Q10: How do I choose the right vendor or installer?
A10: For vendors, stick to known reputable brands because they are FCC certified and have good support. Buying through the manufacturer or authorized resellers ensures you get genuine products and warranty. Look for vendors that provide technical support helpful if you need guidance. As for installers:
- Use installers recommended by the booster manufacturer if possible. That way you know they’re experienced with that equipment.
- Check local telecom/electrical contractors who advertise cell booster or antenna installation. Read reviews or get references if you can.
- Ensure they are familiar with FCC rules.
- Compare quotes if multiple options, and ask what’s included.
- Essentially, the right installer is one who has done rural booster installs before and understands the nuances. You could also ask your carrier if they have recommendations . Verizon sometimes has partnerships with installers for enterprise solutions.
The good news is boosters are quite common now, so finding a knowledgeable vendor/installer isn’t too hard. Going through the brand (like contacting HiBoost for an installer near you) is a solid approach.
By following this guide and the answers above, you should be well-equipped to conquer the signal challenges at your rural Midwest home. Remember, you have the power to turn those one-bar frustrations into a connected, convenient life while still enjoying the peace of country living. Good luck and happy boosting!
Recommended Reading:
How to Boost Your Cell Phone Signal in Rural Areas
Best Cell Phone Boosters for Rural Areas
How to Boost Cell Phone Signal in Remote Areas
Best Cell Phone Boosters for Rural Areas in 2026
The Top 9 Cell Phone Signal Boosters for Rural Areas
Cell Signal Boosters for Rural & Remote Area Cottages & Cabins
Car/Suv,RV,Truck,Vehicle
Our Home Signal Booster
Popular Articles


Leave a comment
All comments are moderated before being published.
This site is protected by hCaptcha and the hCaptcha Privacy Policy and Terms of Service apply.